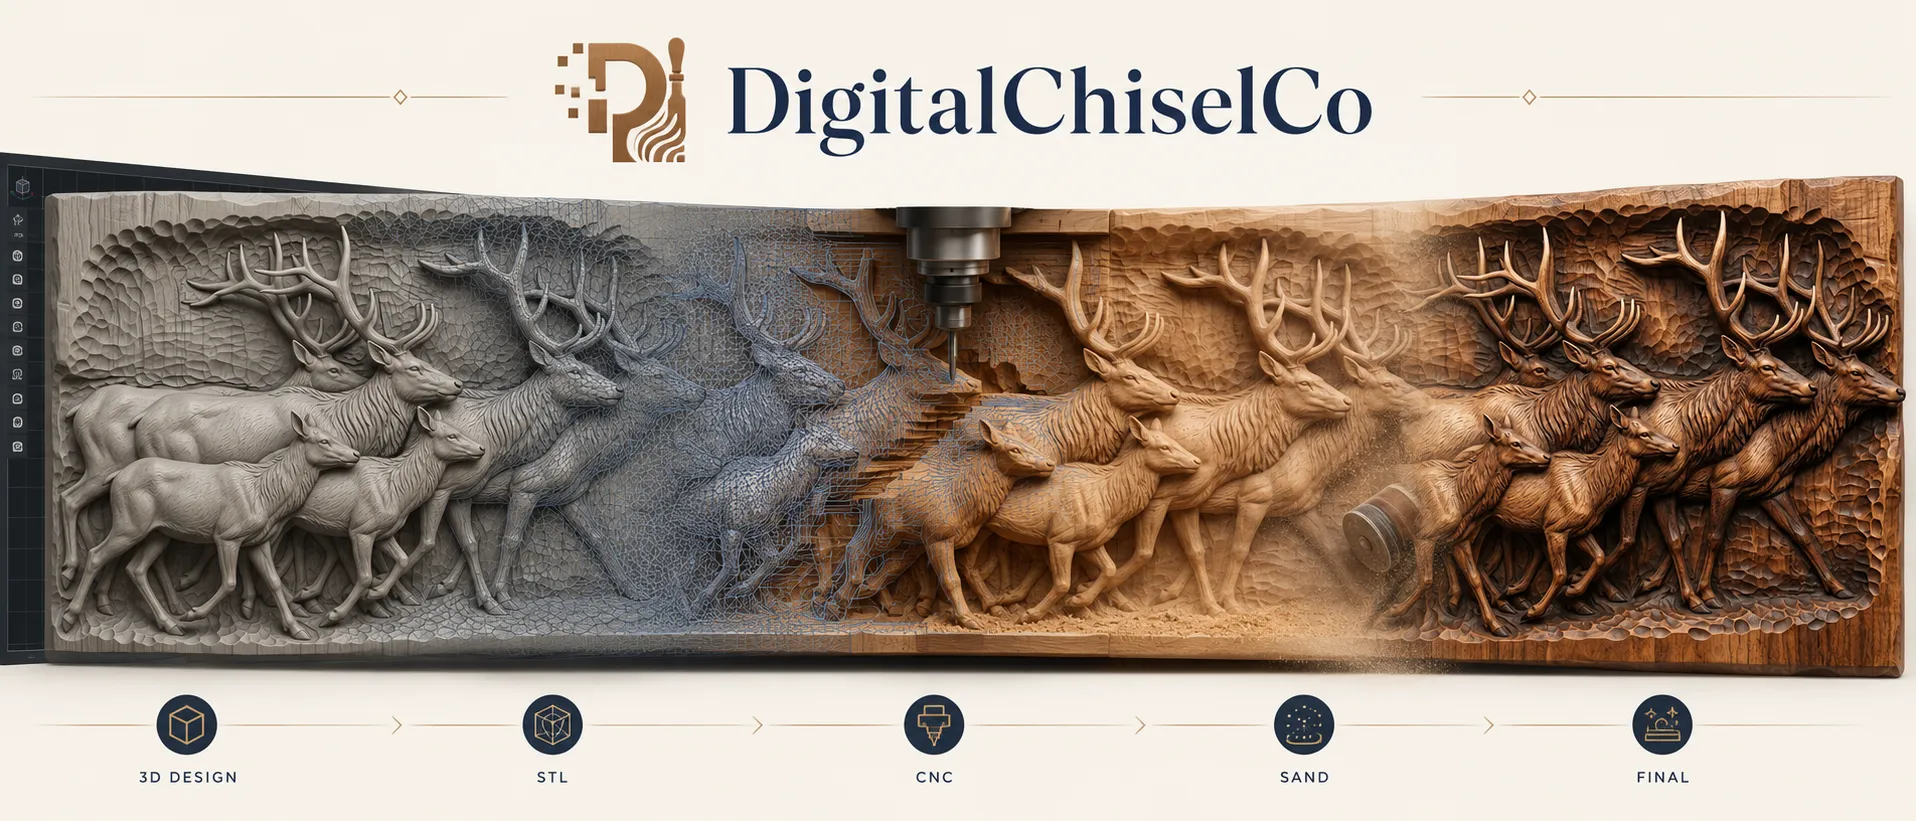
STL Files for Laser Engraving: How They Work and Where to Start
If you searched for "STL files for laser engraving" expecting to find files designed specifically for lasers, you'd be forgiven for thinking they don't exist. They mostly don't — and they don't need to. Most modern laser engravers can use a bas-relief STL with one preparation step, and the results are stunning on the right materials.
This is the practical guide we wish existed when laser-owning customers started asking us "can I use these on my xTool / Glowforge / Ortur?" The answer is yes, but the workflow is different, and a few of the things that work great on a router will fail on a laser.
STLs vs. lasers: what's actually happening
A CNC router carves a bas-relief by physically removing material to different depths — high points stay tall, low points get cut deeper. A laser engraver can't carve depth directly (with some exceptions for fibre lasers on metal). Instead, it varies the intensity of the burn across the surface, creating a shaded image where dark areas read as "low" and light areas read as "high."
This is why STL files work on lasers: a bas-relief STL has a depth map, and a depth map can be converted to a grayscale image where Z height becomes brightness. Your laser then engraves the grayscale image at varying power, and the human eye reads the result as relief — even though physically it's a shaded burn.
The conversion step is what most tutorials skip. Done right, it produces gorgeous engravings. Done wrong, it produces muddy burns that look nothing like the source file.
Which laser types work with STL bas-relief?
Diode lasers (xTool D1, Ortur, Atomstack)
Diode lasers are the most accessible for bas-relief work. They burn well on bare wood, leather, and many slate/stone surfaces. The optical resolution of modern 10–40W diodes is more than enough to render a fine grayscale gradient.
Best materials: light hardwoods (birch ply, maple), bamboo, leather, slate coasters, dark cardstock. Avoid anything reflective or anything where the grain pattern is louder than the engraving (heavily figured walnut tends to fight the burn).
CO2 lasers (Glowforge, OMTech, Boss Laser)
CO2 wattage gives you faster engravings and the ability to work on acrylic, leather, anodised aluminium, and a wider range of woods. The grayscale gradient on a CO2 burn is typically smoother than a diode — you get more "tones" per burn pass.
Best materials: walnut, cherry, maple plywood, hardboard (Masonite), full-grain leather, etched acrylic, anodised aluminium.
Fibre lasers
Fibre lasers can actually carve depth into metals via deep engraving / annealing, which technically reproduces a bas-relief STL three-dimensionally. The workflow here is closer to CNC than to standard laser engraving and is outside the scope of this post — but yes, it works, and the results on stainless steel can be remarkable.
The depth-to-grayscale conversion
Two tools make this conversion easy, and both are free:
Option 1: ChiTuBox / 3D-print slicers (1 step, fast)
Most resin 3D-print slicers can export a depth map as a grayscale PNG. Import your STL, orient it flat (carving surface facing up), and use the "export depth map" feature. The result is a grayscale image where bright = high relief, dark = background.
Option 2: Meshmixer + LightBurn (2 steps, more control)
Open the STL in Meshmixer. Position it on the X-Y plane with the carving face up. Use Edit → Project → Image Stamp to render a depth-map PNG at your target resolution. Then import the PNG into LightBurn as a grayscale image and use "Image" mode with "Pass-through" or "Stucki" dithering at 254 lines per inch.
The second workflow gives you control over the resolution of the depth map — higher resolution captures more detail at the cost of longer engrave time.
Settings to start with
Materials vary wildly, but these are sensible starting points for testing on a 5×5cm scrap. Always test before committing to a full panel.
Diode laser (10W) on birch plywood
- Speed: 3,000 mm/min
- Max power: 100%
- Min power: 0%
- Lines per inch: 200
- Image mode: Grayscale, Stucki dithering
CO2 laser (40W Glowforge / equivalent) on cherry
- Speed: 1,000 (Glowforge "Convert: Engrave: HD Photo" works as a baseline)
- Power: 70%
- Lines per inch: 270
- Image mode: 3D engrave or photo engrave
CO2 laser on full-grain leather
- Speed: 2,500
- Power: 25–35% (leather burns aggressively)
- Lines per inch: 220
- Image mode: Grayscale, Jarvis dithering
The "lines per inch" setting matters more than most people realise. Going too high (300+) on a diode laser produces overburn — the edges blur and detail disappears. Going too low (under 150) leaves visible scan lines. 200–270 is the sweet spot.
Mistakes to avoid
- Burning before testing. Always burn a 50×50mm test before committing to a 300mm panel. Depth maps look different on every material.
- Using "vector" or "line" mode. A depth map is a raster image. Use grayscale / image / photo modes only.
- Dirty optics. A grayscale gradient amplifies any flaw in your beam. Clean your lens before any serious engrave.
- Wood with strong grain. Cherry and maple read grayscale well. Heavily-figured walnut and oak fight the burn. If you only have figured stock, sand to 320 and apply a clear sanding sealer before burning.
- Skipping rotation. If your engraving is going to be 400mm wide, the workpiece needs to be flat to within 0.5mm across that entire span. Use a hold-down or a flat reference surface — a warped board will produce a faded engraving on the high spots.
Which DigitalChiselCo files work best on lasers?
Not every file in our catalog is ideal for laser conversion. The ones that work best have:
- Strong contrast between subject and background (so the grayscale gradient reads cleanly).
- A single dominant subject rather than busy multi-element scenes (busy scenes get muddy on burns).
- Bold shapes — wildlife portraits, religious symbols, name signs, single floral subjects.
The religious panels, wildlife portraits, and floral collection generally convert well. Architectural scenes and multi-element landscapes are harder — possible, but you'll spend more time tuning your engrave settings.
If you want to test the workflow without buying first, grab the free 5-file starter pack. Five files, depth-graded, grayscale-friendly — exactly the kind of starting set you want for working out your laser settings.
The honest summary
Lasers and CNC routers solve the same visual problem from opposite directions. A router carves real depth into wood; a laser fakes depth through grayscale shading. Both can produce stunning bas-relief work from the same source STL files, as long as you do the conversion step properly and match your file to the medium.
If you're a laser-only maker, this is the most flexible STL workflow you can build into your shop: one library of files, two output paths, infinite project ideas. We're rooting for you.