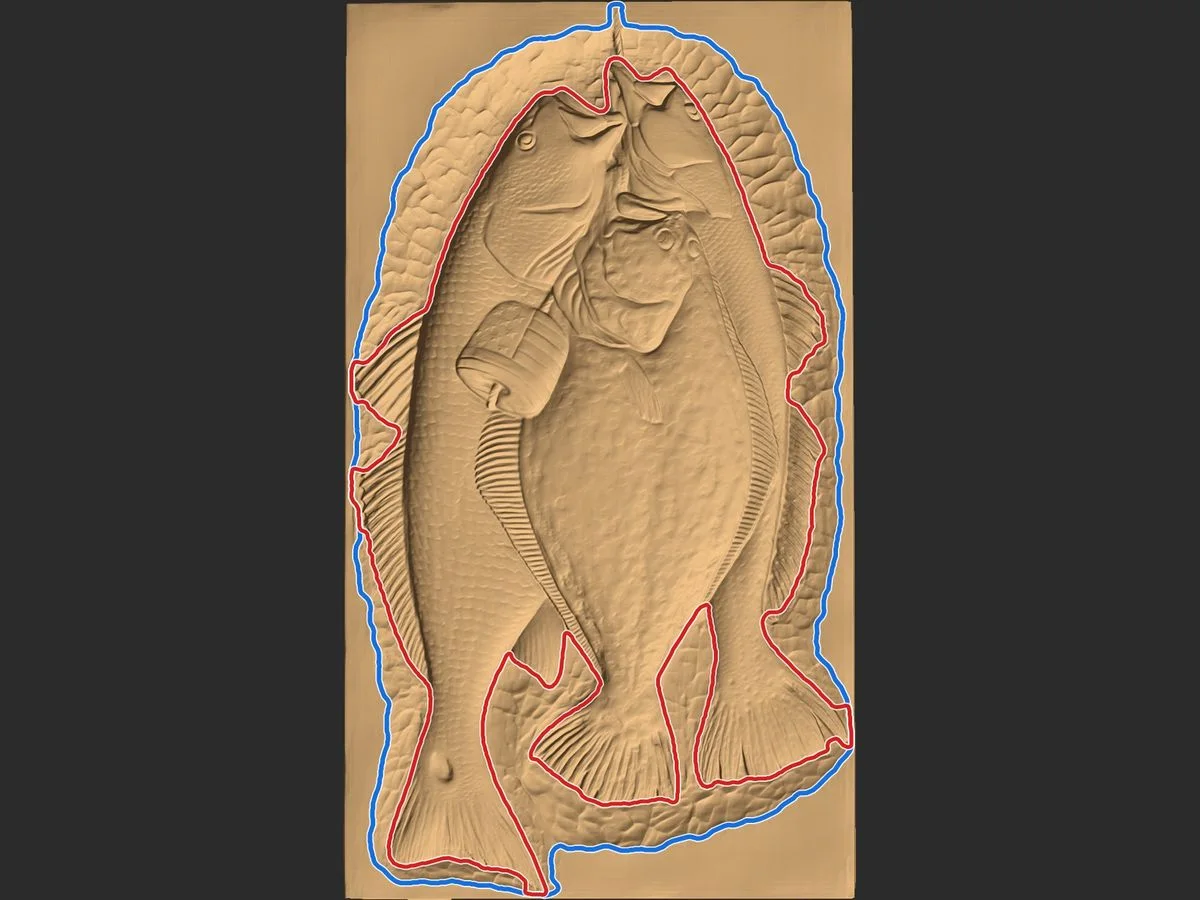
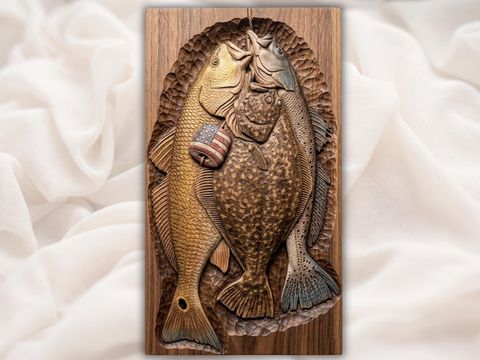
Relief on a board: blue + red linesThree Fish Stringer with USA Flag Bas-Relief CarvingGet this design
CNC tool · works with any STL
Draw the CAM boundary around any relief STL, so your machine cuts only the carving and skips the flat board.
or drop it here
Binary or ASCII, up to 250 MB. Files over 100 MB take a little longer.
The STL is read in this page and never uploaded. We keep a height map and a small picture of your lines to make your files and improve the tool. Details
Free to try: position, extract, edit and one automatic try per file. Pay only to download, from $3 a file ($2 for Diamond members).
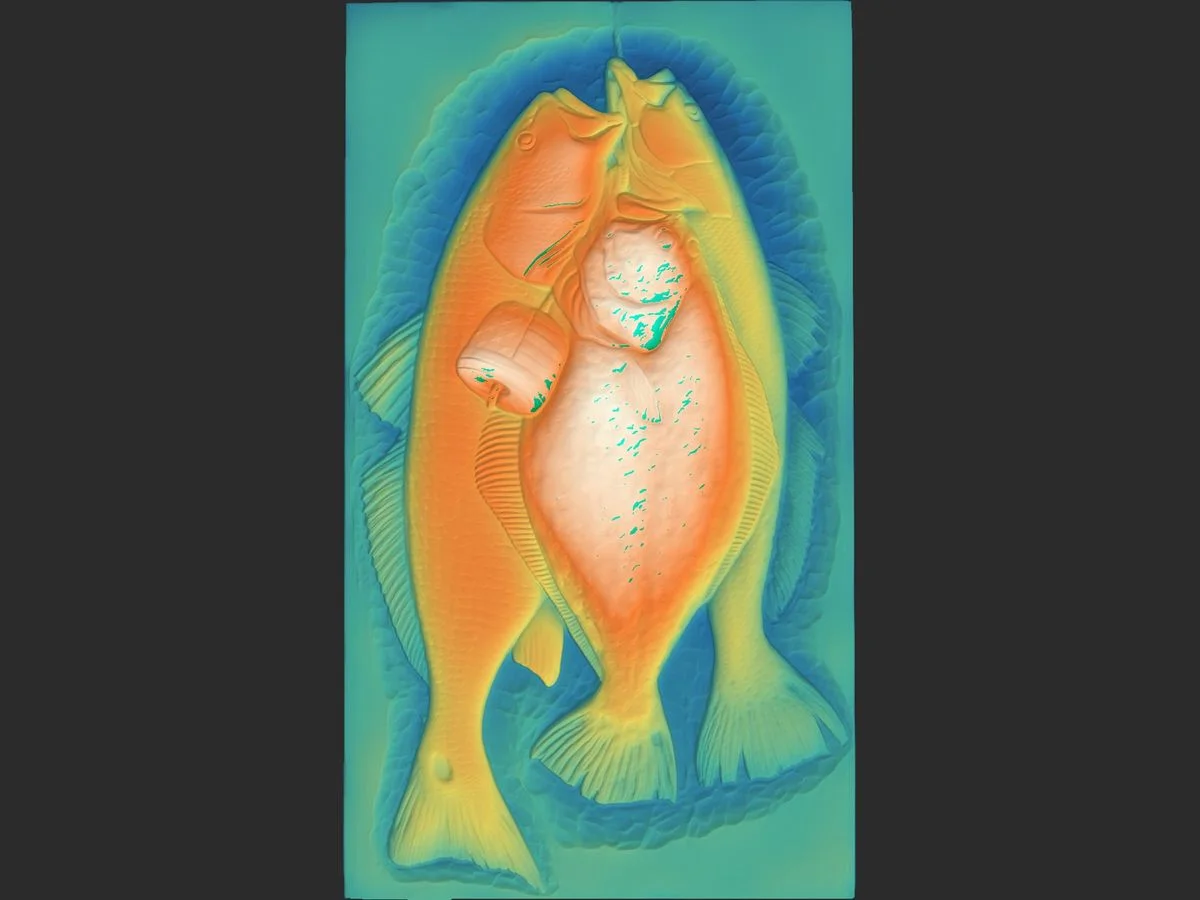
Choose which side of the model faces UP, toward the cutter. The picture on the right is what the machine sees from above: the vectors are made on it.
Load your STL above to start.
Two lines are useful: blue around the carved area (everything the machine must touch) and red around the subject. Pick a way to start; you can fine-tune any of them in step 3.
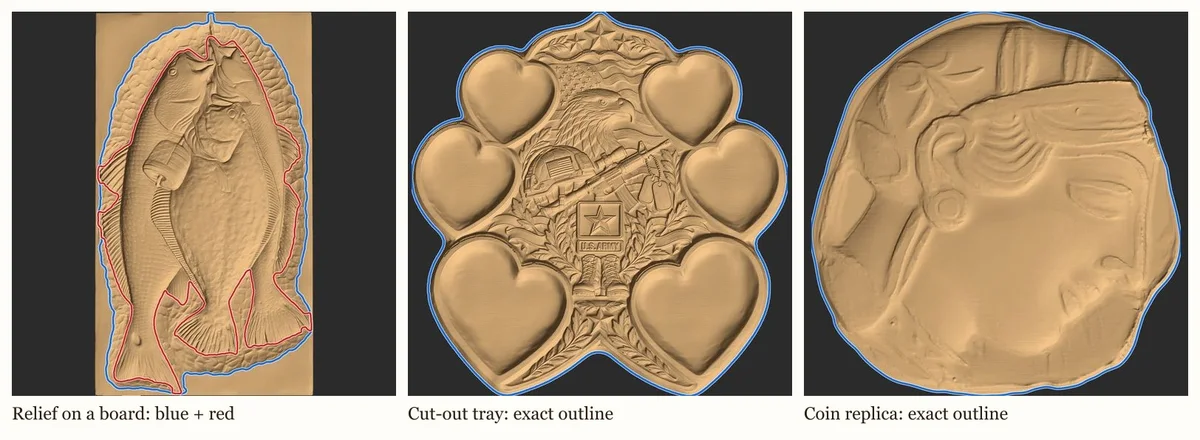
Traced straight from the model: the outside edge, exactly. Right for cut-out models (coins, tiles, signs, shapes) and as the outer profile of any model.
Free, instant
For a relief on a board. Our AI marks the carved area (blue) and the subject (red) on a picture of your model, then both lines are snapped onto the real edges of the height data.
1 free try per file
Four guided methods: inside and outside line, draw it yourself, magnetic pen, or brush. Best when the carving fades into the board.
Free
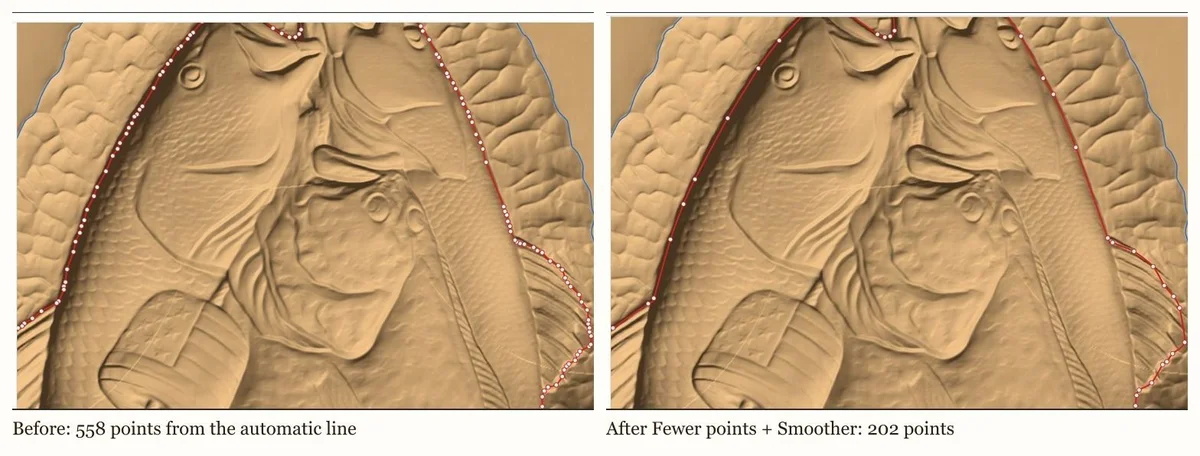
Drag points to correct them. Click a line to select it, then use the tools: Move points, Add point, Delete point, Sharp / round, Smoother, Fewer points, Pull to edge, Grow / shrink. Cut and Trim work on two points (click one, Shift+click the second). Join merges two lines and closes a gap. Move shifts a line by exact millimetres. Undo is Ctrl+Z.
You get a DXF and an SVG in the model's own coordinates, a short import note, and the STL exactly as positioned here, plus a LEVELLED copy of it (rim flat and even all round, carving untouched, same position). Import the STL without centring it, then the DXF at 100%: they land in the same place.
Diamond members pay $2 a file: sign in for the member price.
Secure checkout by Paddle, our merchant of record: card, PayPal, Apple Pay or Google Pay. Business buyers can add a VAT number in the checkout.
(shown only on this computer's dev server; no money moves)
Paid. Your files:
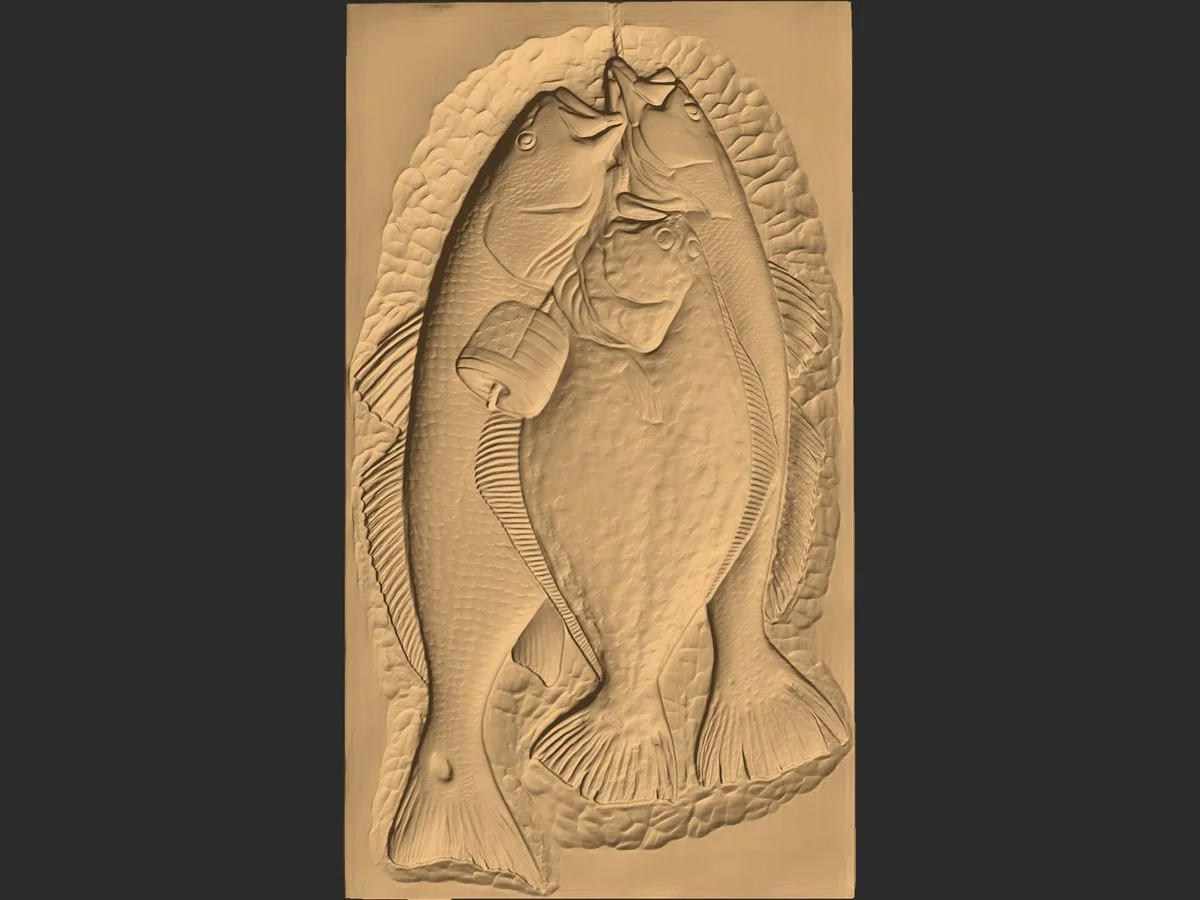
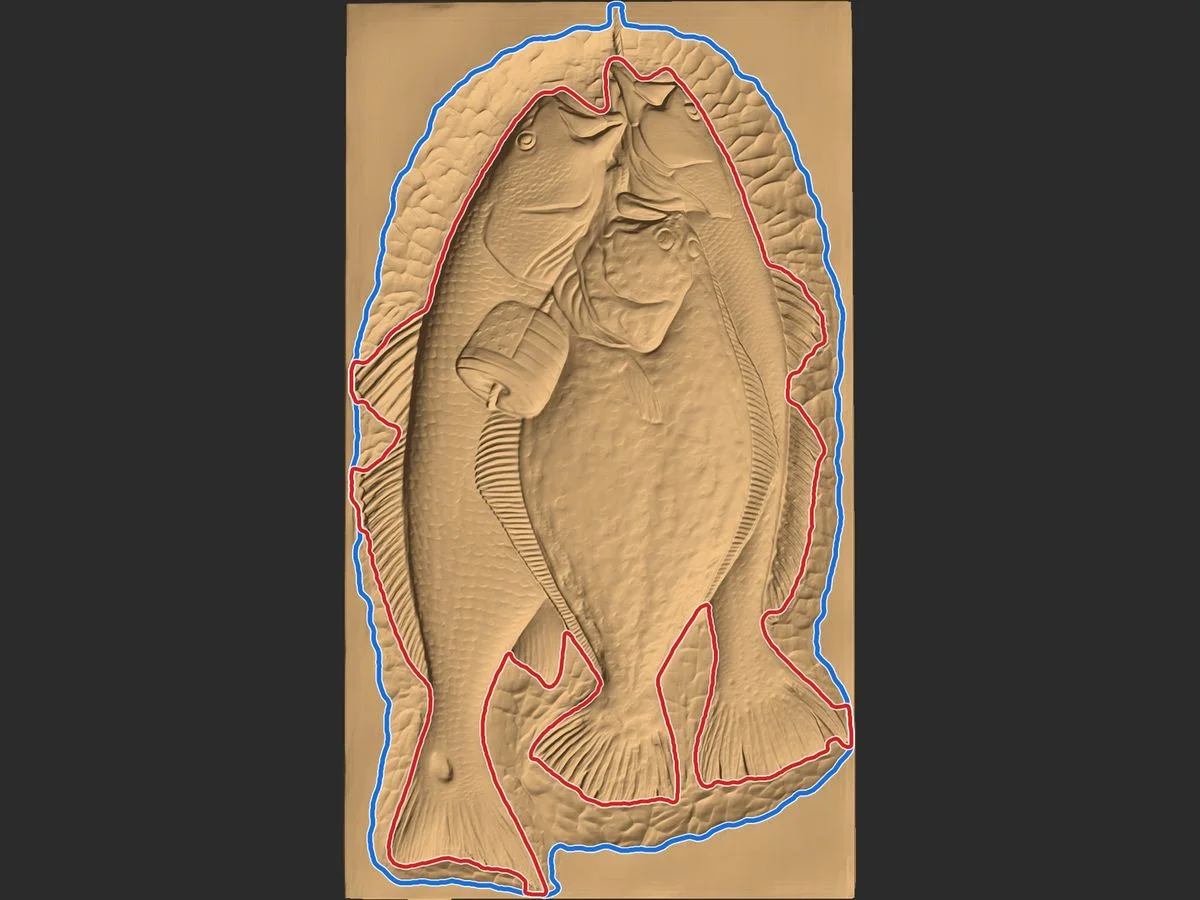
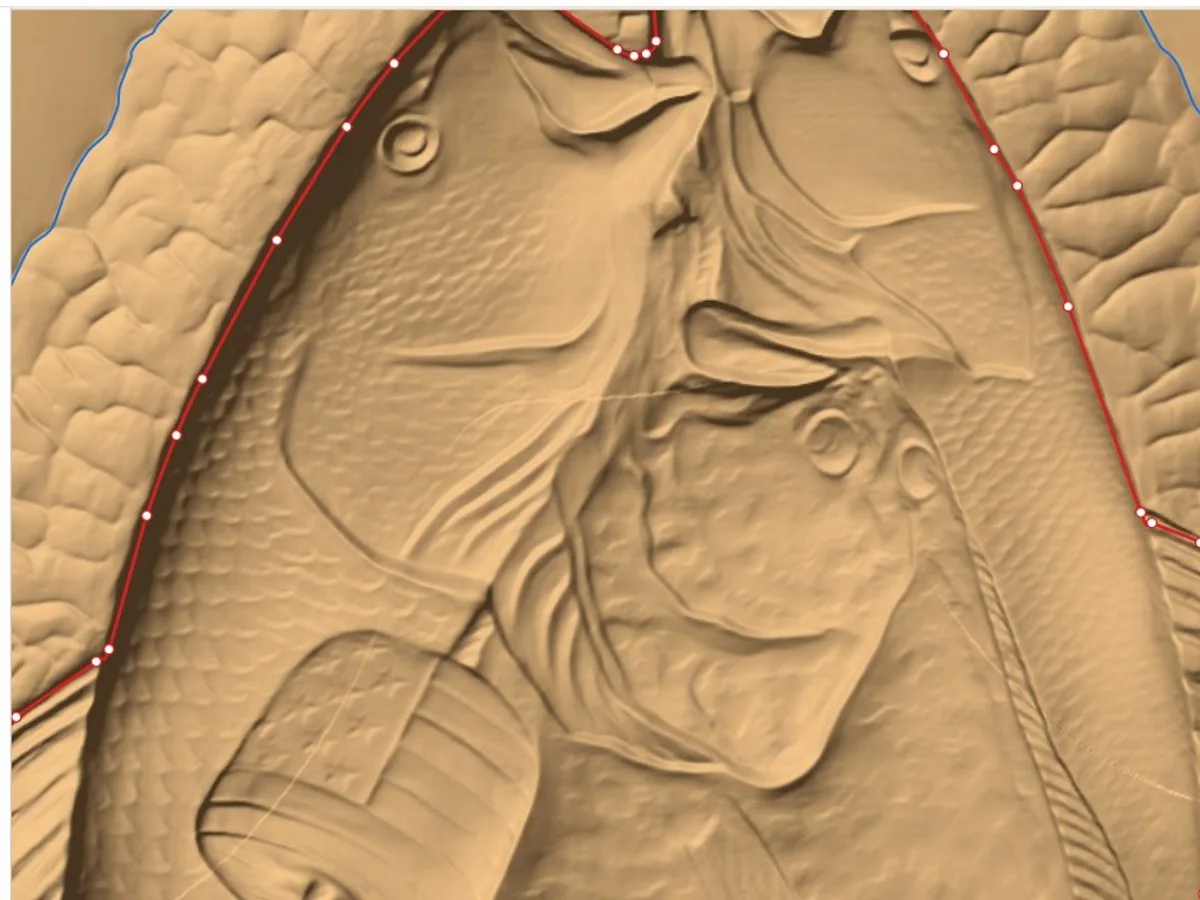
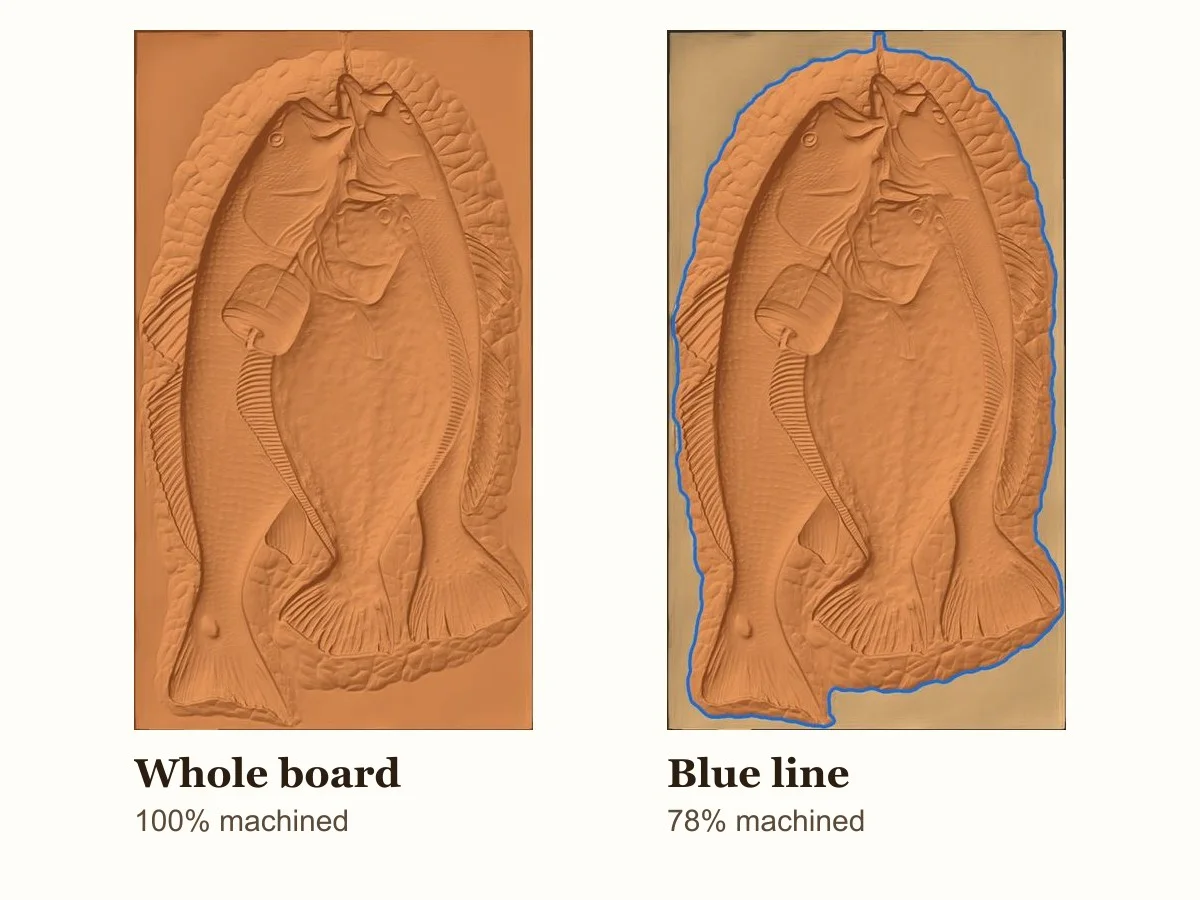
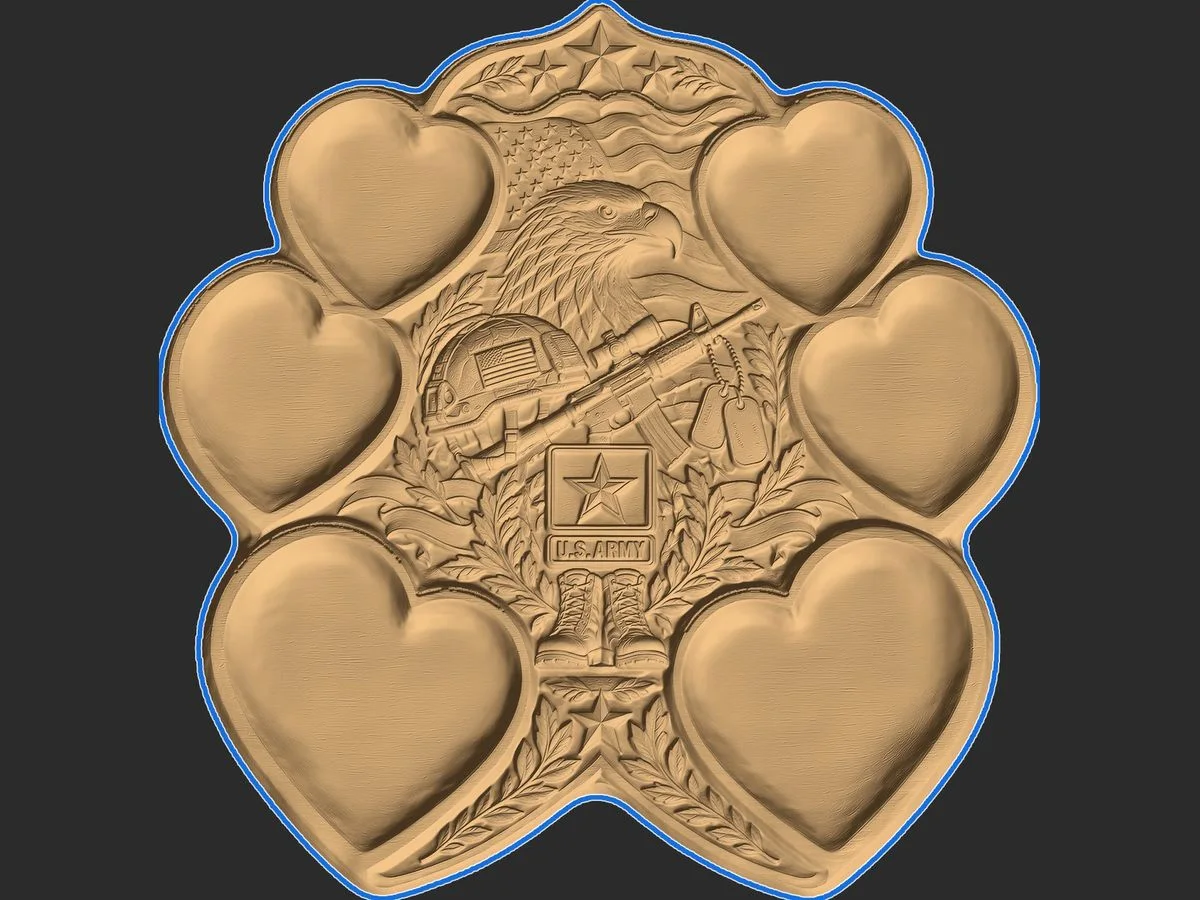
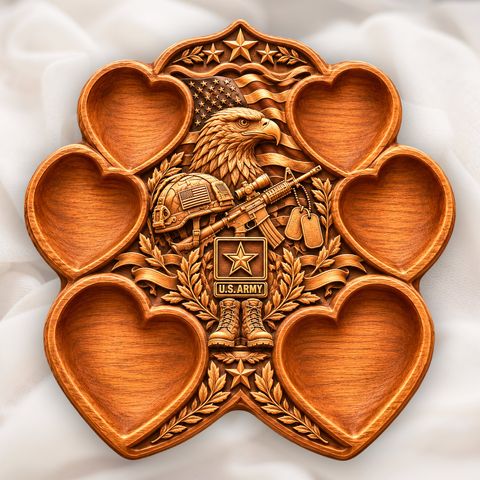
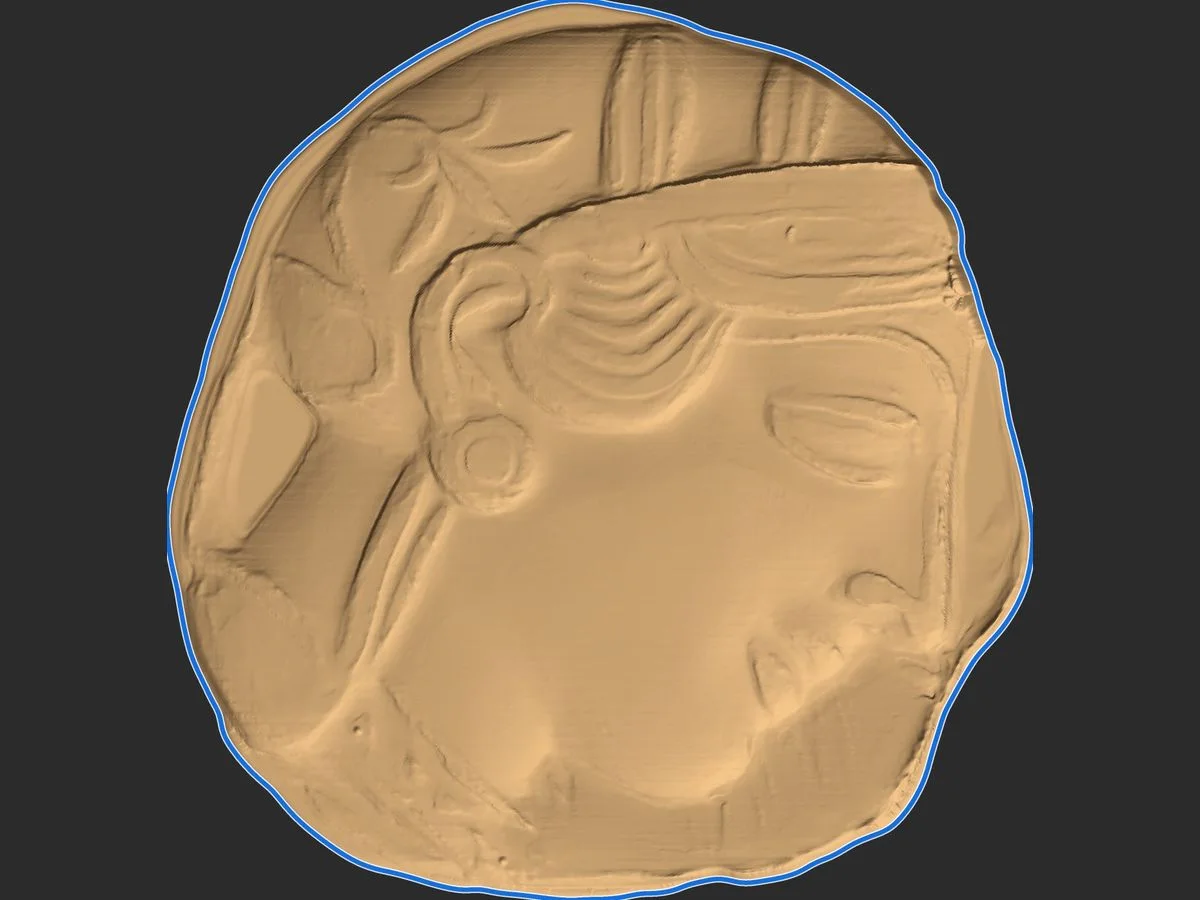
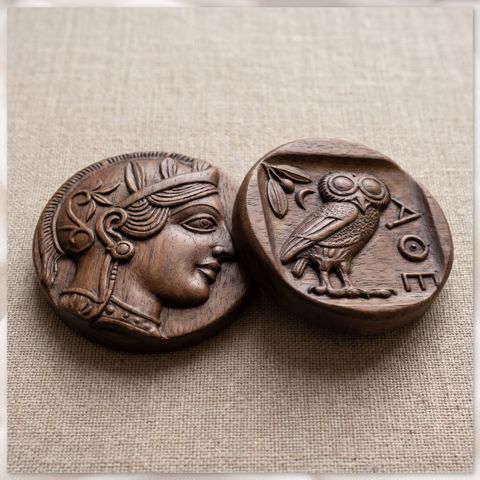
Blue line: edge of the carved area. Everything the machine must touch is inside it. Machine inside the blue line and the flat board around the carving is skipped.
Red line: around the subject. The raised carving only: for a detail pass with a fine bit, a separate finish, or to cut the subject out.
| Pack | Price | Diamond members |
|---|---|---|
| 1 file | $3 | $2 |
| 5 files | $10 ($2 a file) | $8 ($1.60 a file) |
| 15 files | $25 ($1.67 a file) | $20 ($1.33 a file) |
One credit = one STL file: DXF + SVG + the aligned STL, and 3 more automatic tries for that file. Credits last 12 months and show in your account. Diamond Select members also get 2 free credits every month.
The DXF uses the same millimetre coordinates as the STL. So the one rule everywhere: import the STL at its own position, never centred, then import the DXF at 100%. If you change the size, scale the model and the vectors together, by the same percentage, from the same anchor point.
Use the DXF wherever the program offers it. Where only SVG is accepted, use the SVG: it is exactly the model's width and height, so put its lower-left corner on the model's lower-left corner and do not scale it on its own. Turned the model on this page? Use the turned STL that came with the files, not the original. The LEVELLED STL sits in exactly the same place, so the same vectors fit it.
A relief STL sits on a flat backplate, so VCarve, Aspire, Carveco, ArtCAM and Fusion treat the whole rectangle as the model and run the finishing pass over every millimetre of flat board. A closed vector drawn around the carving tells the CAM program where to stop. The machine then cuts only the carved area: on a typical plaque that is a third to a half of the board, so the finishing pass can take hours less, the board around the carving stays untouched, and the edge of the carving comes out clean. The same line also works as a cut-out profile or a pocket boundary.
Any STL, binary or ASCII, up to 250 MB. Two kinds are common. A relief on a backplate (a plaque or panel): you get the blue line around the carved area and the red line around the subject. A cut-out model (a shape with no board around it, a coin, a tile, a sign): the exact outline is traced straight from the model, free and instant. Files from any shop or program work, not only ours.
One automatic try per STL file, before you pay anything. The automatic method looks at a shaded picture of your model, marks the carved area and the subject, and snaps both lines onto the real edges of the height data. You can then fine-tune the result, draw your own lines, or use the exact outline. Positioning, extracting and every editing tool are always free: you only pay to download the files.
One credit is one vector download for one STL file: a DXF and an SVG in your model's own coordinates, a plain-text import note, the STL exactly as you positioned it, and a LEVELLED copy of it (the rim flat and even all round, the carving untouched, the same position), so the model and the vectors land in the same place in your CAM program. After paying you also get 3 more automatic tries for that file, and you can re-save edited vectors of the same file for 7 days without using another credit.
You buy credits in packs: 1 file $3, 5 files $10, 15 files $25. Credits are kept on your email address and last 12 months from the purchase. When you have credits, step 4 simply asks you to confirm and spends one, with no checkout. Your account page shows how many vector downloads you have left and lists every file you made, ready to download again.
Yes. Diamond Select members pay 1 file $2, 5 files $8, 15 files $20. Members also get 2 free vector credits on each monthly cycle of their membership; each monthly grant lasts 12 months, so they never pile up beyond a year. Sign in first so the member price is applied.
Yes, when the model is imported at its own position. The DXF uses the same millimetre coordinates as the STL, so the rule is: import the STL without centring it (in Vectric untick Center model, in Carveco and ArtCAM do not centre or move it, in Fusion keep its position), then import the DXF at 100 percent. If you scale, scale the model and the vectors together by the same percentage from the same anchor point. If they do not line up, the model was centred or moved on import: undo that, or move the vectors by the same amount. The guide on the tool page shows the steps for each program.
Yes. Every paid file is listed in your account (sign in with the email you used) with its DXF and SVG ready to download again, at no charge. The turned STL is made in your browser from your own file: open the job from your account, drop the same STL in, and it is turned exactly as before.
Your STL file itself is never uploaded: it is read, turned and measured inside your own browser. To make the lines, the page sends a height map of the model (a grid of heights seen from above, not the 3D mesh), redrawn in a private frame only our server can map back to millimetres. We keep that height map and your finished lines privately, so your paid files can be made and downloaded again, and a small picture of the traced lines (automatic and final) to improve the automatic method. We never share or sell them. The automatic try sends one shaded picture of the height map to the image service that marks the lines.
Everything except the download is free to try first, so you can see your lines before paying. If a paid download still does not work for you, contact us within 14 days and we will put it right or refund it, in line with our refund policy.
Yes. Payments go through Paddle, our checkout partner and merchant of record, who handles sales tax and VAT and emails your receipt. To buy as a business, add your company name and VAT number in the Paddle checkout and the invoice shows them, with VAT handled under the reverse charge where it applies.
Fine-tune it in step 3: move, add or delete points, make a point sharp or round, simplify, pull points to the nearest edge, grow or shrink the whole line, and Cut, Trim, Join or Move lines. Or make the line by hand with one of the four guided methods: inside and outside line, draw it yourself, magnetic pen, or brush. All of these are free and work on any file.
It is free. We email you a 6-digit code, you type it here, and the download starts. You do this once: after that every free tool is open to you.
We sent a code to . It can take a minute; check the spam folder too.
·
✅ You are in. Your free-tools ID:
By confirming you join our free-tools membership and our weekly carving emails (new designs, guides, tools). Unsubscribe anytime from any email. Your file never leaves your computer: only your email comes to us. Privacy