
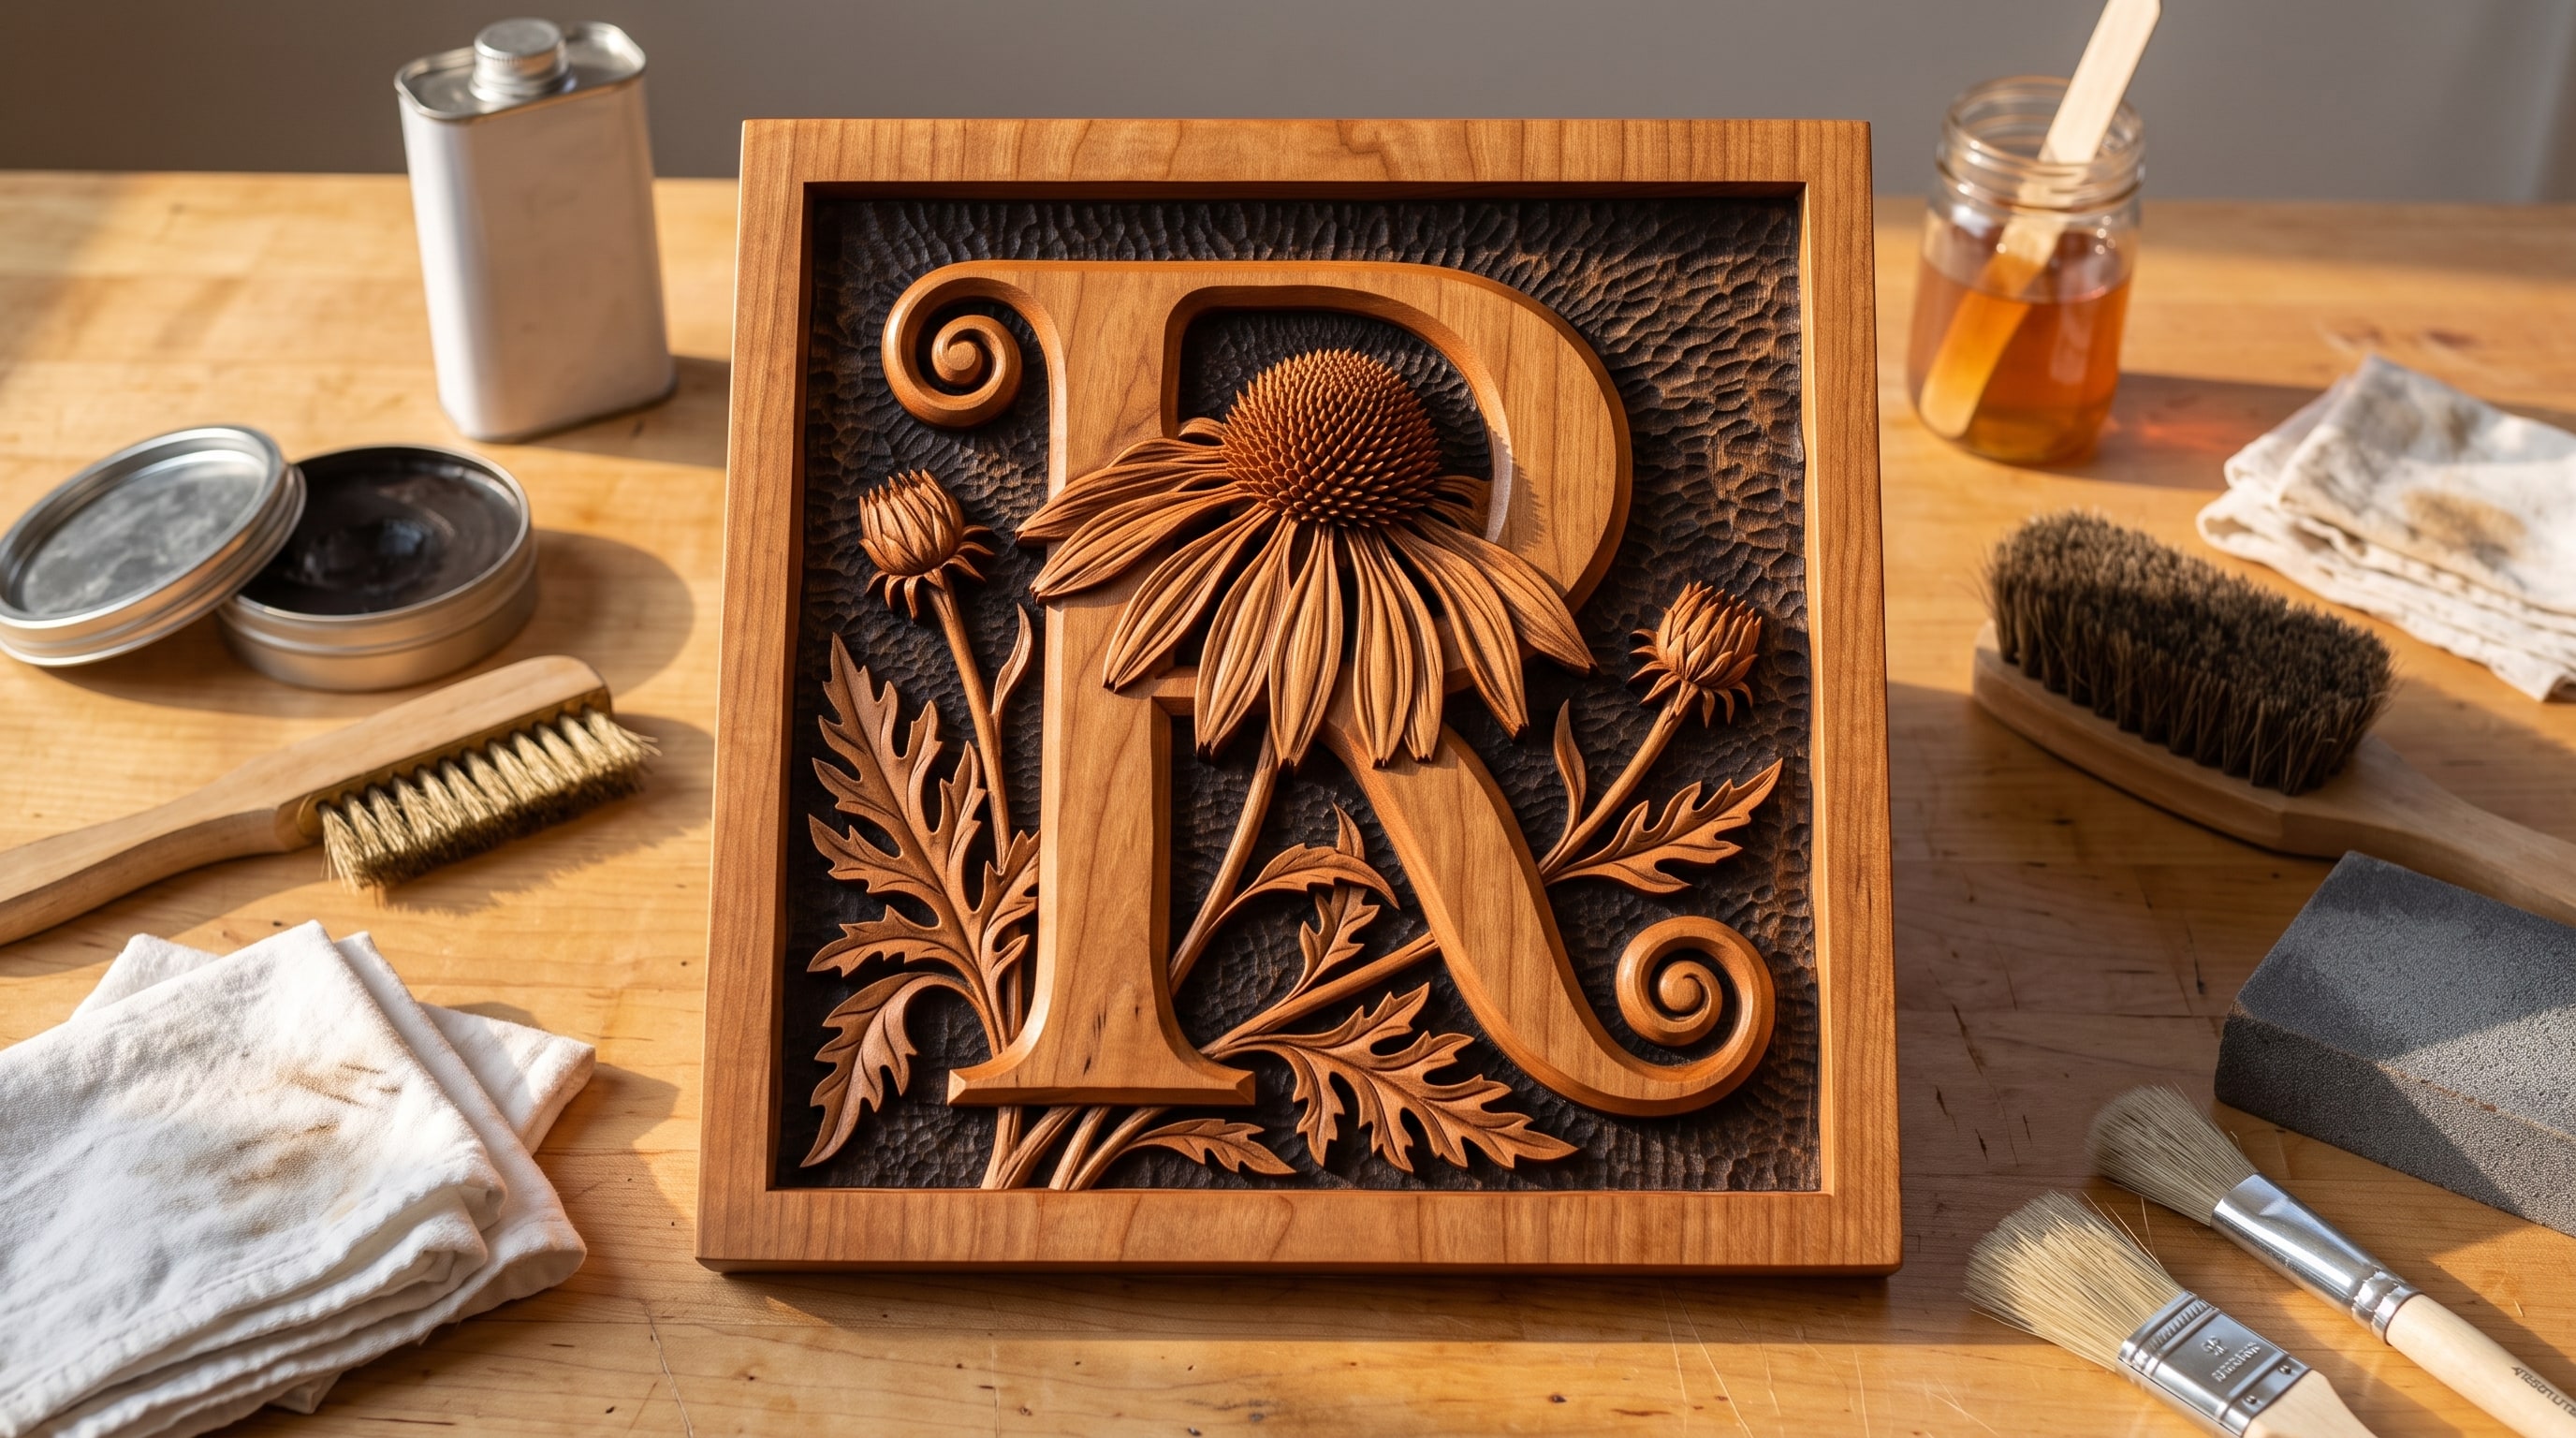
How to Finish a CNC Relief Carving: The Complete Guide
A relief carving is not a picture. It is a landscape of very small hills and valleys, and the only reason anyone can see it is that light falls across it and leaves shadows. Every decision in finishing comes back to that one fact.
Fill the valleys with thick varnish and the carving goes flat. Sand the hills too hard and the crisp edges that catch the light go soft. Leave a glossy pool of finish sitting in a shadow and it bounces light straight back at the viewer, exactly where you wanted darkness. Do the opposite, keep the valleys dark and the hills clean, and a twenty dollar board of poplar starts to look like something lifted out of a church.
This is the long version of how to do that, from the moment the piece comes off the machine to the final buff. It covers wood choice, fuzz removal, sealing, the antiquing step that does most of the work, topcoats, waxes, trays and boards that food touches, outdoor signs, 3D printed reliefs, and the safety issue that burns workshops down every year.
What this guide covers
- Why finishing decides whether the carving reads
- Choosing the board before you cut
- Cut a test tile, always
- Step 1: Get the fuzz off
- Step 2: Sand the high points only
- Step 3: Raise the grain, then knock it back
- Step 4: Seal before you colour
- Step 5: The antique glaze, where the magic happens
- Step 6: Clear the puddles
- Step 7: Protect it
- Step 8: Wax and buff
- Paint, metallics and two-tone finishes
- Trays, boards and anything food touches
- Signs that live outdoors
- Finishing a 3D printed relief
- The safety bit that actually matters
- Troubleshooting
- A starter kit that covers most jobs
- Common questions
Why finishing decides whether the carving reads
Hold a freshly cut relief up to a window and you will see the problem immediately. Straight off the machine it looks washed out and disappointing, and almost everyone assumes they cut it wrong. They did not. Raw wood is one flat colour, so the only contrast in the piece is whatever shadow the light happens to throw. Move the light and half the detail disappears.
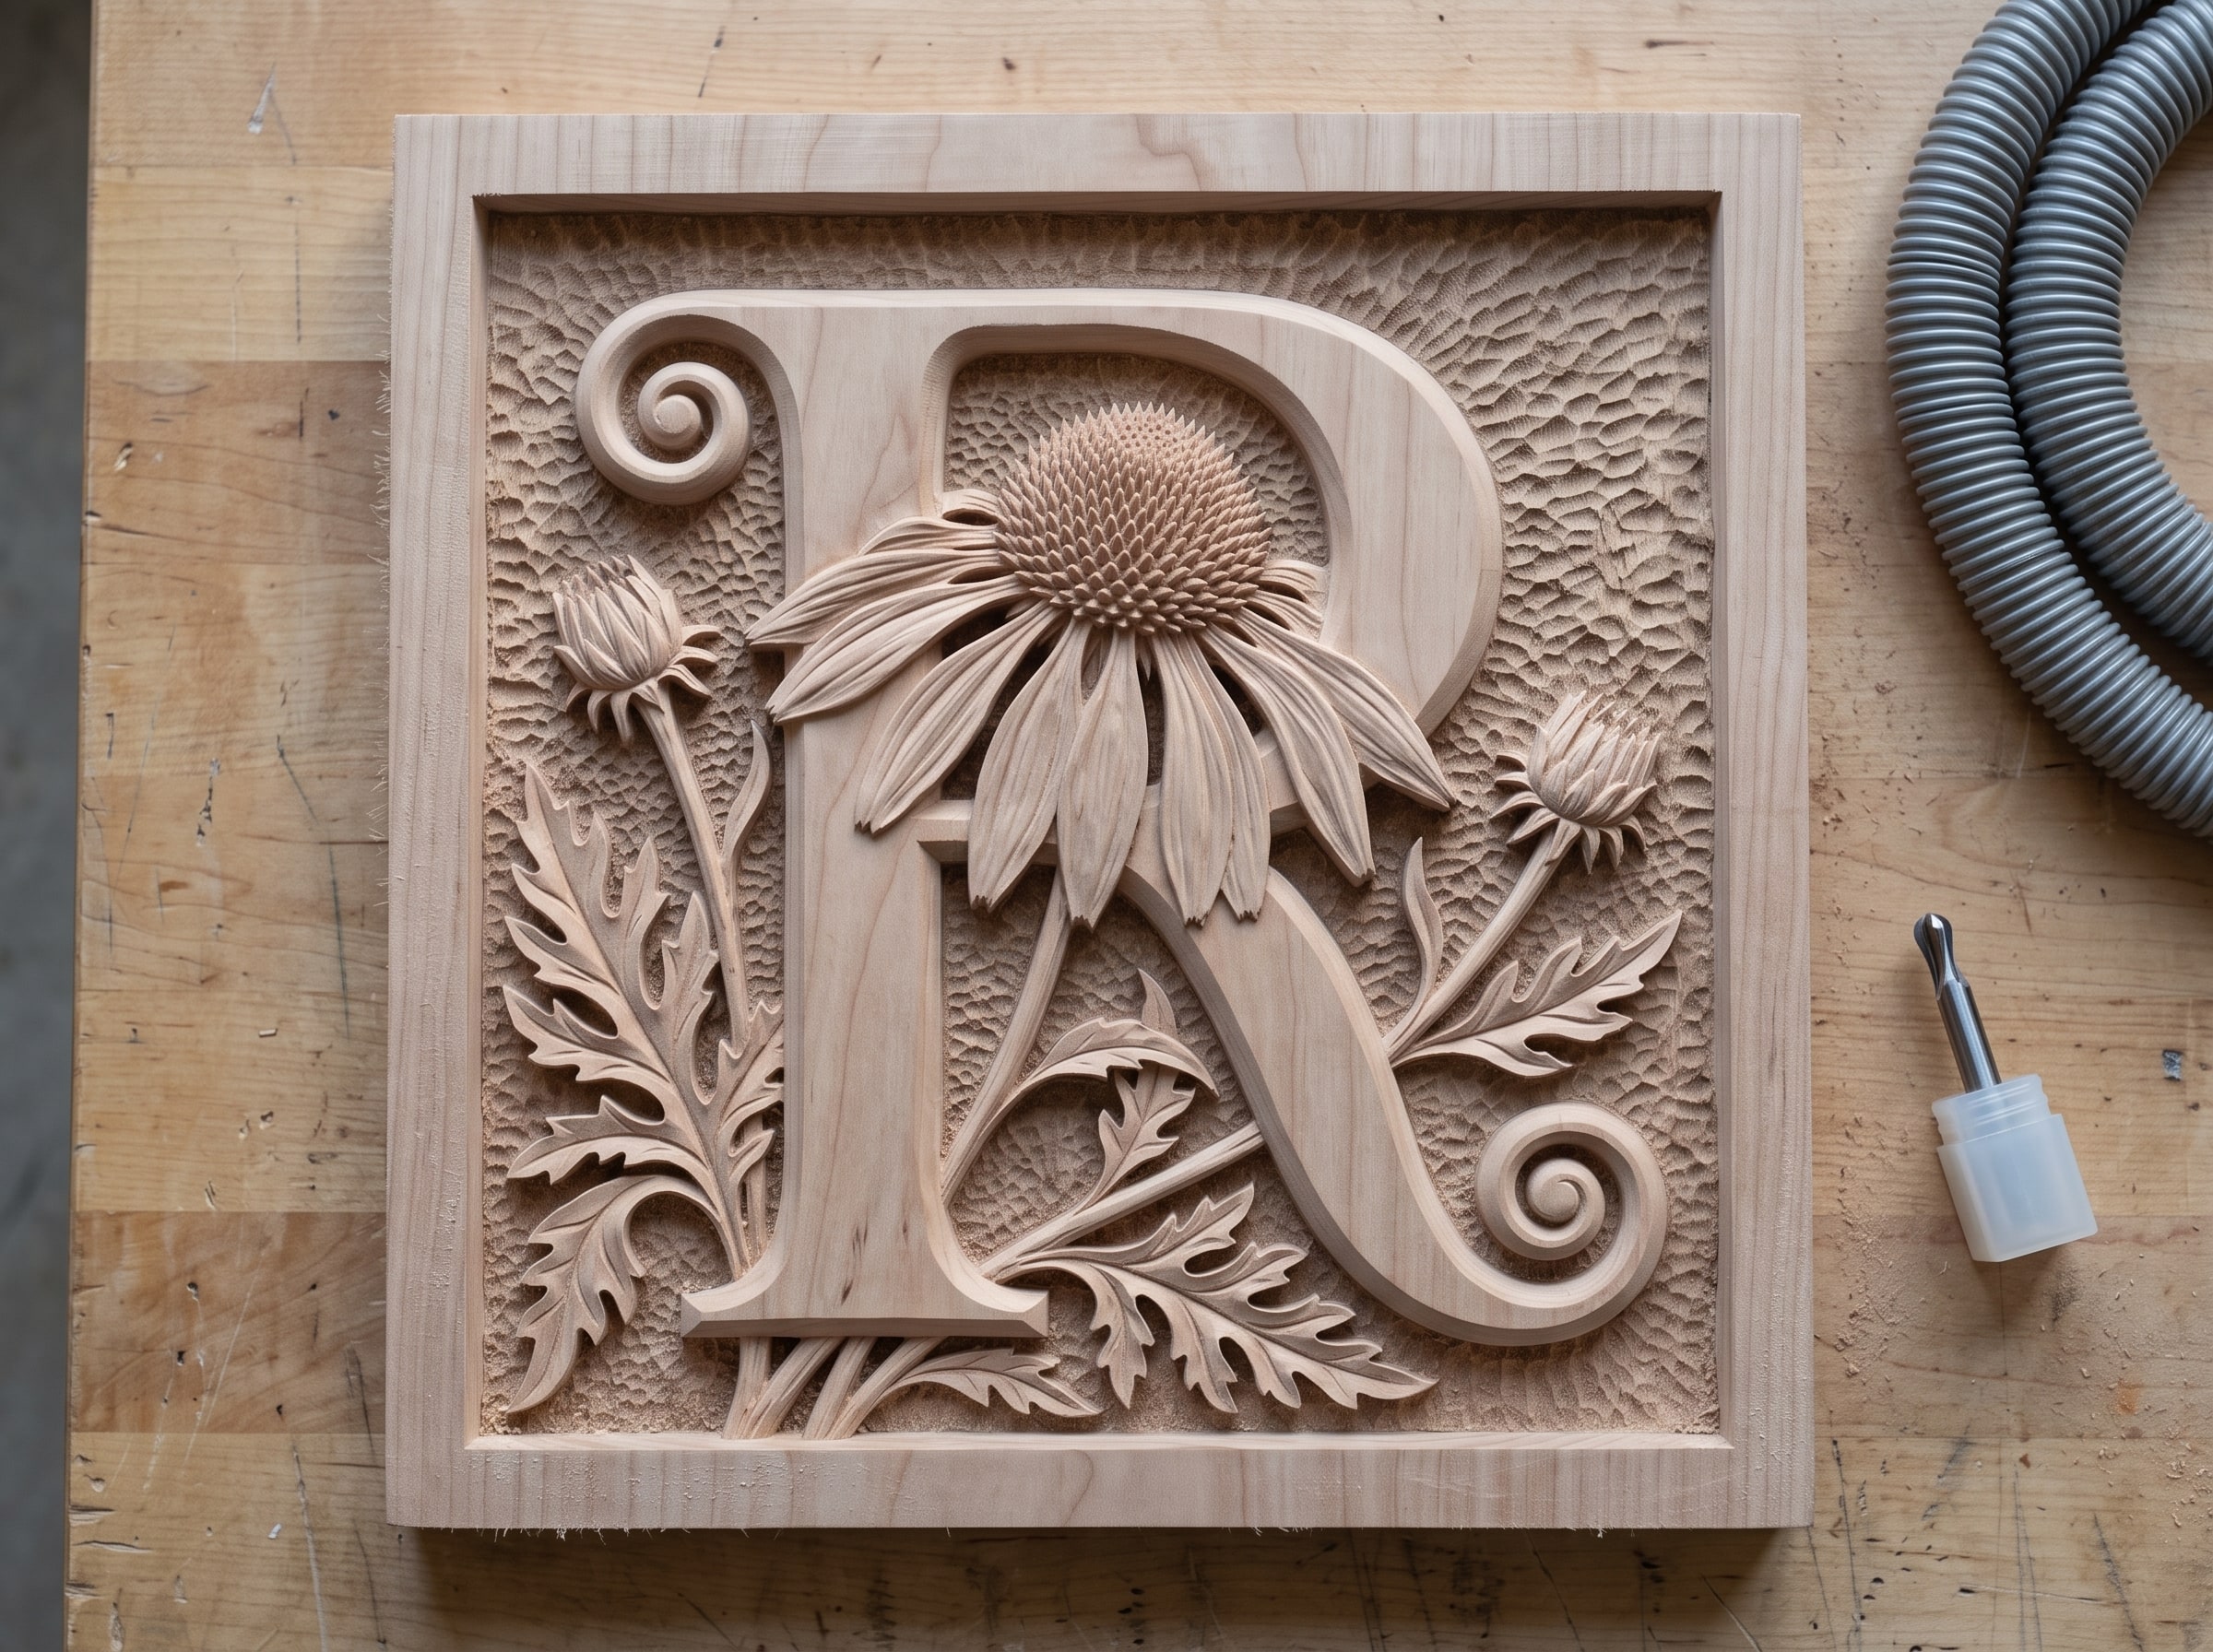
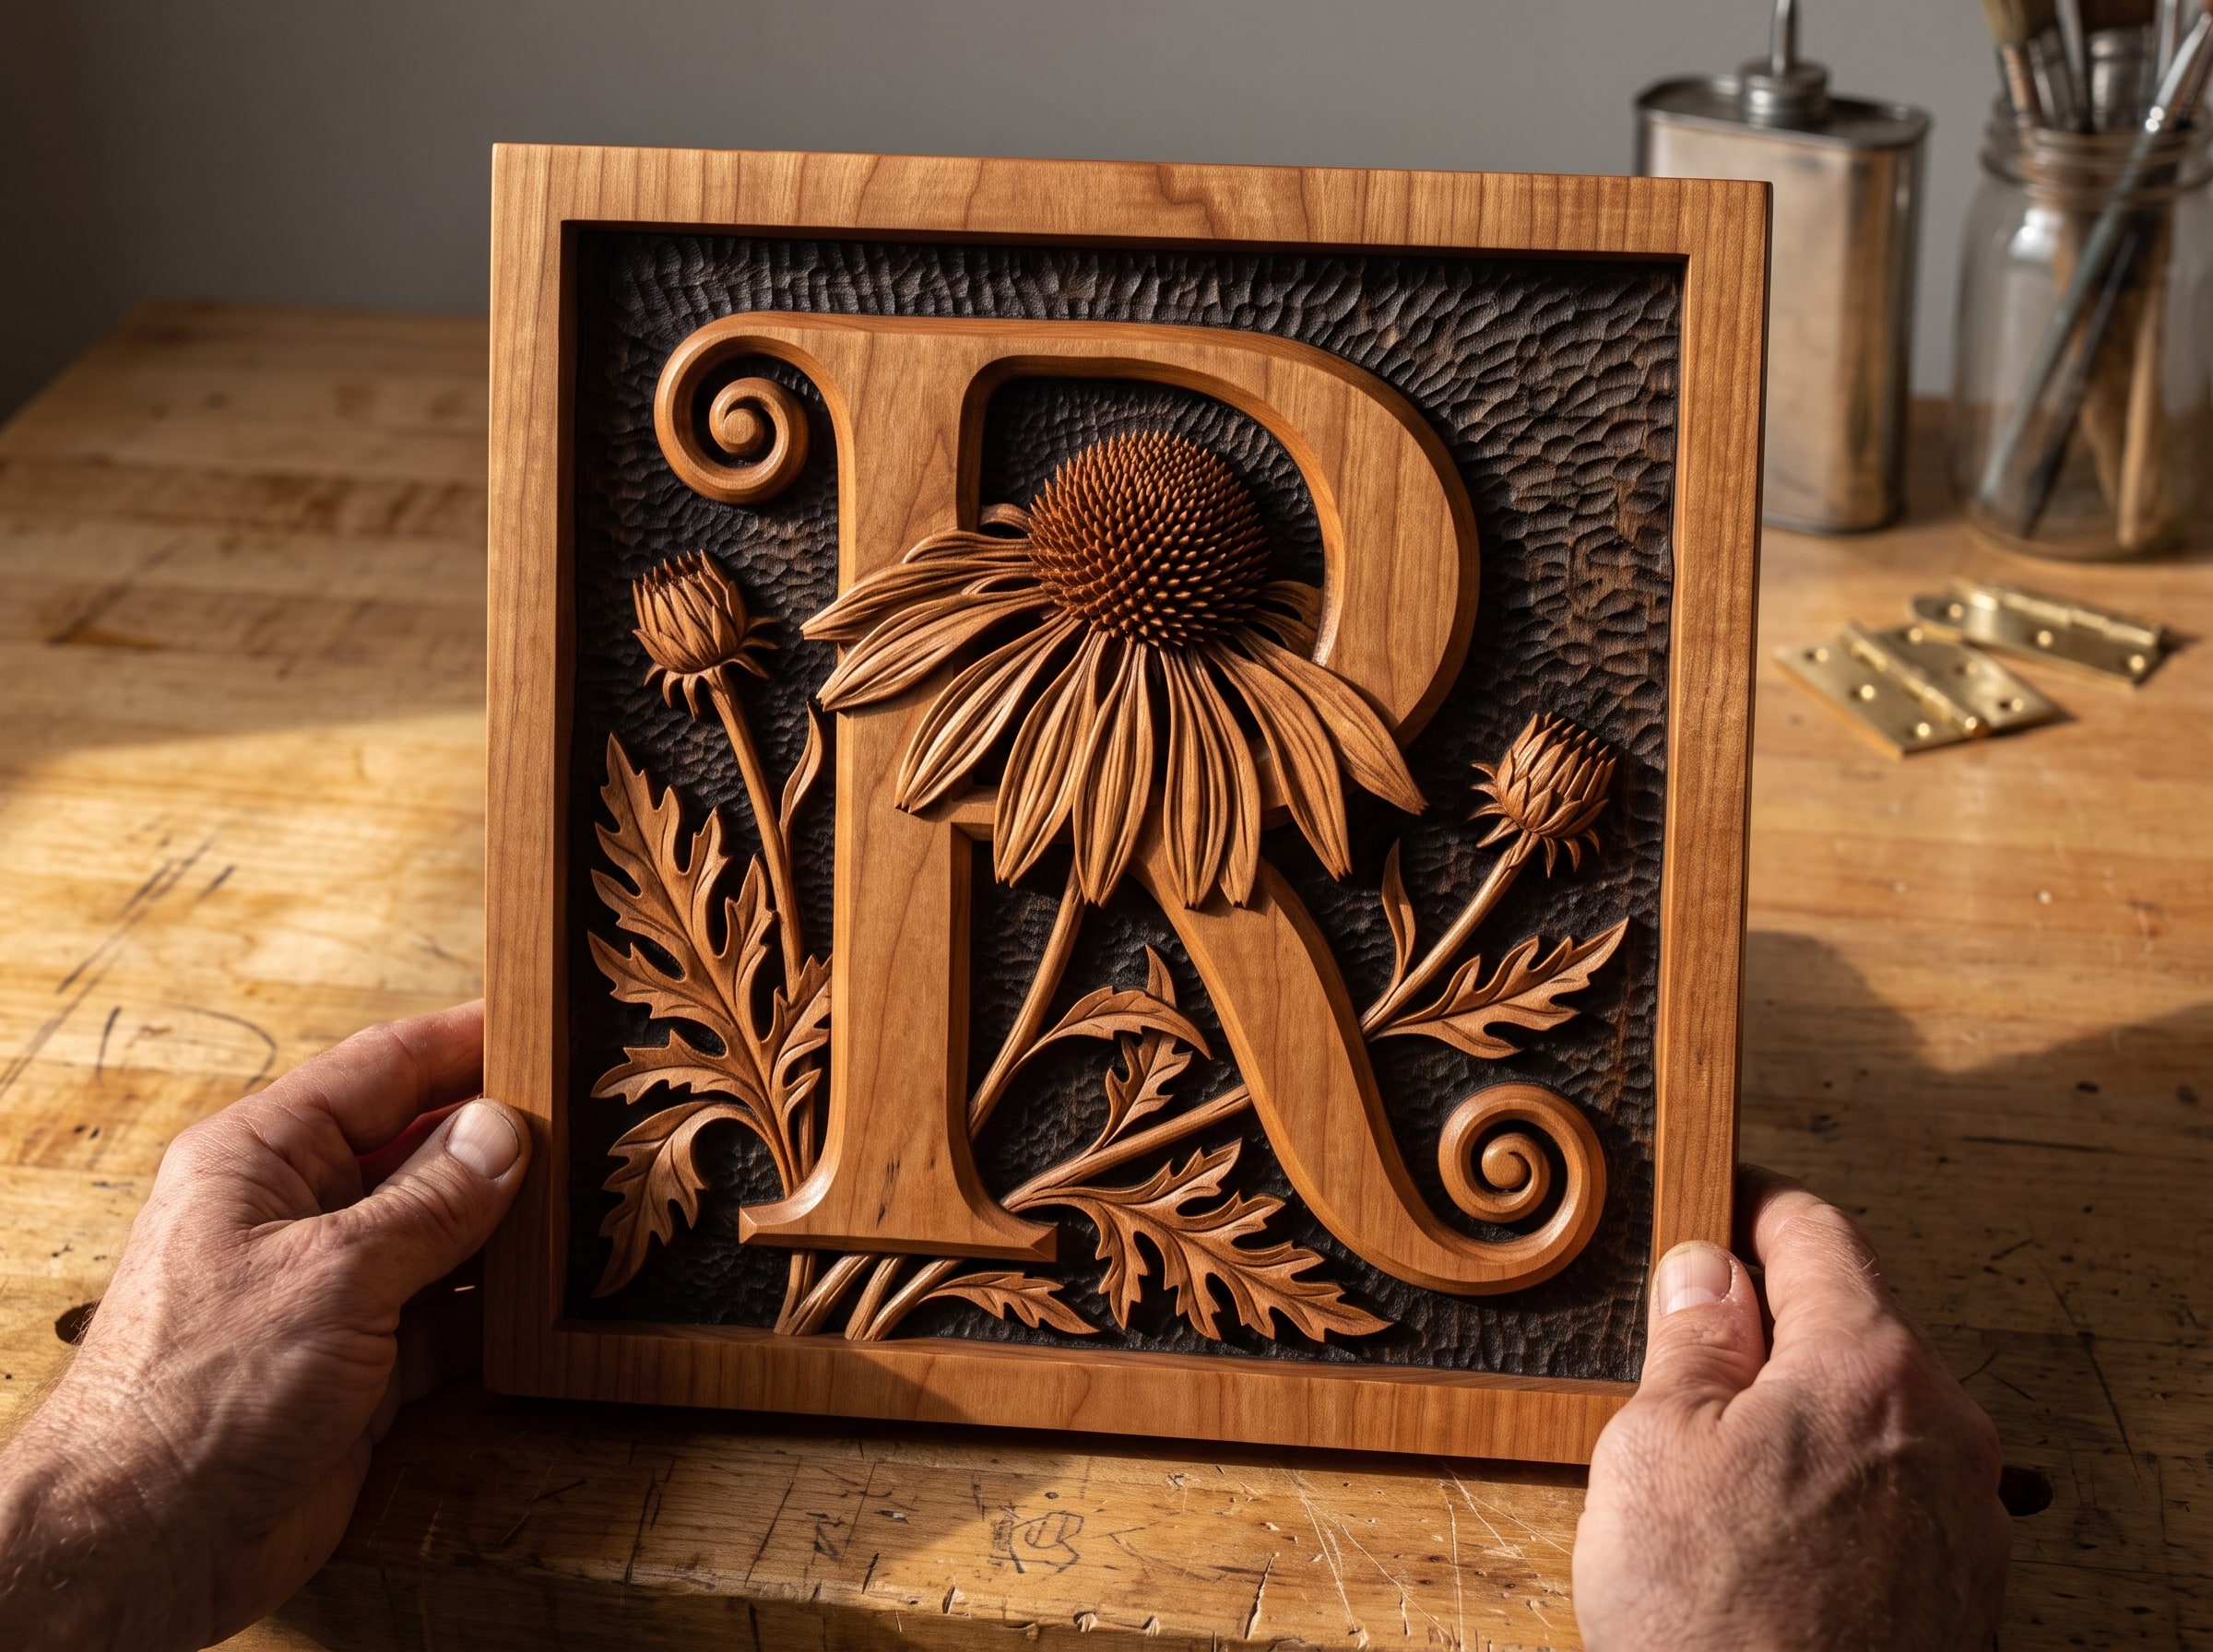
Finishing fixes this by putting colour where the shadows already are. Once the recessed background is genuinely dark and the raised letter is genuinely light, the carving reads from across the room under any light, including the flat overhead light in most houses. That single idea, dark low and light high, is what separates a carving that sells from one that sits in the workshop.
Everything below is in service of it.
Choosing the board before you cut
Finishing starts at the lumber rack. Some species make the job easy and some fight you the whole way, and no finishing schedule rescues a badly chosen board.
| Species | Holds fine detail | Blotch risk | Best treatment |
|---|---|---|---|
| Basswood | Excellent | High | The carver's default. Soft, uniform, almost no grain figure to fight the design. Always seal before colour. |
| Hard maple | Excellent | Very high | Holds the crispest detail of any common species. Blotches horribly with pigment stain, so seal it properly or use dye. |
| Cherry | Very good | High | Gorgeous with nothing but oil. It darkens on its own with light over months. Resist the urge to stain it. |
| Black walnut | Very good | Low | The easiest of all. Oil it and stop. Already dark, so it needs no glaze in the background at all. |
| Poplar | Good | High | Cheap and carves well, but the green and purple streaks look wrong under a clear finish. Best painted or heavily glazed. |
| Alder | Good | Medium | An underrated middle ground. Mild, even, takes colour predictably. |
| Sapele and mahogany | Good | Low | Warm and rich with oil alone. Watch for interlocked grain tearing on steep walls. |
| Red oak | Poor | Low | Avoid for fine relief. The coarse open pores are as big as the detail you are carving and they compete with it. |
| Pine and construction lumber | Poor | Very high | Soft early growth tears out, resin pockets reject finish, and it blotches badly. Fine for practice, poor for a piece you will sell. |
| MDF | Very good | Not applicable | Takes astonishing detail and has no grain to argue with. Drinks finish though, especially on cut faces, so seal heavily. It must be painted, and it cannot get wet. |
One more thing that matters more than species: a sharp bit. Most of the fuzz people spend an hour removing was created by a dull tapered ball nose bit tearing fibres instead of slicing them. If you are fighting fuzz on every job, change the bit before you change your finishing routine.
Cut a test tile, always
Before you touch the real panel, cut a small tile from the same board, with the same bit, at the same stepover. Three inches square is plenty as long as it includes both a raised area and some deep background texture.
That tile is where you try the schedule. Wood is not consistent, glaze colours look nothing like the lid of the tin, and the difference between two coats of oil and four is genuinely hard to predict. Ten minutes on a test tile has saved more carvings than any other habit in this article.
Step 1: Get the fuzz off
Every CNC carving comes off the machine wearing a coat of fine torn fibres, worst in soft species and worst of all where the cutter crossed the grain. If you seal over that fuzz you lock it in place forever, and it will feel like fine sandpaper and look like haze.
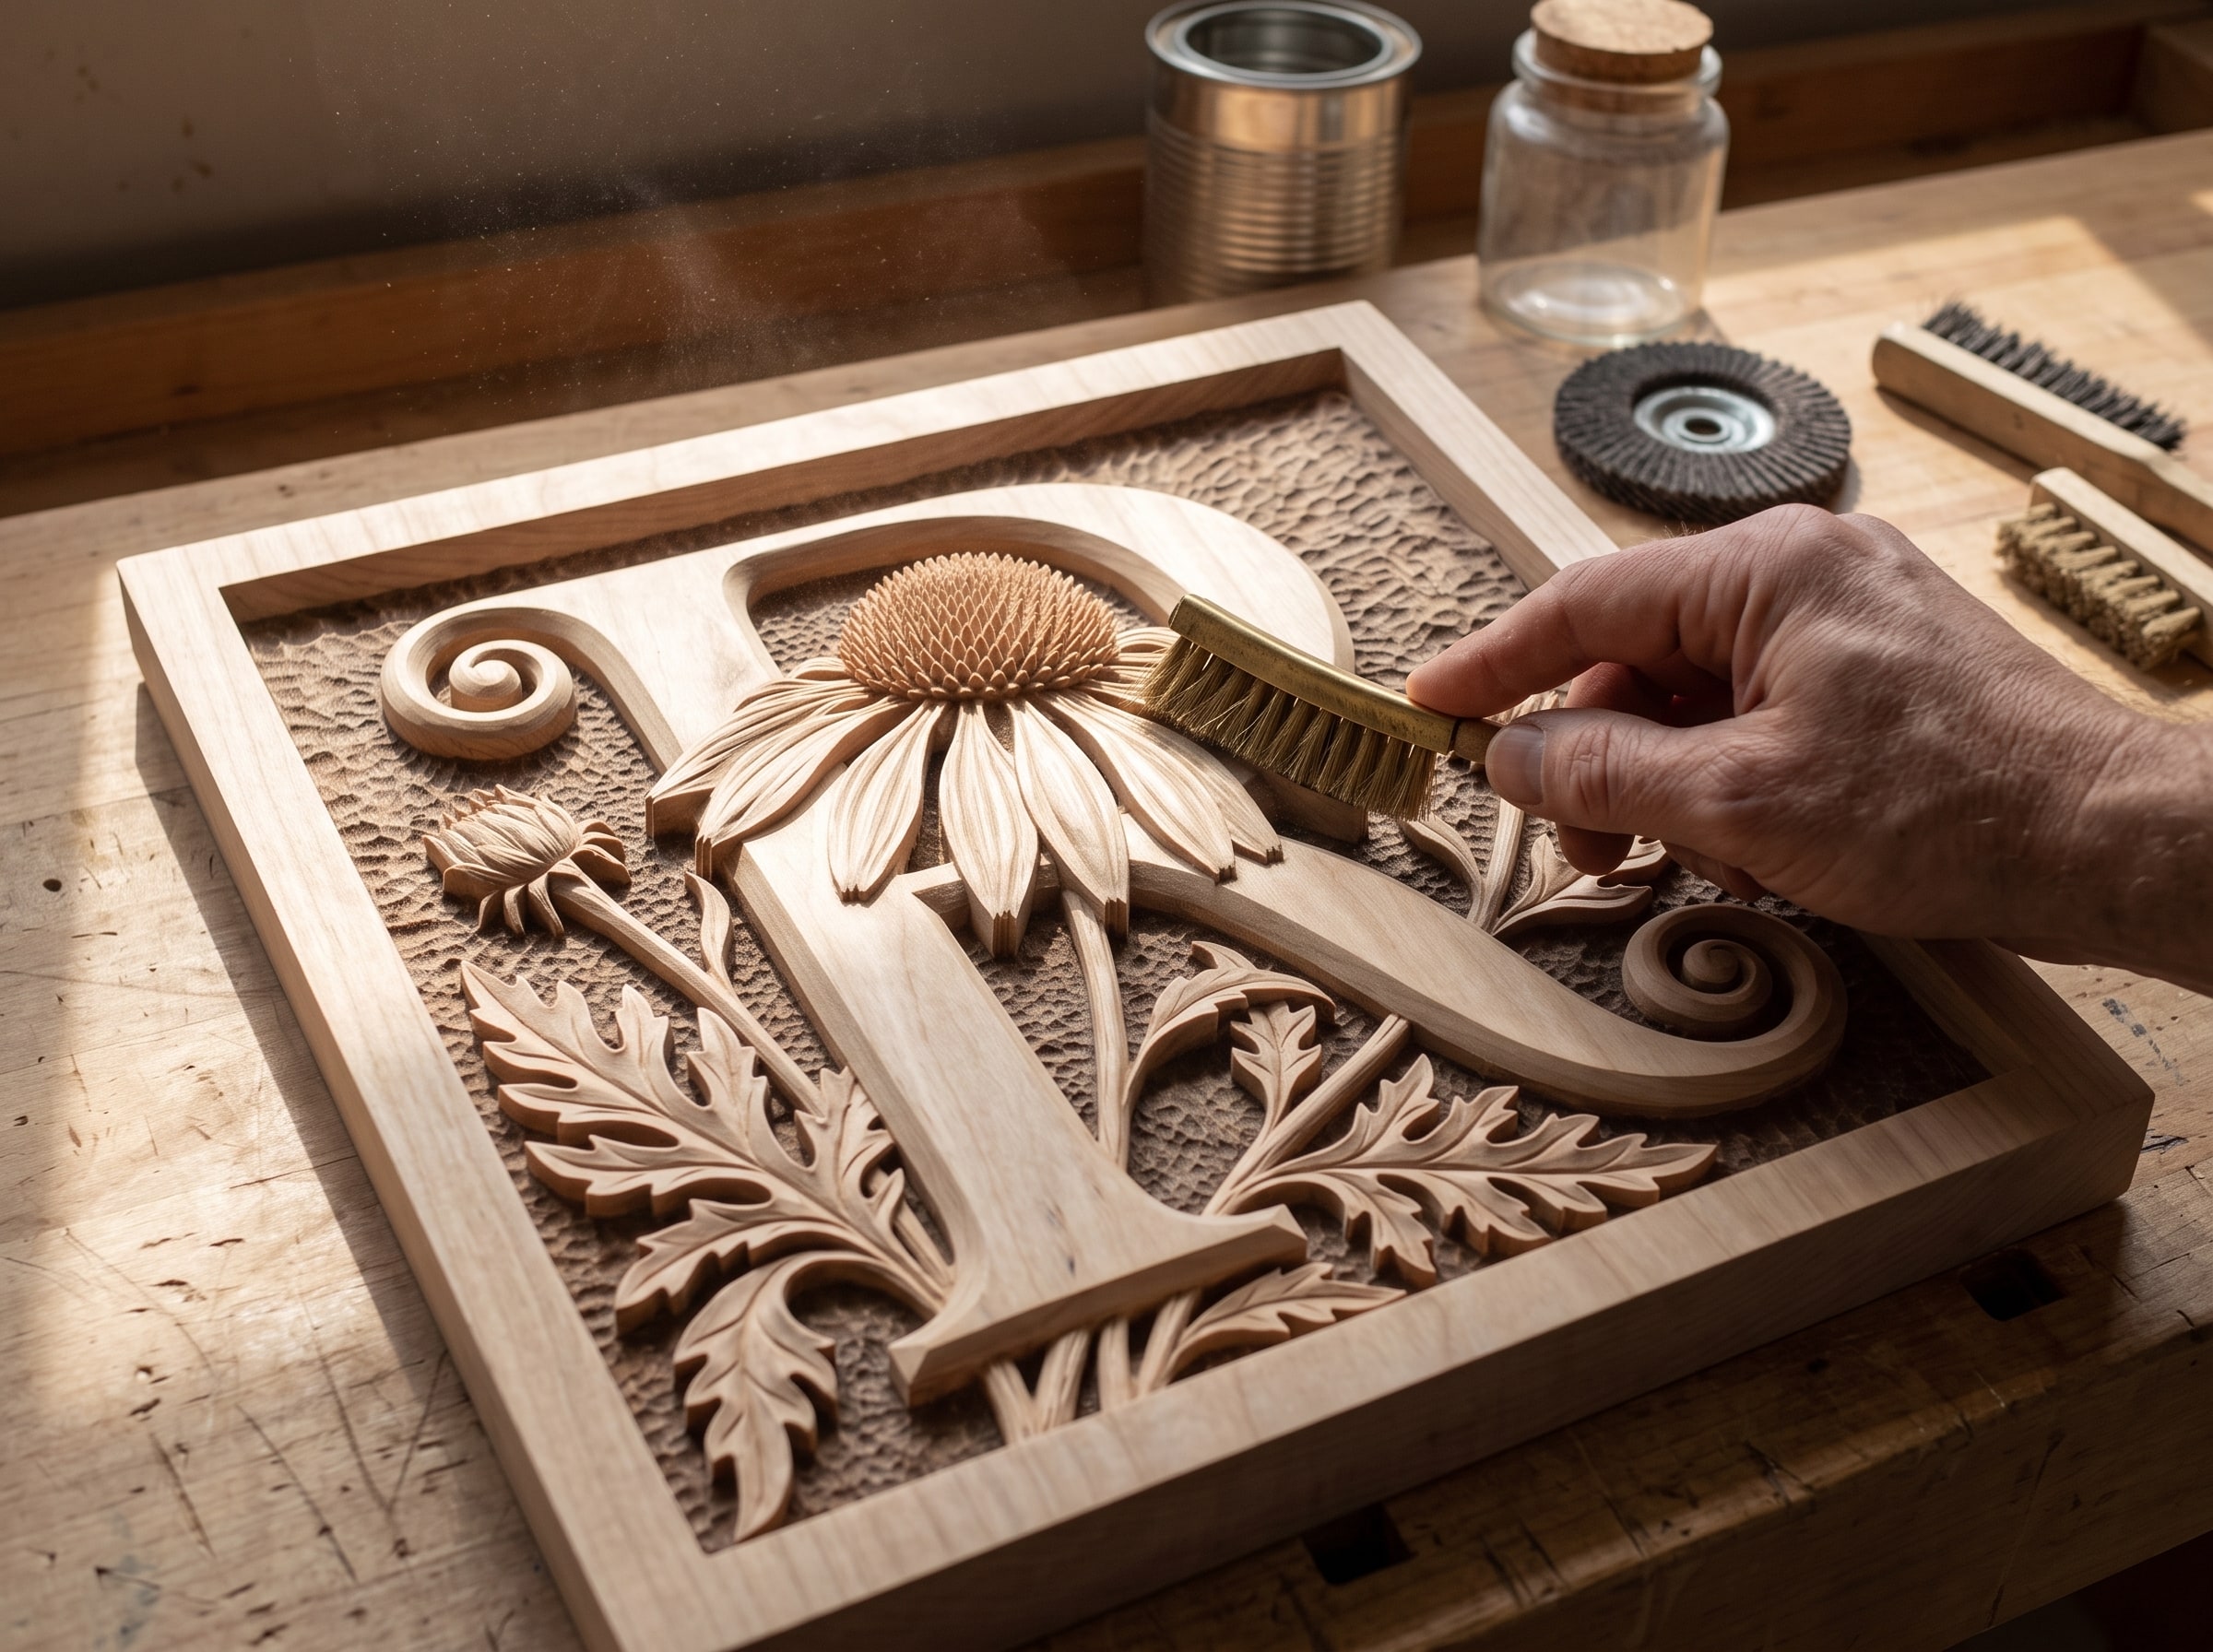
In order of how much control they give you:
- A soft brass suede brush. The single most useful tool for this job. Brass is softer than the wood so it lifts fuzz without scratching. Work with the grain, not in circles.
- Nylon abrasive brushes on a drill. Dico Nyalox wheels in 240 or 320 grit reach into the recesses that hand tools cannot. Keep them moving and keep the speed low, because they will absolutely round over a crisp edge if you dwell.
- Maroon abrasive pads. The 3M Scotch-Brite maroon pad is roughly 320 to 400 grit equivalent and it conforms to curves, which sandpaper will not.
- A stiff bristle brush and compressed air to clear the dust out of the deep ground before it gets sealed in.
- A rotary tool with small brushes for the tightest corners. A Dremel or a Foredom with a tiny brass cup brush gets into places nothing else can.
A trick worth knowing: wipe the piece with a damp cloth and let it dry fully first. The water stiffens the loose fibres so they stand up straight, and stiff fibres cut cleanly instead of laying over and springing back later.
Step 2: Sand the high points only
This is where most relief carvings get quietly ruined.
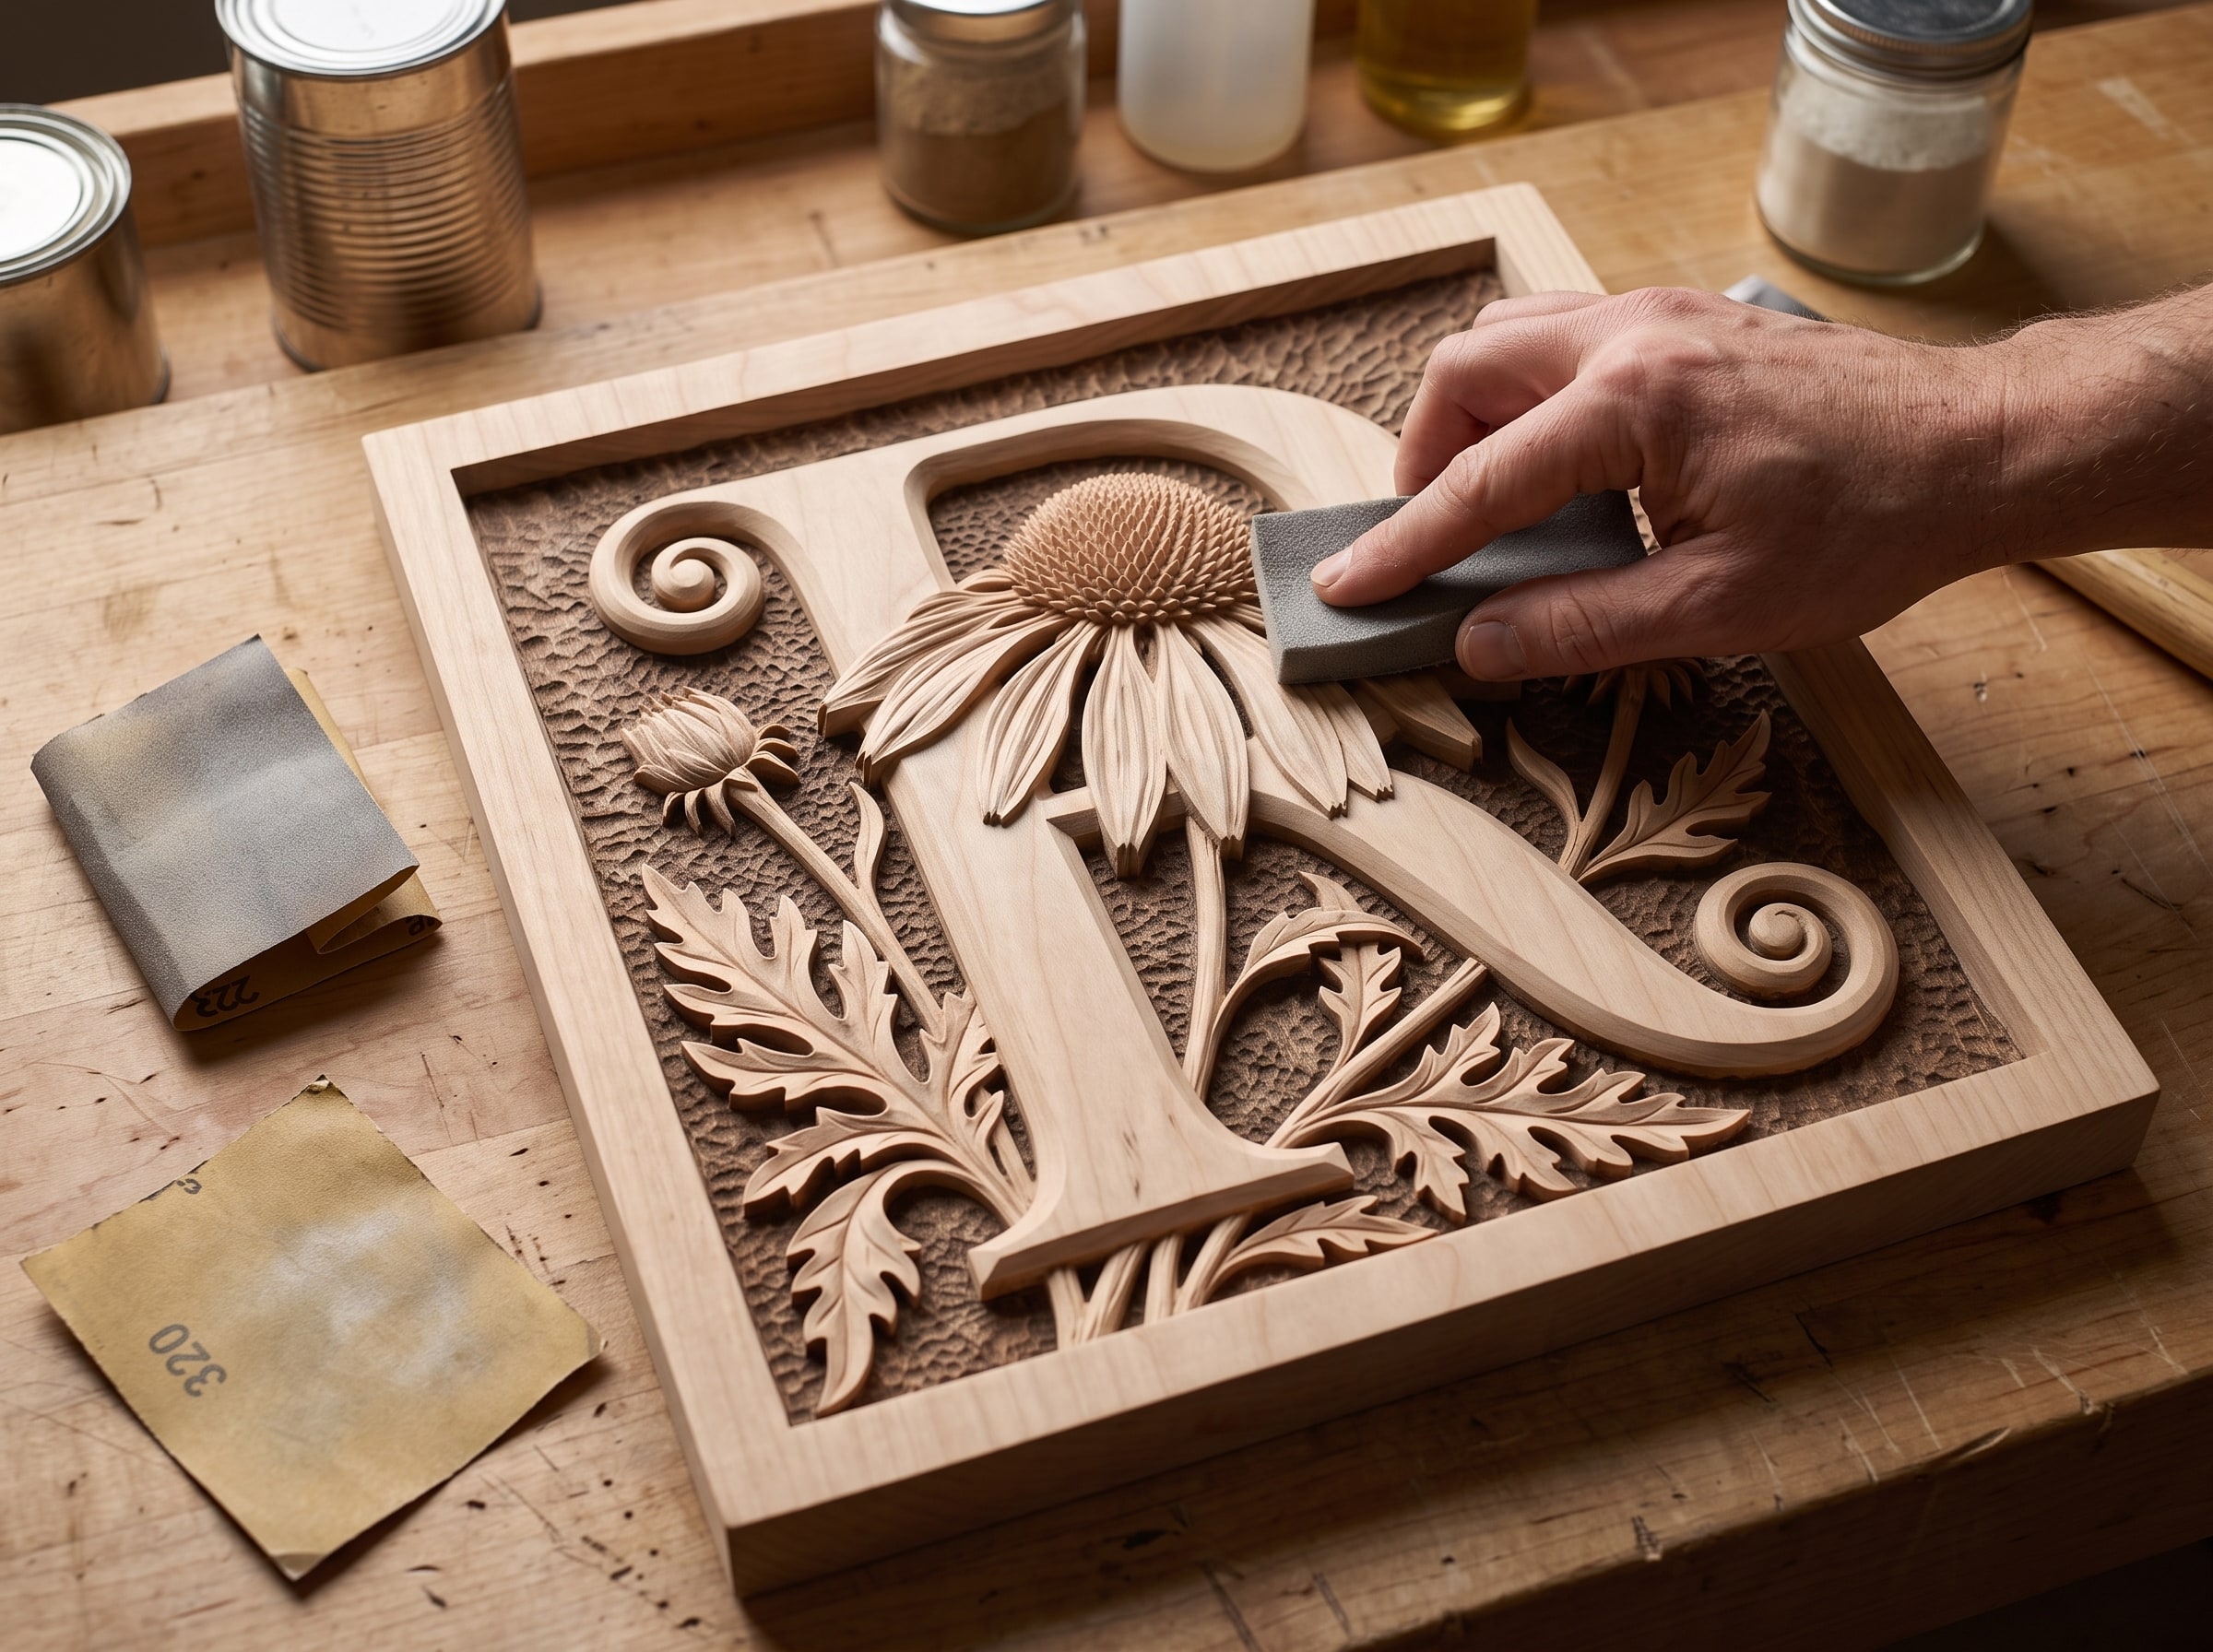
The detail in a relief lives in the top half millimetre. Sand the raised surfaces where a hand will actually touch, using 220 grit and then 320, and leave the recessed background completely alone. The tooling texture down there is not a defect. It is what will hold the dark glaze in a few steps' time, and a smooth background holds glaze far less convincingly.
Use a fine sanding sponge rather than folded paper. A sponge presses flat against the top of a form and does not dive into the hollow beside it. If you must use paper, wrap it around a hard flat block, never your fingertip, because a fingertip follows every contour and rounds over exactly the edges you want sharp.
Do not go past 320 on anything you intend to stain. Polished wood stops accepting colour and you will get pale patches where you sanded hardest.
Step 3: Raise the grain, then knock it back
If your topcoat is water based, do this or regret it. Wipe the whole piece with a damp, not wet, cloth. Let it dry for an hour. The fibres swell and stand up, and you knock them back with a light pass of 320 or a maroon pad.
Now the wood has already done the thing it was going to do the first time it met a water based finish, and your first coat lands on a surface that stays smooth.
Step 4: Seal before you colour
The step people skip, and the reason most home stained carvings look muddy.
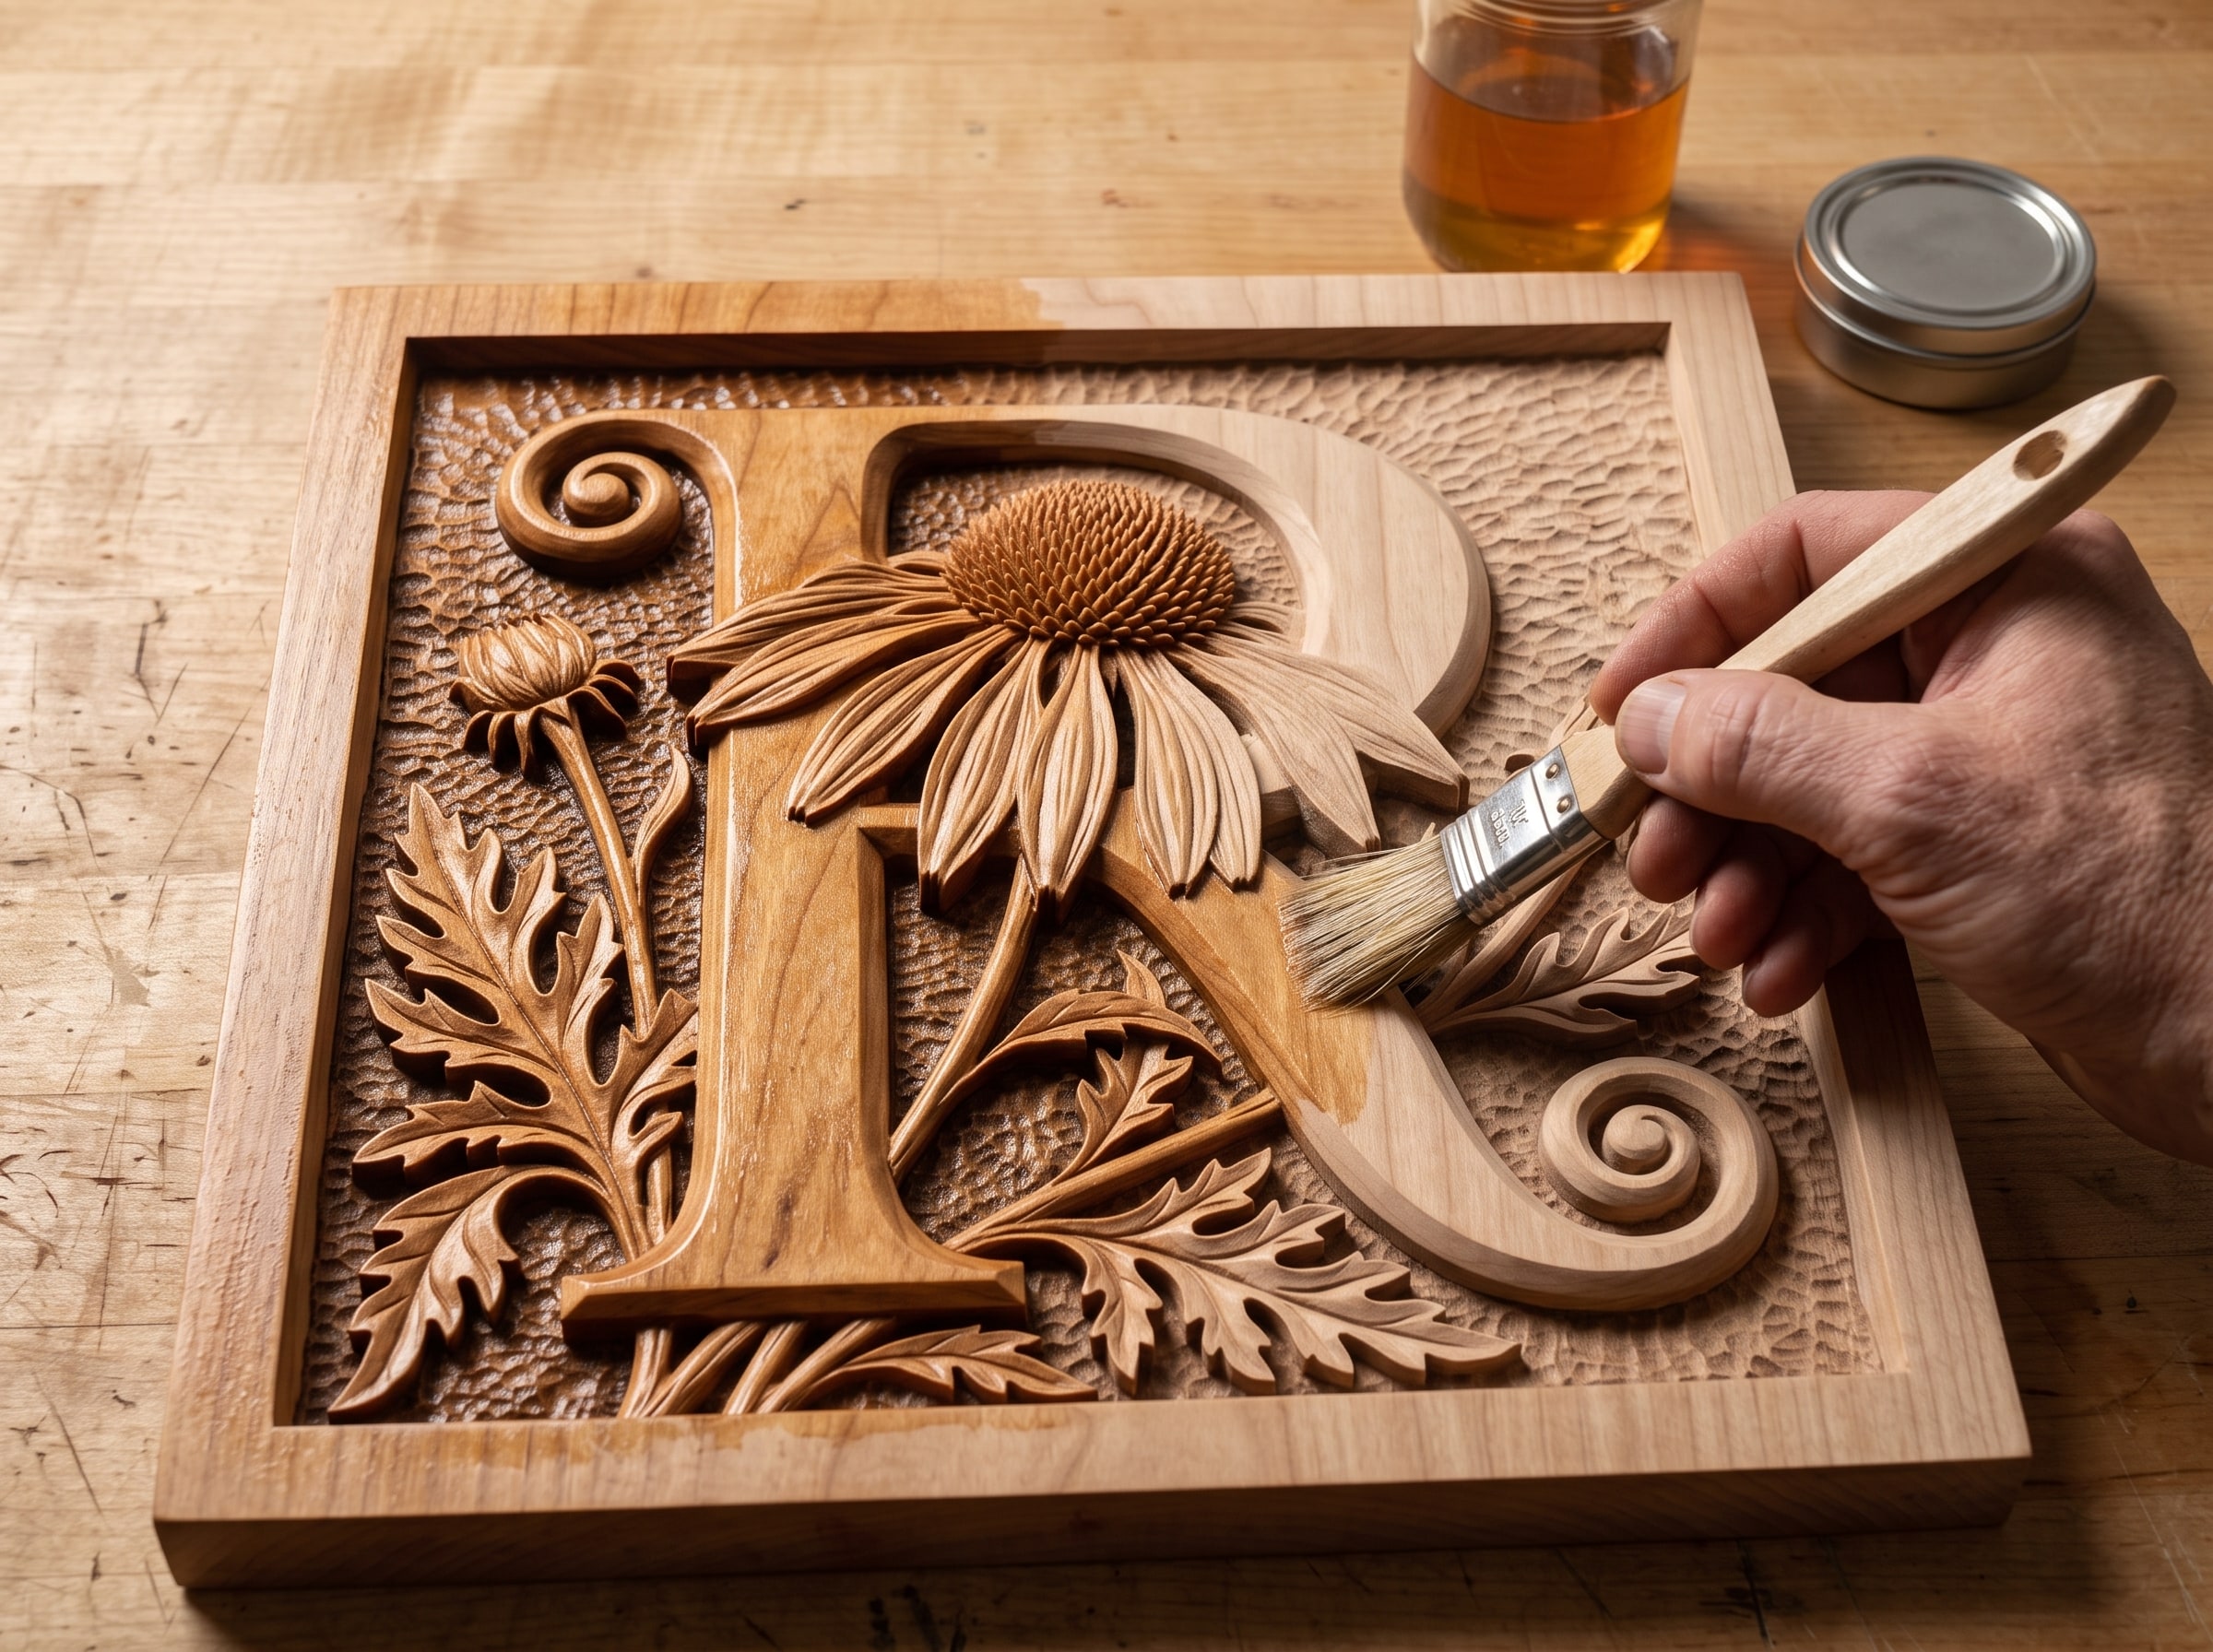
Bare wood absorbs colour unevenly. End grain and soft early growth drink it, dense areas reject it, and the result on basswood, maple, cherry, poplar and pine is blotching. Worse, for our purposes, is that colour soaked deep into bare wood cannot be wiped back off the high points, which is the entire technique in the next step.
A wash coat fixes both problems at once. It partly closes the surface so colour sits more evenly, and it leaves the glaze sitting on the wood where you can still control it.
What to use:
- Dewaxed shellac is the standard answer. Zinsser Bulls Eye SealCoat thinned about one part to one with denatured alcohol gives roughly a one pound cut, which is what you want. It dries in twenty minutes, it sticks to anything, and anything sticks to it. Dewaxed matters: waxy shellac causes adhesion problems under some polyurethanes.
- A dedicated blotch control such as Charles Neil Blotch Control if you are working with figured maple or cherry and want the best possible result.
- A thinned coat of your own topcoat works too. Wiping varnish cut fifty percent with mineral spirits is a perfectly good sealer.
Apply it thin with a soft brush, get it into the recesses, and do not let it pool. One coat is enough. Scuff very lightly with a maroon pad once dry.
You can skip this on walnut, and you can skip it if you plan to use nothing but oil and no colour at all.
Step 5: The antique glaze, where the magic happens
If you read one section, read this one. This single step does more for a relief carving than everything else combined.
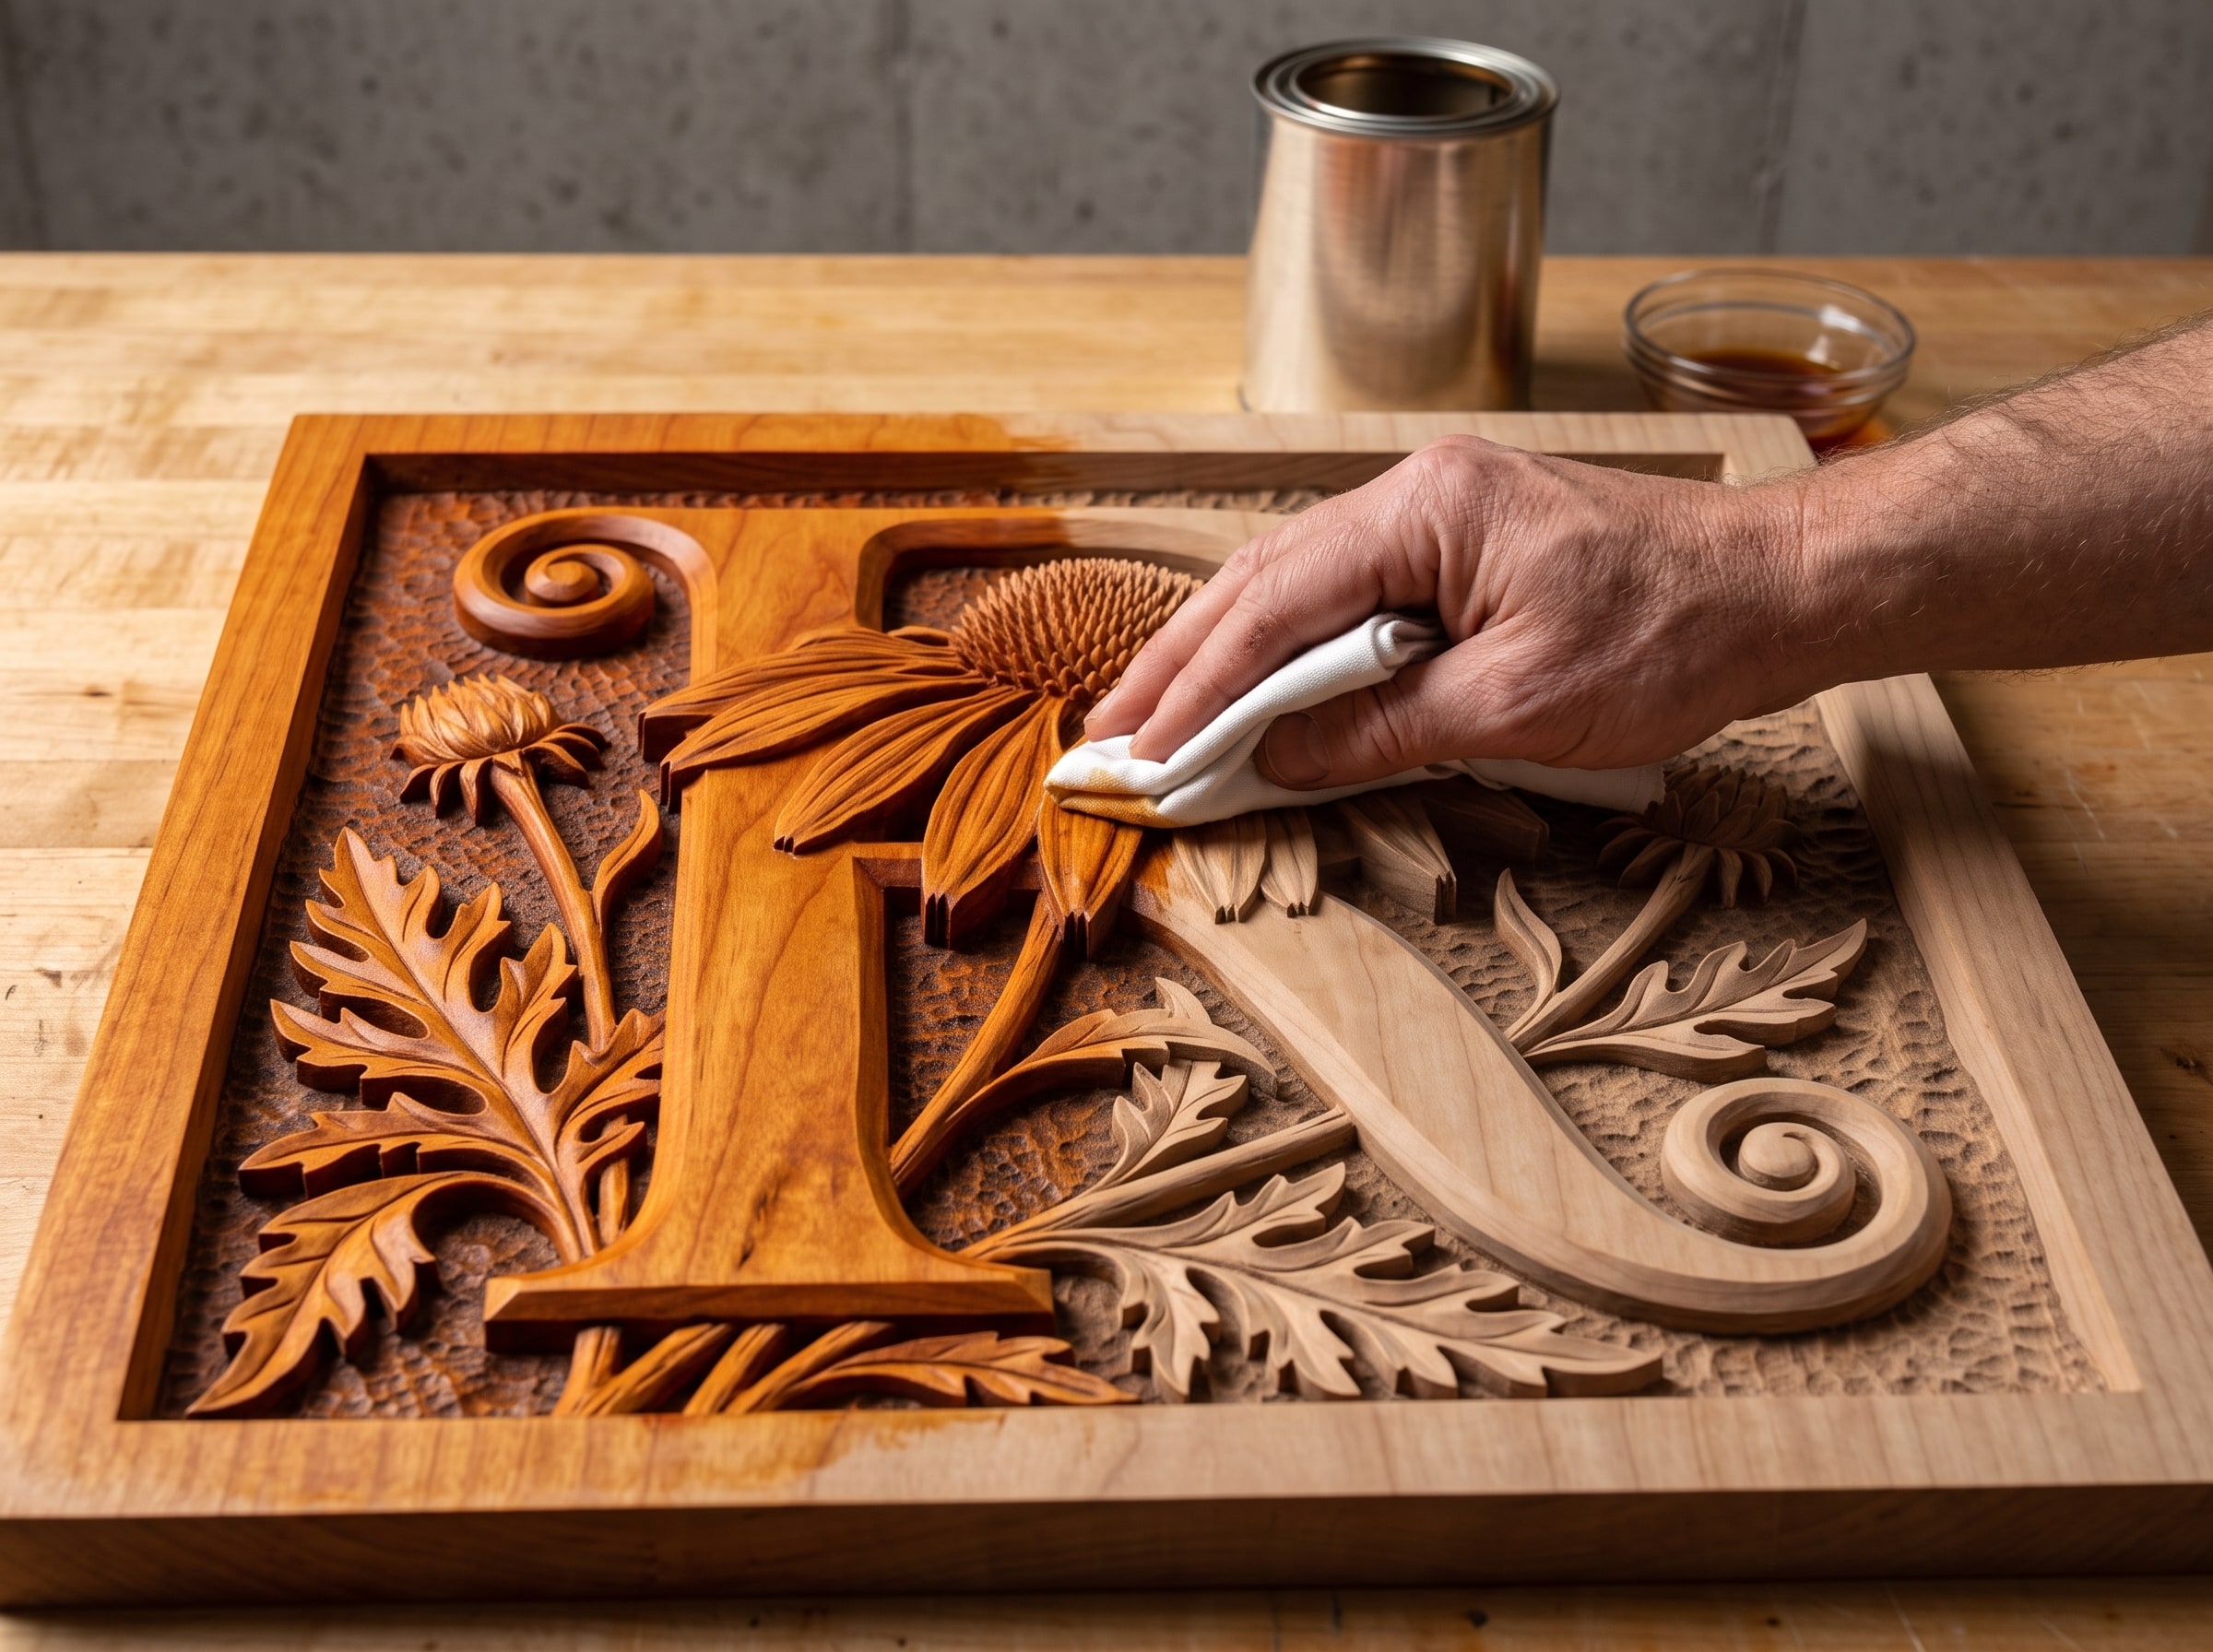
The idea is simple. Flood the whole carving with a dark colour, then wipe it back off the raised surfaces only. The dark stays behind in the recesses, the highlights come back to clean wood, and the depth of the carving suddenly reads properly.
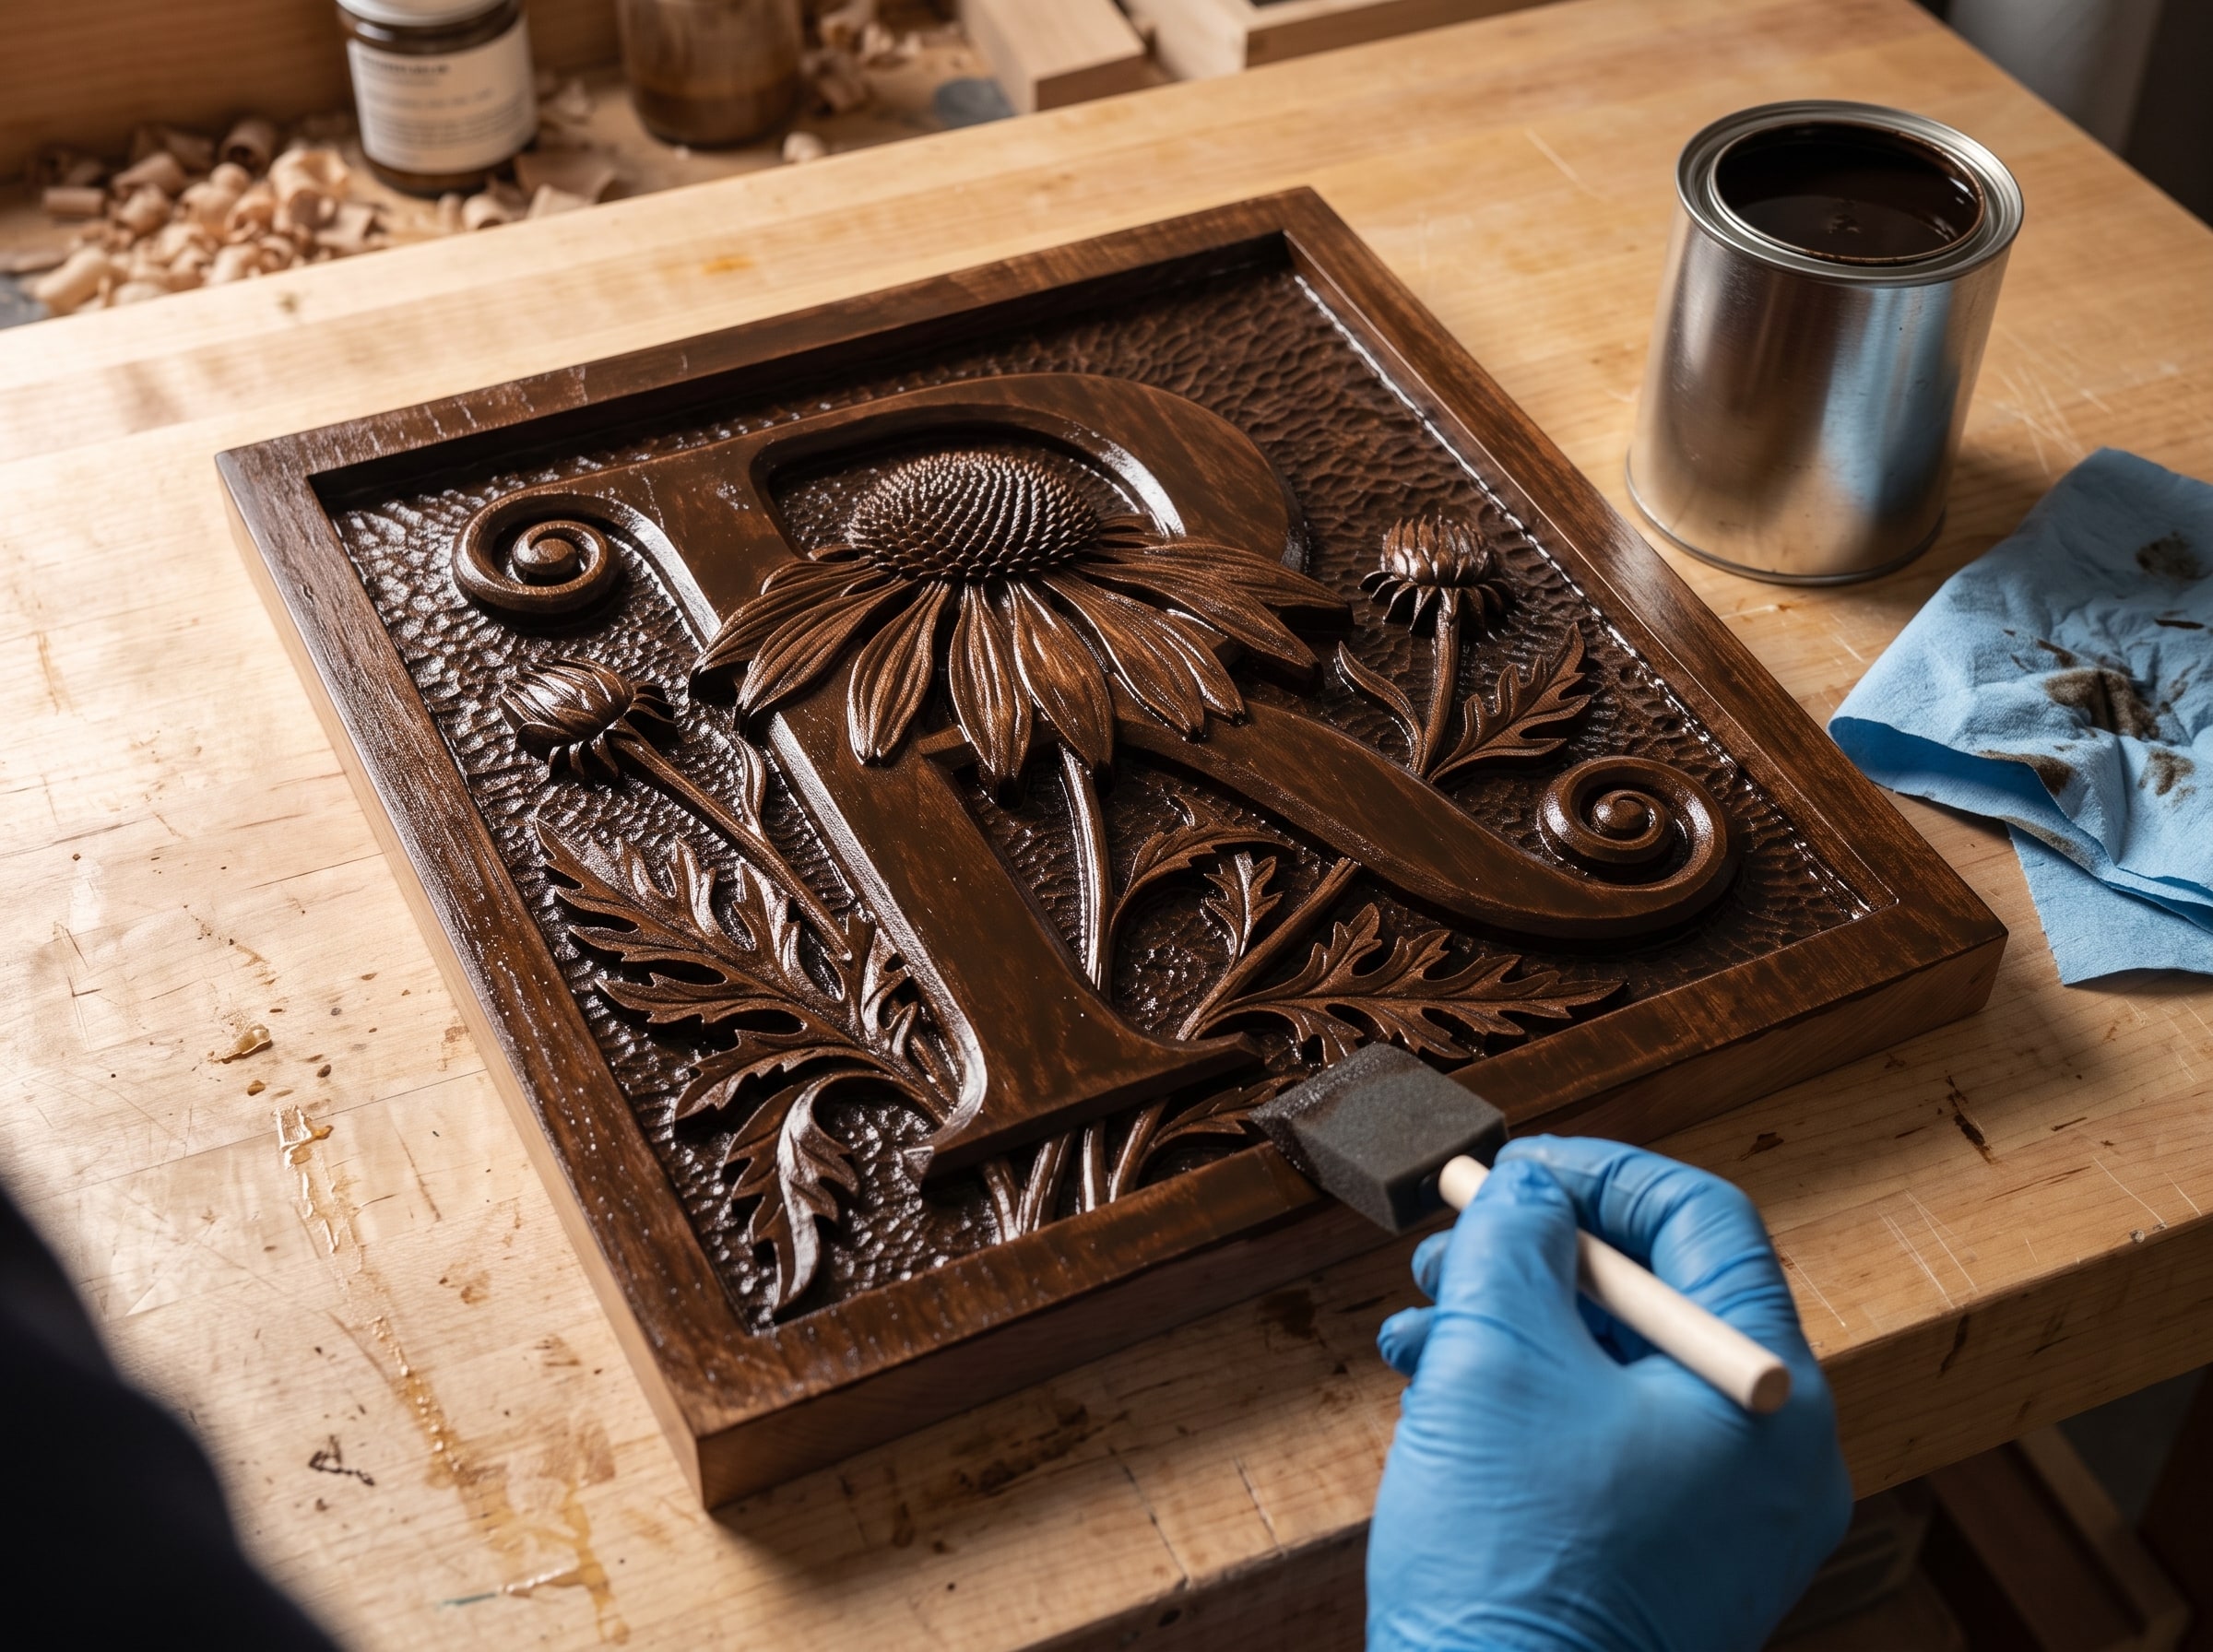
The first time you do it you will be convinced you have destroyed the piece. Push on.
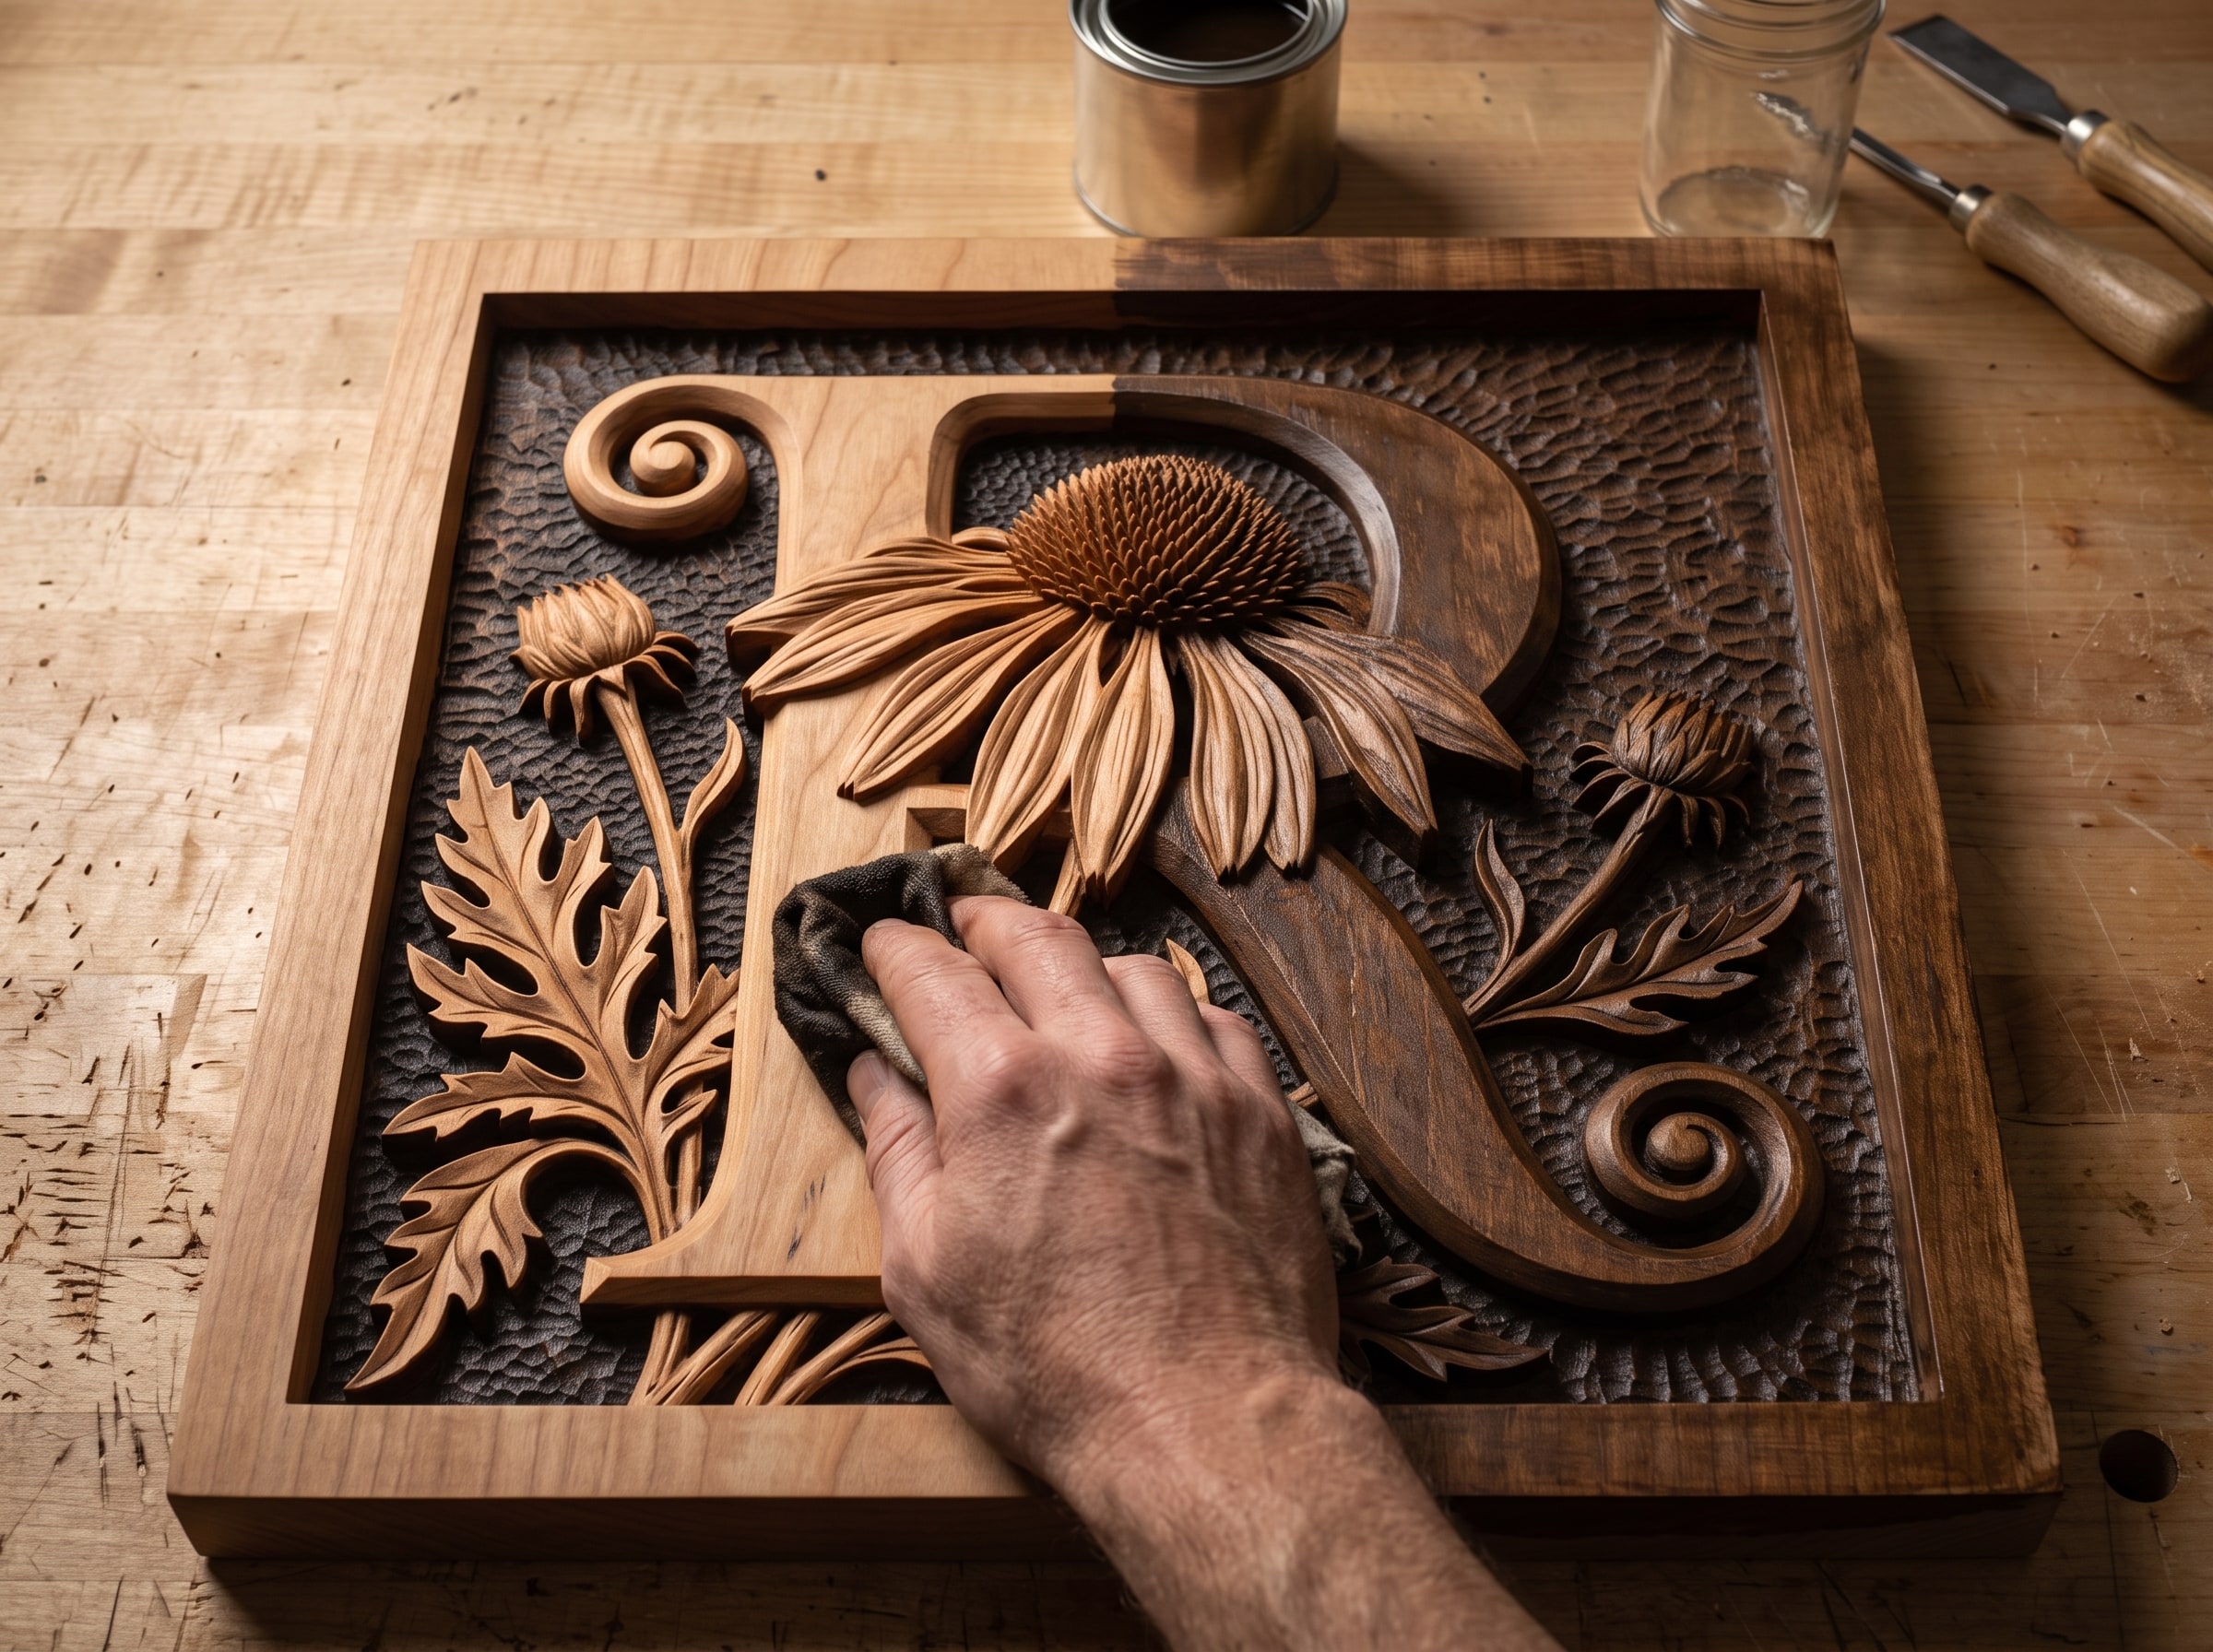
What to use. You want something with a long open time that sits on the surface rather than soaking straight in:
- Gel stain is the easiest place to start. General Finishes Java, Antique Walnut and Brown Mahogany are the usual suspects, and Minwax and Old Masters both make good ones. Gel stain is thick, it does not run into the recesses and vanish, and it wipes back predictably.
- A proper glaze such as General Finishes Glaze Effects in Van Dyke Brown or Pitch Black. Longer open time than gel stain, which is a real advantage on a large panel.
- Artists' oil paint. The traditional method and still one of the best. A squeeze of Van Dyke Brown or Raw Umber from a tube, thinned with mineral spirits to the consistency of cream. Costs almost nothing and you can mix the exact tone you want.
- Dark paste wax such as Briwax Tudor Brown, Liberon Black Bison or Fiddes Rugger Brown, if you want colour and protection in a single step. Less contrast than a glaze, but very fast.
How to do it:
- Brush or wipe it over everything. Work it into every recess with a stiff brush. Do not be shy.
- Let it flash off for two to ten minutes depending on the product and the temperature. On a big panel work in halves so it never dries beyond wiping.
- Wipe back the high points with a folded cotton rag. Burlap is the professional's choice here because it is stiff enough to ride across the tops without dipping into the hollows.
- Too dark? Dampen the rag with mineral spirits and go again. Not dark enough? Let it cure and apply a second pass.
- Let it cure properly, twenty four hours minimum, before anything goes over it. Longer if the shop is cold or humid.
Two mistakes to avoid. Do not glaze over bare, unsealed wood, because it will not wipe back and you will be left with a uniformly muddy panel. And do not put a water based topcoat over an oil based glaze that has not fully cured, because it can lift, cloud or refuse to bond. Give it a full day at the very least, two or three if you can wait.
Step 6: Clear the puddles
Everything you apply from here on will try to collect in the deepest corners, which are precisely the places that need to stay dark and matte. A bead of glossy varnish sitting in a shadow is the most common reason a well carved piece still looks amateur.
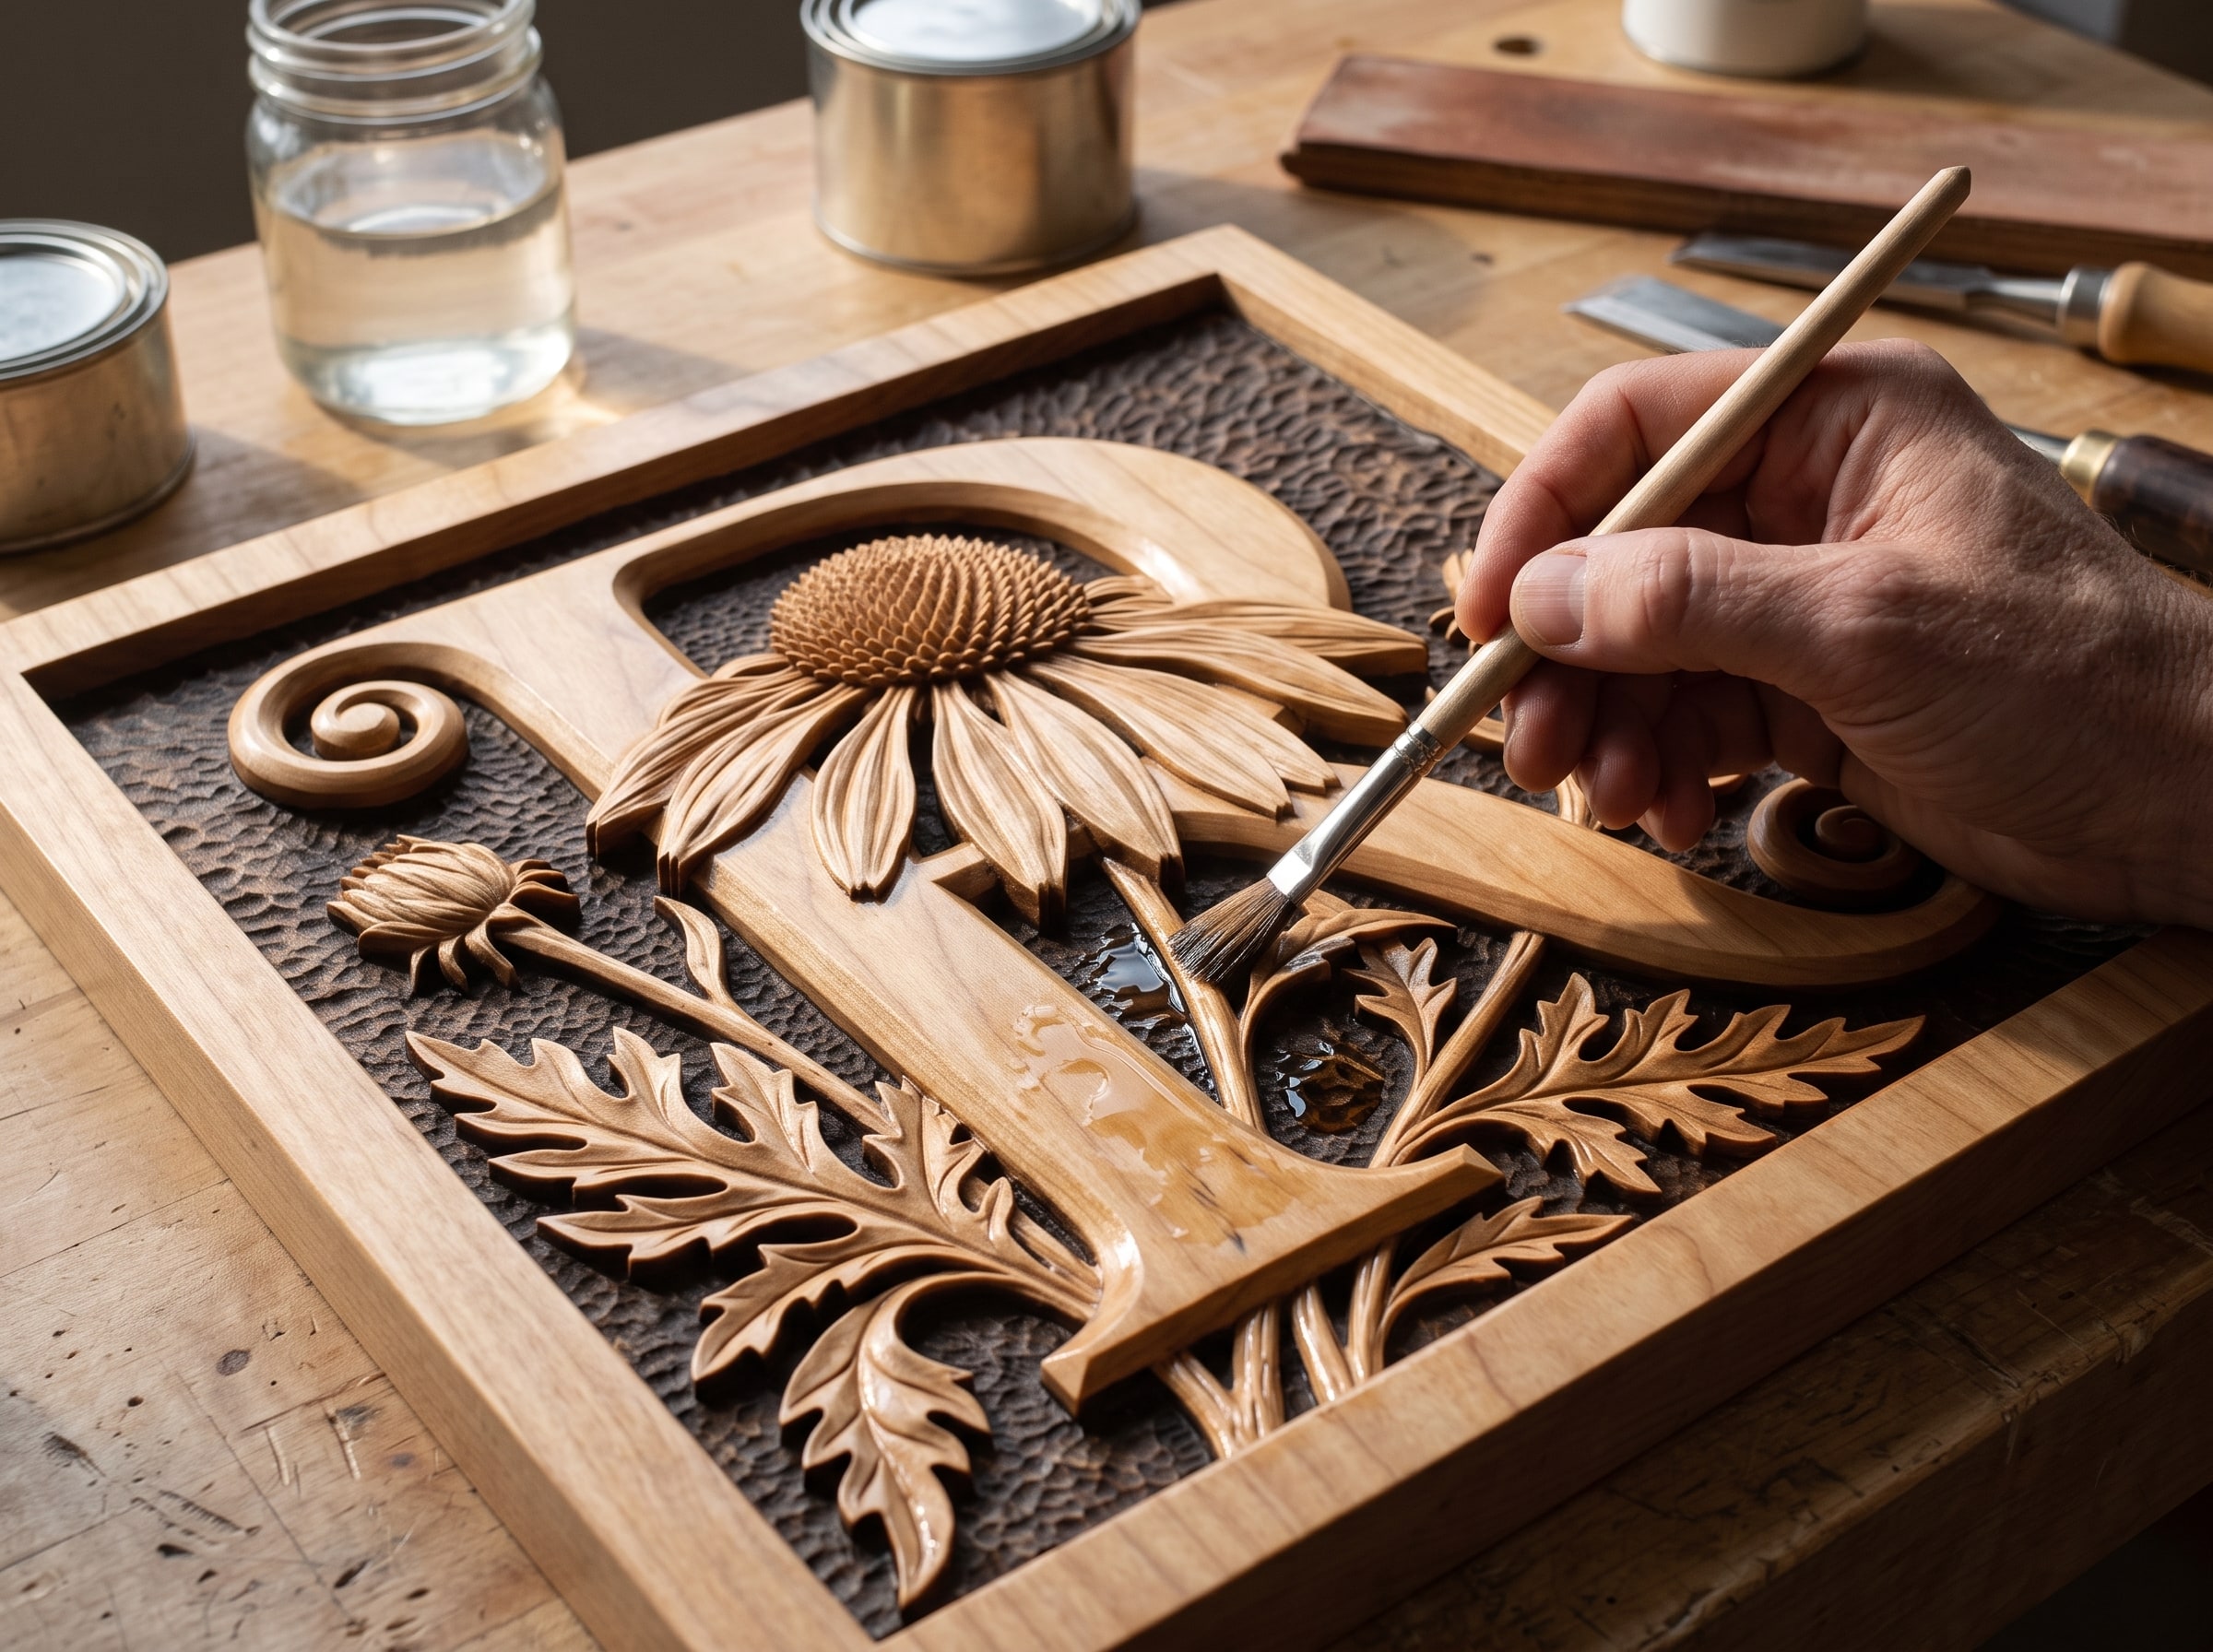
The routine that fixes it: apply, wait five to ten minutes, then go back over the whole piece with a dry soft artist brush or a low blast of compressed air and pull the pooled finish out of every recess. Then check again after an hour, because oil finishes in particular keep weeping back out of deep pores for a surprisingly long time.
Set the piece upright rather than flat while it cures, and turn it a quarter rotation every so often. Gravity is doing the pooling and you can use it against itself.
Step 7: Protect it
Now protect what you have built. The governing rule for relief work is penetrating finishes over building finishes. A finish that soaks in leaves the detail sharp. A finish that builds a film on the surface softens every edge, coat by coat.
| Finish | Examples | Good for relief? | Notes |
|---|---|---|---|
| Penetrating oil | Watco Danish Oil, Tried & True, Osmo Polyx-Oil, Rubio Monocoat, Odie's Oil | Best choice | Wipe on, wipe off. Keeps every edge crisp, easy to repair, cannot run or sag. Modest protection. |
| Pure tung oil | Hope's 100% Tung Oil, Real Milk Paint Co. | Very good | Beautiful and genuinely food safe once cured, but slow. Thin the first coats with citrus solvent and expect several days between them. |
| Wiping varnish | General Finishes Arm-R-Seal, Waterlox, Minwax Wipe-On Poly | Very good | The best balance of protection and detail. Three thin wiped coats beat one thick brushed one every time. |
| Aerosol lacquer | Deft, Watco, Mohawk, Behlen | Good | Excellent on intricate work because nothing touches the surface. Three or four light mist coats from 20 to 25 cm, never one heavy pass. |
| Water based poly | General Finishes High Performance | Fair | Non yellowing and low odour, but it raises grain and looks cold over dark glaze. Spray it if you can. |
| Brushed polyurethane | Most hardware store cans | Avoid | Pools in every recess, dries glossy in the shadows and drowns the fine work. This is the classic way to flatten a good carving. |
Whatever you choose, thin coats and more of them. Scuff between coats with a maroon pad, not sandpaper, and wipe with a tack cloth.
Step 8: Wax and buff
Optional, and worth it. Wax adds a soft low sheen that suits carved work far better than gloss, and it gives the piece a texture people want to touch.
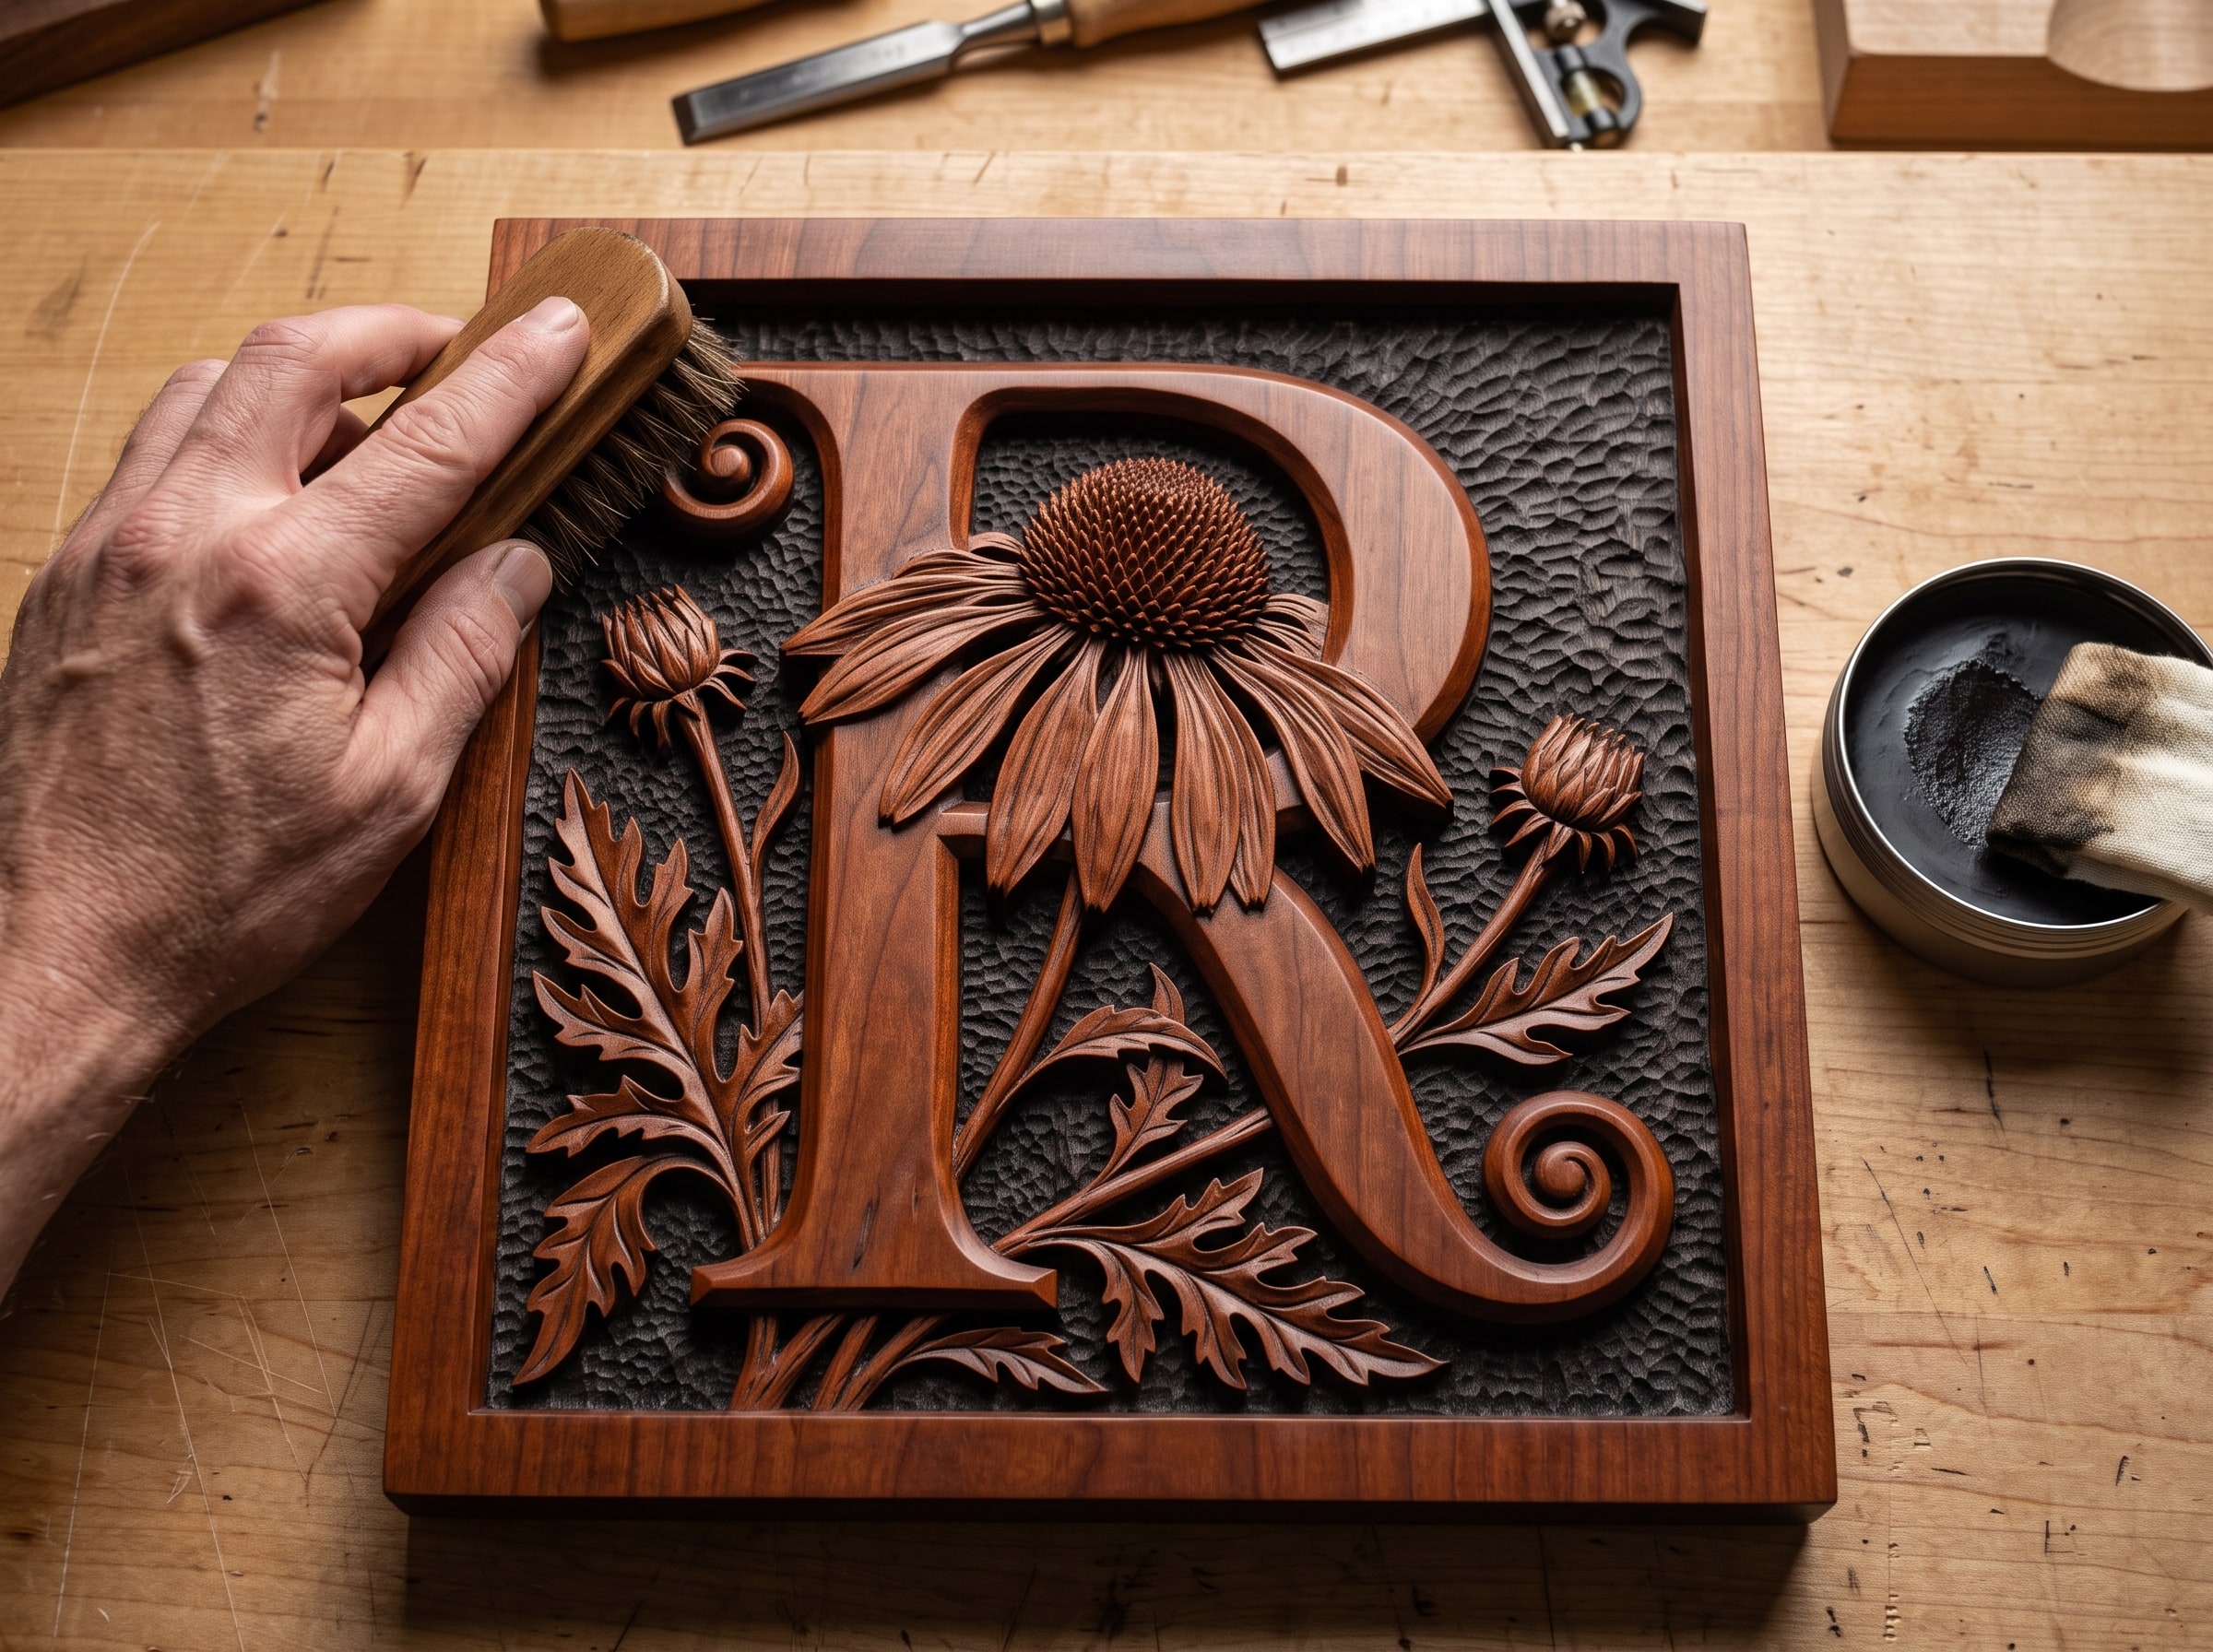
Briwax, Liberon Black Bison, Fiddes Supreme and Minwax Paste Finishing Wax all work. Renaissance Wax is the museum choice and does not yellow, which matters on pale woods. Use a dark wax and it doubles as a second, gentler antiquing pass.
Apply sparingly with a cloth or a brush, let it haze for ten or fifteen minutes, then buff. A horsehair shoe brush is the right tool. It reaches into the carving where a cloth simply bridges over the top, and it leaves the recesses matte while the high points come up to a soft glow.
Paint, metallics and two-tone finishes
Not every piece wants to look like wood.
- Painted background, natural subject. Paint the recessed ground black or a deep colour, then sand the raised areas back to bare wood with a flat block. Dramatic, and it is far easier than masking because the block only touches the high points anyway.
- Metallic highlights. Rub 'n Buff in Antique Gold, Grecian Gold or Pewter, applied with a fingertip to the very tops of the carving, is the fastest route to an expensive looking piece. Gilders Paste does the same job with a longer working time. Use a fraction of what you think you need.
- Milk paint and chalk paint over a sealed carving, distressed back on the edges, suits farmhouse and sign work.
- Acrylic washes. Craft acrylic thinned heavily with water, brushed on and wiped back like a glaze. Cheap, endlessly mixable, and water cleanup. Seal first or it will not wipe back.
- Faux bronze and verdigris. Dark base, copper or bronze metallic dry brushed on the highlights, then a thin green or turquoise wash pulled back out of the recesses. Very effective on ornamental and Celtic designs.
Trays, boards and anything food touches
Serving trays and boards are a different problem, and the rules are stricter. Our Highland Cow serving tray and the other compartment trays get asked about constantly, so here is the short version.
For a surface that food sits on directly, use a finish that is designed for it:
- Food grade mineral oil, sold as butcher block oil. Cheap, never goes rancid, and easy to reapply. It offers no real protection but it is completely safe and it is what the food industry actually uses.
- Mineral oil and beeswax blends such as Howard Butcher Block Conditioner or Walrus Oil. Better water resistance and a nicer feel.
- Pure tung oil, fully cured, which takes two to four weeks. Genuinely durable and genuinely food safe. Note that many products labelled "tung oil finish" contain varnish and solvents and are not the same thing.
Two honest cautions. First, most cured film finishes are considered food safe once fully cured, but "cured" means weeks, not the overnight the tin implies. Second, a deeply carved tray with textured recesses is very hard to clean properly, so treat carved trays as serving pieces for dry food, cheese, chocolate and nuts, and keep raw meat and knife work on a plain flat board.
If you glaze a tray for looks, keep the glaze in the decorative border and out of the food wells.
Signs that live outdoors
Outdoors, ultraviolet light and moisture will beat any finish eventually. Plan for maintenance rather than perfection.
- Start with a species that can take it: white oak, cedar, redwood, sapele or accoya. Not basswood, not poplar, never MDF.
- Seal every face, including the back and the edges, or the piece will absorb moisture unevenly and cup.
- Use a finish with real UV protection. Minwax Helmsman Spar Urethane is the accessible option; Sikkens Cetol, Epifanes and marine varnishes are considerably better and considerably more expensive.
- Exterior acrylic paint in the recesses lasts far longer than stain, and it repaints easily.
- Expect to recoat every one to three years depending on exposure. A sign under a porch roof may last a decade; one in full south facing sun will not.
Finishing a 3D printed relief
If you are printing our files rather than carving them, throw out everything above and use this instead. There is no grain, no fuzz and nothing to soak in, so the whole job becomes surface preparation and paint.
- Kill the layer lines. Sand from 220 up through 400, or spray two or three coats of a high build filler primer such as Rust-Oleum Filler Primer and sand back between coats. This is most of the work.
- Prime. Grey primer for most colours, black if you are going metallic.
- Base coat. A wood tone or a metallic, sprayed or brushed. Vallejo and Tamiya acrylics both behave well.
- Wash the recesses. This is the exact equivalent of the antiquing step. A dark oil wash or a modelling shade such as Citadel Nuln Oil or Agrax Earthshade, flowed on and allowed to settle into the low areas.
- Dry brush the highlights. Almost no paint on a stiff brush, wiped off on a paper towel until it barely marks, then flicked lightly across the raised edges. This is what makes a printed relief look carved rather than moulded.
- Seal it with a matte or satin clear such as Krylon Matte Finish. Gloss will destroy the illusion.
Done well, a printed and painted relief is genuinely hard to tell from carved wood at arm's length. The dry brushing is what sells it.
The safety bit that actually matters
Oily rags start fires. Cloths soaked in linseed oil, tung oil, Danish oil or any oil based finish generate heat as they cure. Screwed up in a bin, that heat has nowhere to go and the rag can reach its own ignition temperature with nobody in the building. This is not a theoretical risk. It burns down real workshops every year.
Do one of these, every single time, no exceptions:
- Spread the rags out flat, singly, outdoors on a non combustible surface until they are stiff and fully cured, then bin them.
- Or drop them straight into a sealed metal can filled with water.
While we are here: use a respirator with organic vapour cartridges for solvent finishes and any spraying, because a dust mask does nothing against vapour. Ventilate properly. Wear nitrile gloves, since mineral spirits strip the oils out of your skin. And keep the shop above 15°C, because most finishes cure badly in the cold and blush in damp.
Troubleshooting
| What you are seeing | Why | Fix |
|---|---|---|
| Blotchy, patchy colour | Stained bare wood with no sealer | Seal next time. To rescue it, go darker overall with a glaze, which hides unevenness. |
| Detail looks soft and muddy | Too many film coats, or brushed polyurethane | Strip back and rebuild with thin wiped coats. Prevention is the only real cure. |
| Shiny spots deep in the shadows | Finish pooled and cured in the recesses | Dull them with a maroon pad or a brass brush, then a matte topcoat. Clear puddles within ten minutes next time. |
| Fuzz came back after the first coat | Water raised the grain | Knock it back with 320 once dry, then recoat. Raise the grain deliberately before finishing next time. |
| Glaze will not wipe back off | It soaked into bare wood, or it dried too long | Mineral spirits on a rag straight away. If it has cured, sand the high points back and reseal. |
| Carving still looks flat | Not enough contrast between high and low | Add a glaze pass. This is nearly always the answer. |
| White haze after topcoat | Blush, moisture trapped in a lacquer finish | Recoat in dry conditions, or use a retarder. Do not spray on a humid day. |
| Finish stays tacky for days | Applied too heavily, cold shop, or oil over uncured glaze | Wipe back with mineral spirits and let it cure warm. Respect the recoat times on the tin. |
A starter kit that covers most jobs
You do not need a spray booth. This handles the overwhelming majority of relief work:
- A soft brass suede brush and a maroon abrasive pad
- 220 and 320 grit sanding sponges
- Dewaxed shellac sealer and denatured alcohol to thin it
- One dark gel stain or glaze, brown or near black
- Burlap and lint free cotton rags
- Danish oil or a wiping varnish
- A tin of dark paste wax and a horsehair shoe brush
- Two or three cheap natural bristle brushes and one soft artist brush for clearing recesses
- Nitrile gloves, a respirator, and a metal can for the rags
That is well under a hundred dollars and it will finish dozens of carvings.
Common questions
What is the best finish for a CNC relief carving?
For most pieces: a dewaxed shellac sealer, a dark gel stain or glaze wiped back off the high points, then Danish oil or a wiping varnish, then dark wax. That schedule gives you contrast, protection and a soft sheen without ever burying the detail.
Do I have to sand a CNC carving?
You have to remove the fuzz, which is not the same thing. Sand only the raised surfaces, and leave the recessed background textured, because that texture is what holds the glaze.
How do I make the carved detail stand out more?
Antique it. Flood it with a dark glaze and wipe the high points clean. Nothing else comes close for the effort involved.
Can I just use polyurethane?
You can, but brush it on and it will pool in the recesses, dry glossy in the shadows and flatten the carving. If you want polyurethane, use a wipe on version in thin coats, or spray it.
How long should I wait between coats?
Follow the tin, then add some. Shellac takes twenty minutes, oils want twelve to twenty four hours, glazes want a full day before anything goes over them, and water based over oil based wants two or three days. Cold or humid workshops need longer than the label assumes.
What finish is safe for a serving tray?
Food grade mineral oil, a mineral oil and beeswax blend, or fully cured pure tung oil. Treat deeply carved trays as serving pieces for dry food rather than cutting surfaces.
Why does my carving look worse after staining?
Almost always because it was stained on bare wood without a sealer, so the colour soaked in unevenly and could not be wiped back off the high points. Seal first, then colour.
How do I finish a 3D printed relief?
Filler primer and sanding to kill the layer lines, base coat, a dark wash into the recesses, dry brush the highlights, then a matte clear coat. The dry brushing is what makes it read as carved.
Finishing is the half of the job that decides what people see, and it rewards patience more than skill. If you take one thing from all of this, take the glaze step. Seal the wood, flood it dark, wipe the highlights back, and watch a carving you were disappointed by turn into the one you put on the wall.
If you want something to practise on, the full catalogue is here, and ten beginner projects are a good place to start. It is also worth reading what makes a good bas-relief STL file, because a well modelled file with real depth gives the glaze somewhere to live, and how to scale STL files without flattening that depth in the first place.
Questions about a specific wood or a finish that is not behaving? Send them over. Answers to those questions are how this guide got written.
Jolly, DigitalChiselCo