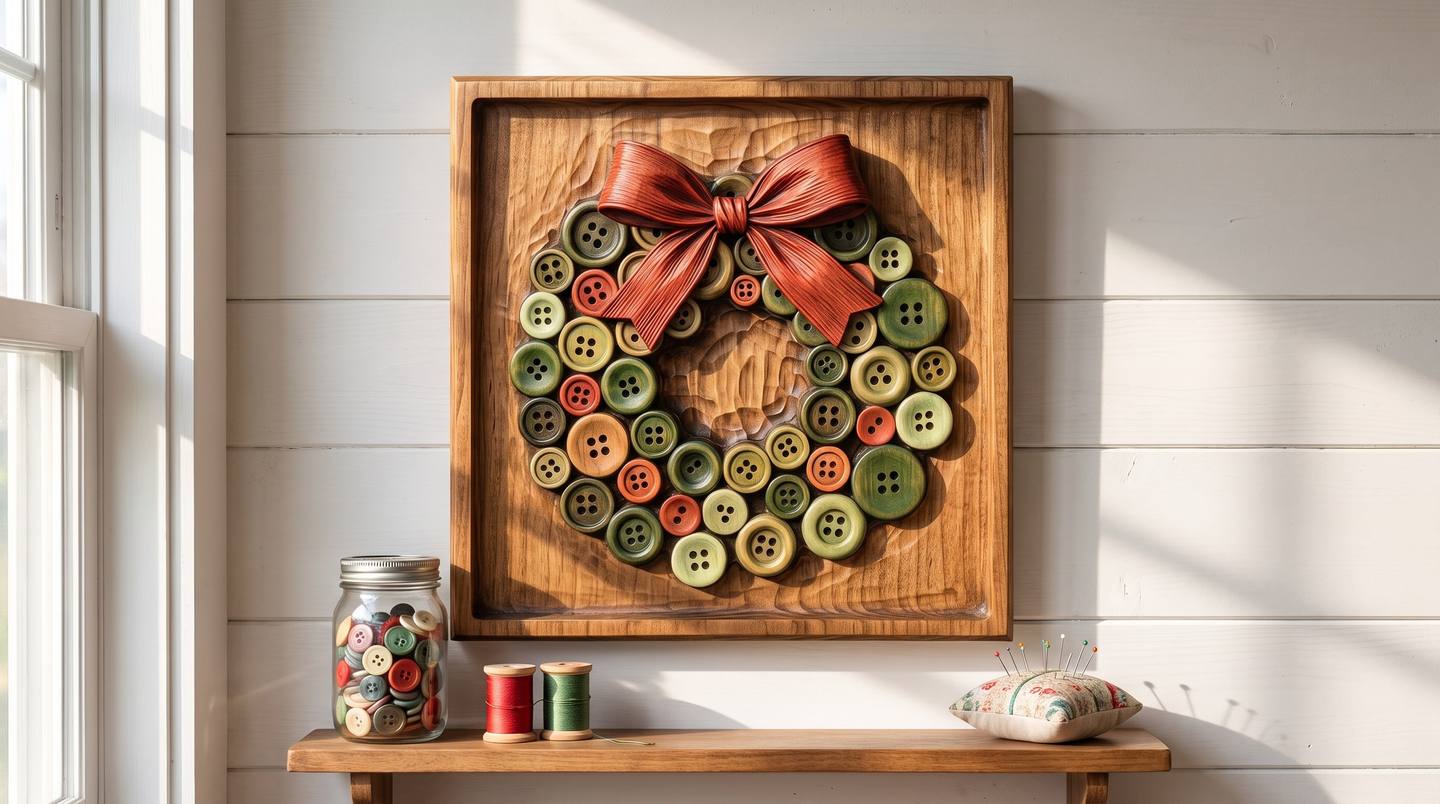
Button art is one of the oldest home crafts there is: a tin of odd buttons, a board and some glue, and an afternoon turns into a wreath or a little Christmas tree that hangs in a sewing room for decades. Our button-art designs carve that look straight into the wood. Nothing is glued on: every button is carved in relief out of the same board, a raised disc with its own two or four holes, piled into a wreath, a tree or a Santa hat. When each one gets its own colour the whole piece comes alive.
The carving is the easy half. The painting is where these designs shine, and where they can go flat if every button ends up the same red and green. This guide is about painting them well: the palette, the order of work, the two-minute trick that makes each carved button stand out on its own, and the gloss that gives them the shine of real buttons.
In this guide
- The button-art Christmas designs
- Carving them: size, wood and the button holes
- Choosing the palette
- Painting them, step by step
- The finishing touch: glossy buttons, satin wood
- If you would rather not paint
- Gifts and selling
- Questions people ask
The button-art Christmas designs
There are six Christmas designs in the button style, each one a framed panel with the buttons standing proud of a hand-carved background:
- Christmas Button Wreath CNC Relief STL: a ring of buttons with a big red bow at the top. The classic.
- Merry Christmas Button Wreath CNC Relief STL: a lighter wreath of buttons, beads and pine sprigs with a cream bow, and Merry Christmas carved in script beneath.
- Button Christmas Tree Decor CNC Relief STL: a triangle of green buttons with a gold star and a trunk, on a sprig of fir.
- Rustic Christmas Tree Button Art CNC Relief STL: a tall tree of tiny buttons strung with garlands, presents underneath, framed by a border of buttons.
- Santa Hat Button Art Merry Christmas CNC Relief STL: a Santa hat made of red buttons laced together with thread, a row of round buttons for the fur trim, and Merry Christmas carved beneath.
- Santa Claus Button CNC Relief STL: Santa himself, his hat and suit built from dozens of little buttons around a carved face and beard.
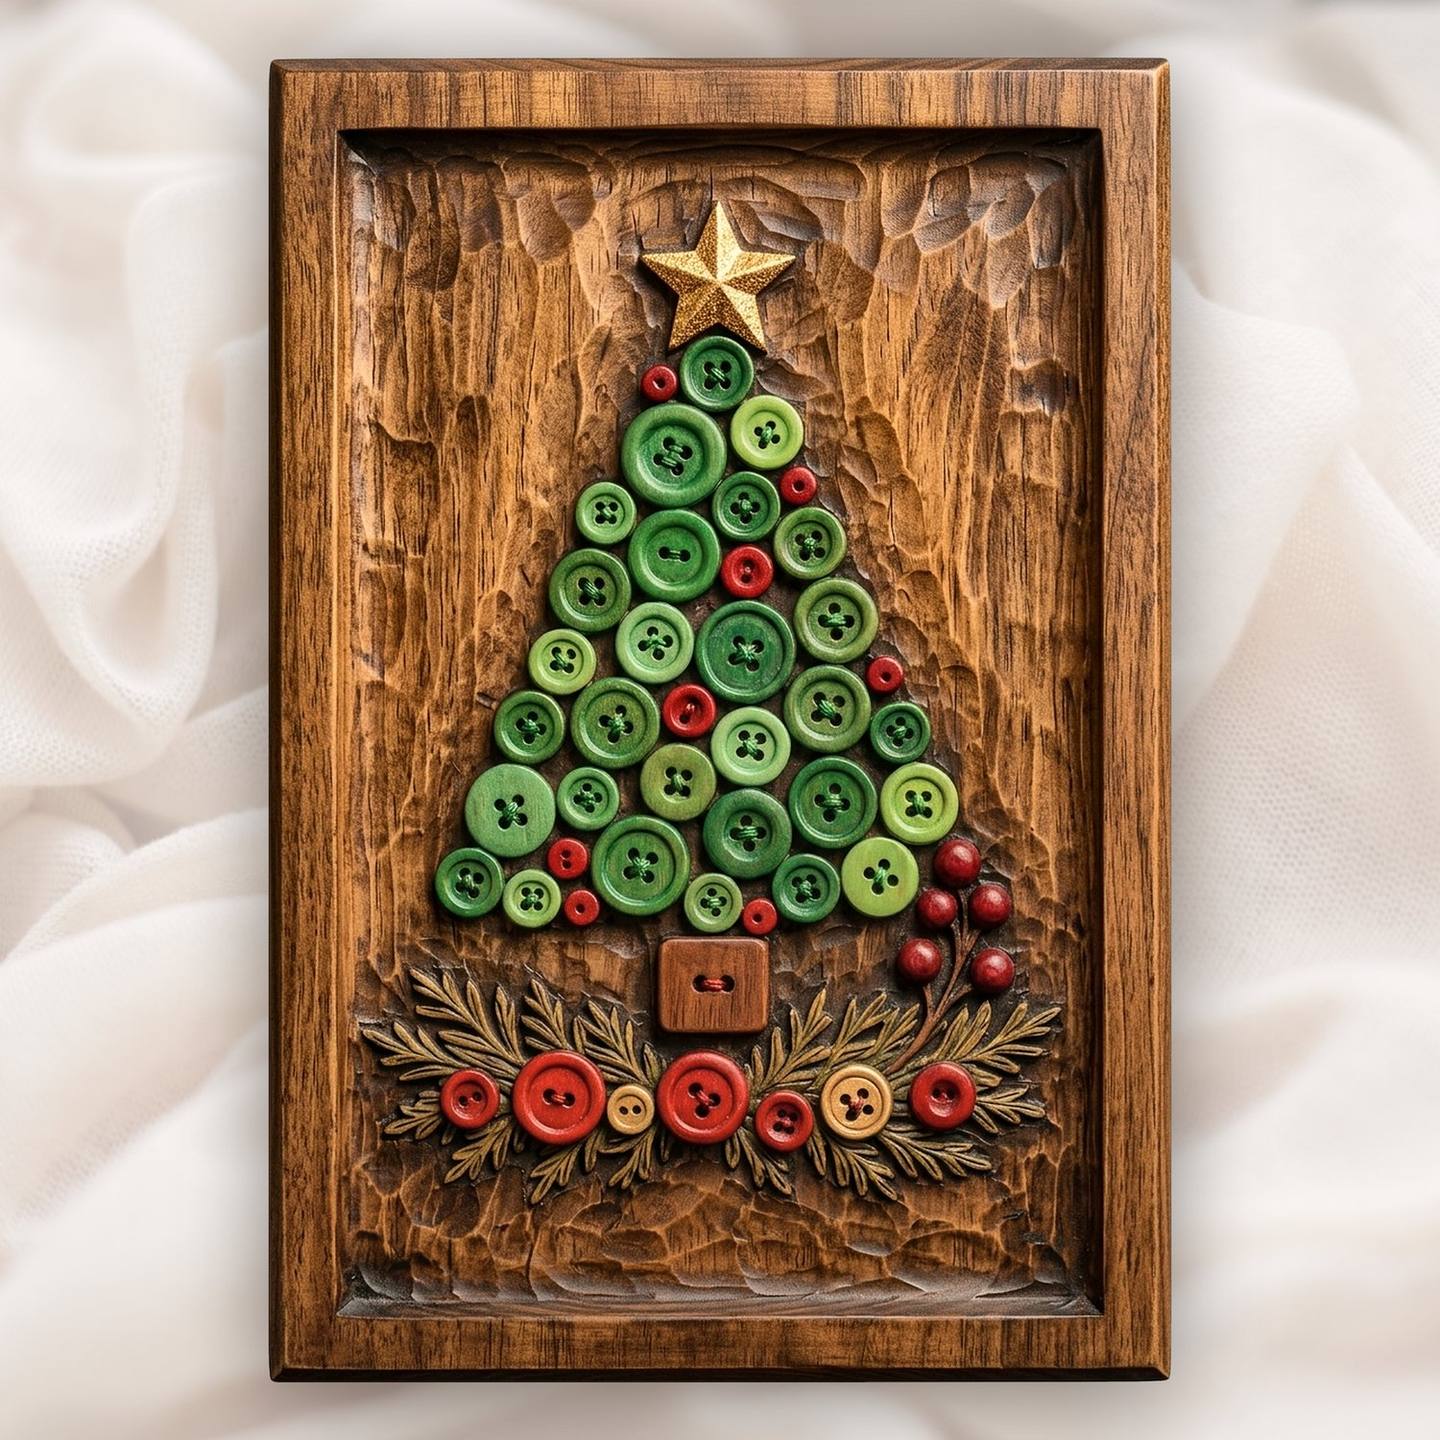
Get the Button Christmas Tree · $6.39
Carving them: size, wood and the button holes
The button holes are the detail that sells the illusion, and they are also the smallest feature on the panel. They need two things: enough size, and a fine enough bit.
- Size: carve the panels at 9 to 12 inches on the long side. Smaller than that and the holes in the little buttons close up. Our guide to scaling STL files shows how to set size and depth.
- Depth: 4 to 6 mm on 3/4 inch stock is plenty. The buttons only need to stand a little proud of the background to cast their shadow.
- Bits: rough with a 1/8 inch ball nose, then finish with a 1/16 inch tapered ball nose at about 8 percent stepover so every hole comes out crisp. The tapered ball nose guide explains why the taper matters.
- Wood: hard maple or basswood if you are painting; maple takes the finest holes, basswood is softer and easier on brushes. Cherry or walnut if you want the frame and background to stay as rich natural wood around the painted buttons.
Choosing the palette
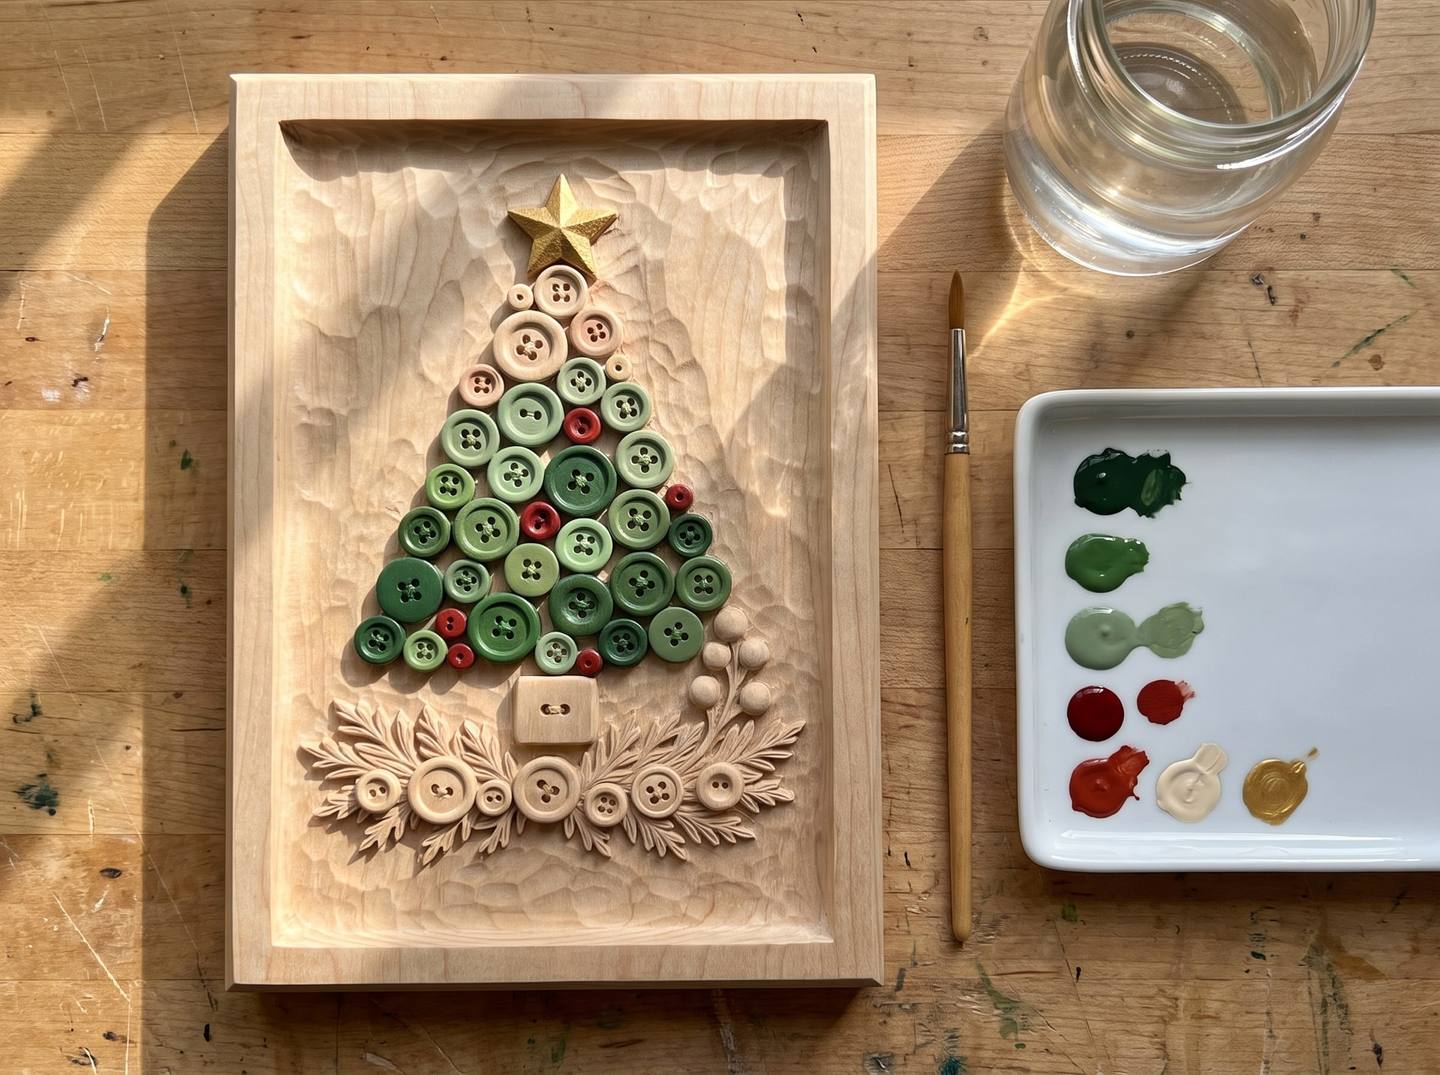
The single biggest mistake with button art is painting every button the same red or the same green. Real button jars are a jumble of near-misses, and that is what makes button art charming. Pick a limited palette with several shades of each colour:
- Greens: three of them, a deep forest green, a mid green and a pale sage.
- Reds: two, a bright cranberry and a darker brick red.
- Accents: one cream and one metallic gold, used sparingly.
Then follow one rule: no two touching buttons the same colour. Spread the reds evenly round a wreath, and keep the darkest greens near the base of a tree so it feels heavy at the bottom and light at the top.
Painting them, step by step
- Clean up the carving. Brush out the fuzz with a brass or stiff nylon brush, so it does not set in the paint.
- Seal it. One thin coat of shellac or sanding sealer stops the paint wicking into the grain and bleeding past the button's edge.
- Background first. Decide now whether the background stays natural wood or gets a stain or glaze. If you want it darker, do it before the buttons are painted.
- One colour at a time. Paint every button that will be deep green across the whole panel, then every mid green, then the sage, then the reds. Acrylic craft paint and a small round brush. Two thin coats beat one thick one.
- Bow, star and thread. The bow in red with a darker red in its folds, the star in gold, and on the Santa hat the lacing thread in cream or tan.
- Shade the holes and gaps. Thin some dark brown paint to a wash and touch it into every button hole and into the gaps between buttons. This is the two-minute trick: the dark lines read as shadow, so every carved button stands out on its own instead of merging into its neighbours.
- Highlight the rims. Dry-brush a slightly lighter shade of each colour across the raised rim of its buttons. Barely any paint on the brush. The edges catch the light and the buttons turn round.
Our longer guide to colouring a relief carving covers sealing, washes and dry-brushing in more detail.
The finishing touch: glossy buttons, satin wood
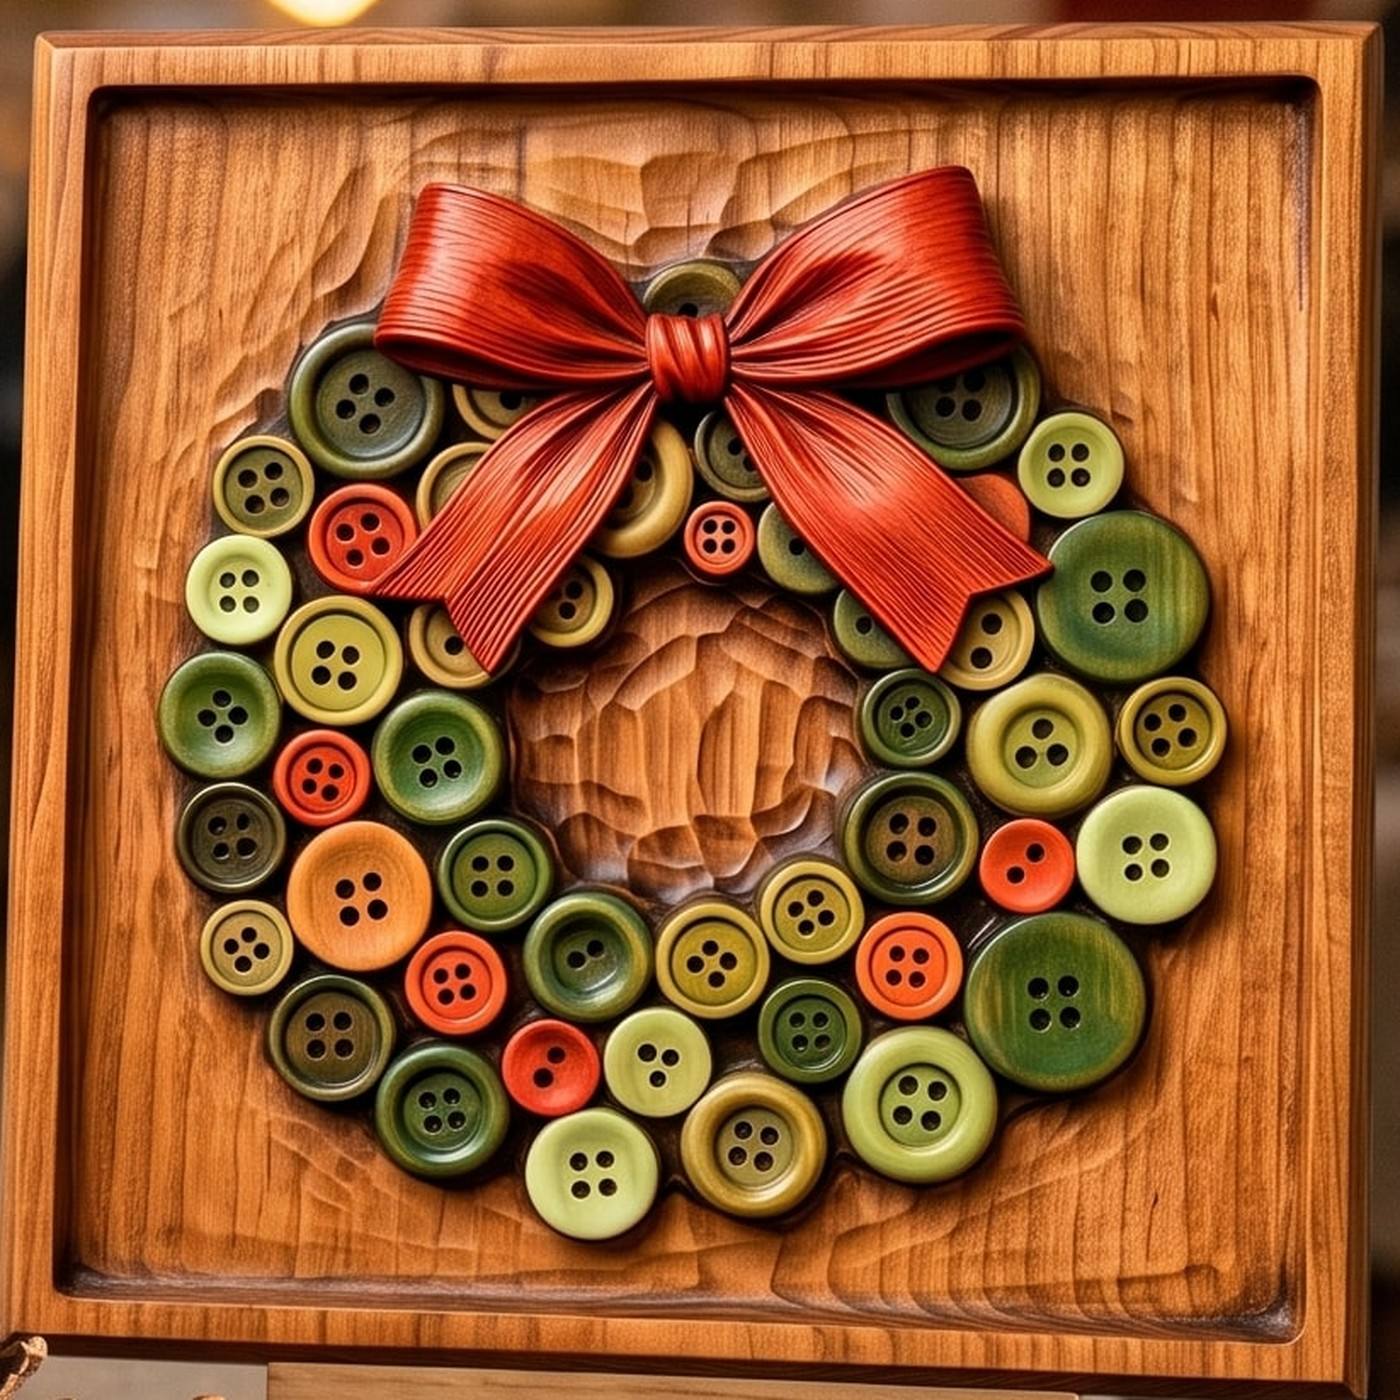
Real buttons are shiny and real wood is not. So once the paint is dry, give the whole panel a coat of satin clear finish, then go back with a small brush and put a coat of gloss varnish on the buttons only. From a step away the carved buttons catch the light like real ones, and people reach out to touch them, surprised to find it is all one piece of wood.
If you would rather not paint
Button art works in natural wood too, it just reads more quietly. Two ways to keep it all wood:
- Two-tone with glaze: oil the panel, then brush a dark glaze over everything and wipe it off the buttons. The buttons stay pale and the background goes dark around them.
- Two woods by stain: stain just the background a shade darker with a fine brush and leave the buttons natural.
More on oils and glazes in how to finish a CNC relief carving.
Gifts and selling
Button art has a ready-made audience: quilters, sewing groups and anyone with a craft room. A painted button wreath is the gift for the person who already has a jar of buttons on the shelf, and at a craft fair these panels pull people over from three tables away, because nobody expects buttons in carved wood.
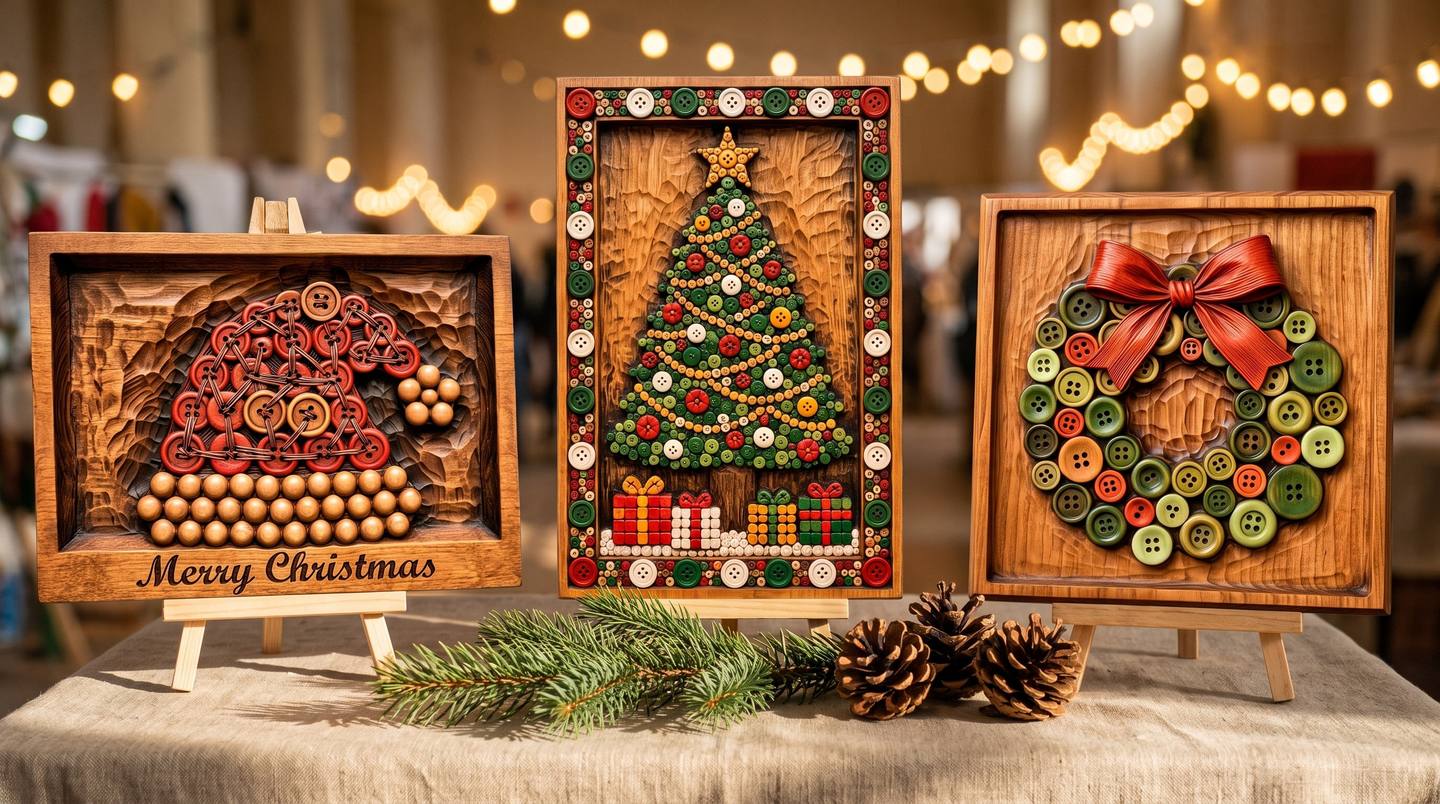
- Make them a set: the wreath, the tree and the Santa hat hang well together, and a set of three is an easy gift.
- Carry them past Christmas: the same style comes in year-round designs, like the Whimsical Button Mosaic Cat CNC Relief STL and the Button Couple Heart Scene CNC Relief STL for an anniversary.
- Commercial use is included with every design, so you can carve and sell as many as you like.
For pricing and where to sell, see our guide to selling CNC relief carvings, and for the small pieces to sell beside them, the Christmas ornaments guide. No machine? A Cut Local maker near you can carve them for you to paint.
Questions people ask
What paint is best for button-art carvings?
Ordinary acrylic craft paint over a thin coat of shellac or sanding sealer, finished with a satin clear coat and gloss varnish on the buttons.
How big should I carve them?
9 to 12 inches on the long side, so the holes in the smallest buttons stay open, with 4 to 6 mm of relief depth.
Which bit gets the button holes crisp?
A 1/16 inch tapered ball nose for the finishing pass, at around 8 percent stepover.
Can I 3D print them instead?
Yes. They print flat with no supports and paint just as well. Our guide to 3D printing a bas-relief STL has the settings.
Can I sell what I make?
Yes. Commercial use is included with every design. You can sell the finished pieces, but not the file itself.
Start with the wreath: it has the most buttons, so it teaches the palette rule fastest, and it is the one everybody recognises. The rest of the season is in the Christmas collection.
Jolly, DigitalChiselCo