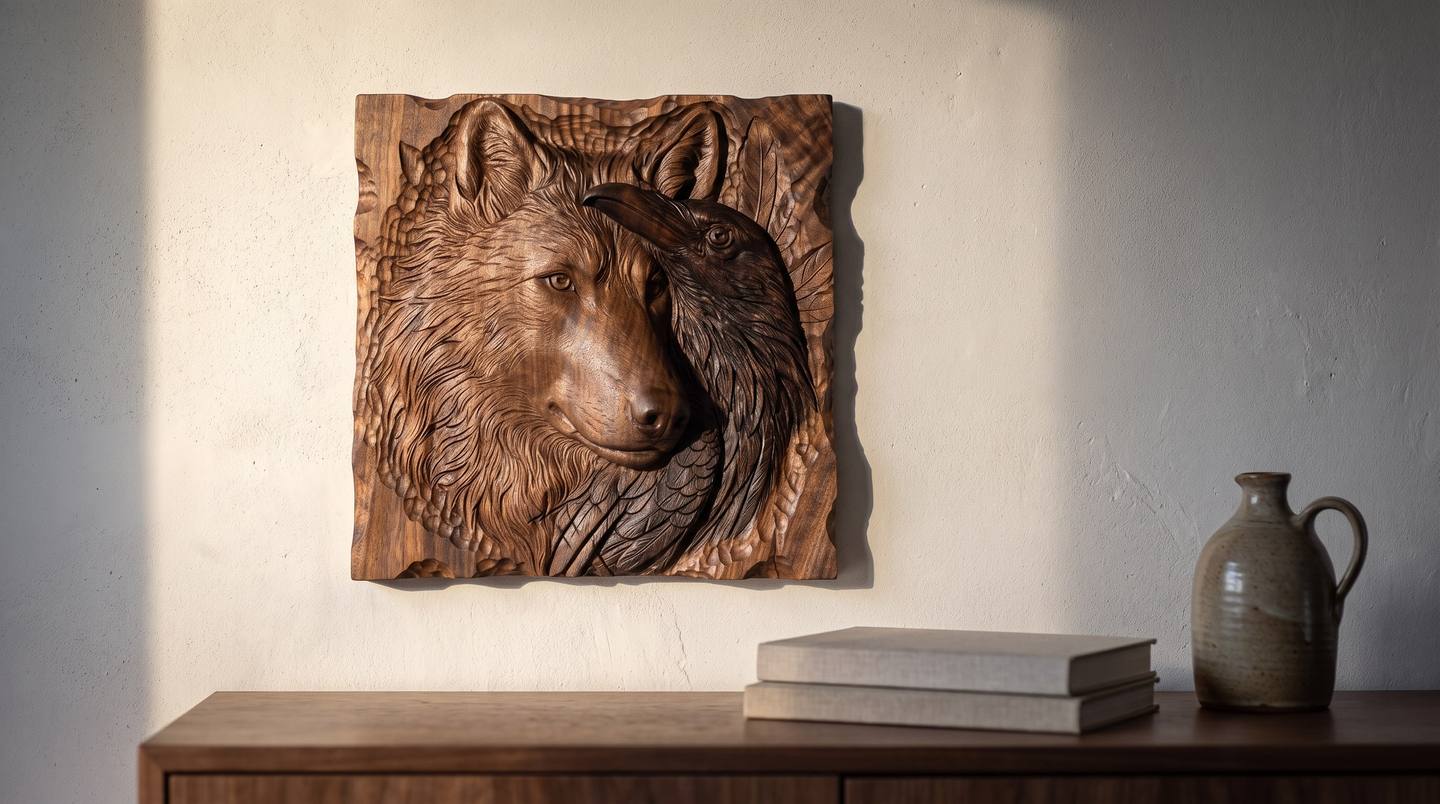
Most carving guides show you the finished piece and leave the hard part to guesswork. This one is different. Jeff Miller of Burl & Curl Woodworking carved our Wolf and Raven bas-relief in walnut, photographed it at every stage, and wrote down every number he used, from the rough board to the last coat of oil. With his permission, here is the whole job. (The picture at the top is an illustration of his finished panel; every photograph below is Jeff's own.)
It is a real commission, too. A buyer found the design on our site, asked for it in walnut with the raven a shade darker than the wolf, and had it made through Cut Local, our network of makers who carve our designs to order. Jeff won the job, and this is how he did it.
In this guide
- The job at a glance
- Step 1: the board and the model
- Step 2: the roughing pass
- Step 3: the finishing pass
- Step 4: darkening the raven, before any oil
- Step 5: three coats of boiled linseed oil
- What to take from this job
- On an entry-level machine?
- Carve it yourself
- Questions people ask
The job at a glance
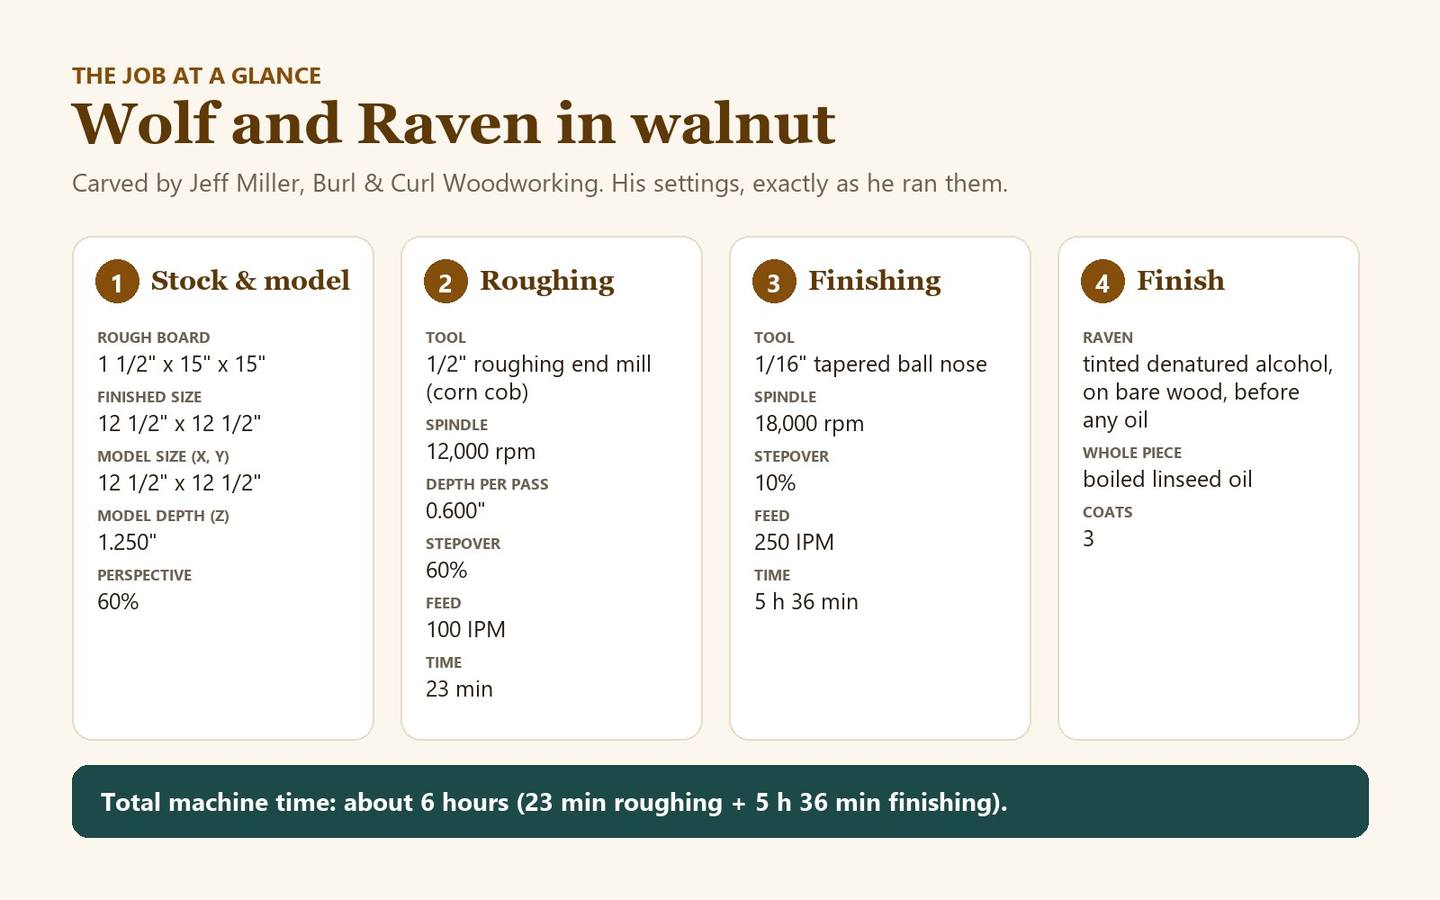
Here is everything on one card. The rest of the guide goes through it step by step, with Jeff's photos and the reasons behind each setting.
Step 1: the board and the model
Jeff started from a rough walnut board 1 1/2 inches thick and 15 by 15 inches, and finished at 12 1/2 by 12 1/2 inches. The extra 2 1/2 inches gave him room to hold the board down outside the carving and to trim the edges true afterwards.
He imported the model at 12 1/2 by 12 1/2 inches in X and Y, then raised its depth (Z) to 1.250 inches, and set the model's perspective to 60 percent. A deeper relief throws stronger shadows, which matters on a dark wood like walnut, where shallow carving can disappear. With the board at 1 1/2 inches, a 1.250 inch model still leaves a solid 1/4 inch back behind the deepest point.
If you are sizing a design for your own board, our guide to scaling STL files without losing detail explains how depth and size work together.
Step 2: the roughing pass
Roughing clears the bulk of the wood quickly, so the fine bit only has to follow the final surface. Jeff's settings:
- Tool: 1/2 inch roughing end mill, the "corn cob" type
- Spindle: 12,000 rpm
- Depth per pass: 0.600 inch
- Stepover: 60 percent
- Feed: 100 inches per minute
- Time: 23 minutes


A corn cob end mill has a serrated cutting edge that breaks the chip into small pieces. It takes deep, heavy cuts without loading up or overheating, which is exactly what a roughing pass in hardwood needs. At 0.600 inch per pass, a model 1.250 inches deep is cleared in three layers, and a 60 percent stepover on a 1/2 inch bit moves 0.3 inch sideways each time. That is why the whole roughing pass took only 23 minutes.
Roughing is optional on smaller pieces. On his steam locomotive, a 10 1/2 inch panel, Jeff skipped it and let the finishing bit do everything, in 4 hours 8 minutes. On a deep 12 1/2 inch walnut relief like this one it is worth it: it takes the heavy load off the small bit, and a 1/16 inch tapered ball nose lasts far longer when it only removes the last thin skin.
Step 3: the finishing pass
All the detail you see, every hair in the wolf's ruff and every feather on the raven, comes from one finishing pass with a small tapered ball nose:
- Tool: 1/16 inch tapered ball nose
- Spindle: 18,000 rpm
- Stepover: 10 percent
- Feed: 250 inches per minute
- Time: 5 hours 36 minutes


A tapered ball nose combines a tiny tip with a thick, stiff shank, so it reaches into the fine detail without flexing or snapping. Our guide to tapered ball nose bits covers how to choose one.
Ten percent stepover is the classic starting point, and the numbers show why. With a 1/16 inch ball, each pass moves only 0.00625 inch sideways, and the ridge left between passes works out to about 0.00016 inch, roughly four thousandths of a millimetre. That is far below anything you can see or feel, so the surface comes off the machine ready for finish. Our stepover guide measures what happens at larger stepovers, and the free stepover calculator works it out for any bit.
Why did it take 5 hours 36 minutes? On paper, raster passes 0.00625 inch apart over a 12 1/2 inch square add up to about 25,000 inches of travel, which at 250 inches per minute would be about an hour and forty minutes. In practice a relief is all small hills and hollows, and the machine spends most of the pass slowing down and speeding up over them, so the average speed is far below the programmed feed. That gap is normal, and it is why our guide to how long a relief takes to carve recommends judging time from real jobs rather than from the feed rate. To see how a design will carve on your own machine before you start, try Will it cut?, our free tool that shows how a design carves with your bit.
Step 4: darkening the raven, before any oil
The buyer wanted the raven a little darker than the wolf. Jeff did it with tinted denatured alcohol, brushed onto the raven only, on bare wood.


The timing is everything. In Jeff's words, the technique "works very well in bare wood. Once oil is applied, the wood surface has been sealed, which prevents the ability to tint that area." Any colour has to go on before the finish, and that is the last moment the look of the piece can change.
That is also why, on Cut Local, every quote now states the exact finish the maker will apply, and makers can ask the buyer to approve the bare carving before the finish goes on. Our guide to colouring a CNC relief carving goes further into tints, glazes and paint.
Step 5: three coats of boiled linseed oil
Jeff finished the whole panel with boiled linseed oil, three coats. The first coat is where walnut changes most: the pale, dusty look of fresh-cut walnut disappears and the deep chocolate colour comes up, while the tinted raven goes almost black.
Oil suits a relief because it soaks in rather than building a film, so it never fills the fine detail the way a thick varnish can. Our guide to finishing CNC relief carvings compares oils, waxes and film finishes, and which wood carves detail best shows why close-grained walnut holds a design like this so well.

What to take from this job
- Rough deep pieces, skip roughing on shallow ones. 23 minutes with a corn cob end mill saved the small finishing bit hours of heavy work.
- Go deeper on dark wood. At 1.250 inches of depth, the shadows carry the design even on walnut.
- 10 percent stepover on a 1/16 inch tapered ball nose leaves a surface that needs no sanding.
- Budget time from real jobs. This finishing pass ran at about a third of its programmed speed, which is normal for relief work.
- Colour first, oil second. Tint on bare wood, and agree the look before the finish goes on.
On an entry-level machine?
Jeff made a point worth passing on: many hobby machines have a 1/8 inch collet and a light spindle, so they cannot hold a 1/2 inch corn cob end mill or run his feeds. You can still carve this design; the job just changes shape.
- Rough with the biggest bit your collet takes, and take much shallower passes than 0.600 inch. Expect roughing to take longer than 23 minutes, and use the feeds your machine's maker recommends rather than Jeff's.
- Finish with a tapered ball nose on a shank your machine holds. Tapered ball nose bits are made with 1/8 inch shanks as well as 1/4 inch ones, so check the shank before you buy.
- Expect a longer finishing pass if your machine cannot reach 250 inches per minute, and plan the carve around that.
- Scale the job to the machine. A smaller panel or a shallower depth cuts the time a lot; our guide to scaling STL files shows how, and Will it cut? shows how the design comes out with the bit you have.
And if a job like this is beyond your machine for now, it is still a good guide to what a bigger spindle makes possible.
If you sell your carvings, our guide to selling CNC relief carvings covers pricing and the commercial licence that comes with every design. If you own a machine and would like paid jobs like this one, apply to join Cut Local; it costs nothing to be listed.
Carve it yourself
The design Jeff carved is our Wolf and Raven bas-relief, ready to import into Aspire, VCarve, Carveco, Fusion 360 or any software that opens STL files:
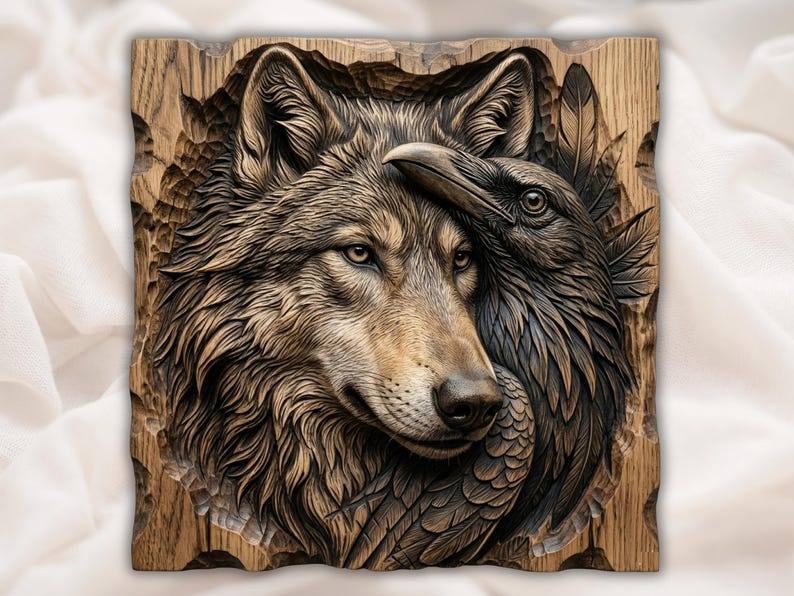
Download the Wolf and Raven · $7.99
If the wolf and raven pairing is what draws you, these three tell the same story in different ways:
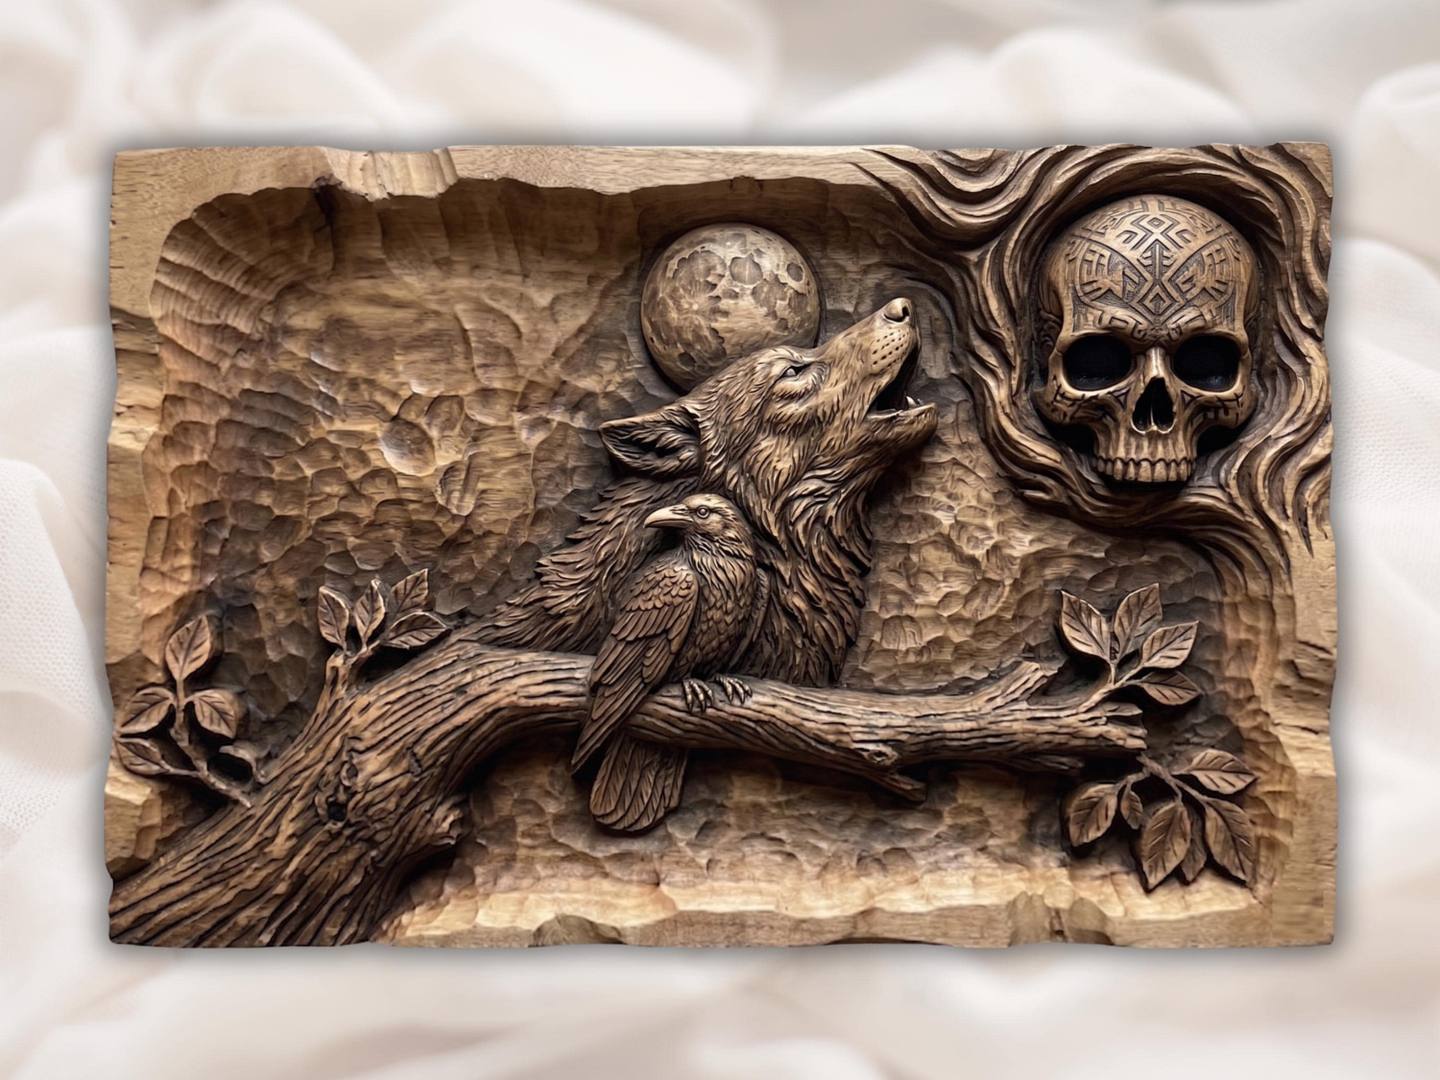
Howling Wolf and Raven Under a Full Moon · $10.39
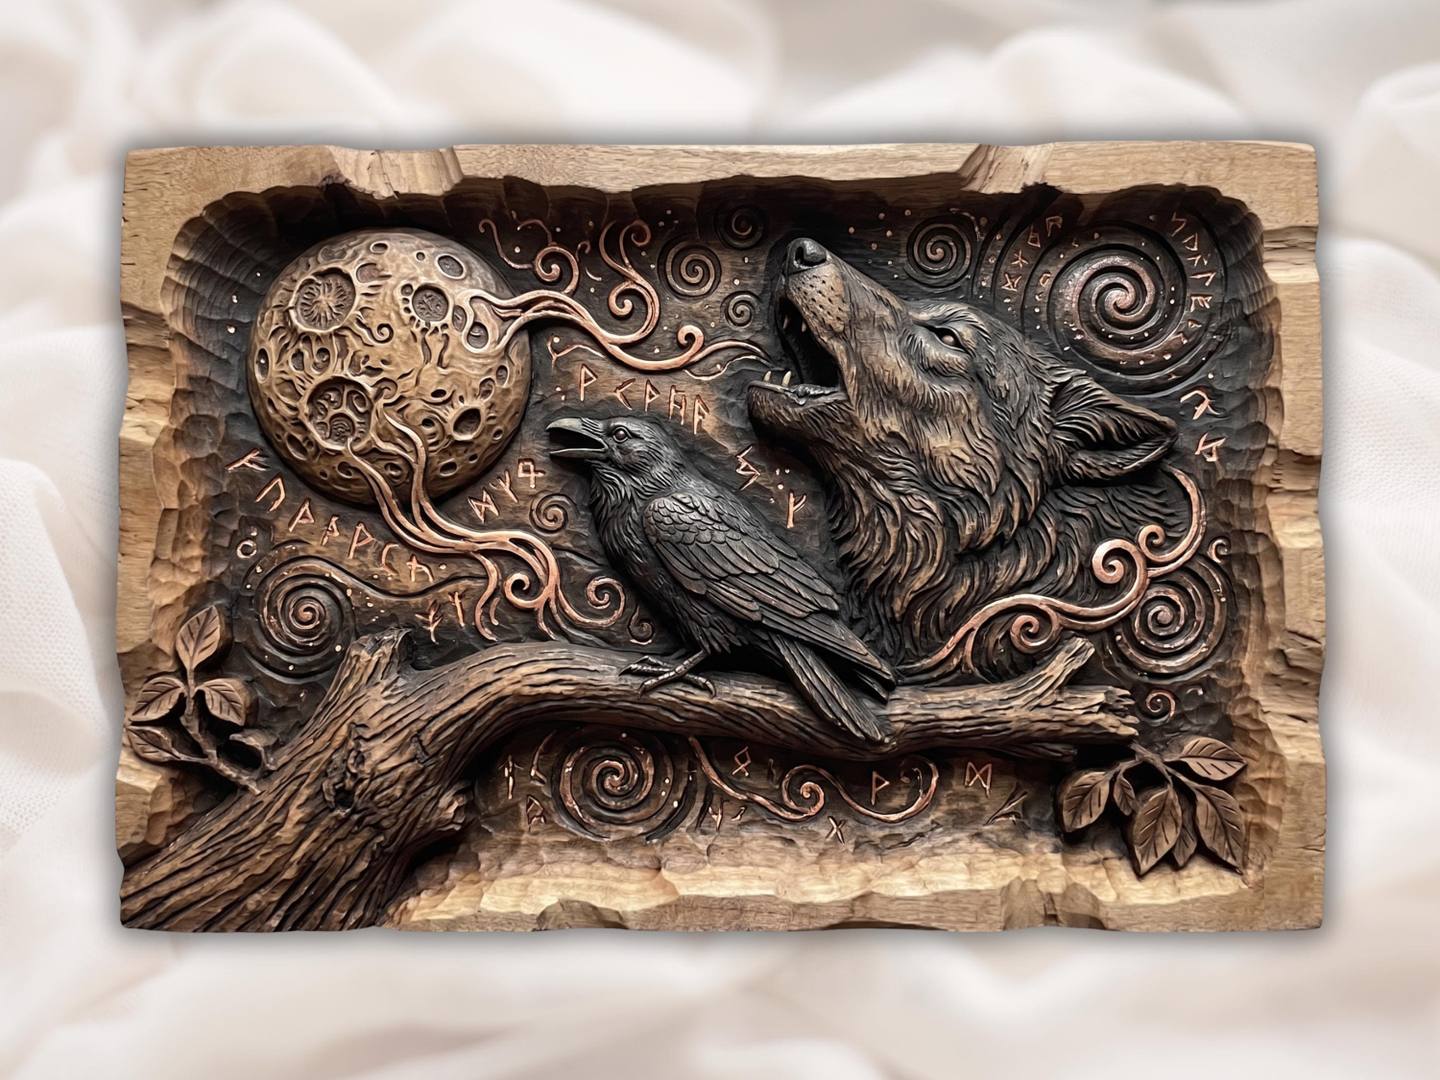
Howling Wolf and Raven Norse Rune Panel · $10.39
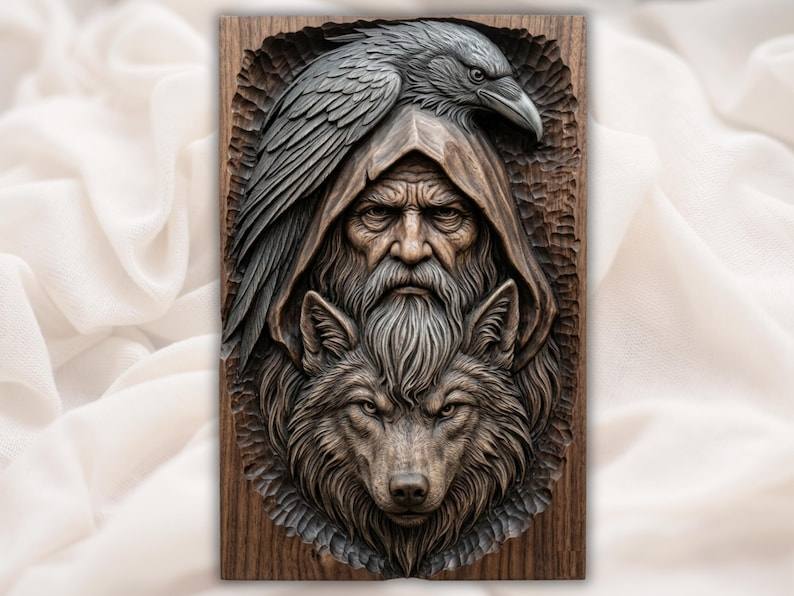
Odin Raven and Wolf Shaman · $7.99
More in the same spirit: our Norse mythology and wildlife wall art collections. And to see what other makers have carved from our files, visit the Carved by you wall.
Questions people ask
How long does it take to CNC carve a 12 by 12 inch relief?
For this walnut wolf and raven at 12 1/2 by 12 1/2 inches and 1.250 inches deep, about six hours of machine time: 23 minutes of roughing with a 1/2 inch end mill and 5 hours 36 minutes of finishing with a 1/16 inch tapered ball nose at 10 percent stepover. A shallower panel, or a larger stepover, carves faster.
What bit gives the finest detail on a relief carving?
A small tapered ball nose. Jeff used a 1/16 inch tapered ball nose at 18,000 rpm and 250 inches per minute. The taper keeps the tool stiff while the small tip reaches into fine hair and feather detail.
Do I need a roughing pass?
On deep pieces, yes: it clears the bulk of the wood quickly and saves the small finishing bit. On smaller pieces you can often skip it, as Jeff did on a 10 1/2 inch locomotive panel.
Can I darken part of a walnut carving?
Yes, before any finish goes on. Jeff brushed tinted denatured alcohol onto the raven while the wood was bare. Once oil seals the surface, a tint can no longer soak in.
What finish suits a walnut relief?
An oil that soaks in rather than building a film. Jeff used three coats of boiled linseed oil, which deepens the walnut without filling the detail.
Can I sell carvings made from this design?
Yes. Every design comes with a commercial licence for the physical pieces you make, which is exactly how Jeff sells his work through Burl & Curl Woodworking.
Thank you to Jeff Miller of Burl & Curl Woodworking for sharing his settings and photos. Carved one of our designs? Send us a photo and your settings, and you might be our next feature.