
Every relief carving you have ever admired was finished by a tapered ball nose. It is the cutter that follows the surface, resolves the eye, and leaves the texture you either sand away or fall in love with. It is also the cutter people understand least: which tip to buy, why the taper is there, why the straight one snapped, and why the same bit gives a glassy finish on one panel and corduroy on the next.
This is the whole subject in one place, with the numbers. It pairs with the carve-time guide, which is about how many passes to run; this one is about what to run them with.
In this guide
- What a tapered ball nose is, and why the taper matters
- The geometry that matters
- Tip sizes and what each one can render
- Stepover: the setting that decides the finish
- Taper angle and steep walls
- Feeds and speeds on a hobby machine
- Why cutters snap, and why straight ball noses snap first
- Telling a dull bit from a bad file
- The three-cutter set
- Buying and looking after them
- Questions people ask
What a tapered ball nose is, and why the taper matters
A ball nose cutter has a rounded tip, so it can sweep across a curved surface and leave a smooth one. A tapered ball nose has a tiny rounded tip at the end of a cone that widens up to a thick shank. The cone is the whole point.
A straight 1/32 inch ball nose is a 0.8 mm rod, 15 mm long, with a 0.8 mm ball on the end. Push it sideways through walnut at 3,000 mm/min and it flexes, chatters, and eventually snaps, usually about three hours into the carve. A tapered cutter with the same 0.8 mm tip has a body that is 6 mm thick a few millimetres above the tip. It is stiffer by orders of magnitude, so it can run faster, cut cleaner, and survive. The price of that stiffness is that the cone cannot fit into a slot narrower than itself or follow a wall steeper than its own angle, and the rest of this article is about living with that trade.
The geometry that matters
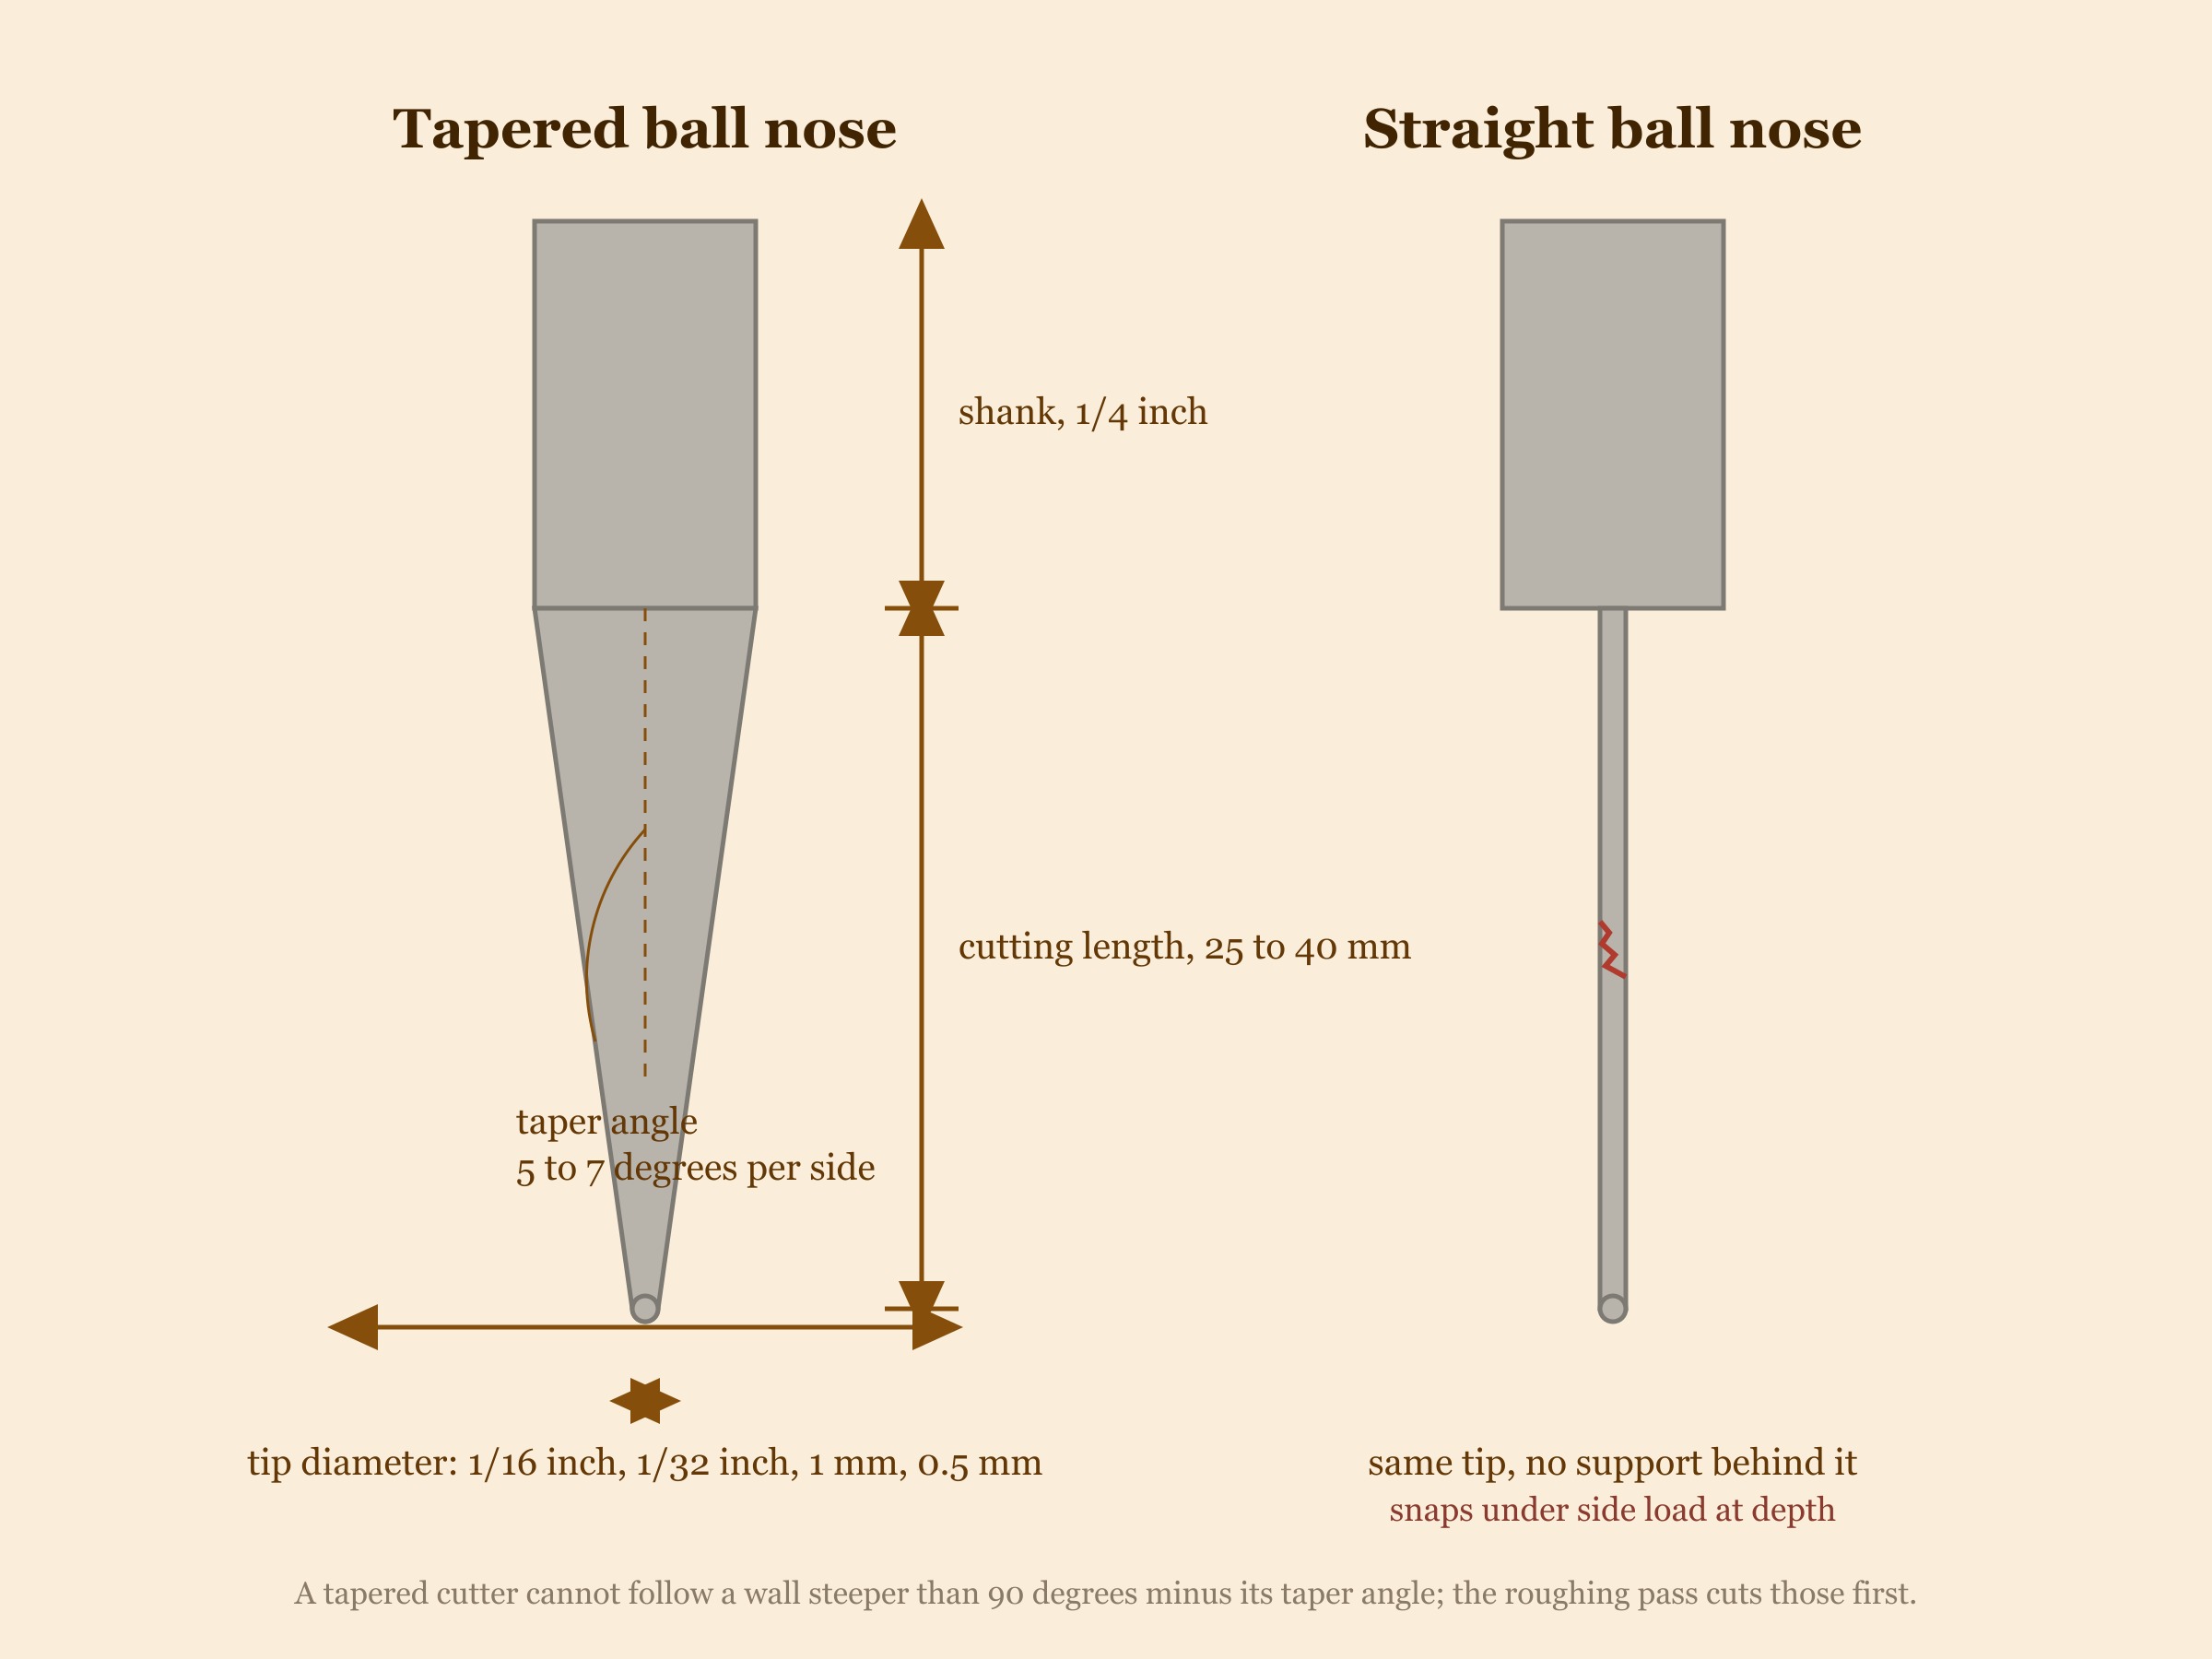
- Tip diameter. The size of the ball at the very end. This sets the smallest detail the cutter can render, and it is the number in the product name.
- Taper angle. How fast the cone widens, usually quoted per side: 5.4 degrees, 6.2 degrees and 7 degrees are the common ones. Smaller angle, slimmer cone, steeper walls reachable, less stiffness.
- Cutting length. How far up the cone the flutes go, typically 25 to 40 mm. It has to exceed the deepest point of your relief below the surrounding surface, or the shank will rub.
- Shank diameter. 1/4 inch (6.35 mm) on almost everything worth buying; 1/8 inch shanks exist for small machines and flex noticeably. Buy 1/4 inch if your collet allows it.
Tip sizes and what each one can render
The rule from the scaling guide applies here directly: a feature has to be about 2.5 times the tip diameter to render cleanly. Below that the ball averages it away.
| Tip | Renders down to | Typical job | Stepover for finish | Notes |
|---|---|---|---|---|
| 1/8 inch (3.2 mm) ball, often straight | 8 mm | Semi-finish over the whole panel; backgrounds; large panels | 12 to 15% | Fast. Leaves a corduroy that the fine pass or a brush removes. |
| 1/16 inch (1.6 mm) tapered | 4 mm | The workhorse. Wildlife, scenes, feathers and fur at 300 mm and up | 8 to 10% | If you own one cutter, own this. |
| 1/32 inch (0.8 mm) tapered | 2 mm | Faces under 300 mm, small text, ornament, eyes | 8% | Always inside a boundary. Slow across a whole panel. |
| 1 mm tapered | 2.5 mm | Between the two above; a popular metric size | 8 to 10% | Functionally close to 1/32 inch. |
| 0.5 mm tapered | 1.2 mm | Jewellery scale, tiny portraits, coin-sized work | 6 to 8% | Fragile, slow, and rarely worth it on wood, whose fibres are coarser than the detail. |
The mistake almost everyone makes is buying the smallest tip on the theory that smaller is more detailed. It is more detailed only where the file has detail finer than 4 mm, which on a typical wildlife panel is the eye and not much else. Everywhere else a smaller tip is just a slower cutter.
Stepover: the setting that decides the finish
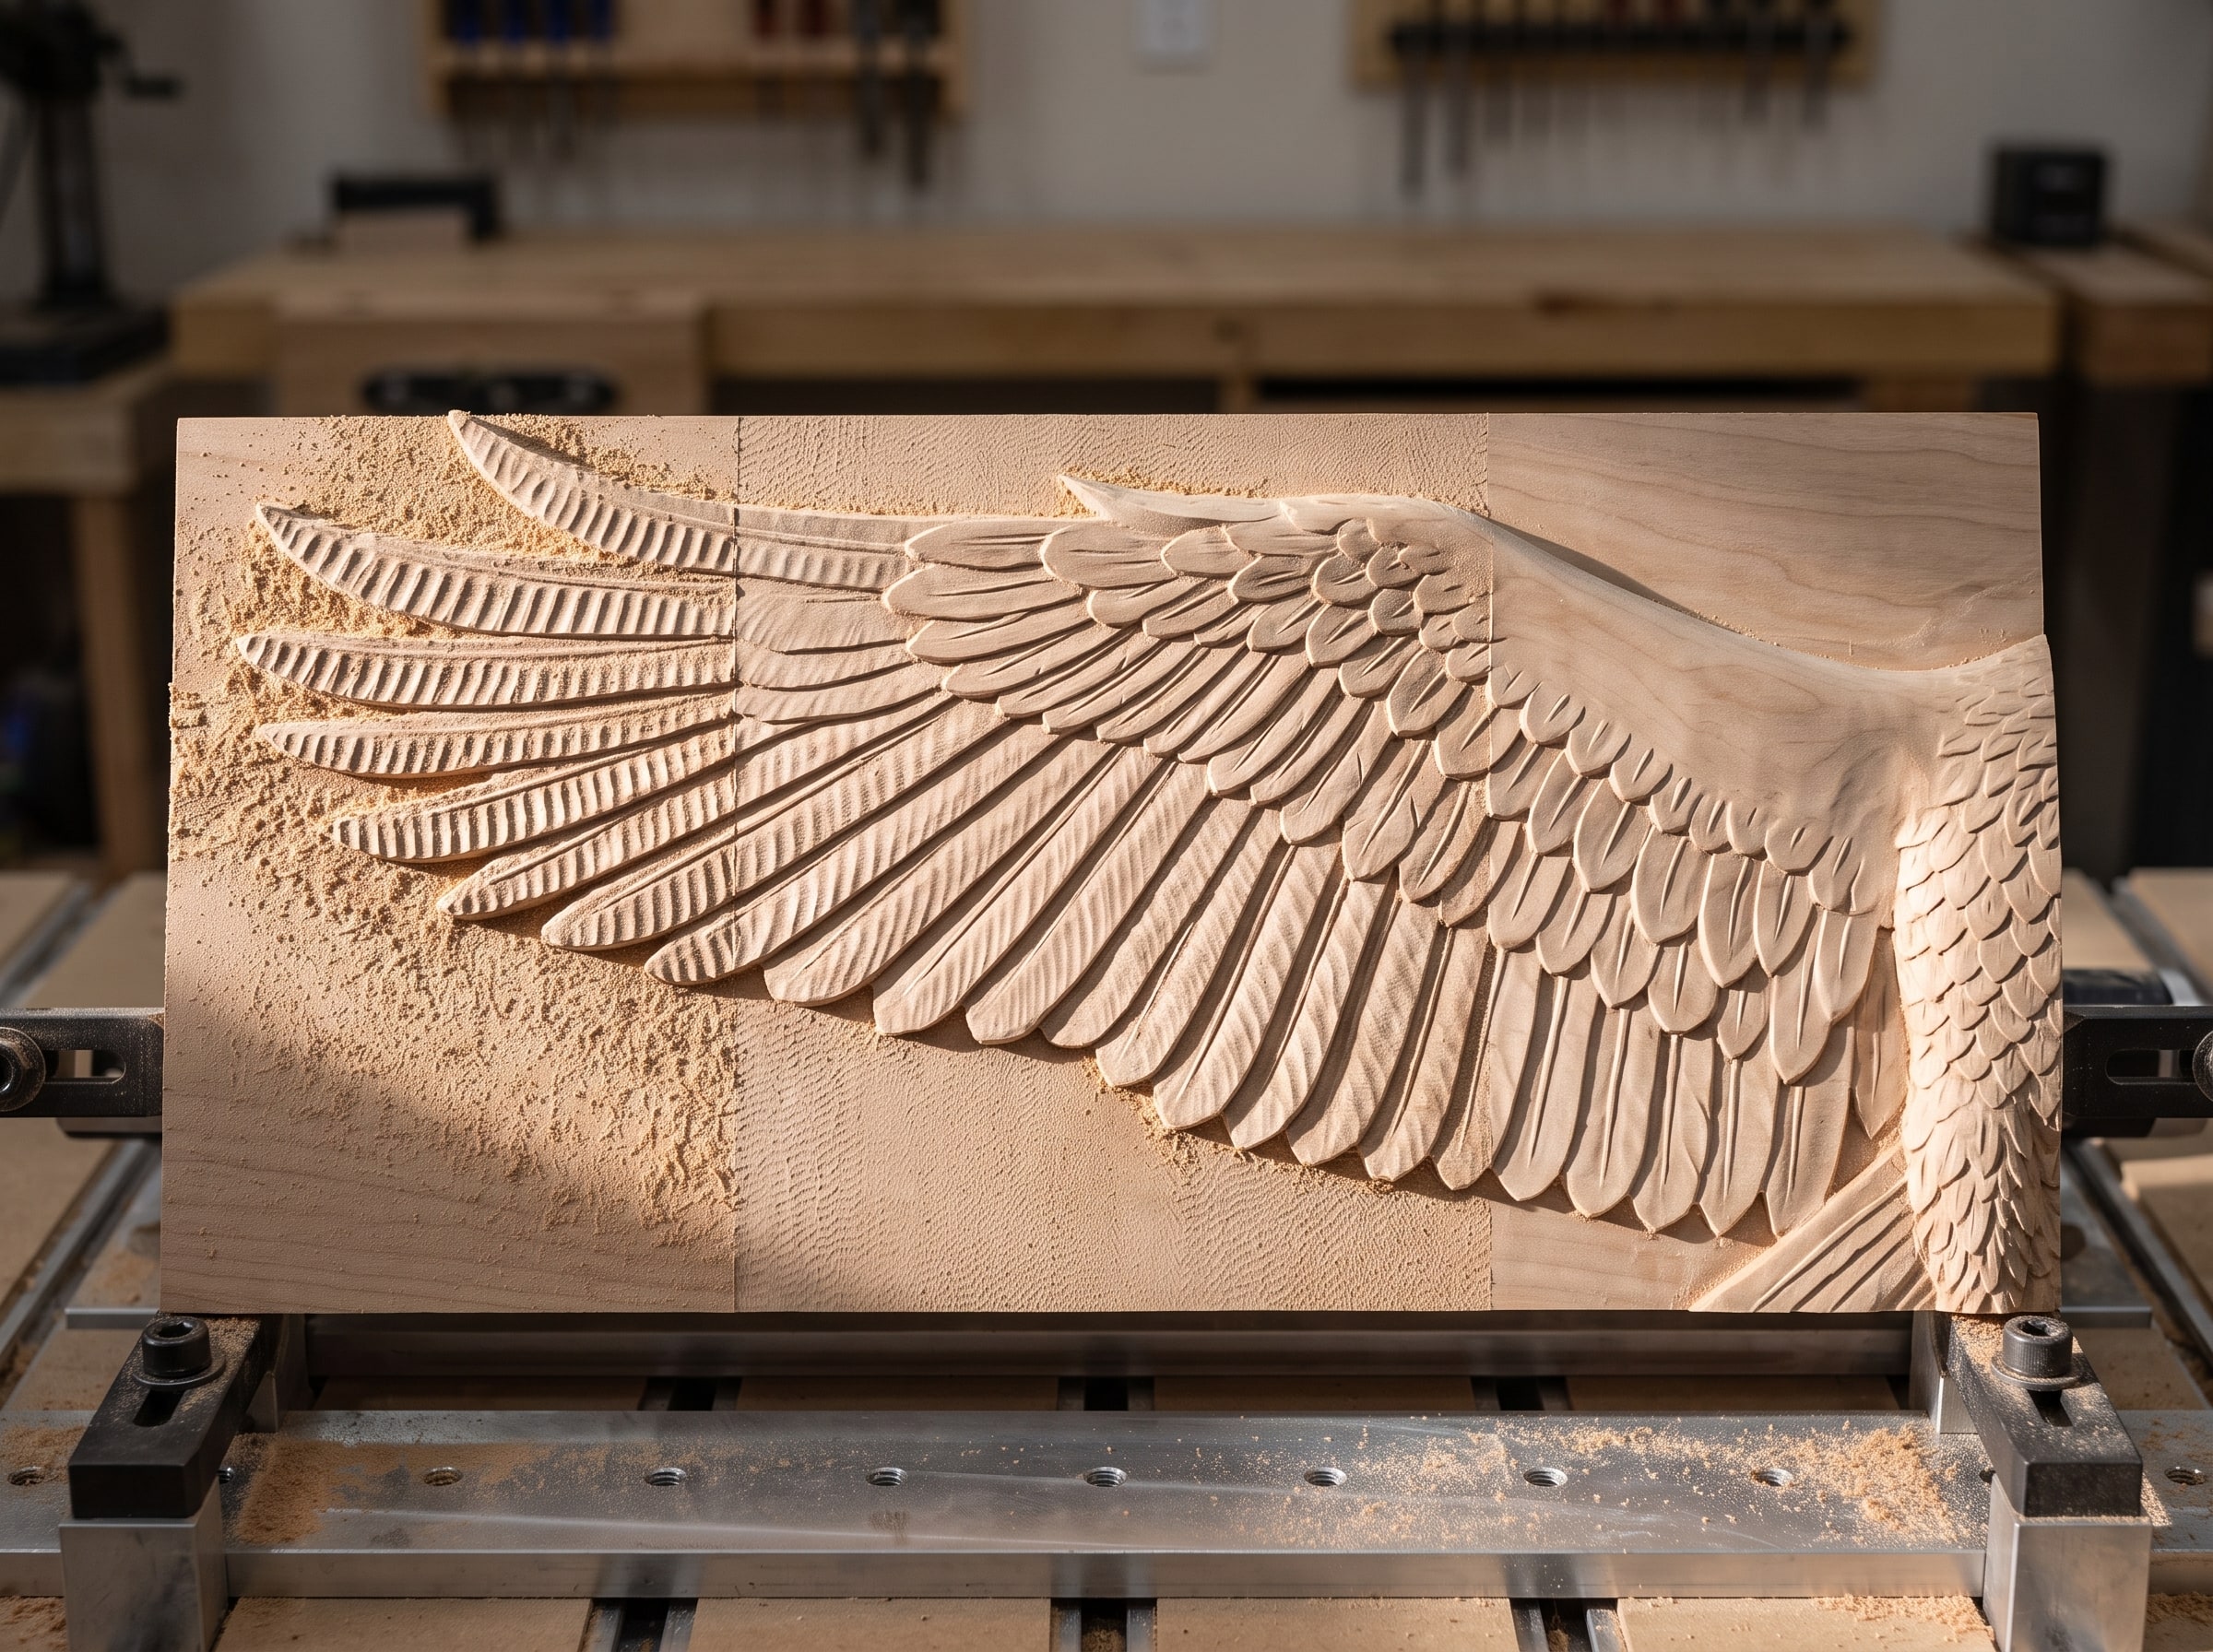
Stepover is the distance between one raster line and the next, written as a percentage of the tip diameter. Because a ball nose is round, each pass leaves a tiny ridge, a scallop, between itself and the previous one, and the stepover sets how tall the scallops are. That ridge is the "bit marks" people ask about.
- 25%: visible ridges. Roughing or semi-finish only.
- 12 to 15%: fine corduroy, invisible after a brush and a coat of oil on a background. The right setting for the semi-finish over the whole panel.
- 8 to 10%: no visible marks. The right setting for the fine pass inside a boundary around the detail.
- Under 6%: wasted on wood. The fibres are coarser than the scallops you are removing, and the time doubles.
Time scales inversely with stepover: halve it and you double the passes. That is why the fine setting belongs inside a boundary around the face and not across the whole sky. The carve-time guide shows how to draw that boundary in each CAM package.
Taper angle and steep walls
A tapered cutter cannot follow a wall steeper than 90 degrees minus its taper angle. A 7 degree cutter cannot cut a wall steeper than 83 degrees; where the model has one, the cone rubs the wall above the tip and either gouges it or leaves it uncut. Three ways to handle it:
- Let the roughing pass cut the walls. A flat end mill has vertical sides. Rough with it and the steep walls are already there before the ball nose arrives; the ball nose then only has to skim them.
- Choose a smaller taper angle (5.4 degrees rather than 7) for models with near-vertical elements such as lettering or geometric borders.
- Ask whether the wall needs to be vertical. Good relief files are modelled with drafted walls for exactly this reason. Ours are.
Feeds and speeds on a hobby machine
Starting points in cherry, walnut or maple on a belt-driven or lead-screw hobby router. Back off 20% in oak; speed up 10% in basswood, because a sharp cutter moving fast leaves less fuzz in soft wood than a slow one.
| Cutter | RPM | Feed | Plunge | Depth per pass |
|---|---|---|---|---|
| 1/8 inch ball, semi-finish | 18,000 to 20,000 | 2,500 to 3,500 mm/min (100 to 140 ipm) | 800 mm/min | Skin only (0.5 to 1 mm left by roughing) |
| 1/16 inch tapered, finish | 18,000 to 22,000 | 2,000 to 3,000 mm/min (80 to 120 ipm) | 600 mm/min | Skin only |
| 1/32 inch or 1 mm tapered, detail | 20,000 to 24,000 | 1,500 to 2,500 mm/min (60 to 100 ipm) | 400 mm/min | Skin only |
| 0.5 mm tapered | 24,000 | 1,000 to 1,500 mm/min | 250 mm/min | Skin only |
Two things that matter more than the exact numbers. First, a finishing cutter should only ever be removing the thin skin left by the roughing pass; if it is buried to the cone, the numbers above will snap it. Second, a rigid machine can run the top of each range and a flexible one should run the bottom, because deflection shows up as a rougher surface long before it shows up as a broken bit.
Why cutters snap, and why straight ball noses snap first
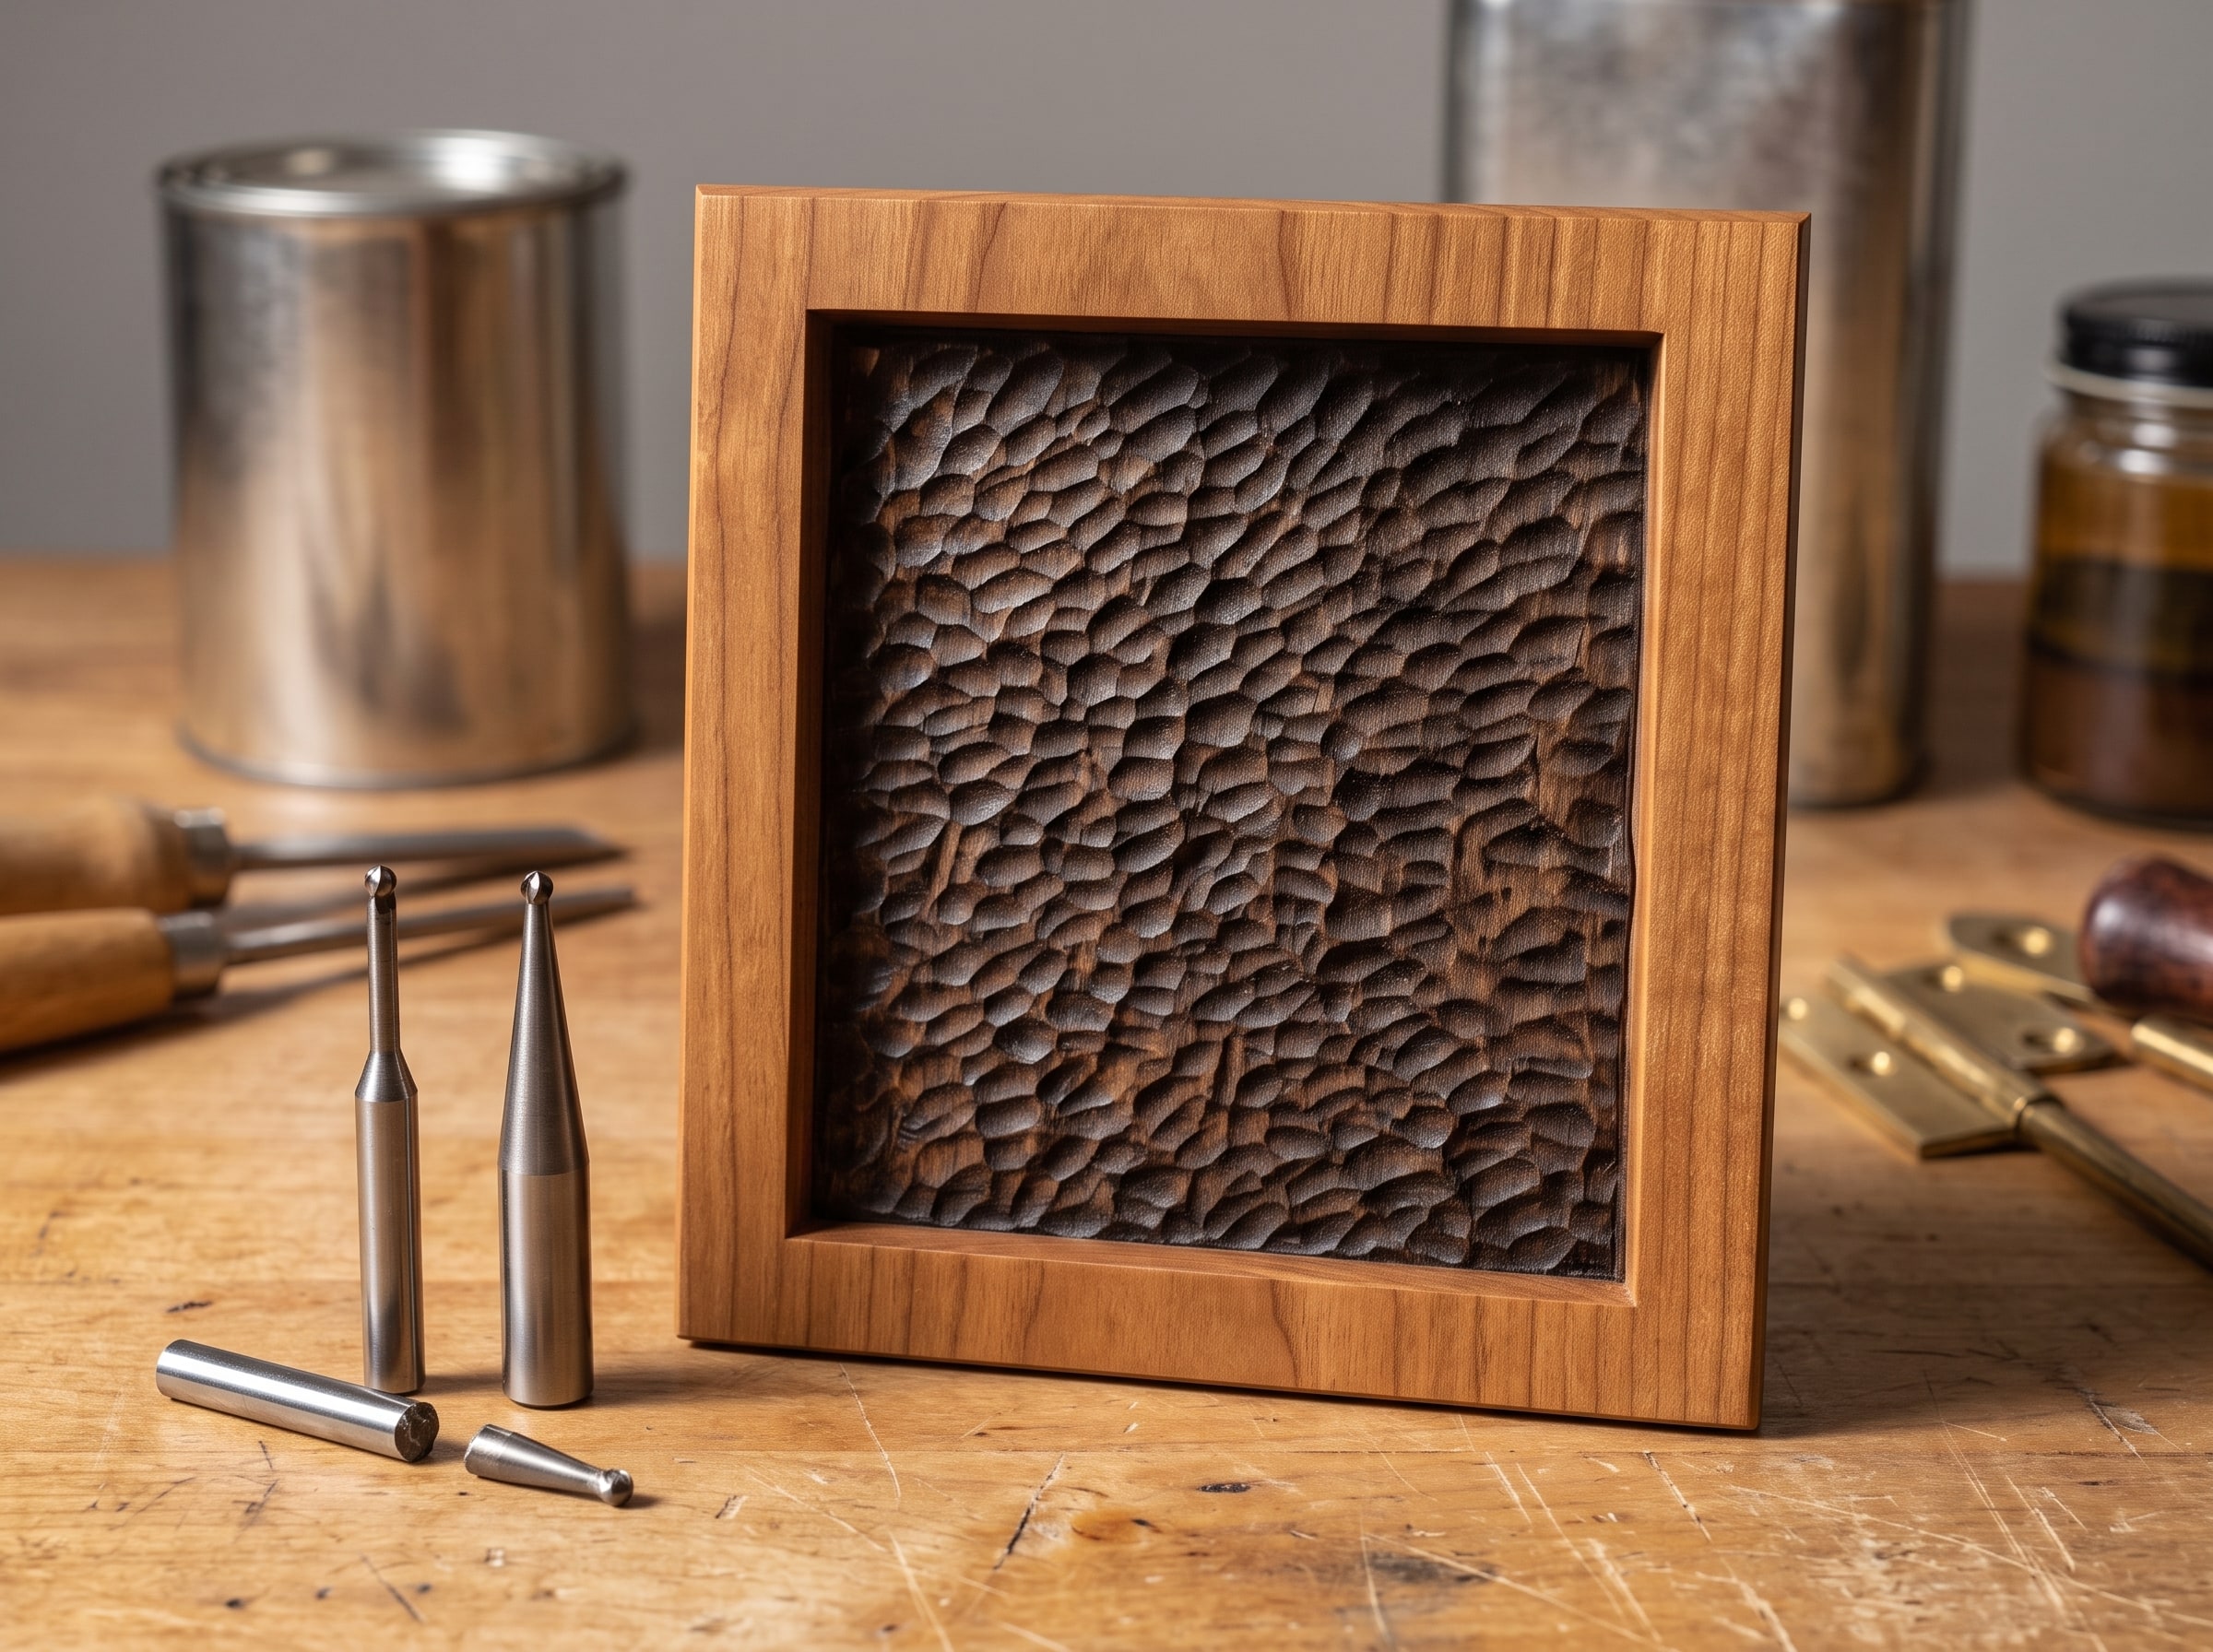
Cutters break from side load, and a finishing pass is almost all side load. The causes, in order of how often we see them:
- No roughing pass. The fine cutter is asked to remove 12 mm of stock in one line and buries itself. This breaks more bits than everything else combined.
- A straight cutter where a tapered one belonged. Anything under 1/16 inch should be tapered on wood, full stop.
- Plunging at feed rate. Set a separate plunge rate; the tip is the weakest part of the cutter and a plunge loads it end-on.
- A loose or dirty collet. Runout of a few hundredths of a millimetre at the tip of a tiny ball is a hammer blow on every revolution.
- A knot, a nail, or an embedded stone. Look at the board before you clamp it.
Telling a dull bit from a bad file
A dull cutter and a poor file produce similar symptoms, and people blame the file. A dull cutter: fuzz along every edge where there was none last week, burnished shiny patches on the high points, faint burn marks on maple, a rising pitch from the spindle. A bad file: soft detail that was soft in the CAM preview too, and the same softness with a brand-new cutter. The test is cheap: run the same 80 mm test tile with a fresh cutter. If it comes out crisp, the bit was done.
A tapered ball nose on hardwood is a consumable. Expect 30 to 60 hours of finishing from a good carbide one before it noticeably dulls, less in oak and maple. Budget for it the way you budget for sandpaper.
The three-cutter set
Three cutters carve every file in the catalogue:
- 1/4 inch two-flute flat end mill, for roughing.
- 1/16 inch tapered ball nose, for the semi-finish over everything and the finish on most wildlife and scenes.
- 1/32 inch (or 1 mm) tapered ball nose, for faces, eyes and small text, inside a boundary.
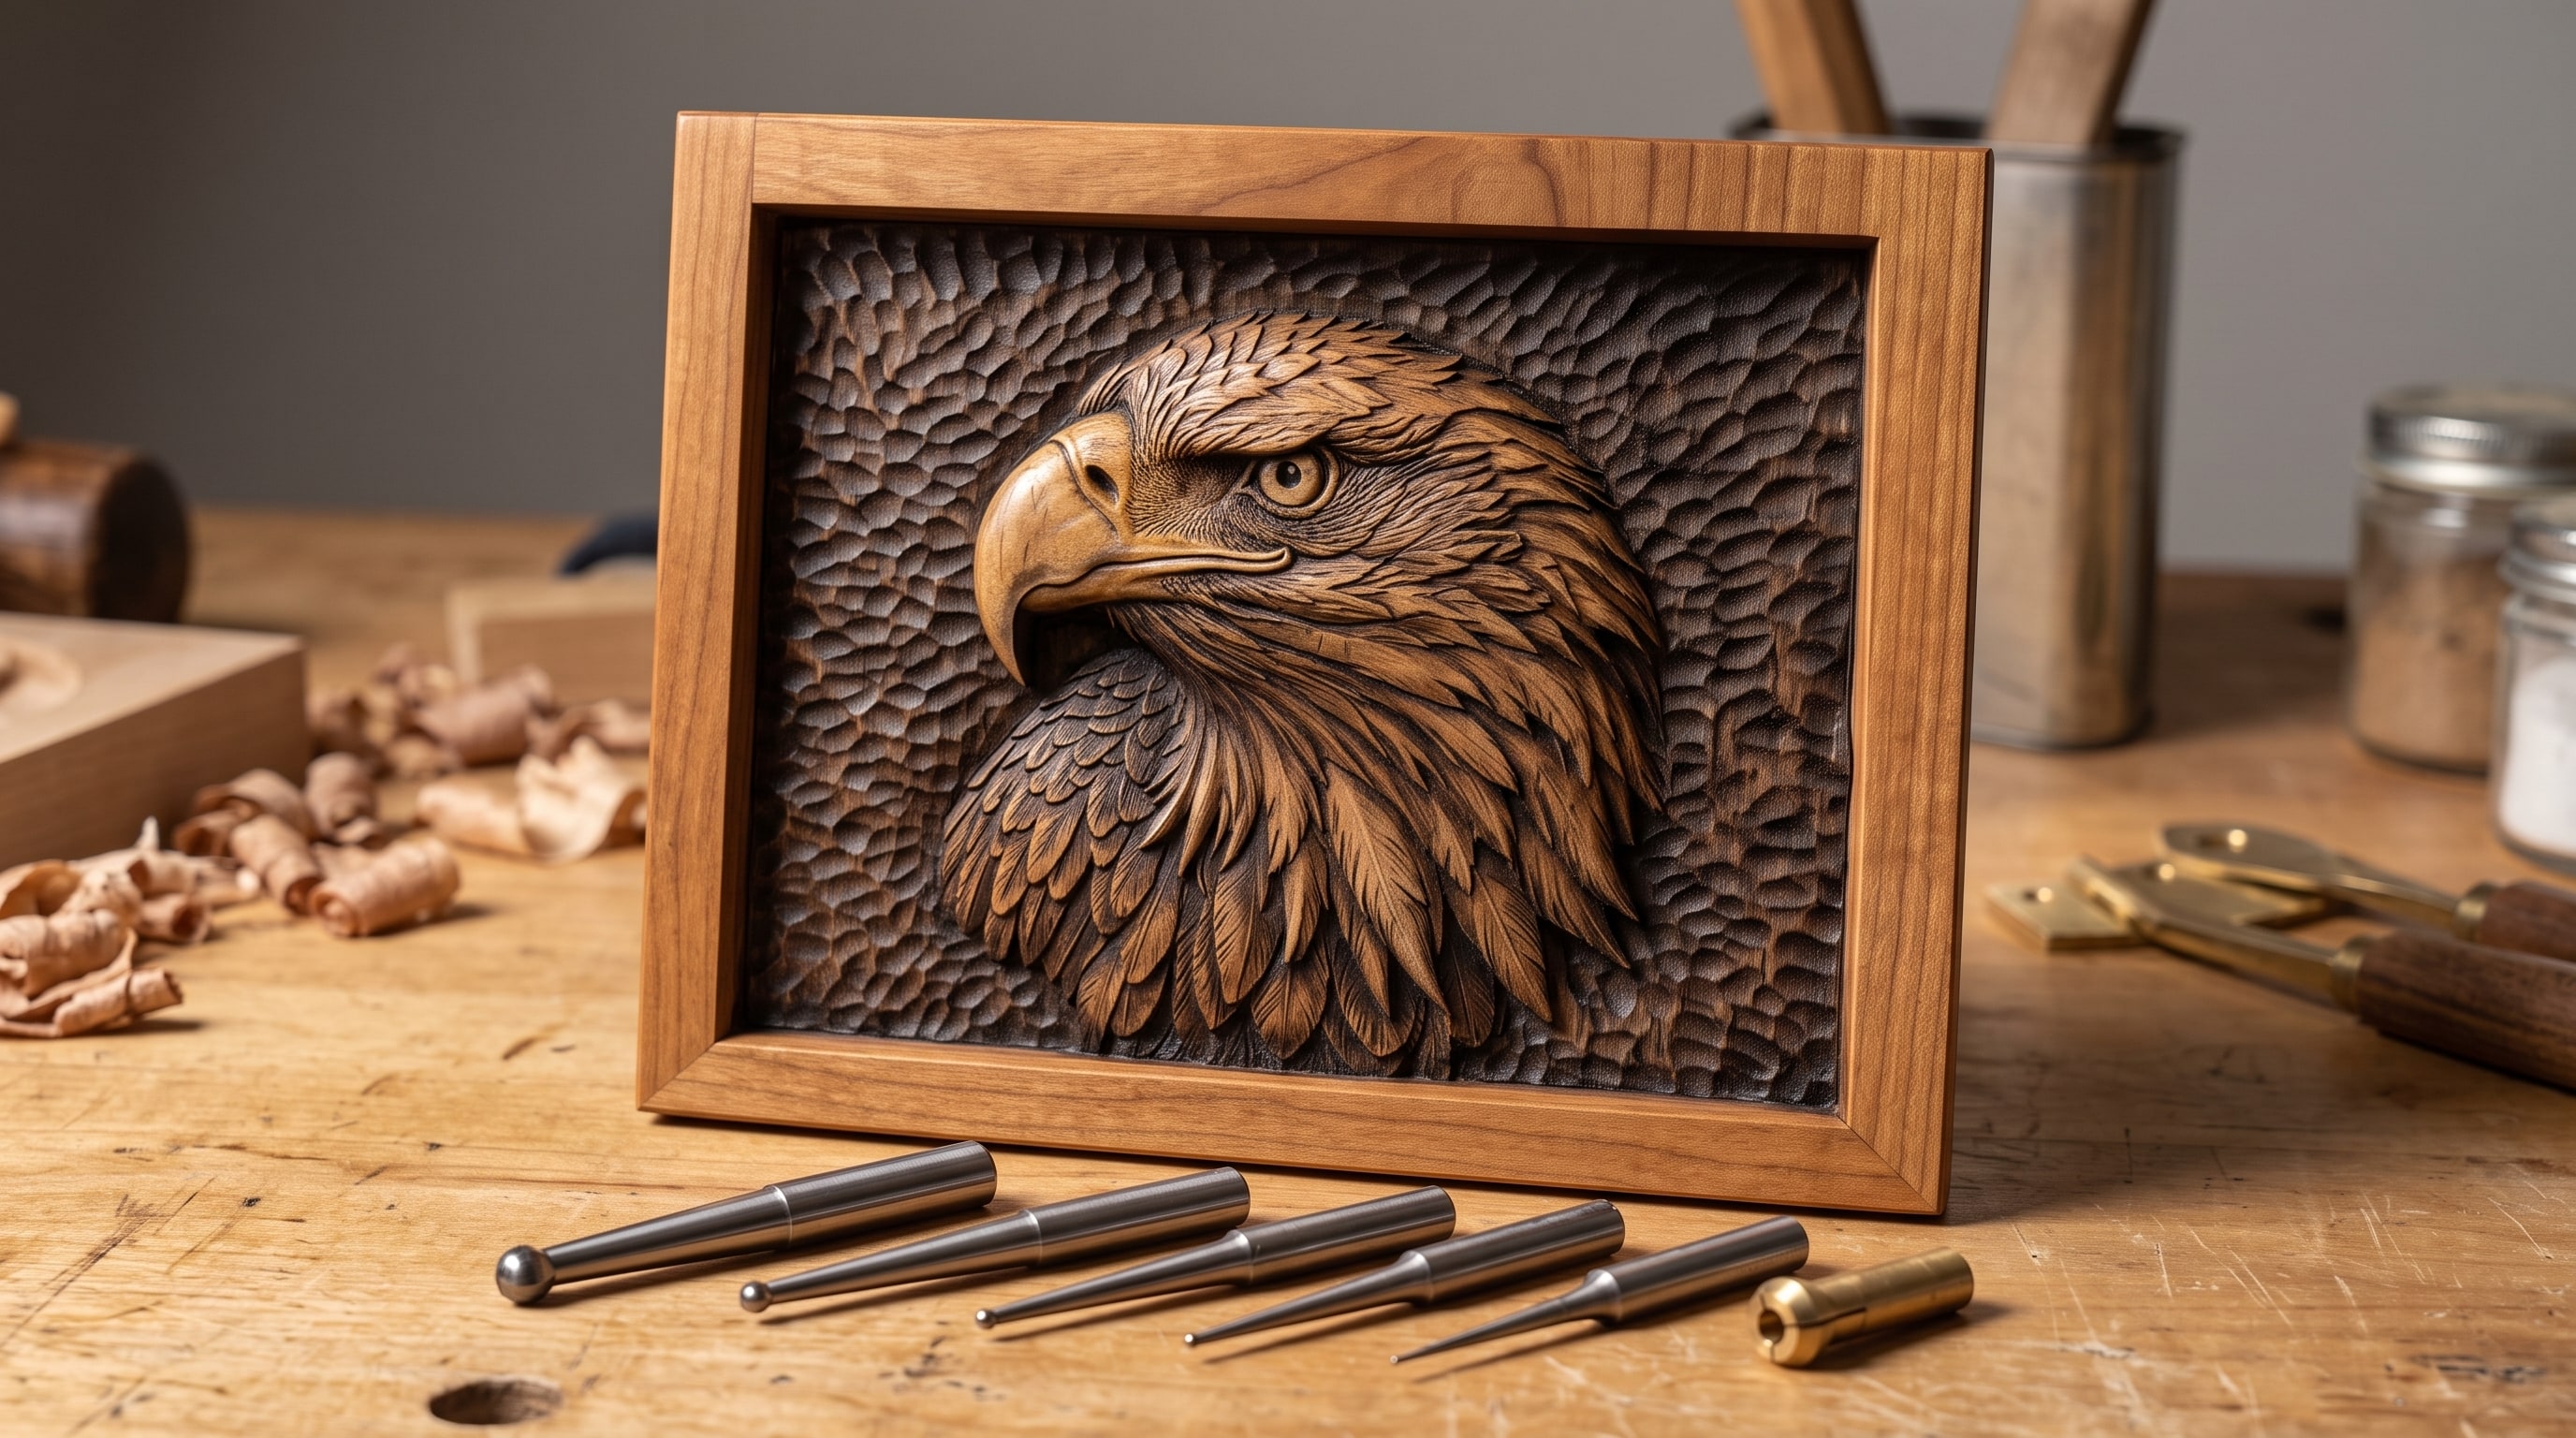
Add a 0.5 mm only when a specific piece demands it, and buy two of the 1/32 so a snap at hour three does not end the weekend. The eagle head in the photograph above was carved with exactly these three.

Download the eagle head panel · $6.39
Buying and looking after them
- Solid carbide, 1/4 inch shank, two flutes. That describes every cutter you should buy. Single-flute tapers exist for very soft wood and plastics; they are not better on hardwood.
- Reputable makers cost more and last longer. The names carvers trust are well known; the no-name ten-packs are a false economy, because a dull cutter costs you an hour of brushing per panel and a snapped one costs a weekend.
- Coatings such as AlTiN or diamond-like carbon extend life in abrasive materials like MDF and do little in cherry. Plain polished carbide is fine for wood.
- Store them in the tubes they came in, tip up. A 0.8 mm carbide tip chips when it rolls against another cutter in a drawer.
- Mark the hours. A strip of tape on the tube with a tally of jobs tells you when a cutter is due before your carvings do.
For a design that will show you the difference between a fresh 1/32 and a tired one, the Face of Christ and Crucifixion Bas-Relief STL with Crown of Thorns is the honest test: eyes, beard and thorns in one panel.

Download the Face of Christ panel · $16.00
Questions people ask
What is the best bit for 3D relief carving?
A 1/16 inch tapered ball nose for almost everything, with a 1/32 inch tapered ball inside a boundary for faces and text. Rough first with a 1/4 inch flat end mill.
Tapered or straight ball nose?
Tapered for anything under 1/16 inch. The cone behind the tip is what stops it snapping and lets it run at a useful feed.
What stepover should I use?
12 to 15% for the semi-finish over the whole panel, 8 to 10% for the detail pass inside a boundary. Under 6% is wasted on wood.
Why does my carving have lines in it?
Those are scallops from too large a stepover for the cutter, or deflection on a flexible machine. Tighten the stepover on the detail, and slow the feed if the marks are uneven.
Why did my bit snap?
Almost always because it was buried in stock with no roughing pass, or because it was a straight cutter under 1/16 inch. Rough first, use tapered cutters, and set a slower plunge rate.
How long does a tapered ball nose last?
Roughly 30 to 60 hours of finishing in cherry or walnut for a good carbide cutter; less in maple and oak. Fuzz and shiny burnished high points mean it is done.
Three cutters, a roughing pass, and a stepover matched to the tip. Get those right and the tapered ball nose stops being the thing that snaps at hour three and becomes what it was always meant to be: the cutter that makes a carving look carved.
Jolly, DigitalChiselCo