
A maker on the Onefinity forum posted a number that stops people buying relief files: his controller estimated over six days of machine time for a 20 by 12 inch carving. Another, on a different forum, had a 55 hour estimate for a similar job. He changed three settings and it ran in 13. Same design, same machine, same wood.
Nothing was wrong with either file. What was wrong was the toolpath: one small ball nose cutter asked to do the entire job, from hogging out the background to polishing the eye, at the tiny stepover only the eye needed. That is like painting a house with a nail-art brush. This article is about painting the walls with a roller first.
Every number below is either cited to the maker who reported it or worked from first principles you can check yourself. There is a time estimator in the middle you can do on the back of an envelope.
In this article
- Where the hours actually go
- The stepover maths (why 8% costs double what 15% does)
- The three-pass bit ladder
- Pass 1: Roughing with a flat cutter
- Pass 2: Semi-finishing with a 1/8 inch tapered ball nose
- Pass 3: Fine detail, inside a boundary only
- The back-of-the-envelope time estimator
- Feeds and speeds that are actually achievable on a hobby machine
- Eleven settings that quietly waste hours
- Where each setting lives in Aspire, VCarve, Carveco and Fusion
- A worked example: the eagle panel, 6 days to 4 hours
- Questions people ask
Where the hours actually go
A 3D finishing toolpath is a raster. The cutter sweeps back and forth across the panel in parallel lines, and each line is one stepover away from the last. The total distance the cutter travels is simply the panel's area divided by the stepover. That is the whole story of machine time, and it explains three things people find surprising:
- The stepover controls time, not the depth. Halving the stepover doubles the lines, which doubles the distance, which doubles the time. Depth barely matters to a finishing pass, because the cutter is only skimming the last fraction of a millimetre.
- The background costs as much as the subject. A raster does not know that the flat sky behind the eagle has no detail in it. It sweeps the sky at the same fine stepover as the eye. On most panels the background is more than half the area.
- A finishing cutter is a terrible roughing cutter. A 1/8 inch ball nose cutting 12 mm deep in one line takes tiny bites, has to slow down to survive, and still spends hours doing what a 1/4 inch flat end mill does in twenty minutes.
Fix those three and the six-day carve becomes an afternoon. Everything else in this article is detail.
The stepover maths
Stepover is written as a percentage of the cutter's diameter. For a 1/8 inch (3.175 mm) ball nose:
| Stepover | In mm | Lines per 300 mm panel | Relative time | Surface |
|---|---|---|---|---|
| 25% | 0.79 | 380 | 1x | Obvious scallops. Roughing only. |
| 15% | 0.48 | 630 | 1.7x | Fine corduroy. Good for backgrounds; sands out in minutes. |
| 10% | 0.32 | 945 | 2.5x | Barely visible. The general-purpose finish. |
| 8% | 0.25 | 1,180 | 3.1x | Invisible after a brush. Faces, eyes, feathers. |
| 5% | 0.16 | 1,890 | 5x | Wasted on wood. The grain is coarser than this. |
Read that last column carefully. Going from 15% to 8% costs almost double. Going from 8% to 5% costs another 60% and produces a surface no one will ever see, because wood fibres are bigger than the scallops you are removing. The 8% figure that gets repeated in every forum is correct for the parts of the panel that need it. It is a disaster applied to the whole thing.
The three-pass bit ladder
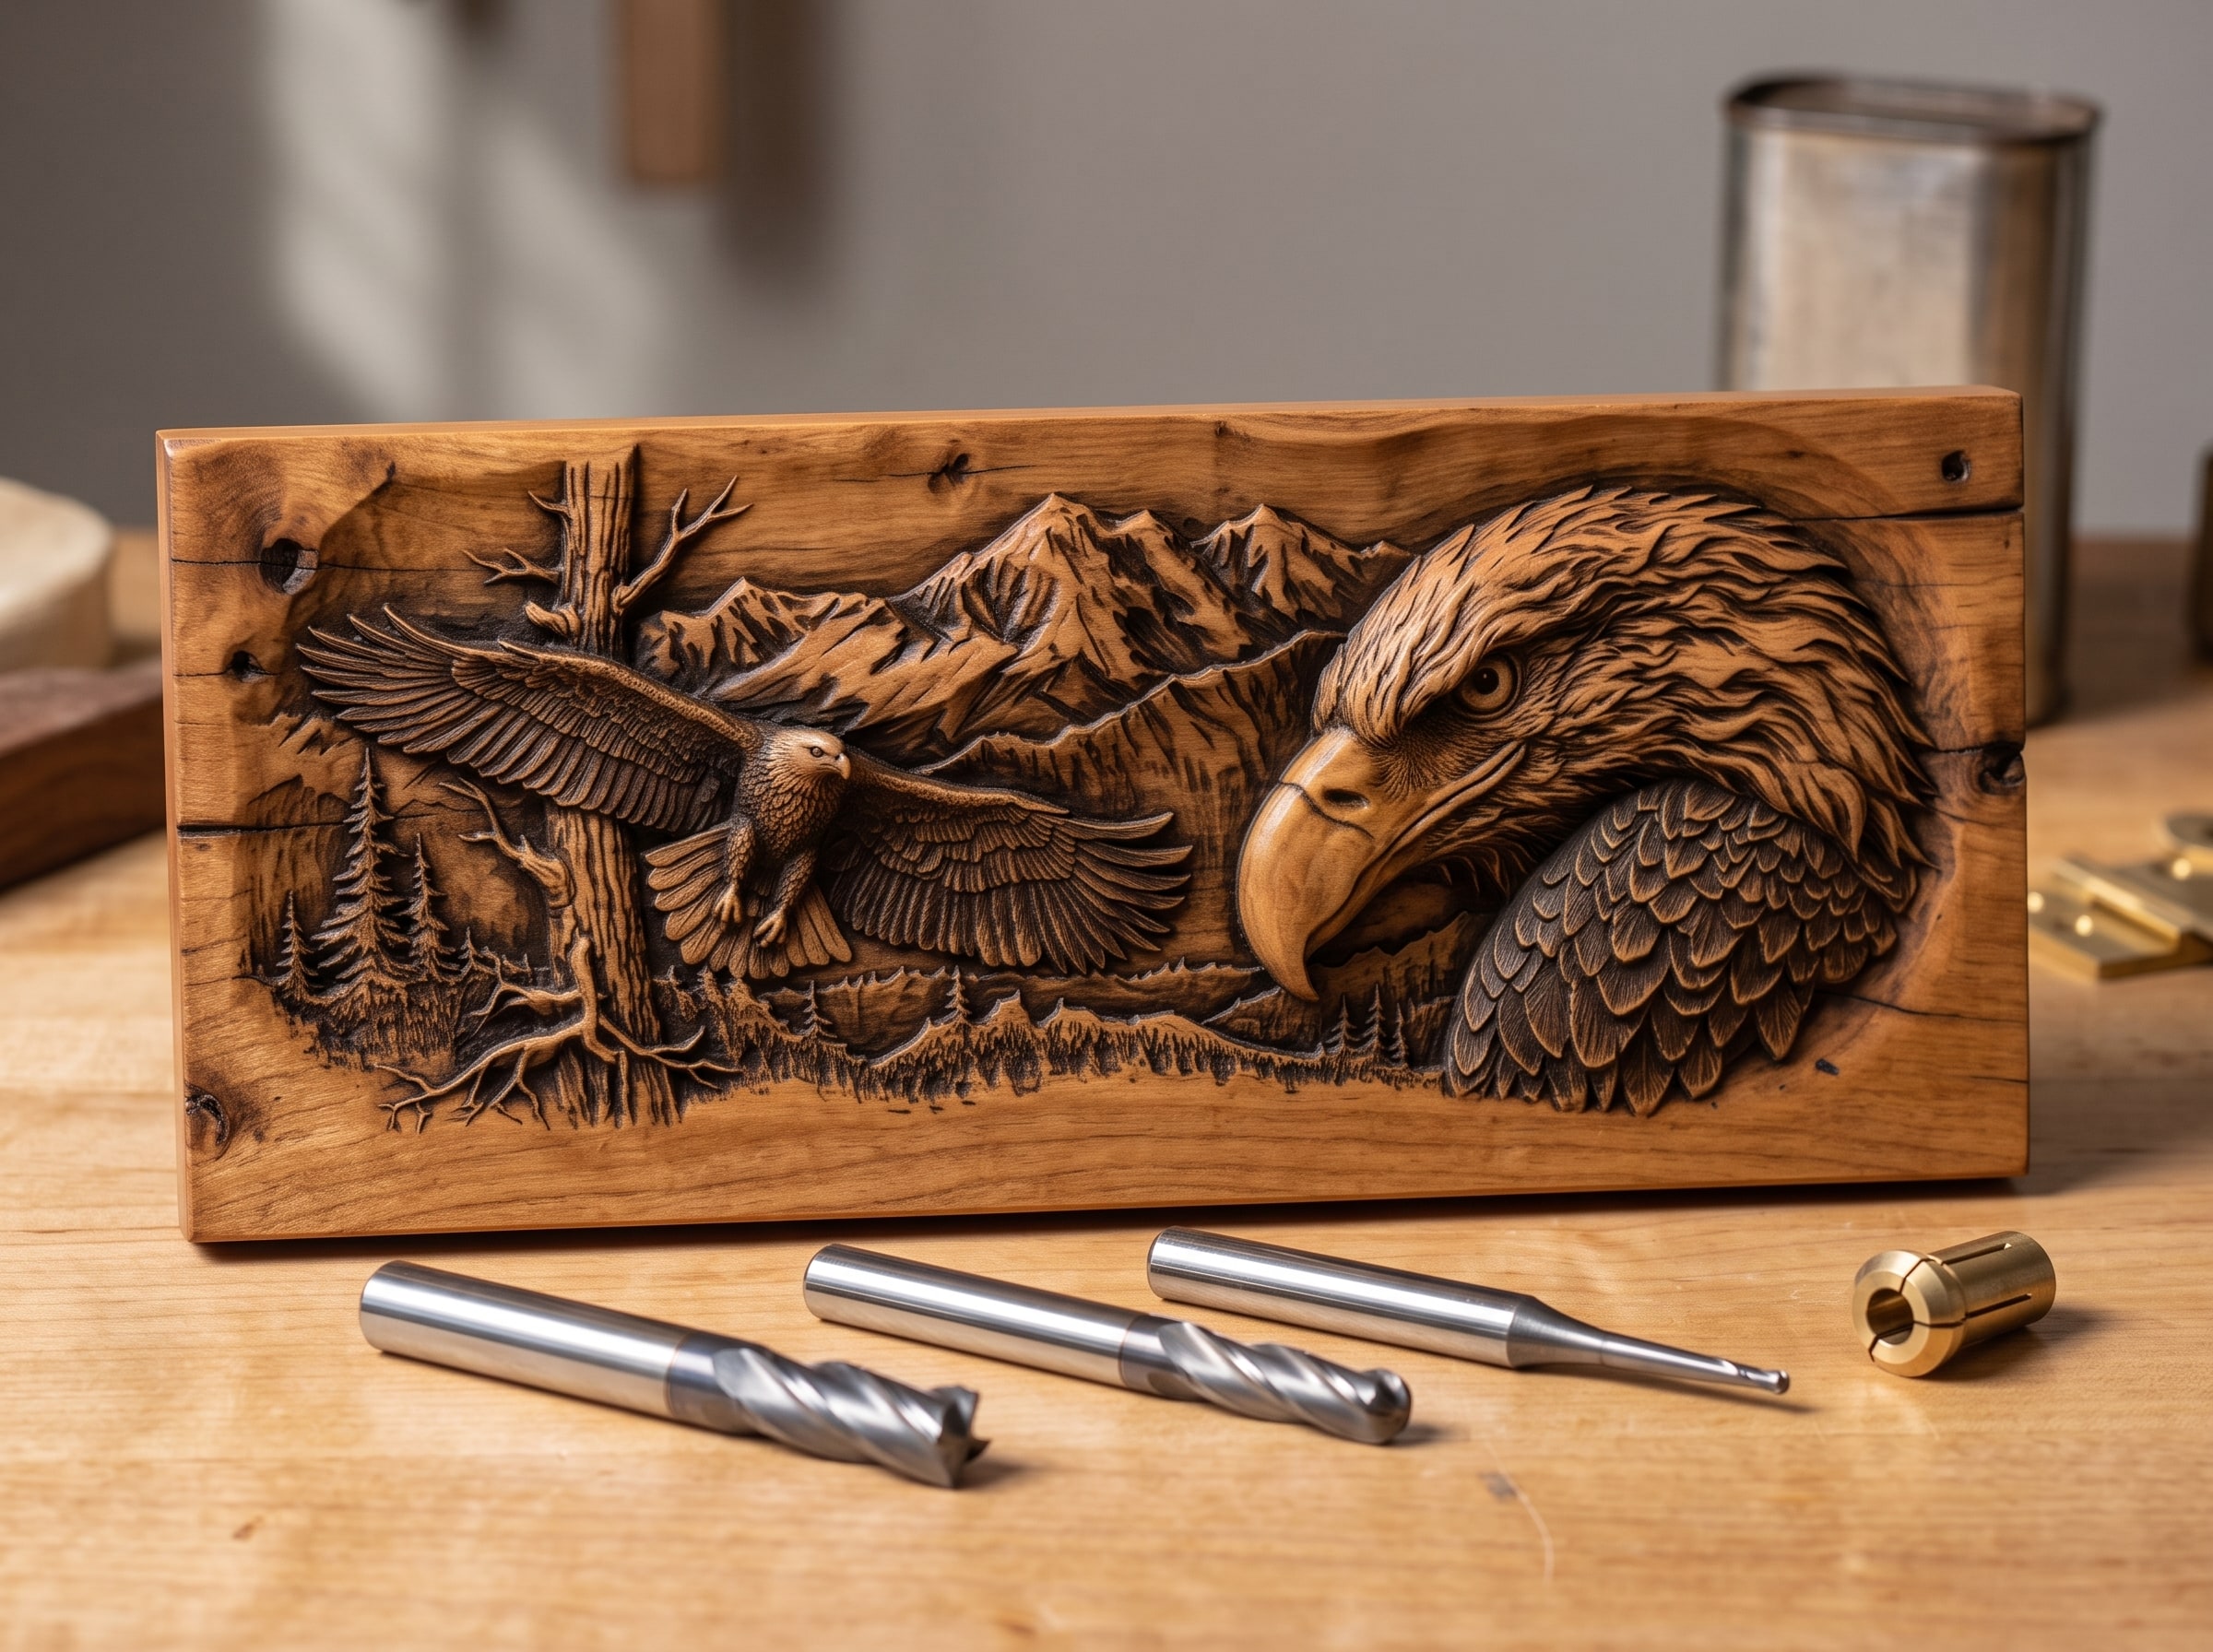
Professional shops do not carve reliefs with one cutter. They use a ladder, each rung doing what the previous one cannot, and each one faster than the one below it:
- A flat end mill roughs. 1/4 inch on a hobby machine, 3/8 or 1/2 on a rigid one. It clears the bulk of the waste in coarse terraces and leaves a thin, even skin of stock.
- A 1/8 inch tapered ball nose semi-finishes. It removes the terraces and forms the actual surface at a medium stepover, everywhere.
- A 1/16 inch tapered ball nose finishes the fine detail only, at a fine stepover, inside a boundary you draw around the parts that need it.
Tapered matters. A tapered ball nose has a thick shank behind a fine tip, so it is far stiffer than a straight 1/16 inch cutter and can run faster without chattering or snapping. The taper angle limits how steep a wall it can follow, but relief carvings rarely have vertical walls, and the roughing pass has already cut those.
Pass 1: Roughing with a flat cutter
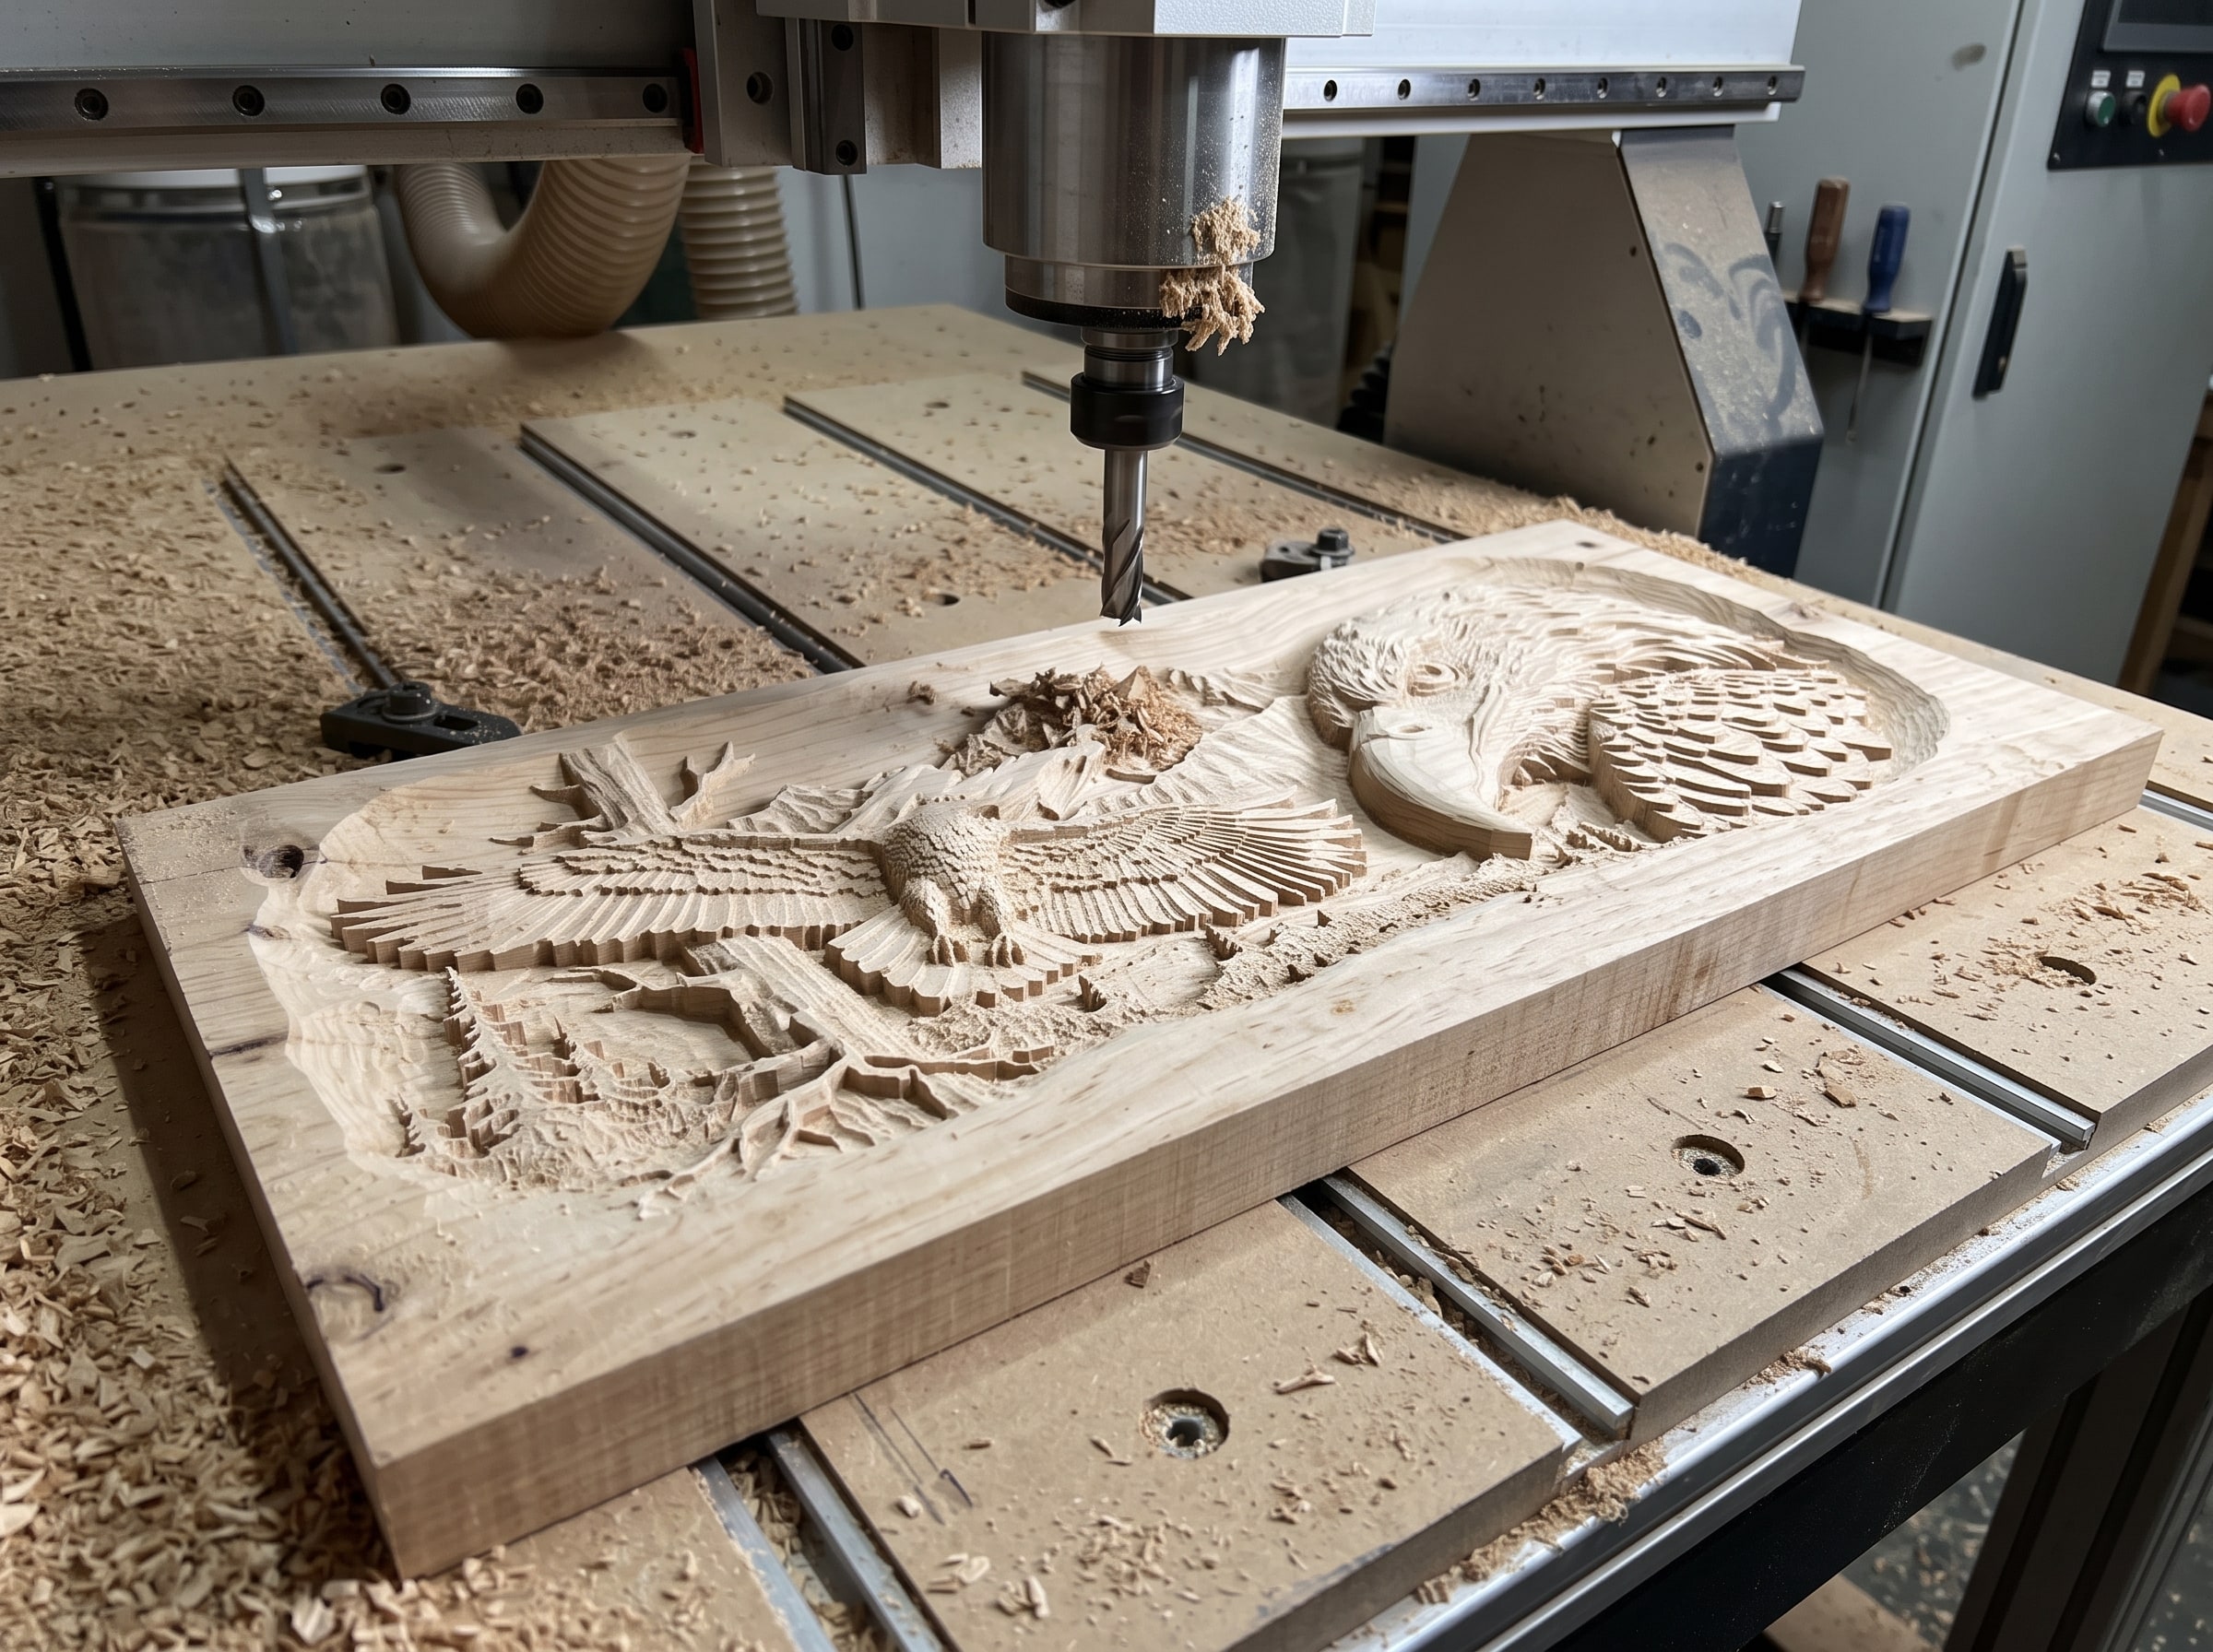
The roughing pass exists to remove wood quickly and leave a skin for the next cutter. The settings that matter:
- Cutter: 1/4 inch two-flute flat (or downcut, for a cleaner top surface).
- Strategy: Z-level or "raster in levels". The cutter clears one horizontal slice of the whole panel, drops, clears the next. Aspire and Carveco call this the 3D roughing toolpath; Fusion calls it Adaptive Clearing, which is faster still because it keeps the cutter engaged constantly.
- Depth per pass: 3 to 4 mm in hardwood on a hobby machine, more if the machine is rigid.
- Stepover: 40 to 50% of the cutter. This is not a finish.
- Machining allowance (the "leave stock" setting): 0.5 to 1.0 mm. This is the skin the ball nose will remove. Leave too much and the semi-finish takes longer; too little and the flat cutter starts gouging the actual surface.
Roughing a 400 by 300 mm panel 15 mm deep in cherry with a 1/4 inch cutter takes 20 to 40 minutes. The same material removal with a 1/8 inch ball nose on a single-pass raster is several hours, and most of those hours are spent with the cutter buried, at feed rates it can barely survive.
Pass 2: Semi-finishing with a 1/8 inch tapered ball nose
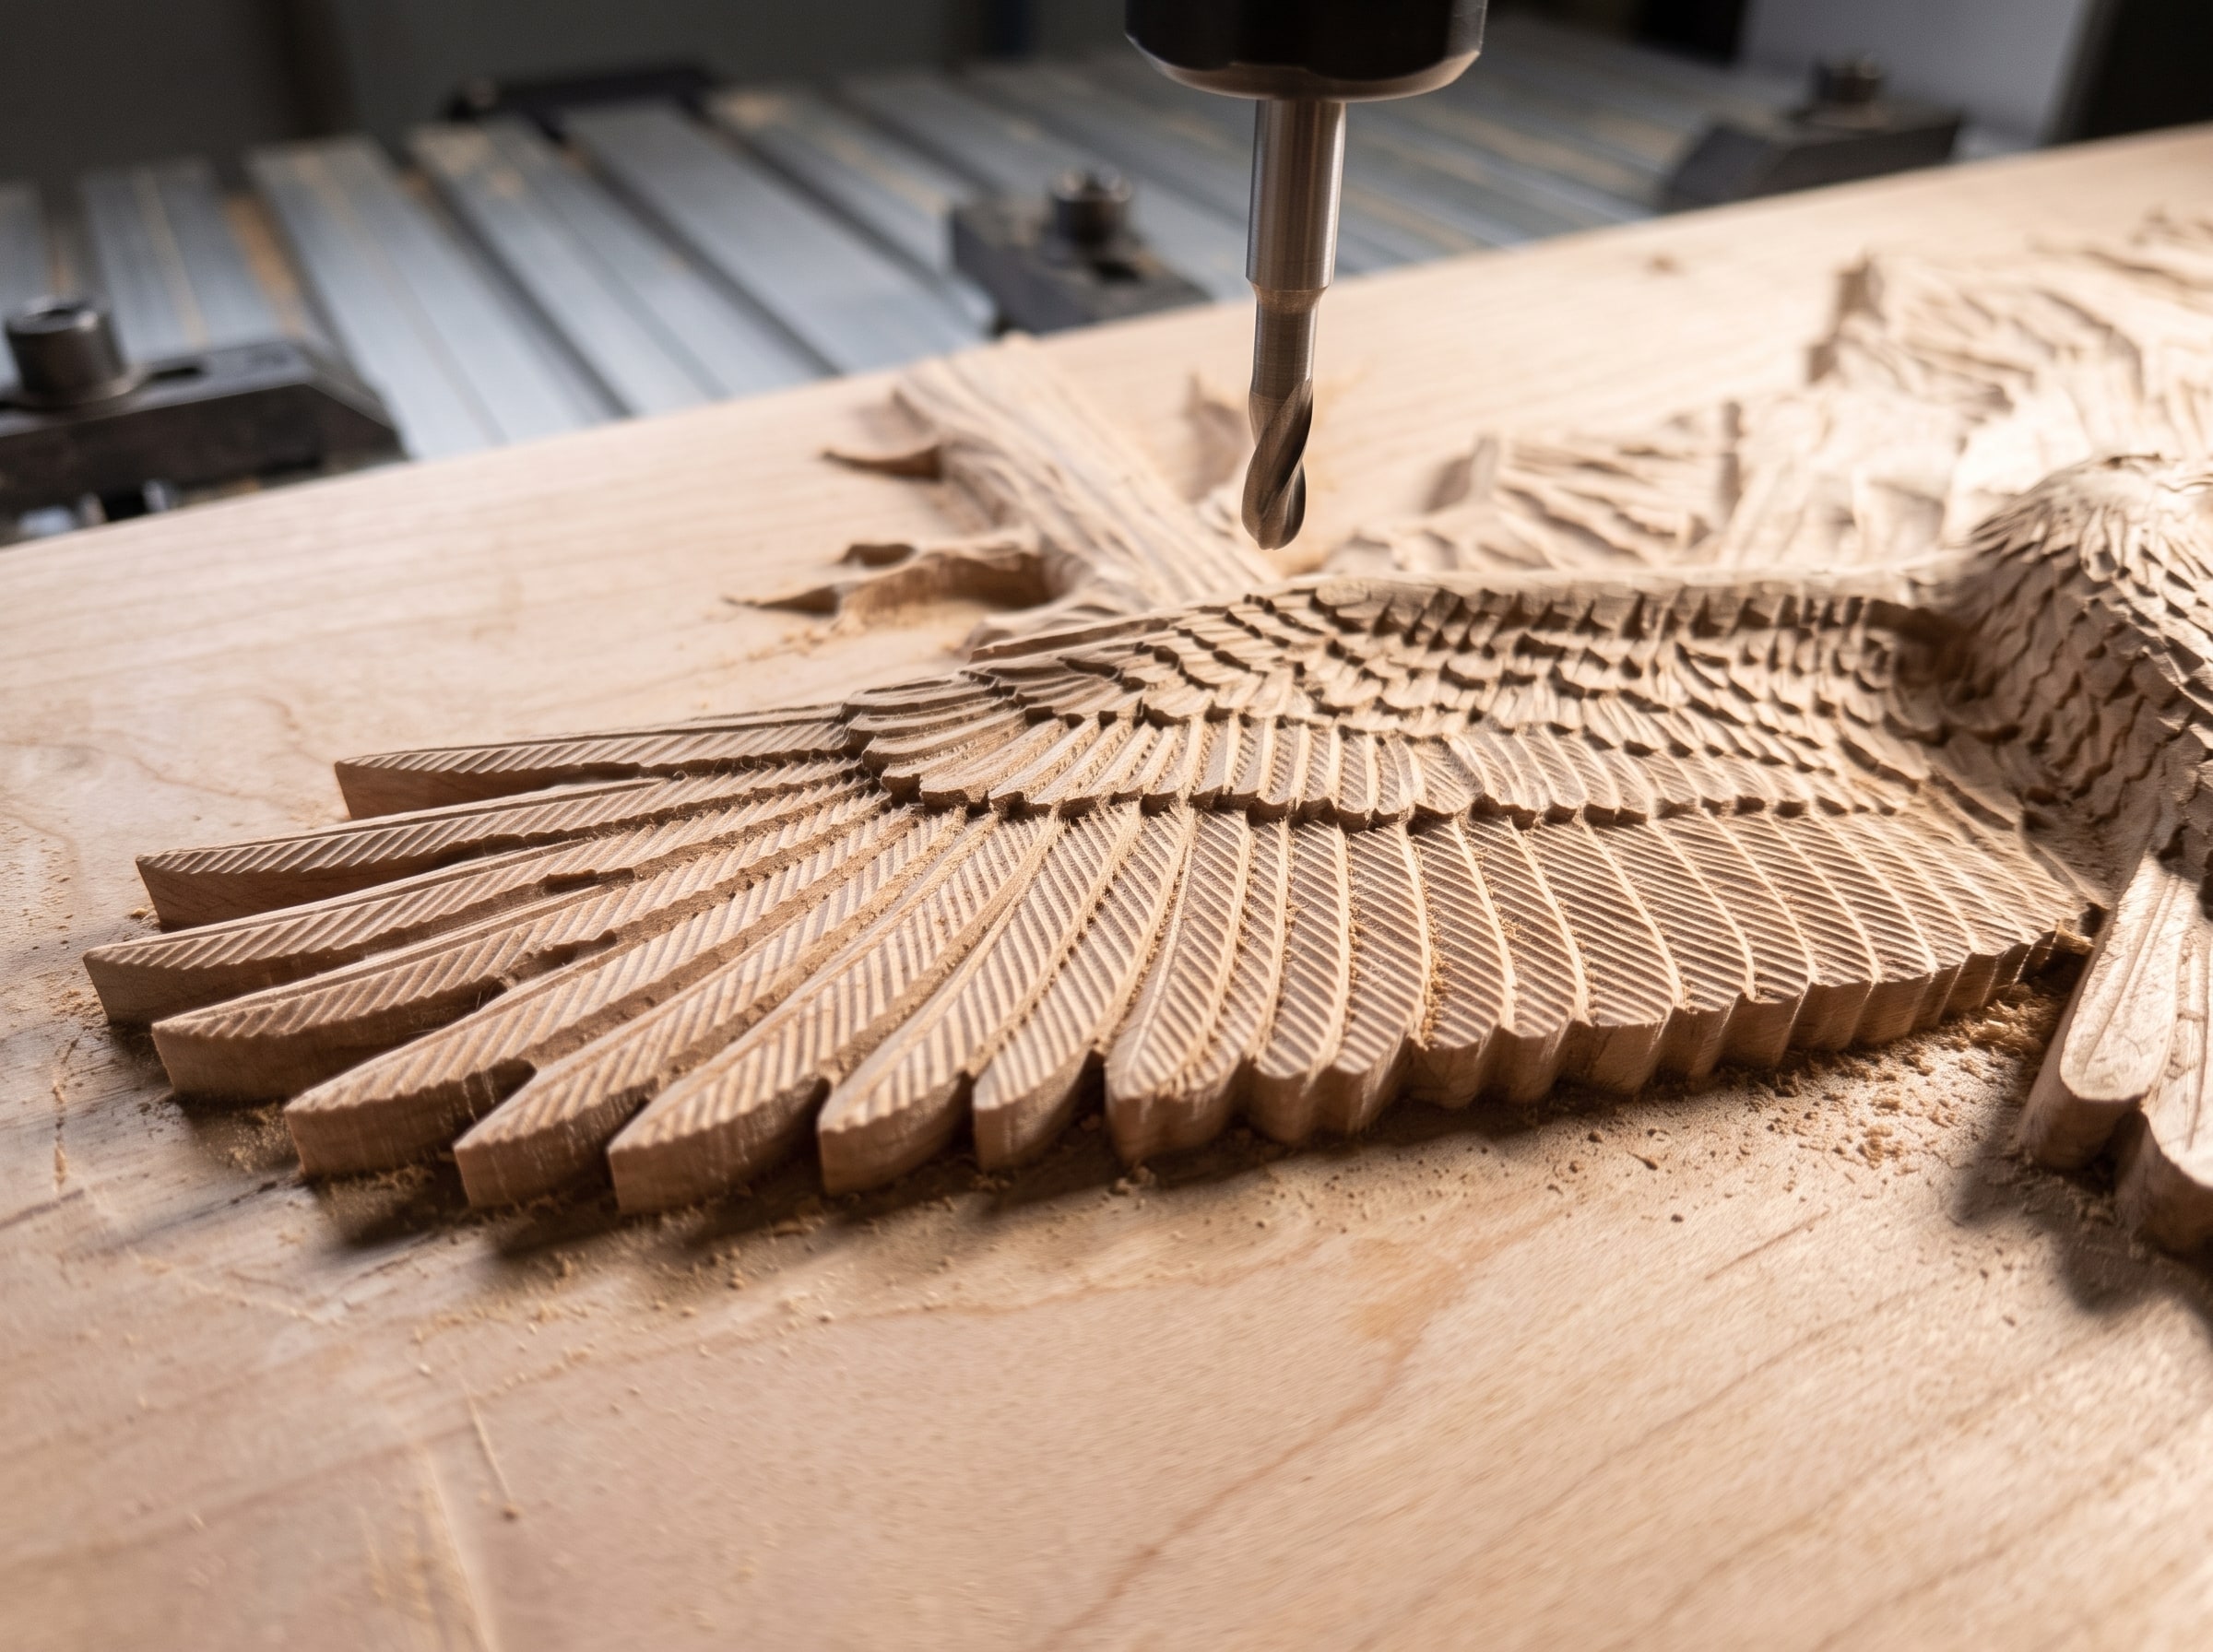
This pass does most of the actual carving. It runs across the whole panel and turns the terraces into the finished surface:
- Cutter: 1/8 inch tapered ball nose. A 1/16 inch tip with a 1/8 or 1/4 inch shank is the most useful tapered cutter in relief work; a 1/32 inch tip only earns its place on very small or very fine pieces.
- Strategy: Raster (parallel). Angle it 45 degrees to the grain if the design has a lot of long horizontal features, or run it with the grain to reduce tear-out on softer woods. Some CAM offers a "3D offset" or spiral strategy that follows the shapes; it looks nice but is rarely faster.
- Stepover: 12 to 15%. This is the setting people get wrong. The background, the sky, the water, the plain border: all of it is finished right here at 15%, and nobody will see the difference.
- Boundary: the whole model.
On a hobby machine a 400 by 300 mm semi-finish at 15% and 3,000 mm/min runs in about 70 minutes. At 8% it is 140. That difference is the whole argument.
Pass 3: Fine detail, inside a boundary only
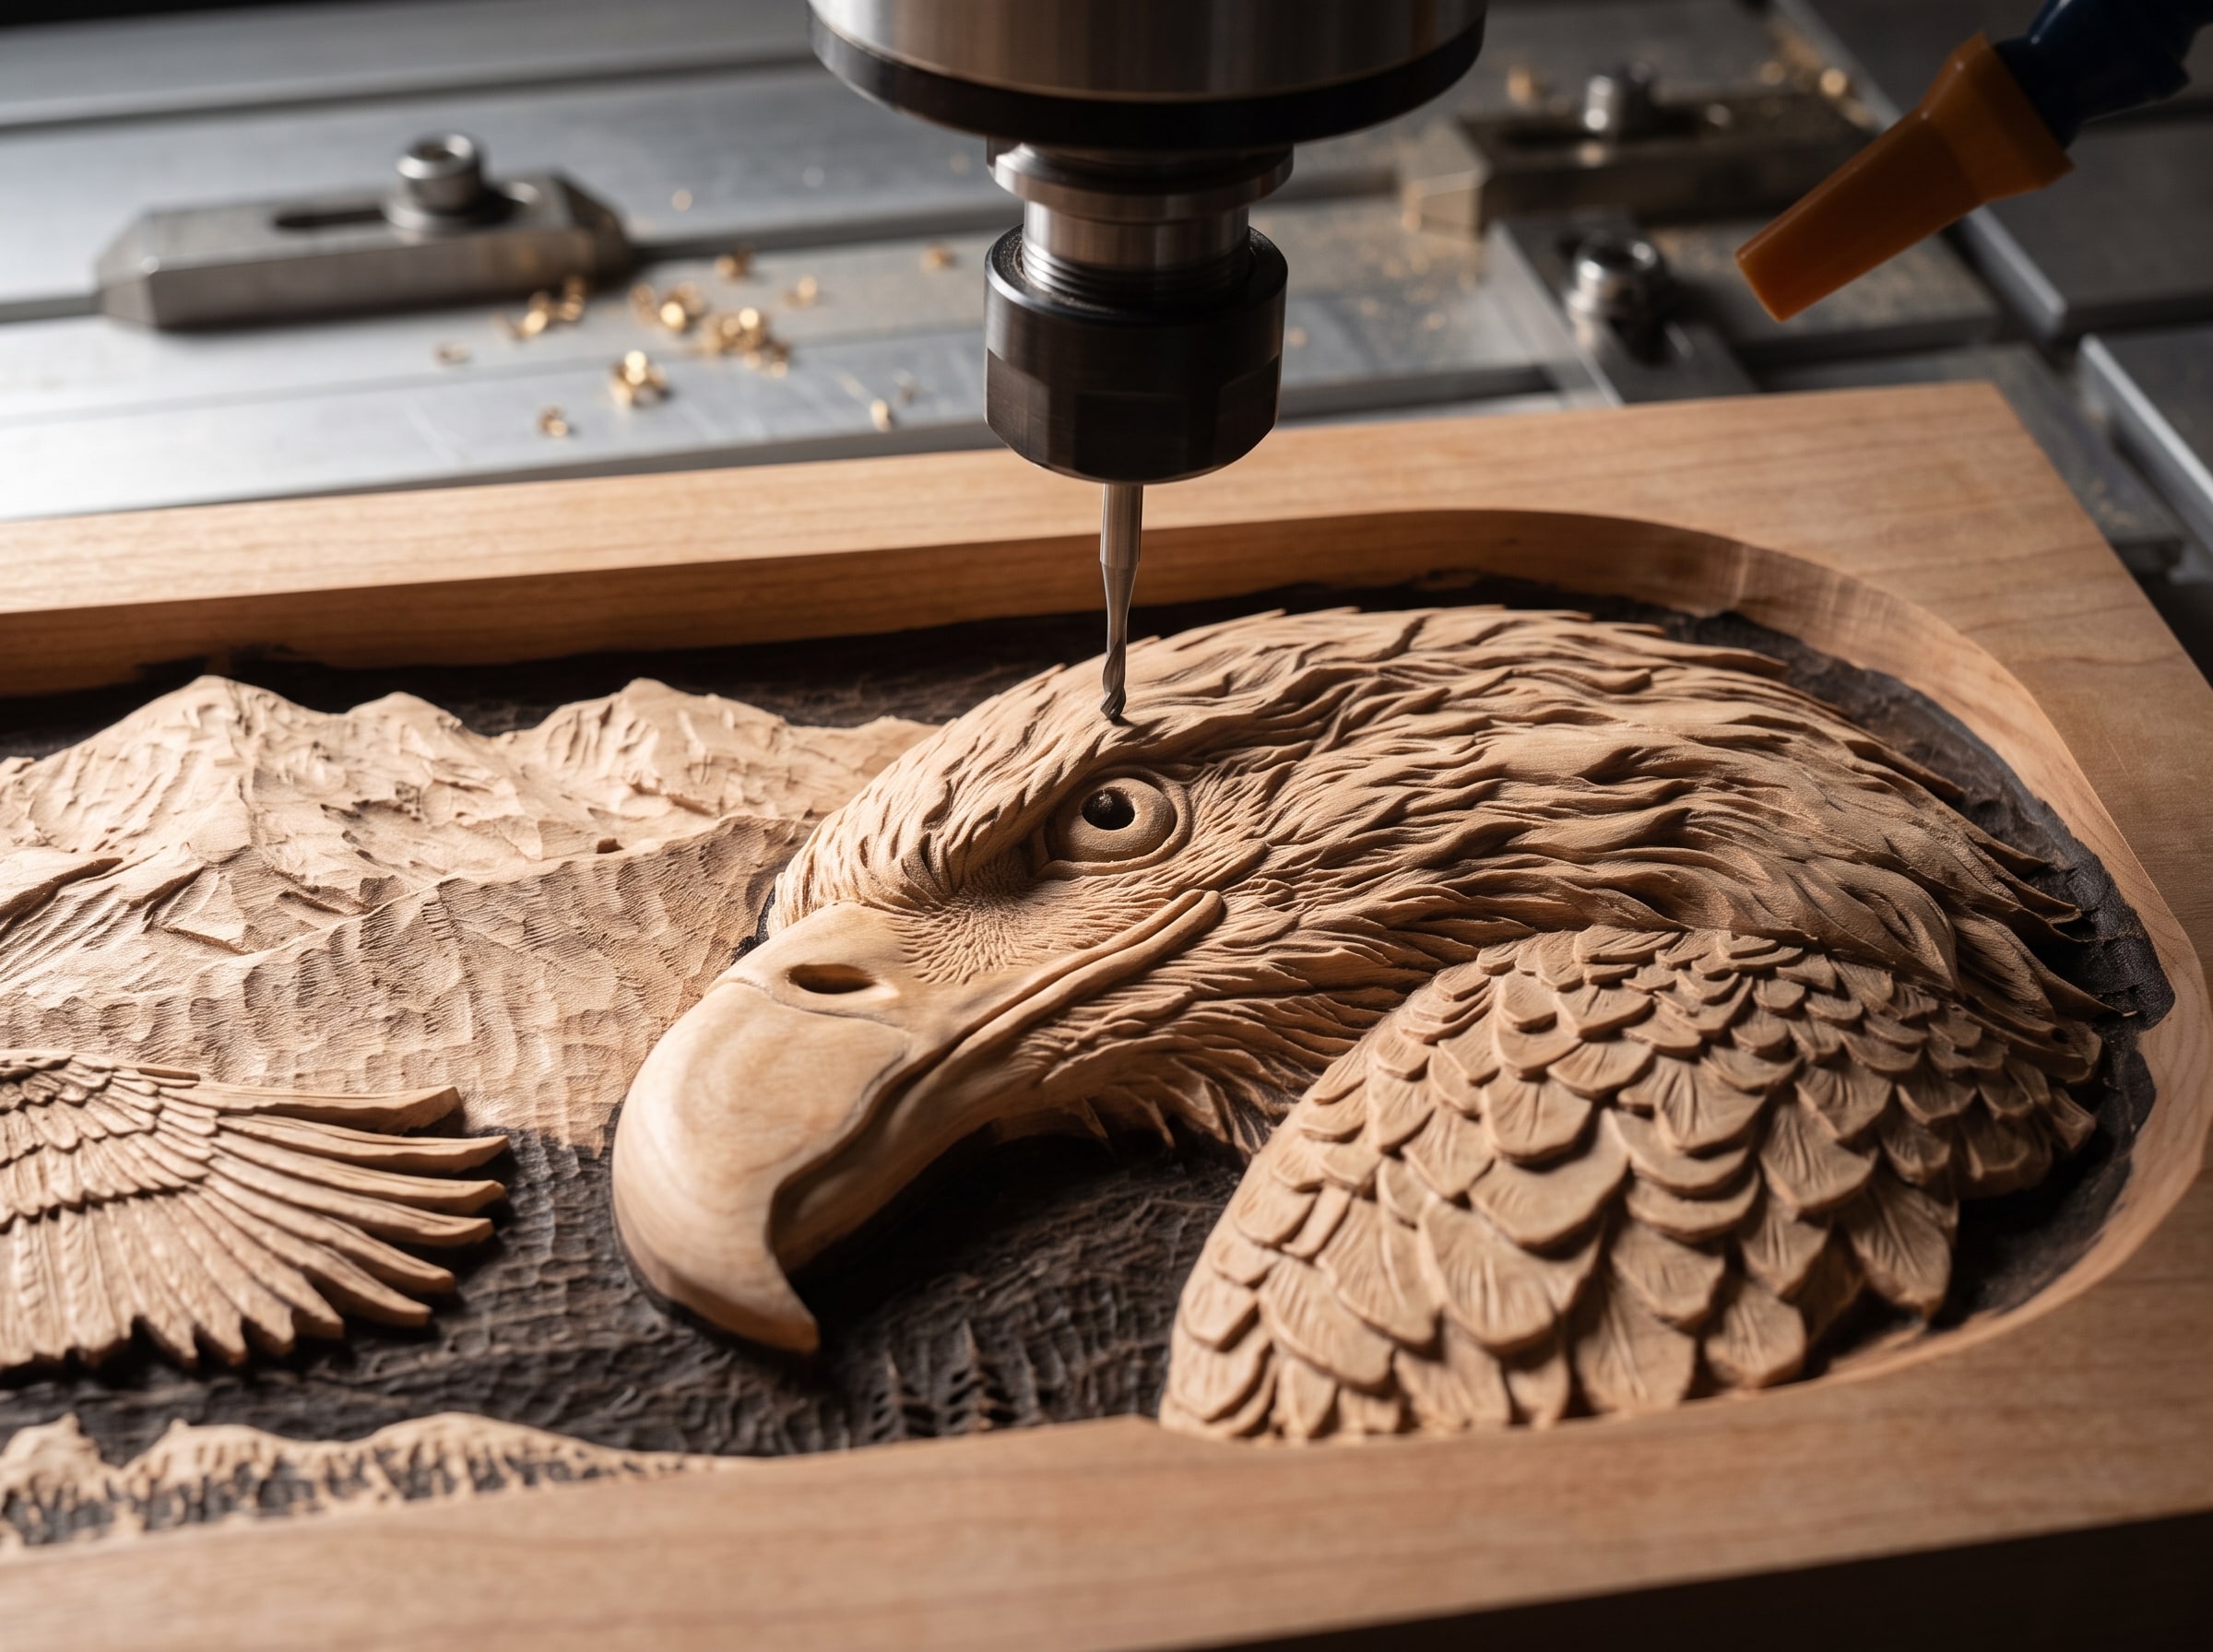
Now the trick that separates a four hour carve from a twelve hour one. Draw a closed vector around the parts of the design that actually need fine detail: the face, the eye, the feathers on the near wing, the lettering. Set the finishing toolpath to machine inside that boundary only, with the small cutter at the fine stepover.
- Cutter: 1/16 inch tapered ball nose (a 1/32 inch tip for jewellery-scale work).
- Stepover: 8%. This is where the number belongs.
- Boundary: your vector. In Aspire and VCarve, select the vector before creating the toolpath and choose "selected vectors" as the boundary. In Carveco, the same. In Fusion, use a Machining Boundary set to a sketch.
- Raster angle: 90 degrees to the semi-finish, so the two scallop patterns cross rather than stack.
On a typical wildlife panel the fine detail is 15 to 25% of the area. Machining only that at 8% instead of the whole panel is the single biggest saving available, bigger even than the roughing pass.
The back-of-the-envelope time estimator
You can estimate any raster pass before you run it, to within about 20%:
Time (minutes) = (Width × Height) ÷ (Stepover × Feed rate), with everything in the same units.
Example, in millimetres. A 400 by 300 mm panel, 1/8 inch cutter at 15% stepover (0.48 mm), feed 3,000 mm/min:
- Area = 400 × 300 = 120,000 mm²
- Distance = 120,000 ÷ 0.48 = 250,000 mm of travel
- Time = 250,000 ÷ 3,000 = 83 minutes, plus 10 to 15% for retracts and the ends of each line
Now the same panel at 8% (0.25 mm): 480,000 mm of travel, 160 minutes. And the same panel with a 1/16 inch cutter at 8% (0.13 mm): 940,000 mm, over five hours. That is what a single-cutter, single-pass, 8% strategy on a 1/16 inch cutter costs, and it is why the forum estimates read in days.
Run the formula for each rung of the ladder separately and add them up. For the eagle panel below that comes to roughly four hours. For the same panel done the naive way it comes to two and a half days, and the forum posts confirm it.
Feeds and speeds that are actually achievable on a hobby machine
Every feed chart online was written for an industrial machine with a 3 kW spindle and a cast frame. On a Shapeoko, X-Carve, Onefinity, LongMill, or a Chinese 3018 with a decent spindle, use these as a starting point in cherry, walnut or maple, and back off 20% in oak:
| Cutter | Pass | RPM | Feed | Depth per pass | Stepover |
|---|---|---|---|---|---|
| 1/4 inch flat, 2 flute | Roughing | 18,000 | 2,500 to 3,500 mm/min (100 to 140 ipm) | 3 to 4 mm | 40 to 50% |
| 1/8 inch tapered ball nose | Semi-finish | 18,000 to 20,000 | 2,500 to 3,500 mm/min | skin only | 12 to 15% |
| 1/16 inch tapered ball nose | Fine detail | 20,000 to 24,000 | 1,500 to 2,500 mm/min (60 to 100 ipm) | skin only | 8% |
Two honest cautions. Belt-driven machines flex, and a flexing machine at 3,500 mm/min leaves a rougher surface than a rigid one at 2,500, so the fastest feed is not always the fastest finish once you add sanding time. And in softwoods, a faster feed with a sharp cutter leaves less fuzz than a slow one, because the fibres are cut rather than pushed; if you are fighting fuzz, speed up before you slow down. The finishing guide covers what to do with the fuzz that remains.
Eleven settings that quietly waste hours
- Machining the whole model area instead of the model's outline. If the relief is a circle on a square board, set the boundary to the circle. The corners are air.
- Safe Z set to 25 mm. Every retract climbs to it. Set it to 3 to 5 mm above the highest point of the stock. On a raster with thousands of line ends this alone is worth 10 to 15%.
- Rapid rate left at the default. Check your machine's actual rapid speed is being used for moves between cuts, not the feed rate.
- Raster at 0 degrees on a wide panel. Long lines are efficient; short lines are all retract and reverse. Run the raster along the panel's long axis.
- Roughing allowance too generous. 2 mm of skin doubles the semi-finish load. 0.5 to 1 mm is right.
- No roughing pass at all. The original sin. See above.
- Fine stepover on the whole panel. The second sin. Draw the boundary.
- "Ramp" and "lead-in" moves on a finishing pass. Needed for a flat cutter plunging into solid stock, pointless on a ball nose skimming a skin. Turn them off on passes 2 and 3.
- Depth of cut limit on the finishing pass. Some CAM defaults to multiple depth passes on a finish toolpath. There is only a skin to remove; set it to one pass.
- Carving a model with more depth than it needs. A 25 mm deep relief takes longer to rough than a 12 mm one and rarely looks better on a wall. Scaling covers how to set depth without flattening the design.
- A dull cutter. It forces you to slow the feed, it burnishes rather than cuts, and it leaves fuzz you will spend an hour removing. A tapered ball nose is a consumable. Budget for it.
Where each setting lives
| Setting | Aspire / VCarve Pro | Carveco | Fusion 360 |
|---|---|---|---|
| Roughing pass | 3D Roughing toolpath (Z level or 3D raster) | Machine Relief → Roughing (Z-slice) | 3D Adaptive Clearing |
| Leave stock | Machining allowance | Allowance | Stock to leave (radial / axial) |
| Finishing raster | 3D Finishing toolpath → Raster | Machine Relief → Finishing → Raster | Parallel |
| Stepover | Tool database → Stepover (% or absolute) | Stepover in the tool | Stepover under Passes |
| Boundary | Toolpath boundary → Selected vectors | Boundary vector | Machining boundary → Selection |
| Rest machining | Not built in (use a boundary) | Rest machining option | Rest machining checkbox |
| Safe Z | Material Setup → Rapid Z gaps | Material setup → Safe Z | Heights → Clearance / Retract |
Two notes. VCarve Desktop (not Pro) can import and carve a single relief model with all of the above, and it is the cheapest way into proper 3D toolpaths. Easel opens an STL only on its Pro tier and carves it with a fixed strategy, with no separate roughing pass or boundary, so the ladder above is not available there. Our comparison of the four packages goes into what each one can and cannot do with relief models.
A worked example: the eagle panel
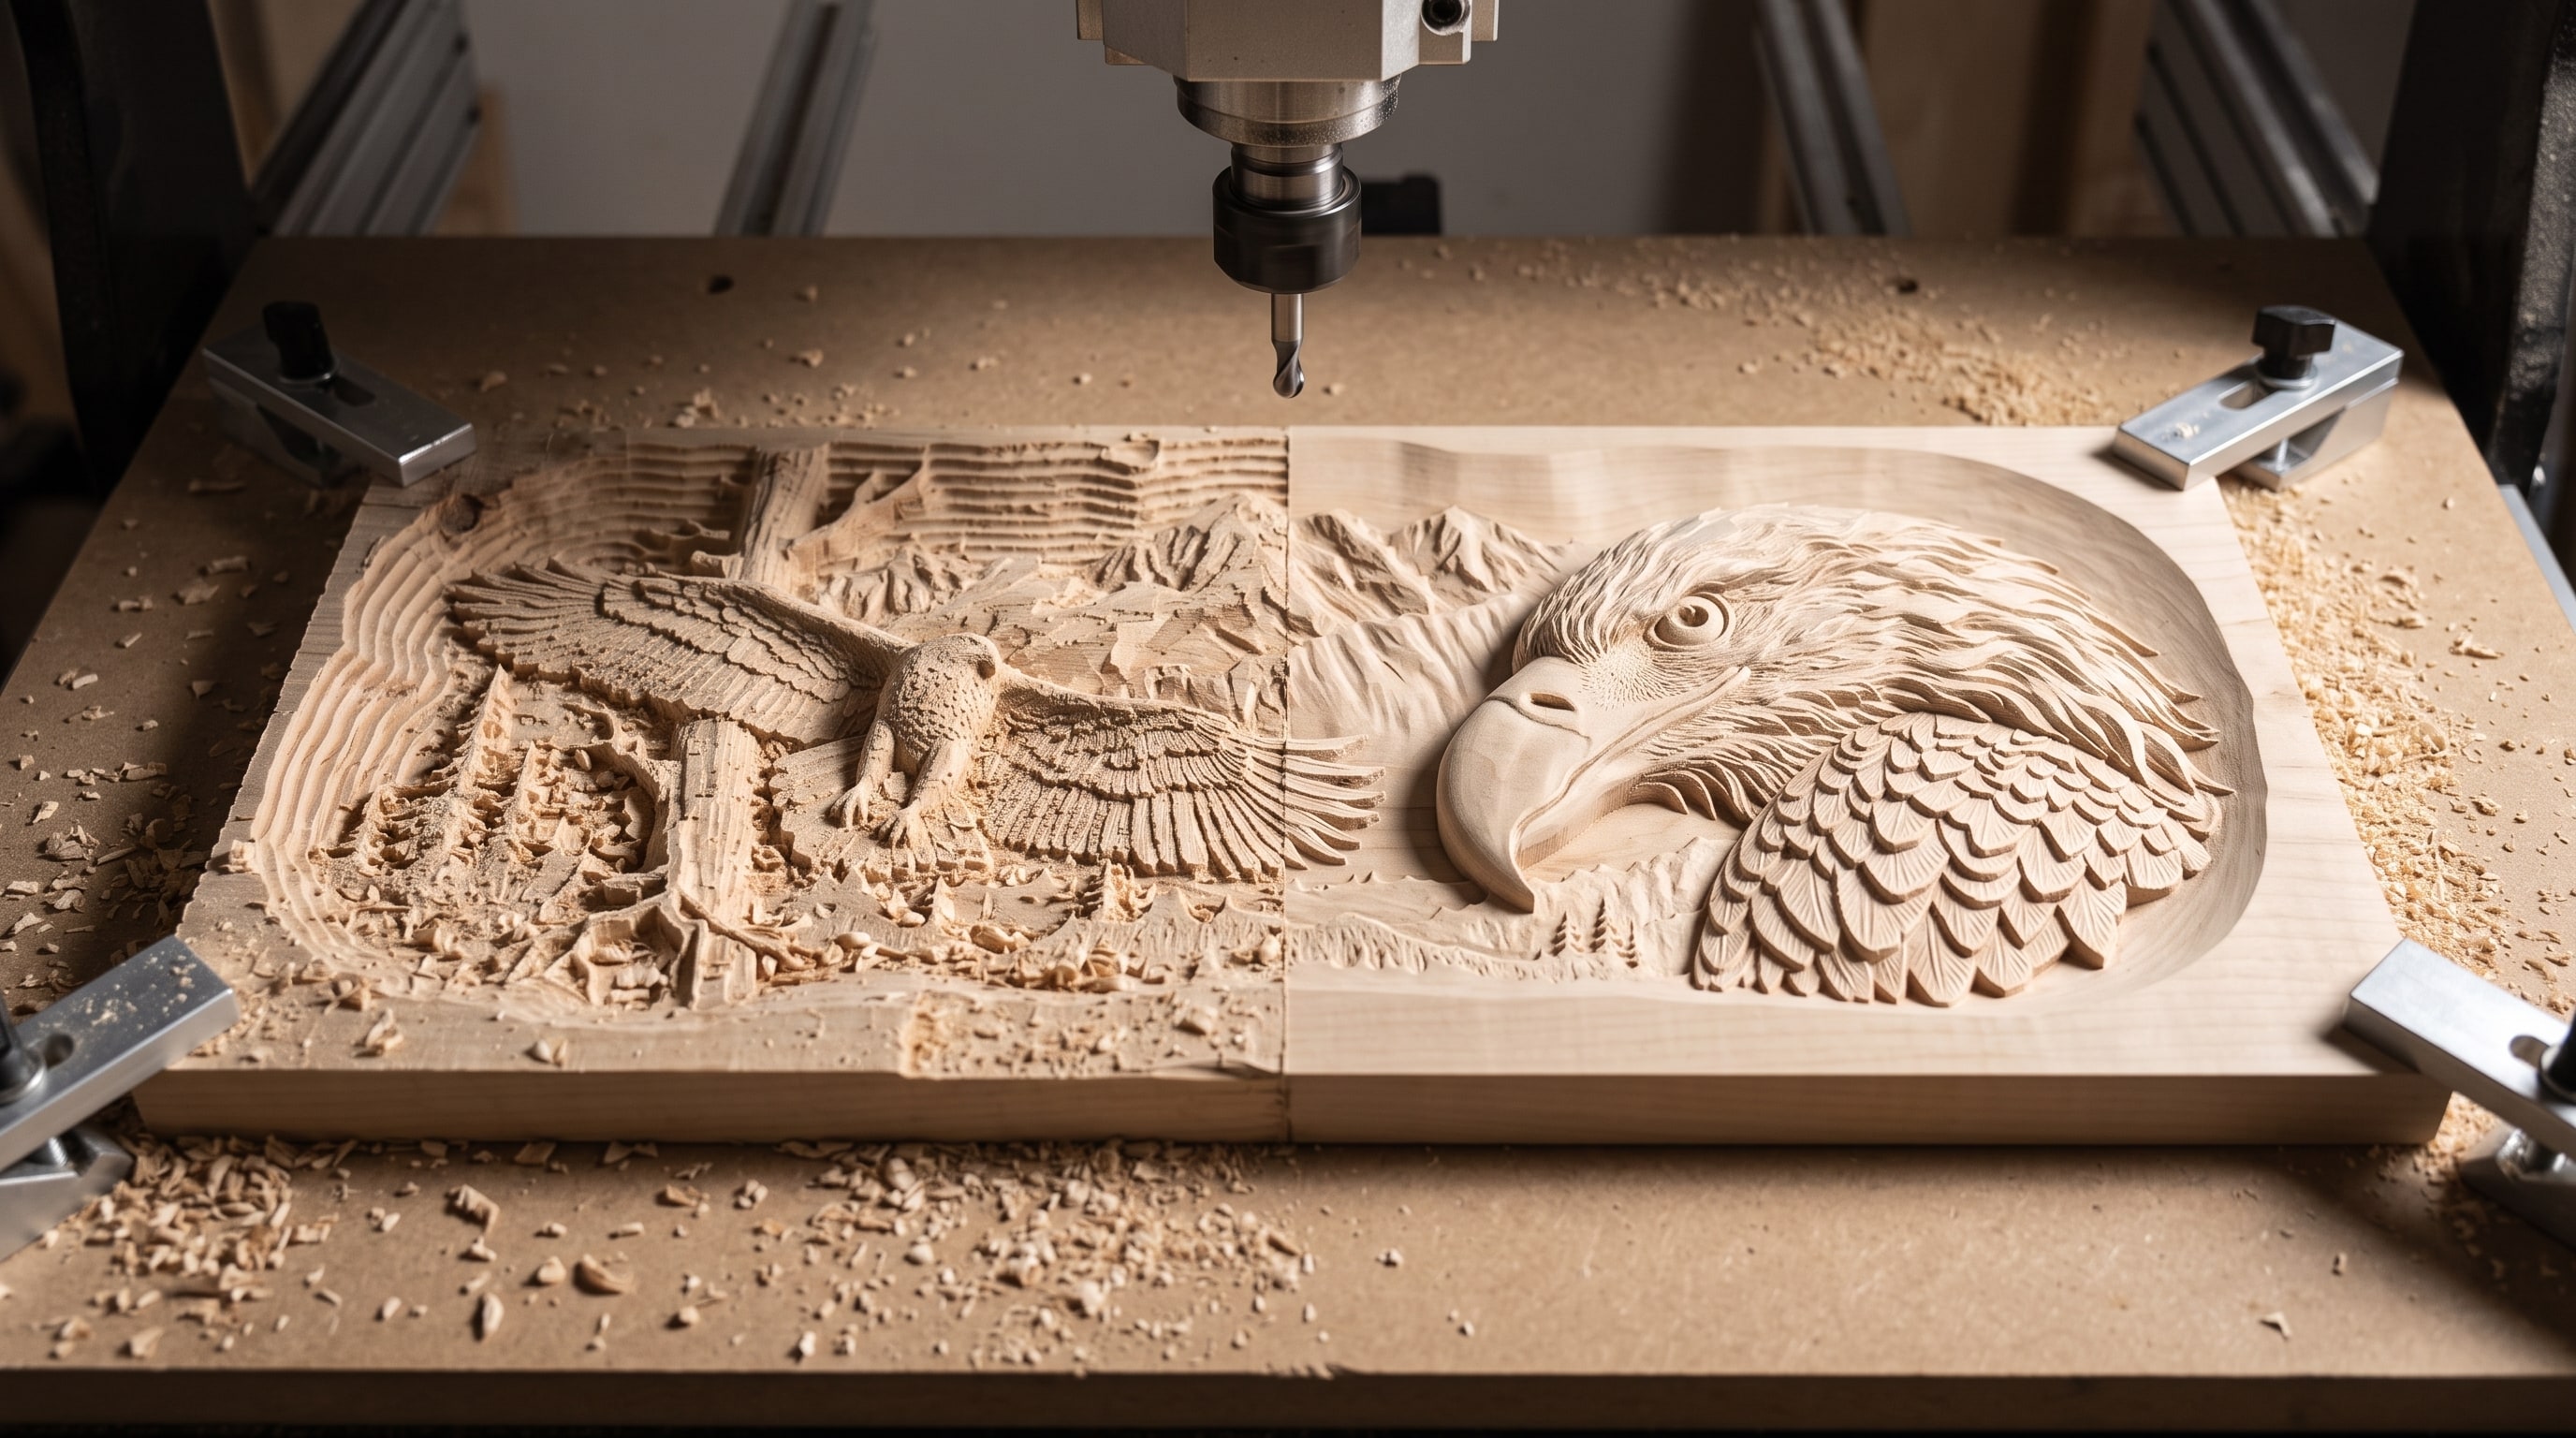
The panel in the photographs is Bald Eagle Mountain Scene Bas-Relief STL with Soaring Eagle, carved at 400 by 300 mm and 14 mm deep in cherry. The naive plan, one 1/16 inch tapered ball nose at 8% over the whole panel with no roughing, estimates at 2 days and 7 hours on a hobby machine. Here is the ladder:
| Pass | Cutter | Stepover | Boundary | Time |
|---|---|---|---|---|
| 1. Roughing | 1/4 inch flat | 45% | Model outline | 32 min |
| 2. Semi-finish | 1/8 inch tapered ball nose | 15% | Model outline | 1 h 25 min |
| 3. Fine detail | 1/16 inch tapered ball nose | 8% | Vector around the eagle only (about 22% of the area) | 1 h 10 min |
| Total | about 3 h 10 min, plus two cutter changes | |||
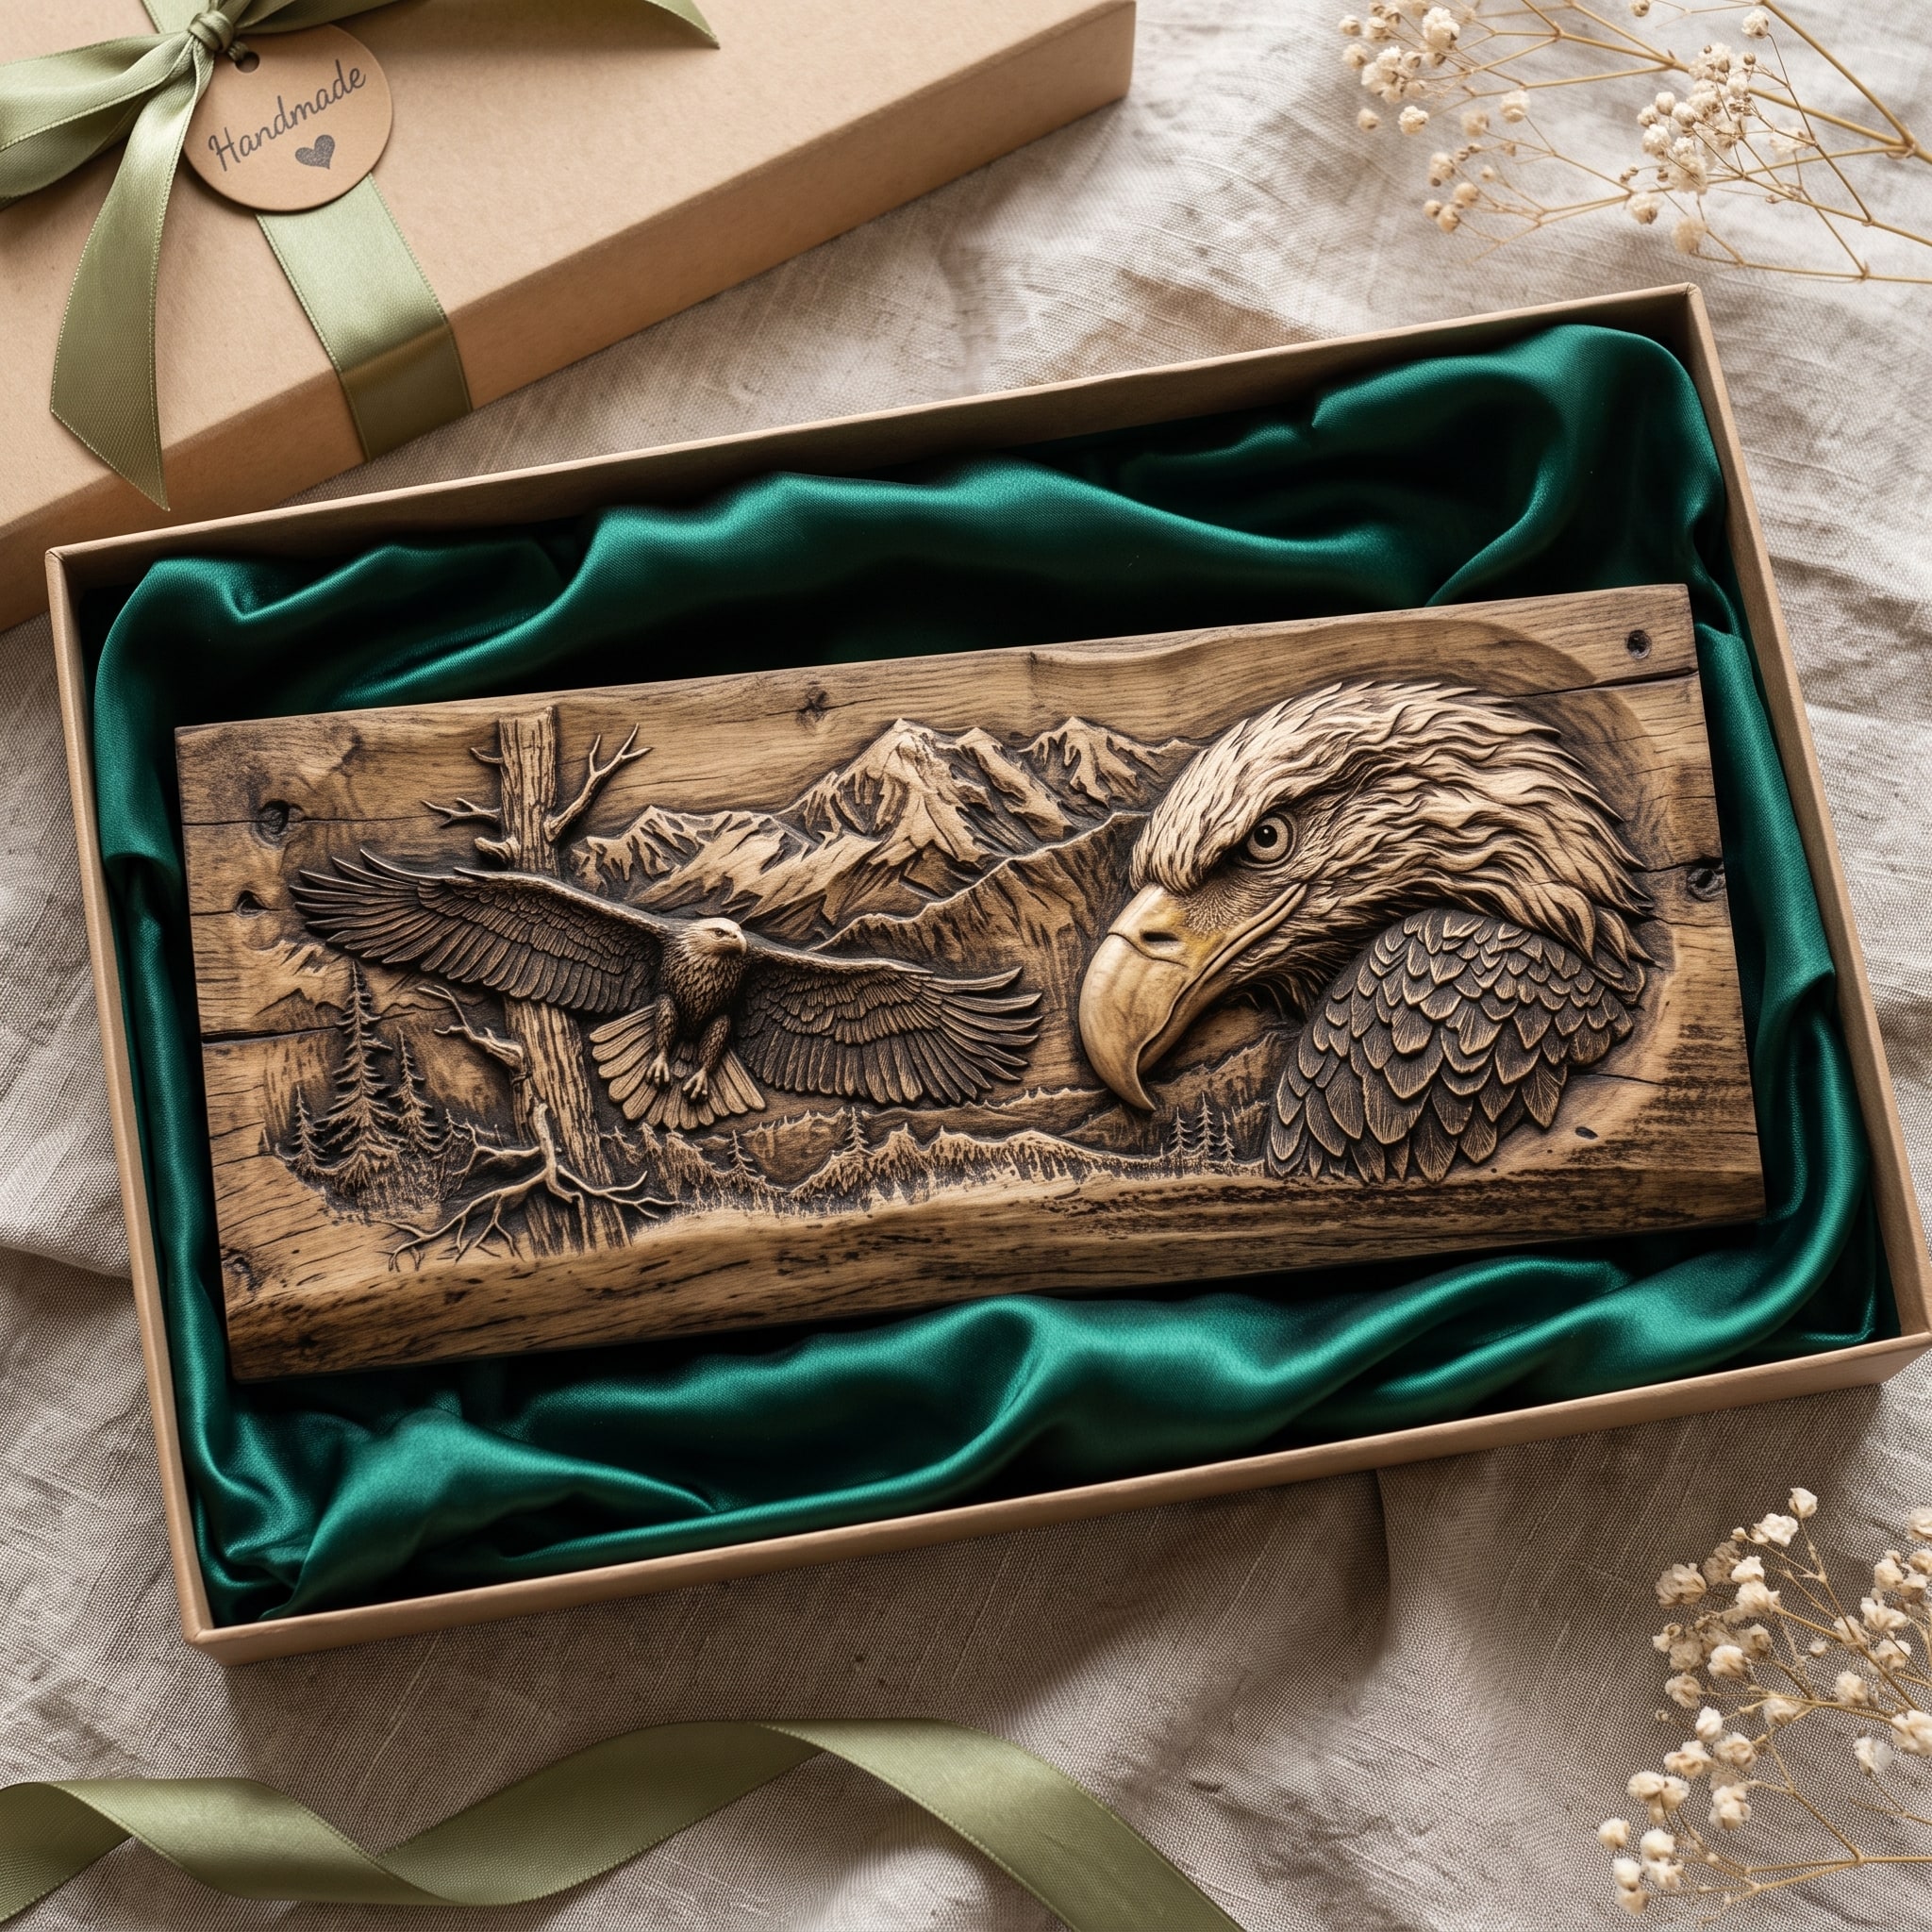
Download the Bald Eagle Mountain panel · $10.39
Fifty-five hours to thirteen, from the forum post at the top, is the same ratio applied to a bigger panel. This is not a trick and it is not a compromise on quality. The eagle's head in the fine pass is sharper than it would be from a single tired cutter that has been running for two days, and the background at 15% disappears completely under a brush and a coat of oil.
If you want a design to try this on, the Whitetail Buck and Forest Scene Bas-Relief STL Carving is the panel most people carve first, and it has a clear subject-and-background split that makes the boundary obvious. Ten beginner projects lists more.
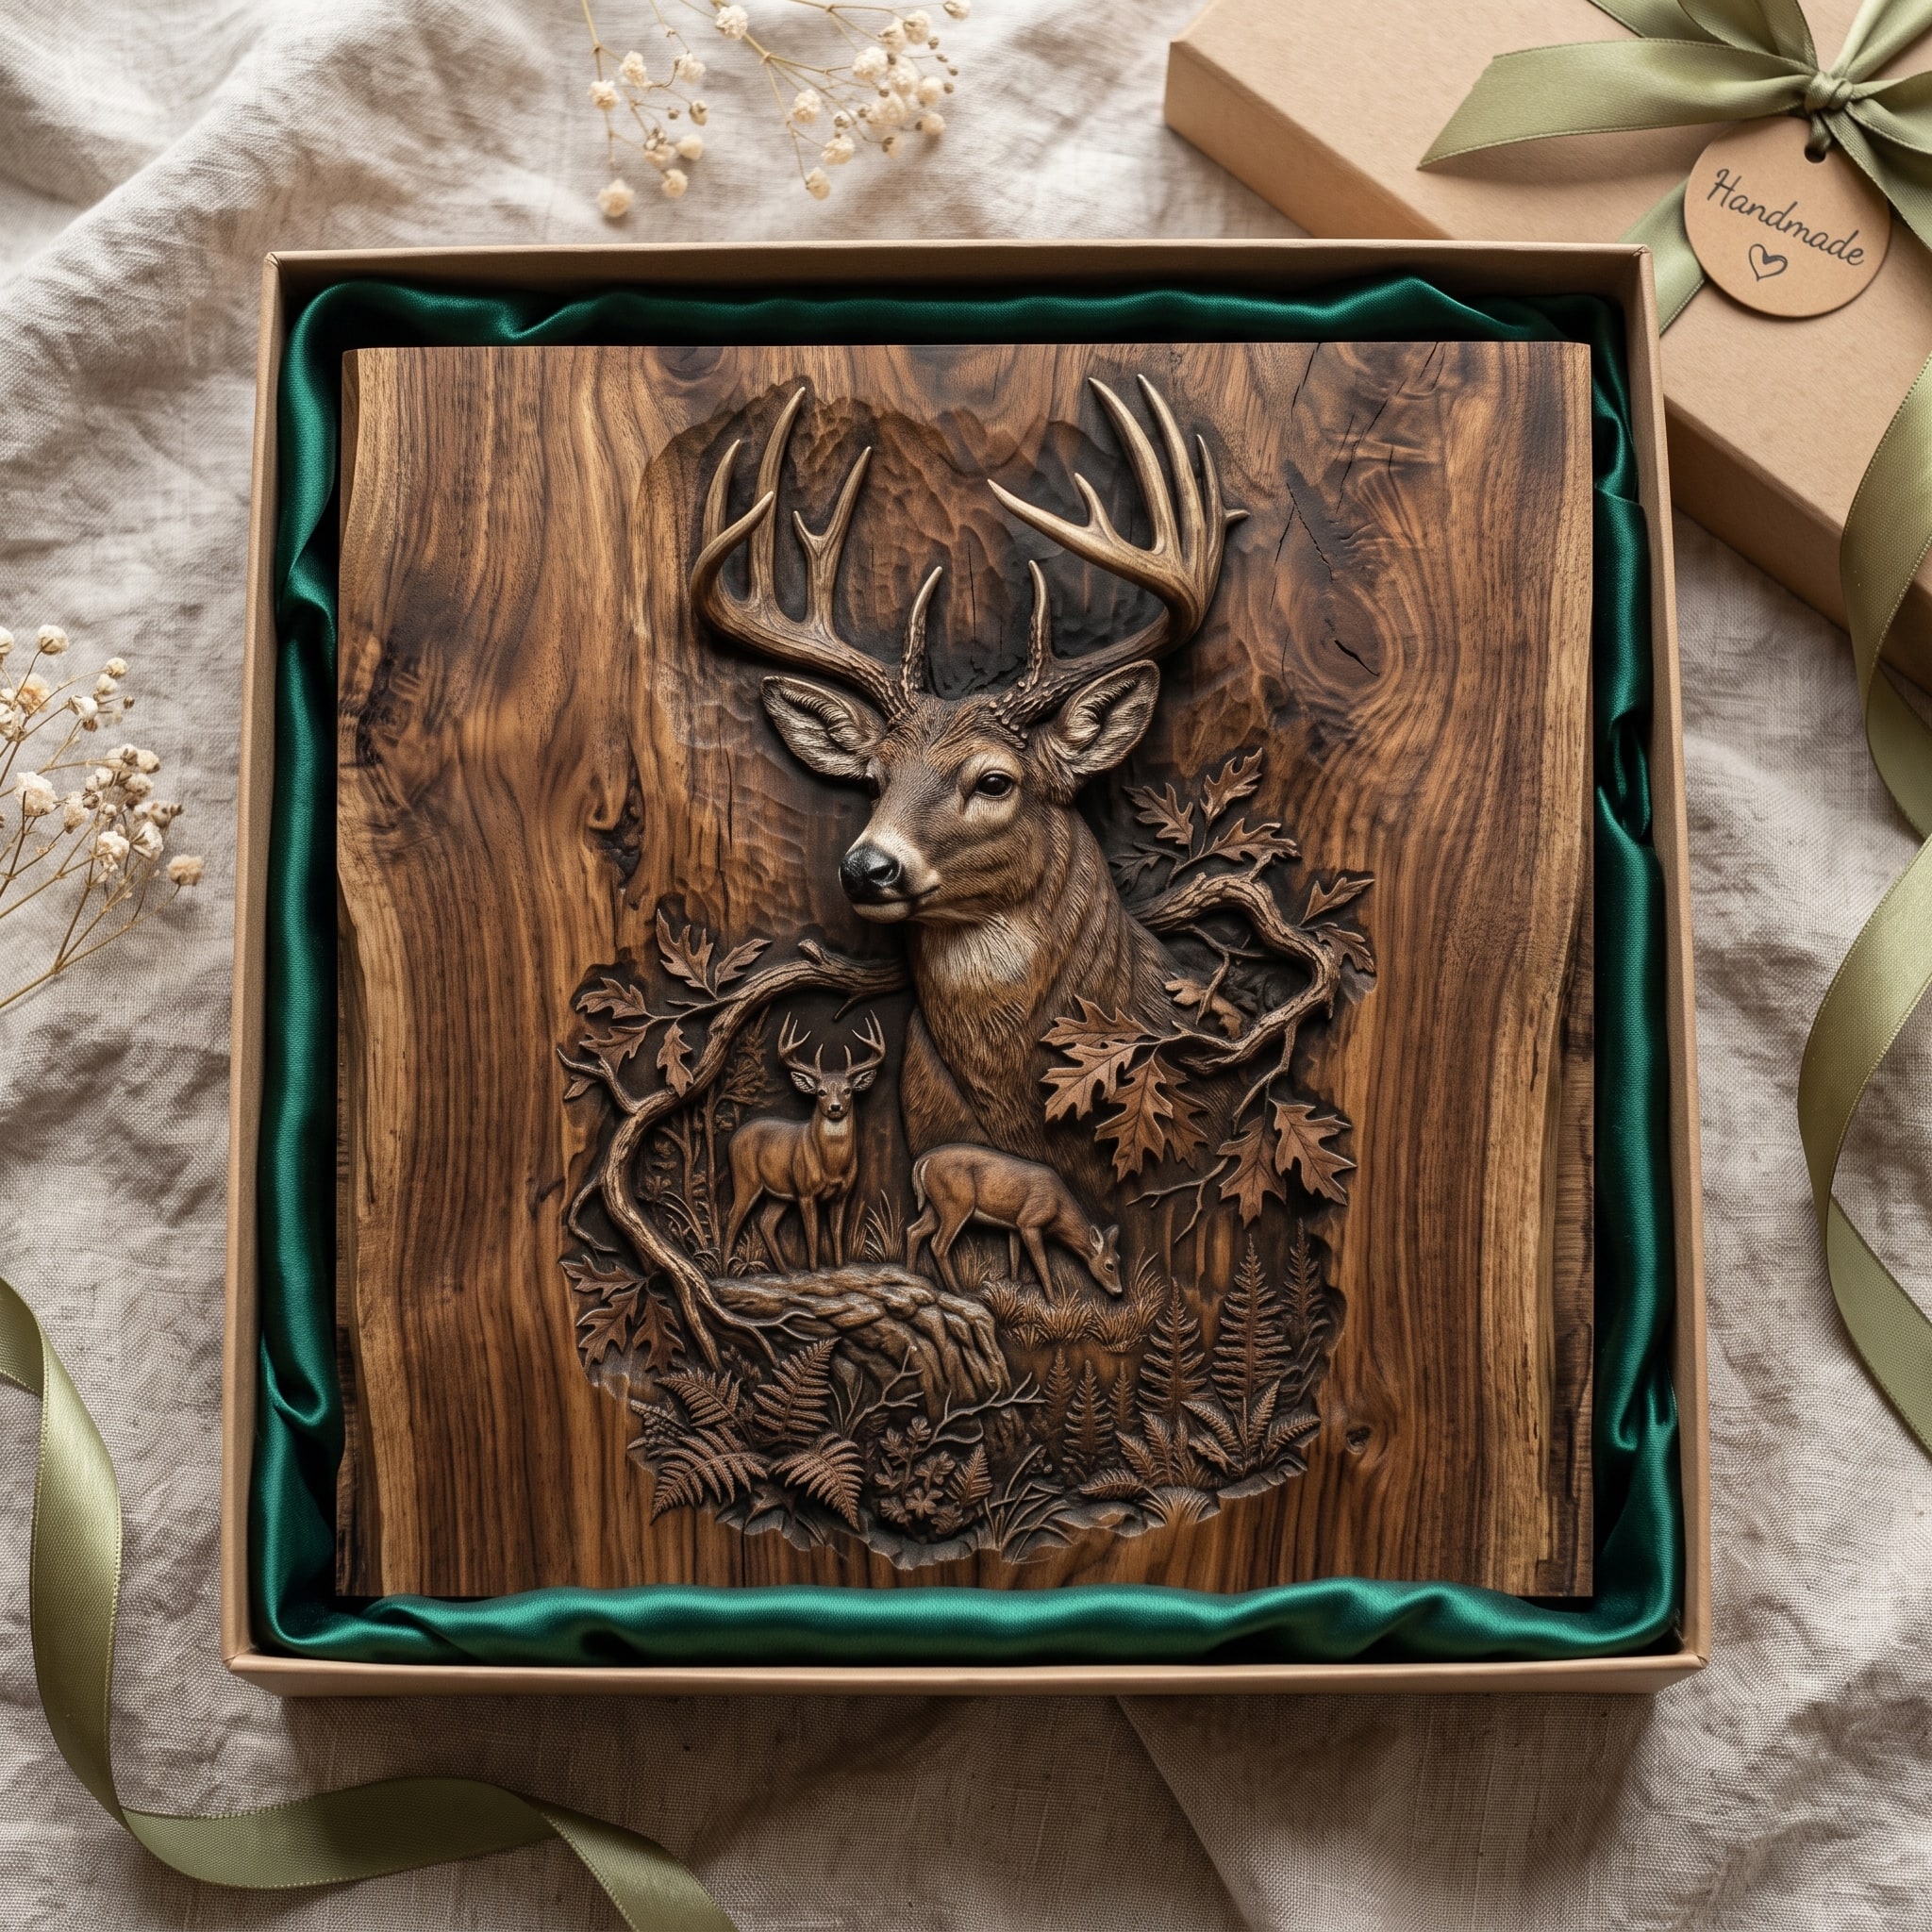
Download the Whitetail Buck panel · $11.99
Questions people ask
How long should a relief carving take?
With a roughing pass and a bit ladder: two to five hours for a panel up to 400 mm wide on a hobby machine, six to twelve for something the size of a door panel. Without them, multiply by three to six.
What is the best stepover for 3D carving?
12 to 15% for the semi-finish across the whole model, 8% for the fine pass inside a boundary around the detail. 5% is wasted on wood.
Do I really need a roughing pass?
Yes, on anything deeper than about 5 mm. It removes the bulk of the wood ten times faster than a ball nose, and it lets the finishing cutters run at proper feeds because they are only skimming.
Tapered or straight ball nose?
Tapered, almost always. The thick shank makes it stiff enough to run fast without deflecting, and it lasts far longer than a straight 1/16 inch cutter, which snaps if you look at it wrong.
Which cutter for faces?
A 1/16 inch tapered ball nose at 8%, inside a boundary around the face. A 1/32 inch tip only if the face is under 60 mm tall.
Why does my CAM estimate say 40 hours when the machine finished in 12?
Most CAM time estimates ignore acceleration and use the programmed feed for the whole path. They overestimate rasters badly. The formula above is closer to reality; the controller's own estimate, once the job is loaded, is closer still.
Does a bigger machine carve faster?
Rigidity matters more than size. A rigid machine holds a higher feed at the same finish, and more importantly it can take a deeper roughing cut. The stepover maths is the same on every machine.
Three passes, three cutters, one boundary. That is the whole method, and it turns a relief carving from a weekend you had to plan around into an afternoon you can start after lunch. If your machine is currently on hour nine of a raster, let it finish, and set the next one up this way.
Questions about a specific machine or a stubborn design? Send them over. Real questions are how these guides get written.
Jolly, DigitalChiselCo