
A coat hanger is the rare carving that gets picked up every day. It hangs in the wardrobe holding a jacket, it comes out when guests arrive, and somebody always turns it over to look at the fish. That is a lot of use for a panel you can carve in under half an hour.
These five designs are shaped like a hanger, carved like a relief, and finished with one bought part: a standard screw-in hanger hook that threads into a pilot hole already in the model. Nothing else is needed. No bending steel, no mortises, no hardware store puzzle.
This guide carves one of them start to finish, the largemouth bass among the roots, with the real numbers from our own setup cards: stock sizes, feeds, carve times, the hook, and the finish. Every size and speed below comes from the card that ships with the file.

What this guide covers
- What you are actually making
- Step 1: Choose the size, because it changes everything
- Step 2: The board, and the one rule about grain
- Step 3: Holding the stock
- Step 4: Roughing and finishing
- Step 5: Sanding without killing the detail
- Step 6: The hook
- Step 7: Finishing, and why it must cure
- Will it actually hold a coat?
- The five hanger designs
- Common questions
What you are actually making
The file is a single-sided relief in the outline of a clothes hanger: sloping shoulders, a straight bottom edge, a raised boss at the top centre, and a carved scene filling the face. It is one solid panel cut from one board, with no separate trouser bar. The back is flat, so it sits on the spoilboard and hangs flat against a coat.
Two details do the work. The first is the pilot hole through the boss at the top, which is where the metal hook screws in. The second is the depth of the panel below the shoulders: that width of timber is what carries a coat without flexing, and it is why this is a hanger rather than a plaque with a hook.
Carved at full size it is a working hanger. Carved small it is a display piece for a fishing lodge wall, and plenty of makers sell it that way with a stand instead of a hook.
Step 1: Choose the size, because it changes everything
The model scales uniformly, which means the relief gets deeper as the hanger gets wider. That is the single most important thing to understand before you press start, because it decides your stock thickness and your carve time.
| Hanger width | Piece W x H | Relief depth | Stock W x H x T | Rough | Finish |
|---|---|---|---|---|---|
| 150 mm | 150 x 60 mm | 10.3 mm | 170 x 80 x 22 mm | 3 min | 7 min |
| 200 mm | 200 x 80 mm | 13.7 mm | 220 x 100 x 26 mm | 10 min | 12 min |
| 250 mm | 250 x 100 mm | 17.1 mm | 270 x 120 x 29 mm | 19 min | 19 min |
| 300 mm | 300 x 120 mm | 20.5 mm | 320 x 140 x 33 mm | 32 min | 28 min |
| 400 mm | 400 x 160 mm | 27.4 mm | 420 x 180 x 39 mm | 1 h 15 min | 50 min |
A shop-bought adult hanger is about 430 to 450 mm across, so 400 mm is the size to carve if you want a hanger somebody will really use. It is also the size that needs a 39 mm board and eats two hours of machine time.
Here is the trade nobody mentions: at 400 mm the uniform scale makes the carving 27 mm deep, and a hanger that thick is heavy and will not sit flat in a packed wardrobe. If you want the full width with a shallower face, ask us and we will send fixed-depth numbers for the same file. A 400 mm hanger at around 15 mm of relief on 25 mm stock carves faster, weighs less and still reads from across the room.
For a first carve, 200 mm is the honest recommendation. Twenty two minutes of cutting, a cheap offcut, and you learn the whole process before you spend a wide board.

Step 2: The board, and the one rule about grain
Run the grain along the long side of the hanger. This is not a preference, it is the difference between a hanger and firewood. A hanger is a beam: the shoulders carry the load out to the ends, and the narrow waist between the boss and the shoulders is where it will break if the grain runs across it. Grain along the length puts long continuous fibres through that waist.
Choose a board with no knot anywhere near the top boss or the shoulder slopes. A knot in the middle of the fish is character. A knot where the hook screws in is a crack waiting for a wet raincoat.
For wood, this is a piece that gets handled, so hardness helps: hard maple, cherry, walnut, white oak and beech all carve cleanly and take the load. Cherry and walnut are the most forgiving to finish. Basswood and pine carve beautifully but dent under a hook, so keep them for the display sizes rather than a working hanger. There is more on species, tear-out and finish in the wood guide.
Whatever you choose, let the board sit in your shop for a week before carving. A hanger that cups after carving will never hang straight.
Step 3: Holding the stock
The setup card that comes with the file gives the three numbers your machine needs: zero at the front-left corner, Z0 on the top of the stock, grain along the long side.
Clamp on the outer margin of the board only, well clear of the carved area, because the cutter runs right out to the hanger outline. The easiest method on a piece this shallow is painter's tape and CA glue: tape on the spoilboard, tape on the board, a line of thin CA between them, press for a minute. That holds a 200 mm hanger through the whole job with no clamps to dodge, and it releases with a putty knife.
Leave the outline cut for last, or skip it and cut the hanger out on a bandsaw. Either works. What does not work is cutting the outline first and then finishing the relief, because the moment the part is free it moves.
Step 4: Roughing and finishing
Two toolpaths, two bits. A 6 mm end mill clears the waste, a 3 mm ball nose forms the surface. The whole point of roughing is to leave the ball nose nothing but a thin skin to shave.
| Your machine | Rough RPM | Rough feed | Depth of cut | Finish RPM | Finish feed | Stepover |
|---|---|---|---|---|---|---|
| Hobby (3018 class) | 10,000 | 700 mm/min | 1.2 mm | 10,000 | 900 mm/min | 10% |
| Mid (Shapeoko, X-Carve) | 18,000 | 1,800 mm/min | 2.5 mm | 18,000 | 2,200 mm/min | 10% |
| Rigid (OneFinity, AVID) | 18,000 | 3,000 mm/min | 4.0 mm | 18,000 | 3,000 mm/min | 10% |
| Industrial (ATC router) | 20,000 | 5,000 mm/min | 6.0 mm | 20,000 | 4,500 mm/min | 8% |
Those are hardwood numbers. In softwood add about 30% to the feed. In dense exotics take 20% off the feed and 30% off the depth of cut. They are a starting point, not a law: your spindle, your bit and your board have the final say, so listen to the cut and adjust.

Between the two passes, vacuum the panel and look at it. Five minutes here saves a ruined finishing pass, because a chip trapped in the net pattern gets pressed into the wood by the ball nose. This is also the moment to check the boss at the top is intact and the pilot hole is clear.

At 200 mm the whole run is about 22 minutes of cutting: 10 minutes roughing, 12 finishing. Add five to secure the stock and five for the vacuum stop, and you are off the machine inside 35 minutes.
Step 5: Sanding without killing the detail
Sand the flat areas and the outline, not the carving. The face of a relief is already the surface the ball nose left, and 220 grit paper on a fingertip will flatten the fish scales that took 12 minutes to cut.
Work in this order: a soft brass brush or a stiff bristle brush through the carved areas to lift the fuzz, then 220 grit by hand on the flat bar and the outer edges only, then break every edge with one light pass so nothing is sharp. A worn 320 grit pad on the back face makes it sit flat against a coat.
Then take the sharpness off both edges with a roundover. A hanger is handled and it presses against cloth, so a square machined edge is the one thing that makes a carved hanger feel homemade. A small bearing-guided roundover bit, 3 mm or 1/8 inch radius, in a hand-held palm router takes it off in a minute: let the bearing ride the outline, work all the way round the outside, then turn the panel over and do the back the same way. Both faces matter, because the back is the side that lies against the coat.

If you would rather not hold a router, the same cut runs on the machine: add a profile pass with a roundover bit around the outline before you cut the part free. Keep it on the outline only and out of the carved recess, and ease the small boss at the top as well, because that is where fingers grip when the hanger comes off the rail. Two passes of 220 grit afterwards and the edge feels bought, not cut.
If the fuzz will not lift, wipe the panel with a damp cloth, let it dry, and brush again. Raising the grain once and knocking it back is the oldest trick in carving and it works on machine surfaces too.

Step 6: The hook
This is the part people worry about and it is the easiest step in the whole job.
The model has the pilot hole already. You need a standard screw-in hanger hook, the kind sold as a replacement part for wooden hangers: a threaded shank, a long smooth neck and a rounded ball tip so it cannot snag fabric. The ones we use are about 100 mm long with a 3.8 mm shank, in matte silver, and they come in packs of ten for a few dollars. Any hook with a shank between 3.4 mm and 4.2 mm suits the pilot hole in these files.
The hook in our own photographs is this ten-pack of screw-in hanger hooks, which is what the pilot hole was sized around.
Fitting it takes a minute:
- Check the hole. Blow out the dust and test the depth. If your machine left it shallow, drill it out with a bit that matches the hook's shank, straight down, no wobble.
- Start it by hand. Turn the hook clockwise into the hole until it bites. If the wood is hard, slip a screwdriver through the hook's curve to use as a lever.
- Stop when it is snug. The shoulder of the hook should sit flat on the boss. Do not keep turning once it seats: that is how you split the boss along the grain.

If the hole feels loose, back the hook out, put a drop of thin CA or epoxy on the thread and drive it again. If it feels too tight in dense wood like white oak, run the correct bit through the hole first rather than forcing the hook, because a hook driven into a dry tight hole will crack the boss from the inside where you cannot see it.

Step 7: Finishing, and why it must cure
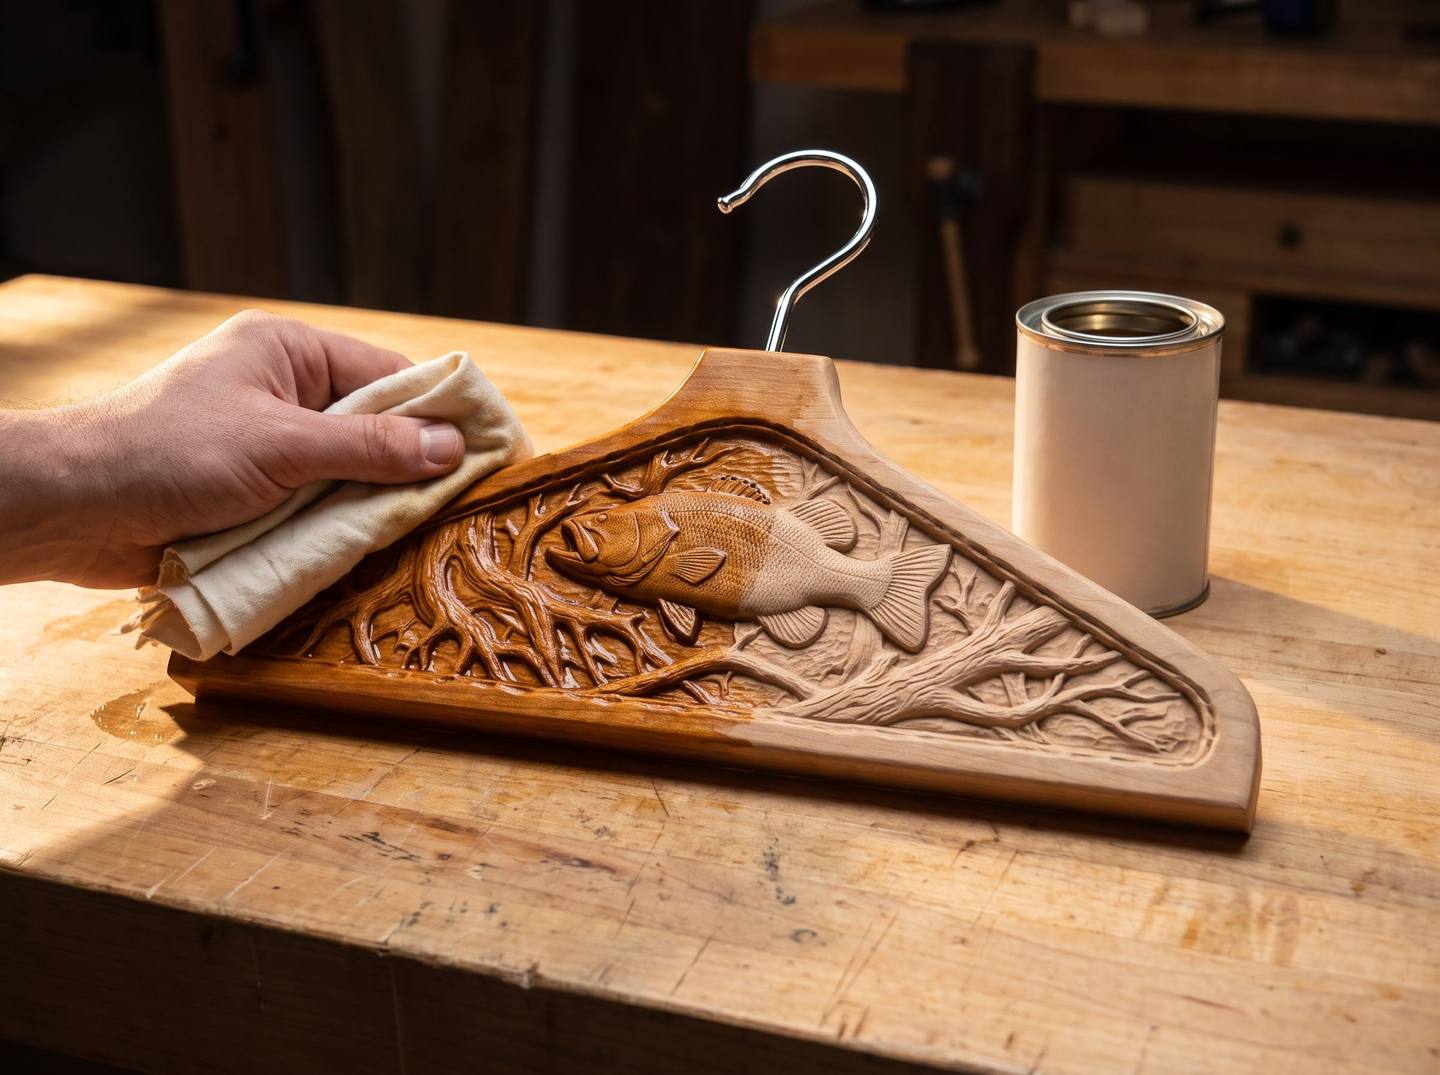
A hanger lives against cloth, so the finish matters more here than on a wall panel. Oil and wax is the right answer: it soaks in rather than sitting on top, it will not chip when the hanger knocks the rail, and it can be renewed in a minute years later.
Our house finish on these is a hardwax oil wiped on thin, left 15 minutes, then wiped off hard. One coat is enough on a hanger. Then a dark glaze in the deep areas only if you want the fish to jump forward, wiped back off the high spots straight away. The finishing guide has the whole schedule and the glaze recipe.
Then leave it alone. Oil finishes are touch dry in hours but keep curing for days, and a jacket hung on a hanger that is still curing will come away with a mark on the shoulder. Give it a week before it goes into service. It is the only slow part of this project, and the one that ruins a gift if you rush it.
Will it actually hold a coat?
Yes, with the grain running the right way and a hardwood board, a carved hanger holds what a shop-bought wooden hanger holds. The parts that fail are predictable, so here they are plainly:
- Grain across the waist. The commonest break, and the reason the grain rule is not negotiable.
- A knot at the boss. The hook pulls straight up through that spot, every time it is lifted off the rail.
- Over-tightening the hook. Splits run along the grain from the pilot hole and are invisible until the day the coat is heavy.
- Thin stock at a large size. If you scale the width up but keep a thin board, the panel gets wide and flat rather than deep, which is the weak direction.
Test it before you trust it with a good coat: hang it on a rail and lean on it with a hand. A hanger that takes a firm push will take a winter coat. If something is going to let go, better it does so over the bench.
The five hanger designs
All five are the same shape, the same pilot hole and the same setup card, so anything you learn on one carries straight to the others. Each is $10.39, instant download, commercial use included.

Download the largemouth bass hanger, the one carved in this guide · $10.39
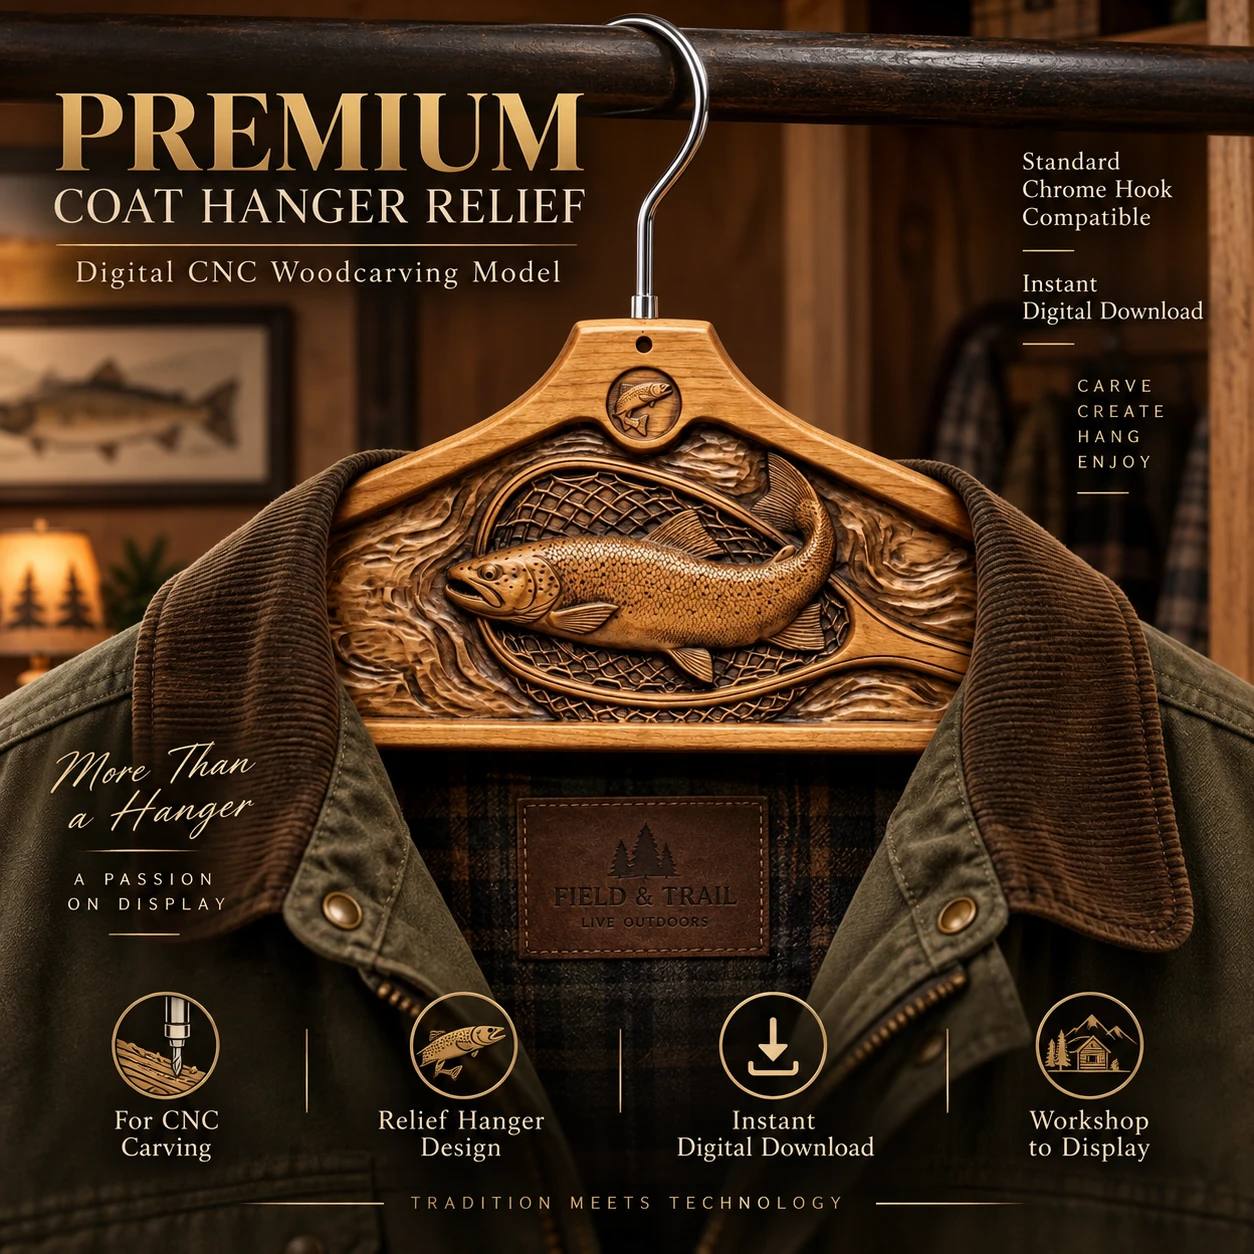
Download the brown trout and landing net hanger · $10.39

Download the jumping trout river scene hanger · $10.39

Download the bass and rainbow trout hanger · $10.39
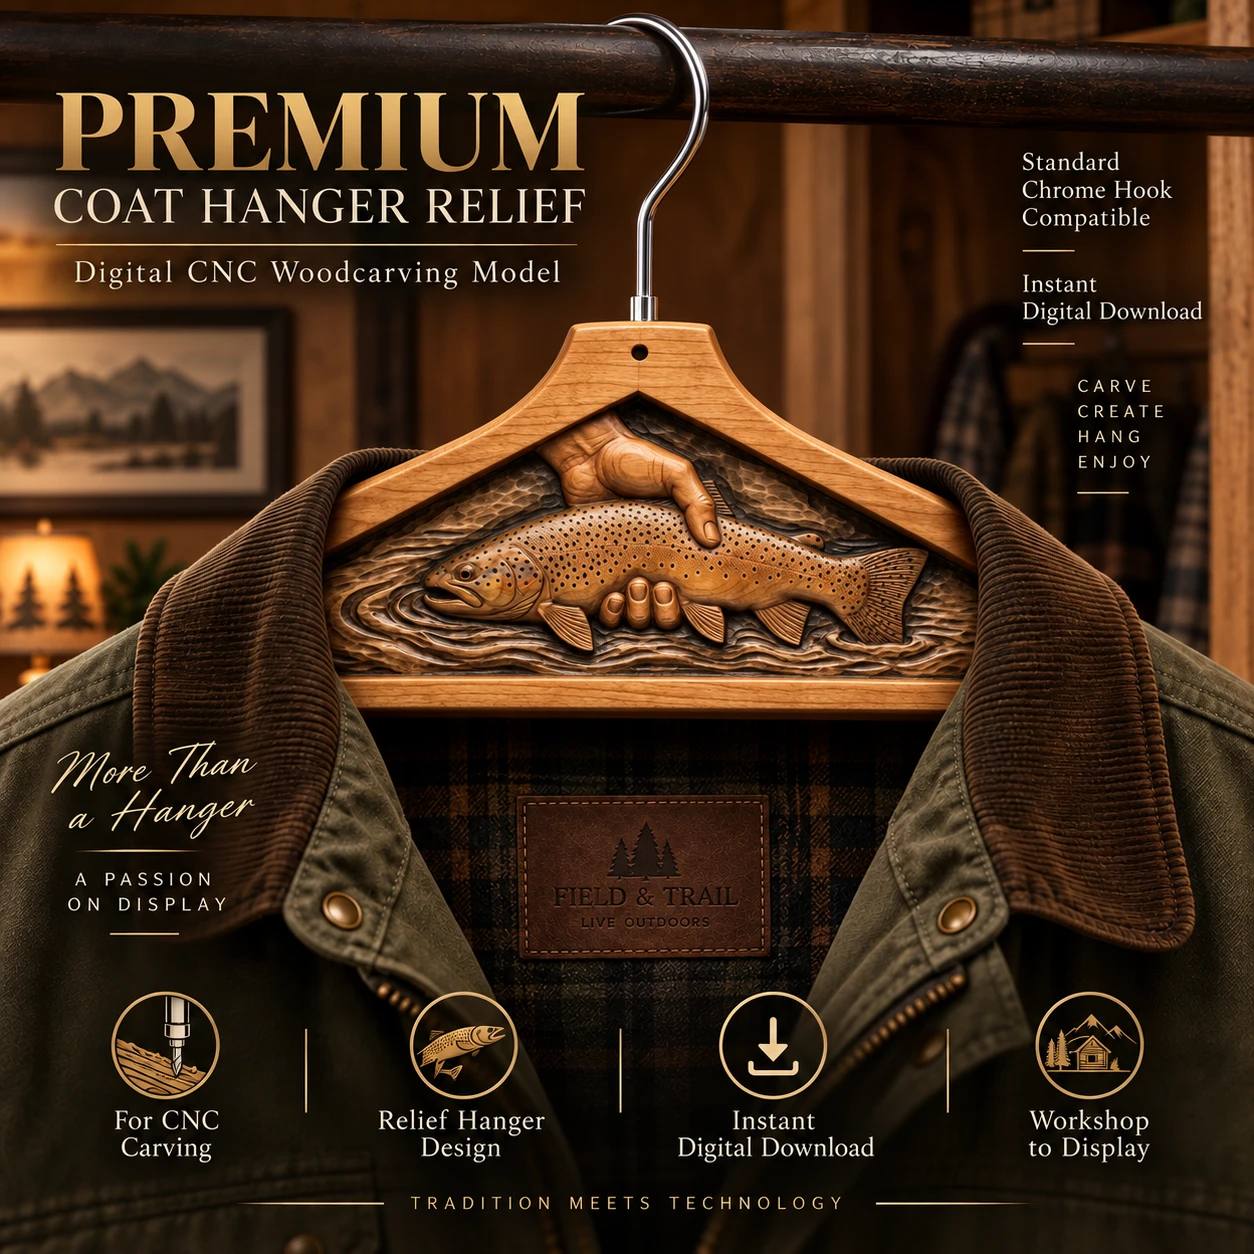
Download the brown trout catch hanger · $10.39

Common questions
What size hook do I need?
A screw-in hanger hook with a shank of 3.4 mm to 4.2 mm and a neck of about 100 mm. Anything sold as a wooden hanger replacement hook fits. The ones in our photographs are this ten-pack of matte screw-in hanger hooks, 100 mm long with a 3.8 mm shank. Buy a pack of ten, because once the first hanger works you will carve more.
Can I carve it without a hook at all?
Yes. At 150 mm to 250 mm it makes a display piece on a small easel or a wall panel with a keyhole slot routed in the back. Several makers sell the small sizes as lodge decor and the 400 mm size as the working hanger.
Do I need a three-dimensional model, or will the outline do?
The file is a full relief, so you carve the face and the outline from one model. If you only want the hanger shape, any bandsaw pattern does that job. The reason to carve this one is the fish.
How thick should the board be?
Take the stock thickness from the table above for the size you are carving: it already includes clearance under the deepest cut. If your board is thinner than the table says, either scale down or ask us for fixed-depth numbers.
Will the hanger mark my clothes?
Not once the finish has cured. Oil that is still curing can, which is why the week of patience matters. If you want certainty, hang a white cloth on it for a day and check the cloth.
Can I sell what I carve?
Yes. Every file here includes commercial use for the pieces you make. You may not resell or share the digital file itself. The selling guide covers pricing and what sells.
Carve one, fit the hook, hang it on the back of a door, and see how long it takes somebody to pick it up and turn it over. That is the whole appeal of this project: it is a carving that lives in the house rather than on the wall.