There is a particular disappointment that comes with printing a lampshade. The shade itself comes out beautifully. Then you print the bulb holder as a separate part, discover it is a millimetre out, glue it in anyway, and spend the rest of the lamp's life looking at a ring that sits very slightly crooked.
It does not have to work that way. A lampshade is the one object that vase mode was made for, and with one number entered into your slicer you can print the shade and its E27 holder as a single continuous spiral. No supports, no glue, nothing to assemble, and nothing to sit crooked.
What this guide covers
- Why a lampshade is the best thing vase mode makes
- What vase mode actually does
- The one number: solid bottom layers
- The settings that decide whether it glows
- Filament, colour, and the light that comes through
- Size, and your bed
- The bulb rule, which matters more than any of this
- Standing it up, or hanging it
- Twelve shades to download
- Making your own shape
- Common questions
Why a lampshade is the best thing vase mode makes
Most vase-mode prints are vases, and a vase in vase mode has a problem: it is a single wall about half a millimetre thick, so it will not hold water without a coating, and it dents if you grip it.
A lampshade has no such problem. It holds nothing, nobody grips it, and the one property that makes vase mode awkward everywhere else is exactly the property you want here. A single thin wall is translucent. Light does not bounce off it, it passes through it, and the whole shade becomes the light source rather than a lid on top of one.
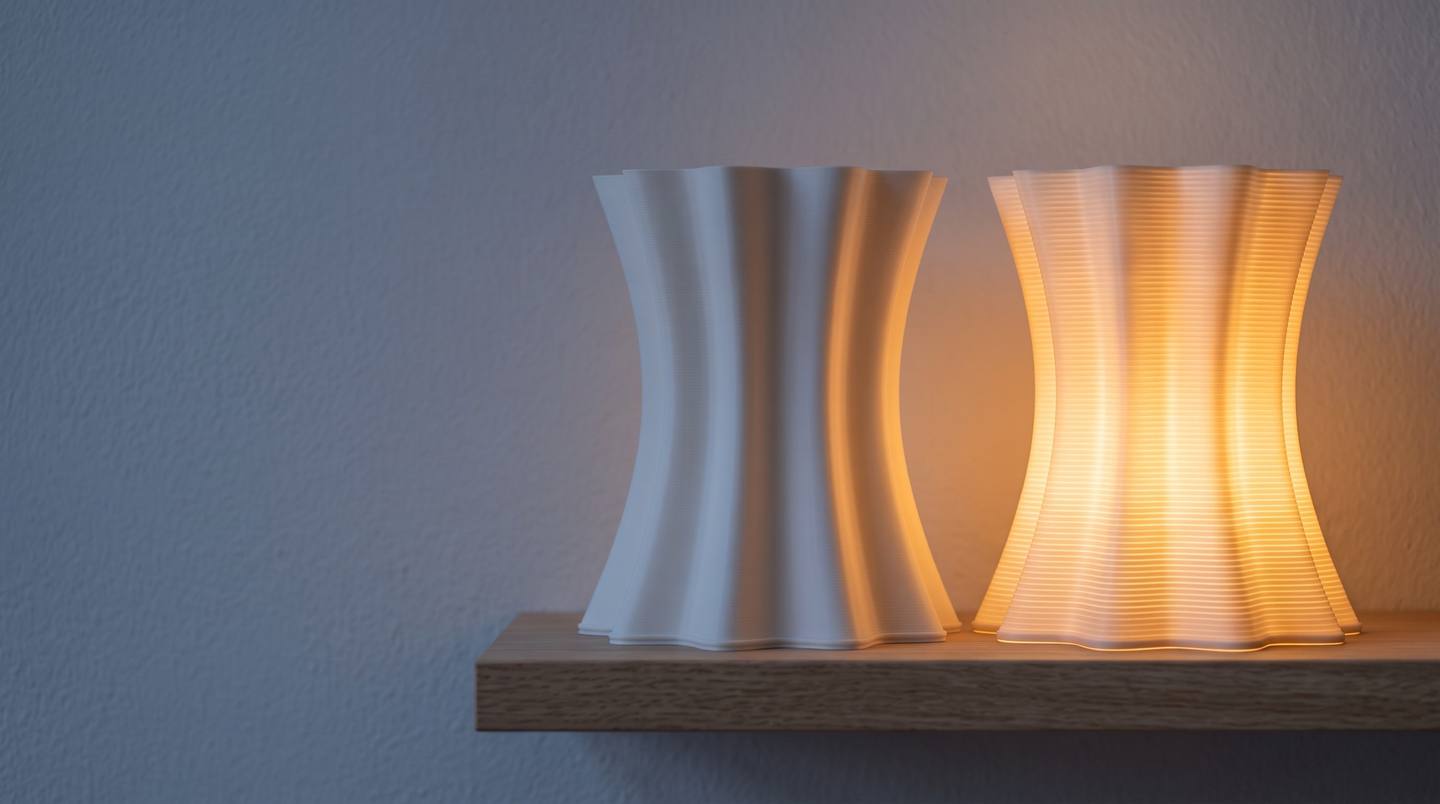
That thin wall is also why printed shades look the way they do. Every layer line becomes a fine horizontal striation in the glow, and every flute or rib becomes a soft vertical band where the light has slightly further to travel. A shade that looks plain and white in daylight turns into something quite different when you switch it on.
What vase mode actually does
Vase mode goes by several names. Cura calls it Spiralize Outer Contour, PrusaSlicer and Orca call it Spiral Vase, Bambu Studio calls it Spiral Mode. They all do the same thing.
Normally a printer lays down a layer, lifts, and starts the next one, leaving a small seam where each layer begins and ends. In vase mode the Z axis rises continuously while the nozzle traces the outline, so the print is one unbroken helix from bottom to top. There is no layer change, no seam, and no retraction.
Three consequences follow, and they are worth understanding before you print rather than after:
- One wall, one perimeter. There is no infill and there are no top layers, because there is nowhere for them to go. Wall thickness equals your extrusion width, and that is the only lever you have.
- No overhangs can be supported. Supports are impossible in vase mode. The model has to be printable by its own geometry, which means no part of the wall can lean out further than your printer will bridge.
- The model must be a single closed loop at every height. One continuous outline, all the way up. A model with two separate towers cannot spiral.
The last point is the one that usually catches people out, and it is the reason the bulb holder question is harder than it looks.
The one number: solid bottom layers
Here is the trick that makes the one-piece print possible.
Every slicer that offers vase mode also lets you keep a number of solid bottom layers before the spiral begins. Below that height the printer behaves normally, laying down complete solid layers with infill and perimeters. Above it, it switches to the continuous spiral.
So if the bulb holder occupies the bottom 10 mm of the model, and you tell the slicer to print 10 mm of solid layers before spiralising, the holder prints as a proper solid part with its ring and spokes, and the shade above it prints as a single-wall spiral. One print, one piece, no join.
The number your slicer wants is layers, not millimetres, so you divide:
Solid bottom layers = holder height ÷ layer height
A 10 mm holder at 0.2 mm layers is 50. The same holder at 0.3 mm layers is 34 (round up, never down). Get this wrong in the generous direction and you simply have a slightly taller solid base, which is harmless. Get it wrong the other way and the spiral starts partway up the holder, which produces exactly the mess you would expect.
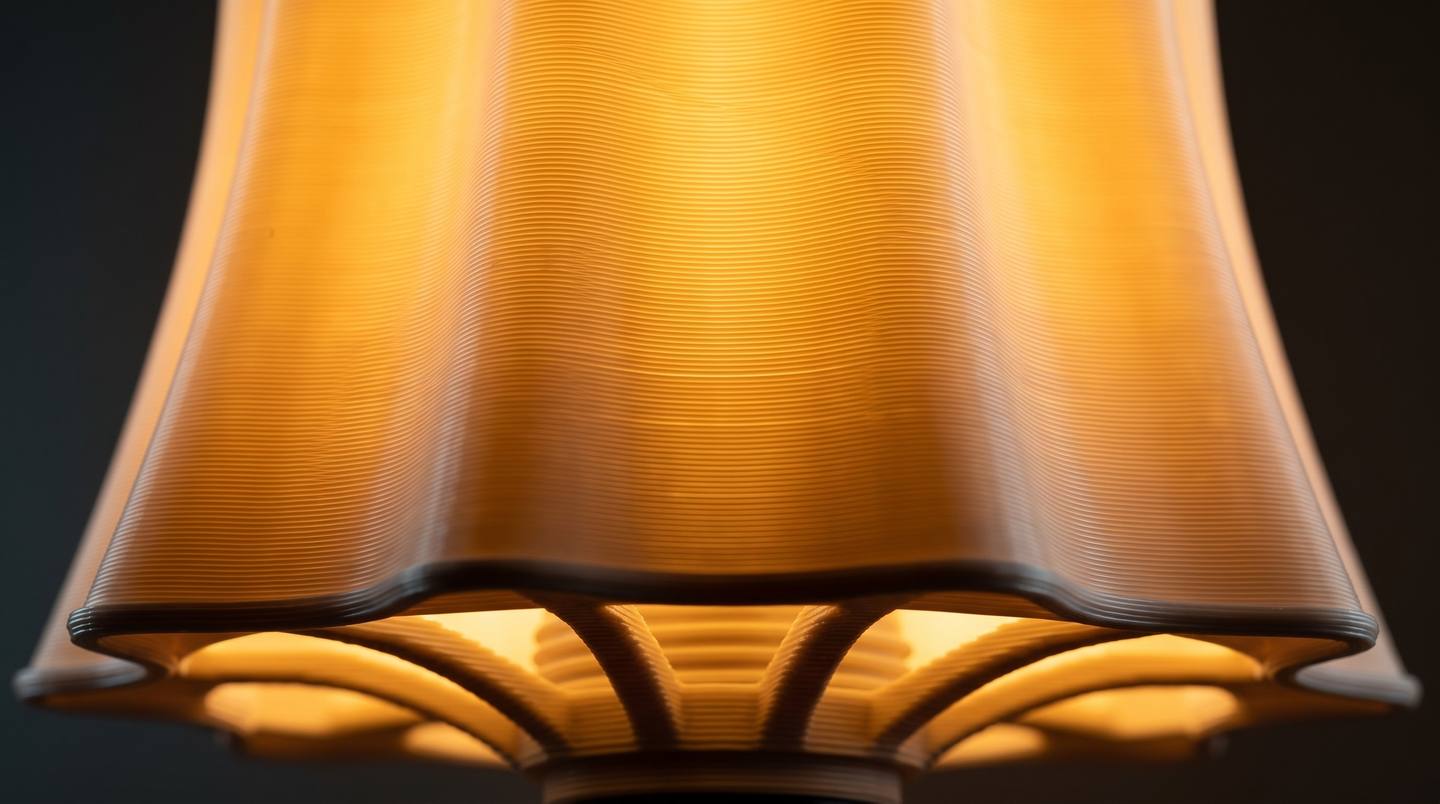
Where the setting lives:
- Cura: Bottom Layers, under Shell. Spiralize Outer Contour is under Special Modes.
- PrusaSlicer and Orca: Bottom solid layers, under Layers and perimeters. Spiral vase is under Layers and perimeters as well.
- Bambu Studio: Bottom shell layers, under Quality. Spiral mode is under Others.
One warning that applies to all of them: turning spiral mode on will silently change other settings, because it has to. Infill goes to zero, top layers go to zero, and in some slicers the wall count is forced to one. Do not fight it, and do not turn spiral mode on after you have carefully set everything else.
The settings that decide whether it glows
A printed shade can look like fine porcelain or like a grey bucket, and the difference is almost entirely in four settings.
Extrusion width, which is your wall thickness
This is the important one. In vase mode your wall is exactly as thick as your extrusion width, and wall thickness controls how much light gets through.
- 0.4 mm on a 0.4 mm nozzle gives the brightest, most translucent shade. It is also delicate.
- 0.6 to 0.8 mm is the sweet spot for most shades. Still clearly translucent, noticeably more rigid, and more forgiving of a slightly uneven first layer.
- 1.0 mm and above starts to block light. The shade becomes an object with a lamp inside it rather than a glowing thing.
You can push a 0.4 mm nozzle to 0.8 mm width without difficulty. Slow it down a little if the extruder complains.
Layer height, which is your texture
Layer lines are not a defect here, they are the surface finish. At 0.12 mm the wall looks almost smooth and slightly waxy. At 0.2 mm you get a fine even striation that catches the light beautifully. At 0.3 mm the lines become a deliberate ribbed texture, and the print takes noticeably less time.
There is no wrong answer, but pick one before you calculate your bottom layers, not after.
Temperature and cooling
Run slightly hotter than you would for a normal print, around 5 to 10 degrees above your usual, because a single wall with no neighbours cools very fast and layer adhesion is the only thing holding the shade together. Then run your part cooling fan at full, because that same single wall has nothing to lean on while it sets.
The combination sounds contradictory and is not: hot enough to weld to the layer below, cooled fast enough to stand up.
Speed
Slower than you think. 30 to 40 mm/s gives a visibly more even wall than 60, and on a tall shade the difference is obvious because any wobble is lit from within and magnified. This is one of the few prints where the surface is the product.
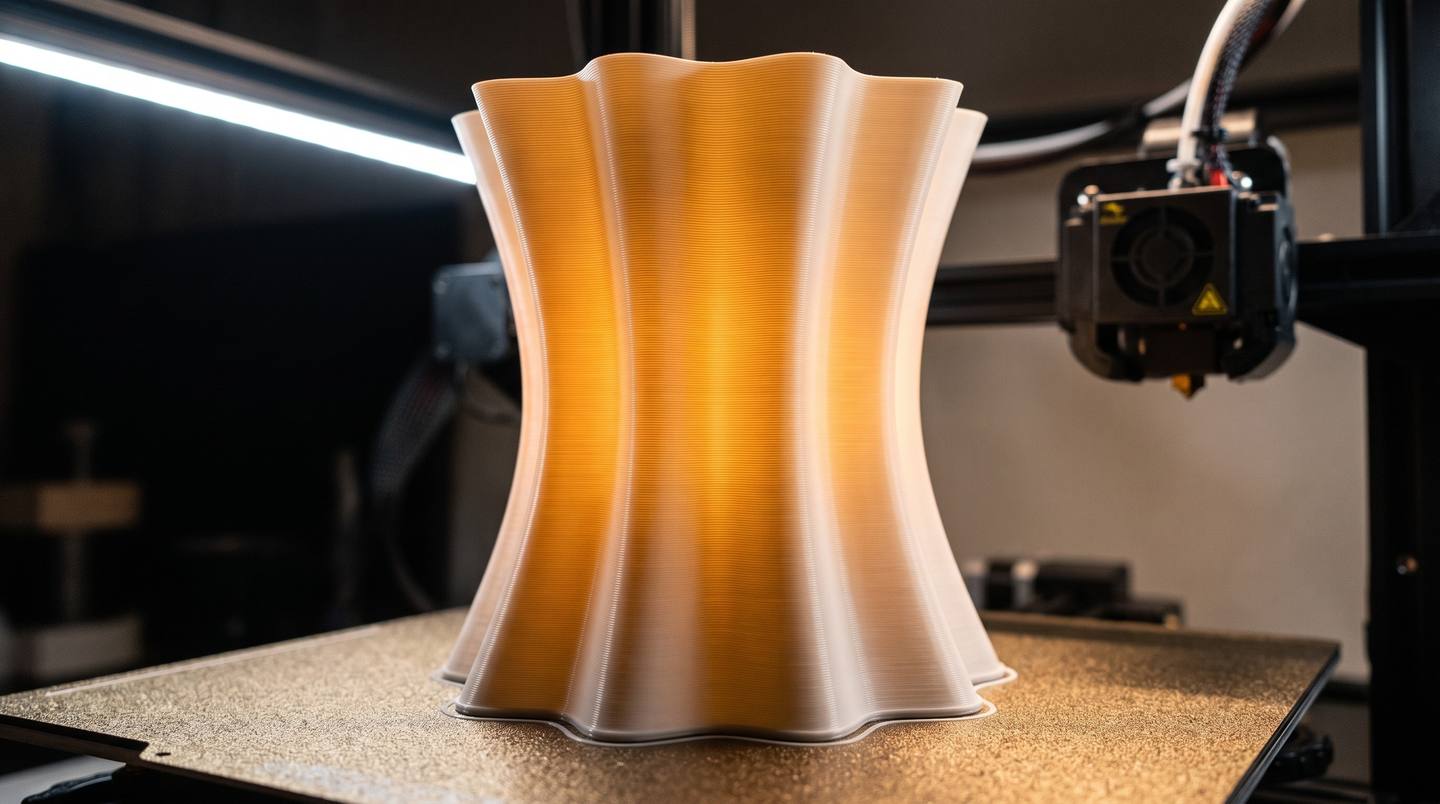
Filament, colour, and the light that comes through
Plain PLA is the right default. It prints easily, it is dimensionally stable, and it is pleasantly translucent at a thin wall.
Colour matters more than brand. Natural, white and cream give a warm even glow. Light greys and pale pastels work. Anything dark, saturated or heavily pigmented will block most of the light and you will have made a sculpture rather than a lamp. Silk filaments look striking unlit and tend to look slightly blotchy lit, because the metallic pigment is not evenly distributed.
PETG is the alternative worth knowing about. It is more heat tolerant than PLA, which matters if your fitting runs warm, and it is often clearer. It is also stringier and less forgiving in a single wall, so print it slower still.
Avoid ABS and ASA here. The warping behaviour that makes them difficult in general is considerably worse on a tall, thin, unsupported wall.
If you print more than lamps, the same translucency trick is what makes a printed bas-relief read properly when it is backlit.
Size, and your bed
A table lamp shade wants to be roughly 200 to 240 mm tall and 180 to 200 mm across. That happens to be almost exactly what a 220 × 220 × 250 mm printer will take, which is the commonest size there is.
Two things to check before you slice:
- Width at the widest point, not the base. A flared shade can have a base that fits comfortably and a rim that fouls the gantry.
- Height including the holder. The holder is part of the print now, so its 10 mm counts.
Every shade in the free set below is already sized to clear an Ender 3 bed with margin, so you can print any of them without measuring anything. If you do want to resize one, the rules are the same as for any model, and we cover them in scaling STL files without breaking them.
The bulb rule, which matters more than any of this
PLA begins to soften at around 60 degrees Celsius. A traditional incandescent bulb runs far hotter than that at its surface, and a halogen hotter still.
Use LED bulbs only. Nothing else. No exceptions.
A cool-running LED of around 6 to 9 watts is ample for a table lamp and will sit comfortably below anything that could soften the print. Beyond that:
- Leave an air gap between the bulb and the wall. Do not choose a bulb so large it touches.
- Prefer a bulb whose own body stays cool to the touch after twenty minutes. Some cheap LEDs put a surprising amount of heat into their base.
- Use a proper E27 lamp holder with the correct flex and a certified inline switch or plug. The printed part holds the fitting; it is not the fitting.
- If you are not confident about mains wiring, buy a ready-made lamp base with a cord and switch already fitted and simply mount the shade on it.
None of this is difficult and all of it is worth saying plainly, because a printed plastic shade with the wrong bulb in it is a genuinely bad idea.
Standing it up, or hanging it
The same shade does both, which is the pleasant part of putting the holder at the mouth.
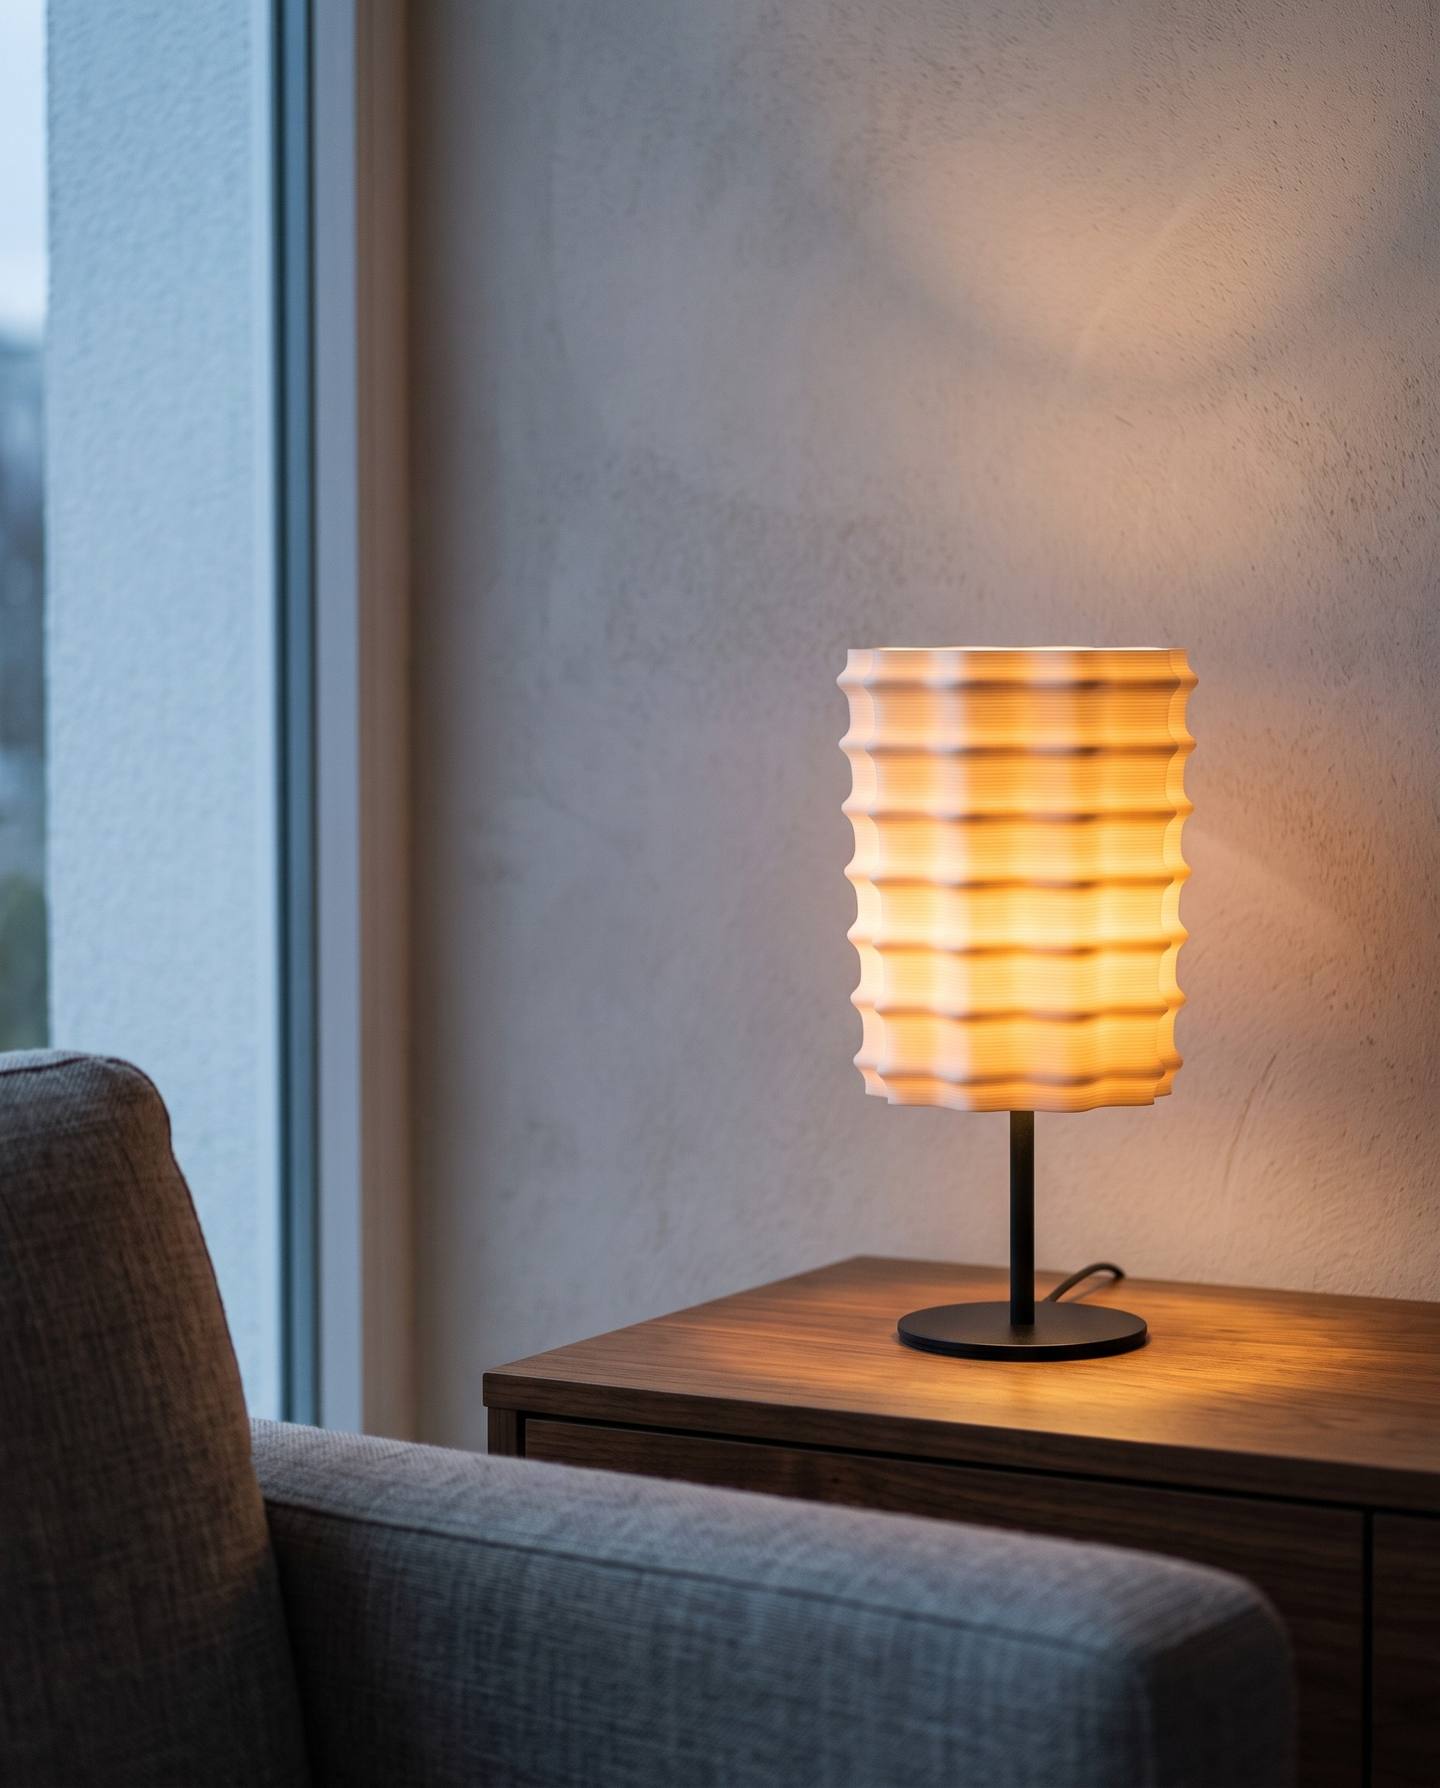
As a table lamp, mount it on any standard E27 base with an upward-facing lamp holder. The printed ring drops over the holder and the spokes take the weight. A slim weighted base looks best, because the shade is very light and a heavy-looking base reads as more stable than it needs to be.
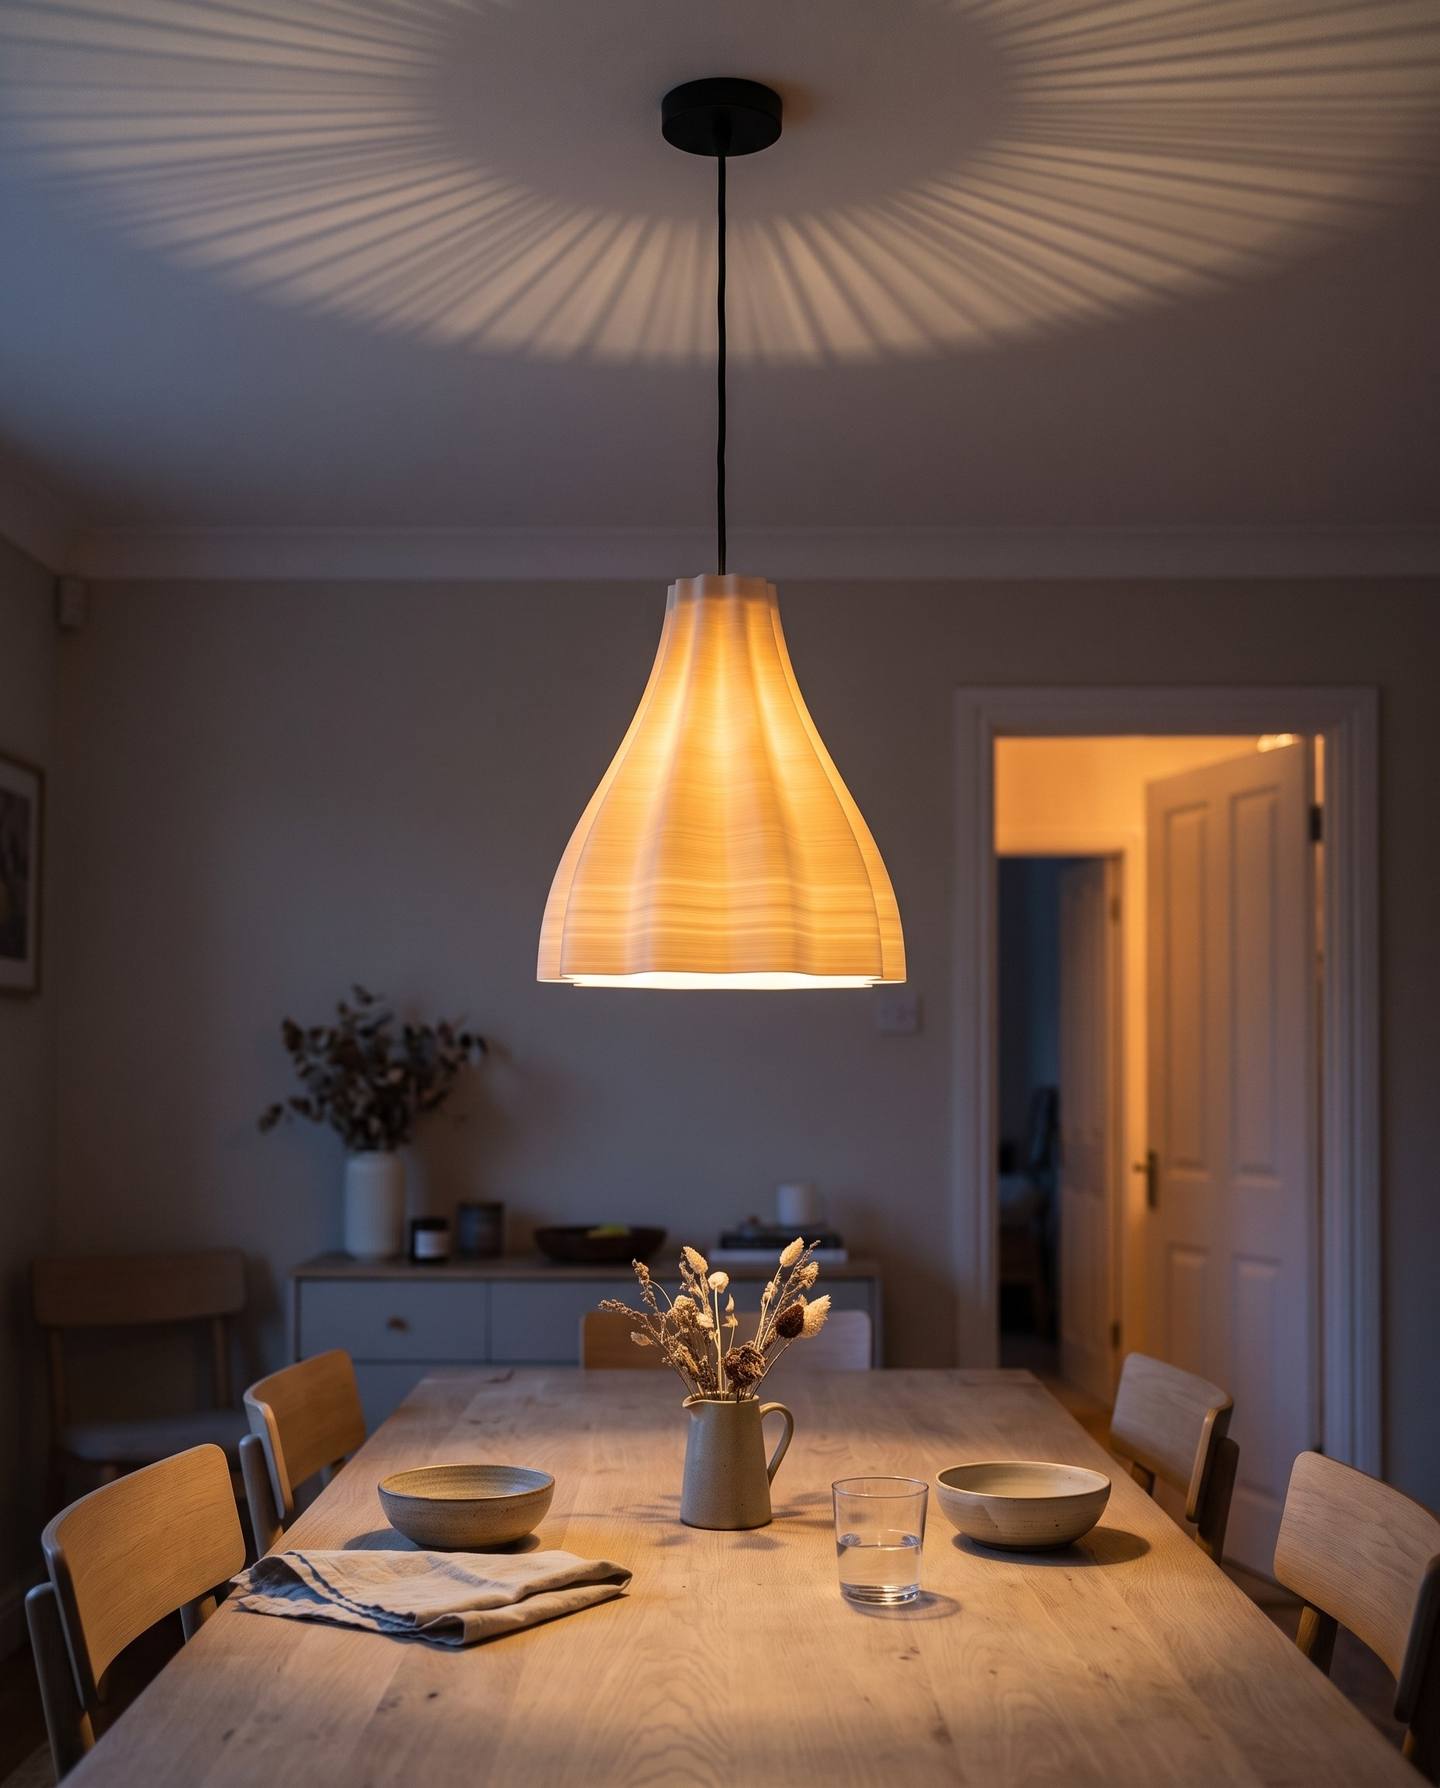
As a pendant, hang the same print mouth downward from a standard ceiling rose and flex. This is where the fluted profiles earn their keep: a ribbed single wall throws a wide fan of light and shadow up across the ceiling, and the effect is considerably better than the shade costs.
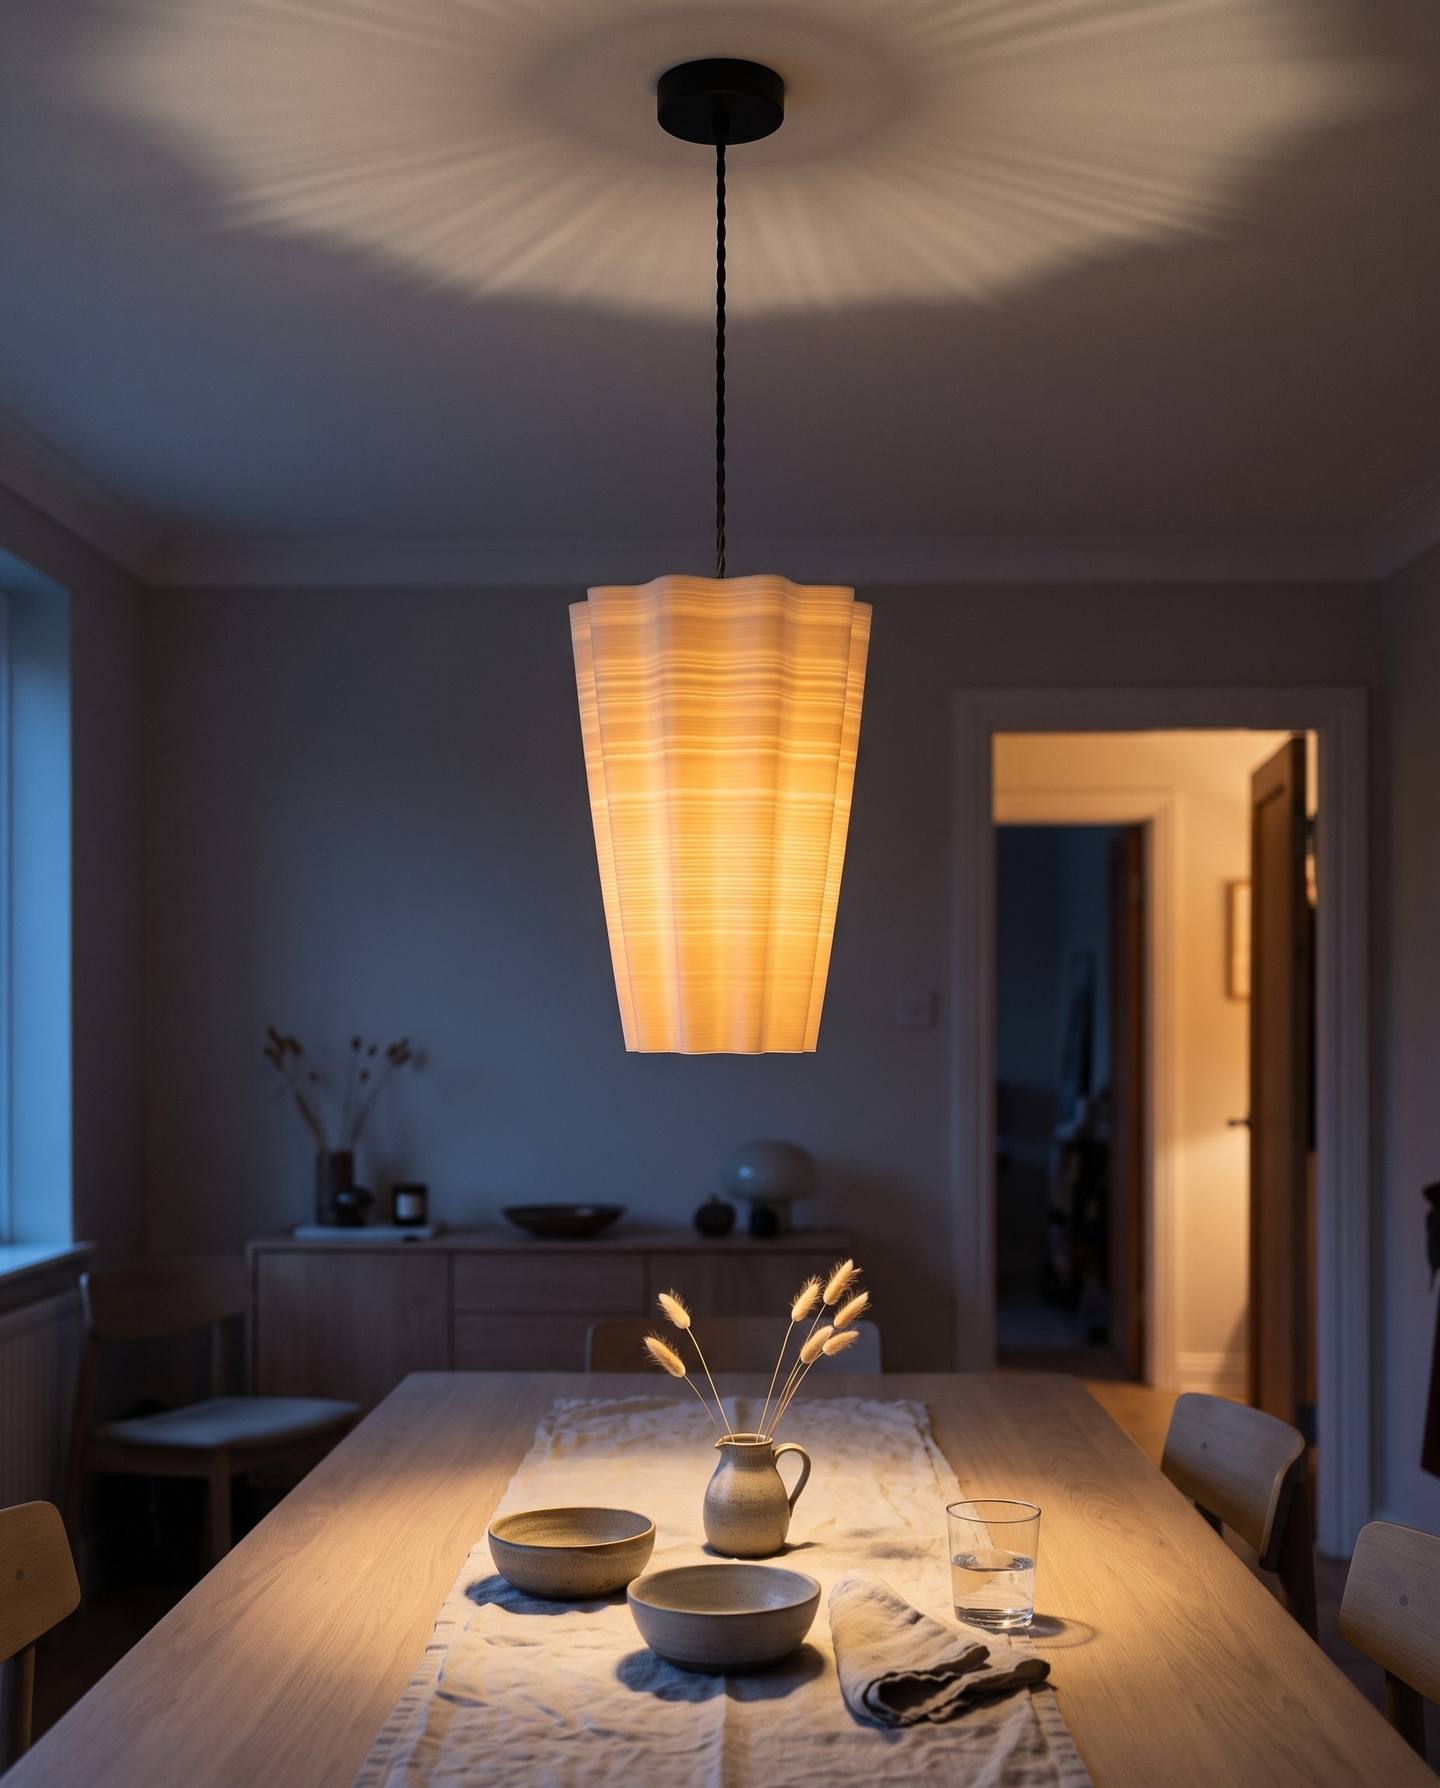
Hang a pendant about 700 mm above a table top. Higher and the pool of light spreads and weakens, lower and people look straight into the opening.
Twelve shades to download
Below are twelve shades, free, every one of them designed in the Studio and sized to print on a 220 mm bed. Each download includes three files:
- The shade alone, single wall, for printing in vase mode.
- The holder alone, floored and support free, if you would rather print the two parts separately.
- The combined model, shade and holder as one piece, which is the one this guide is about.
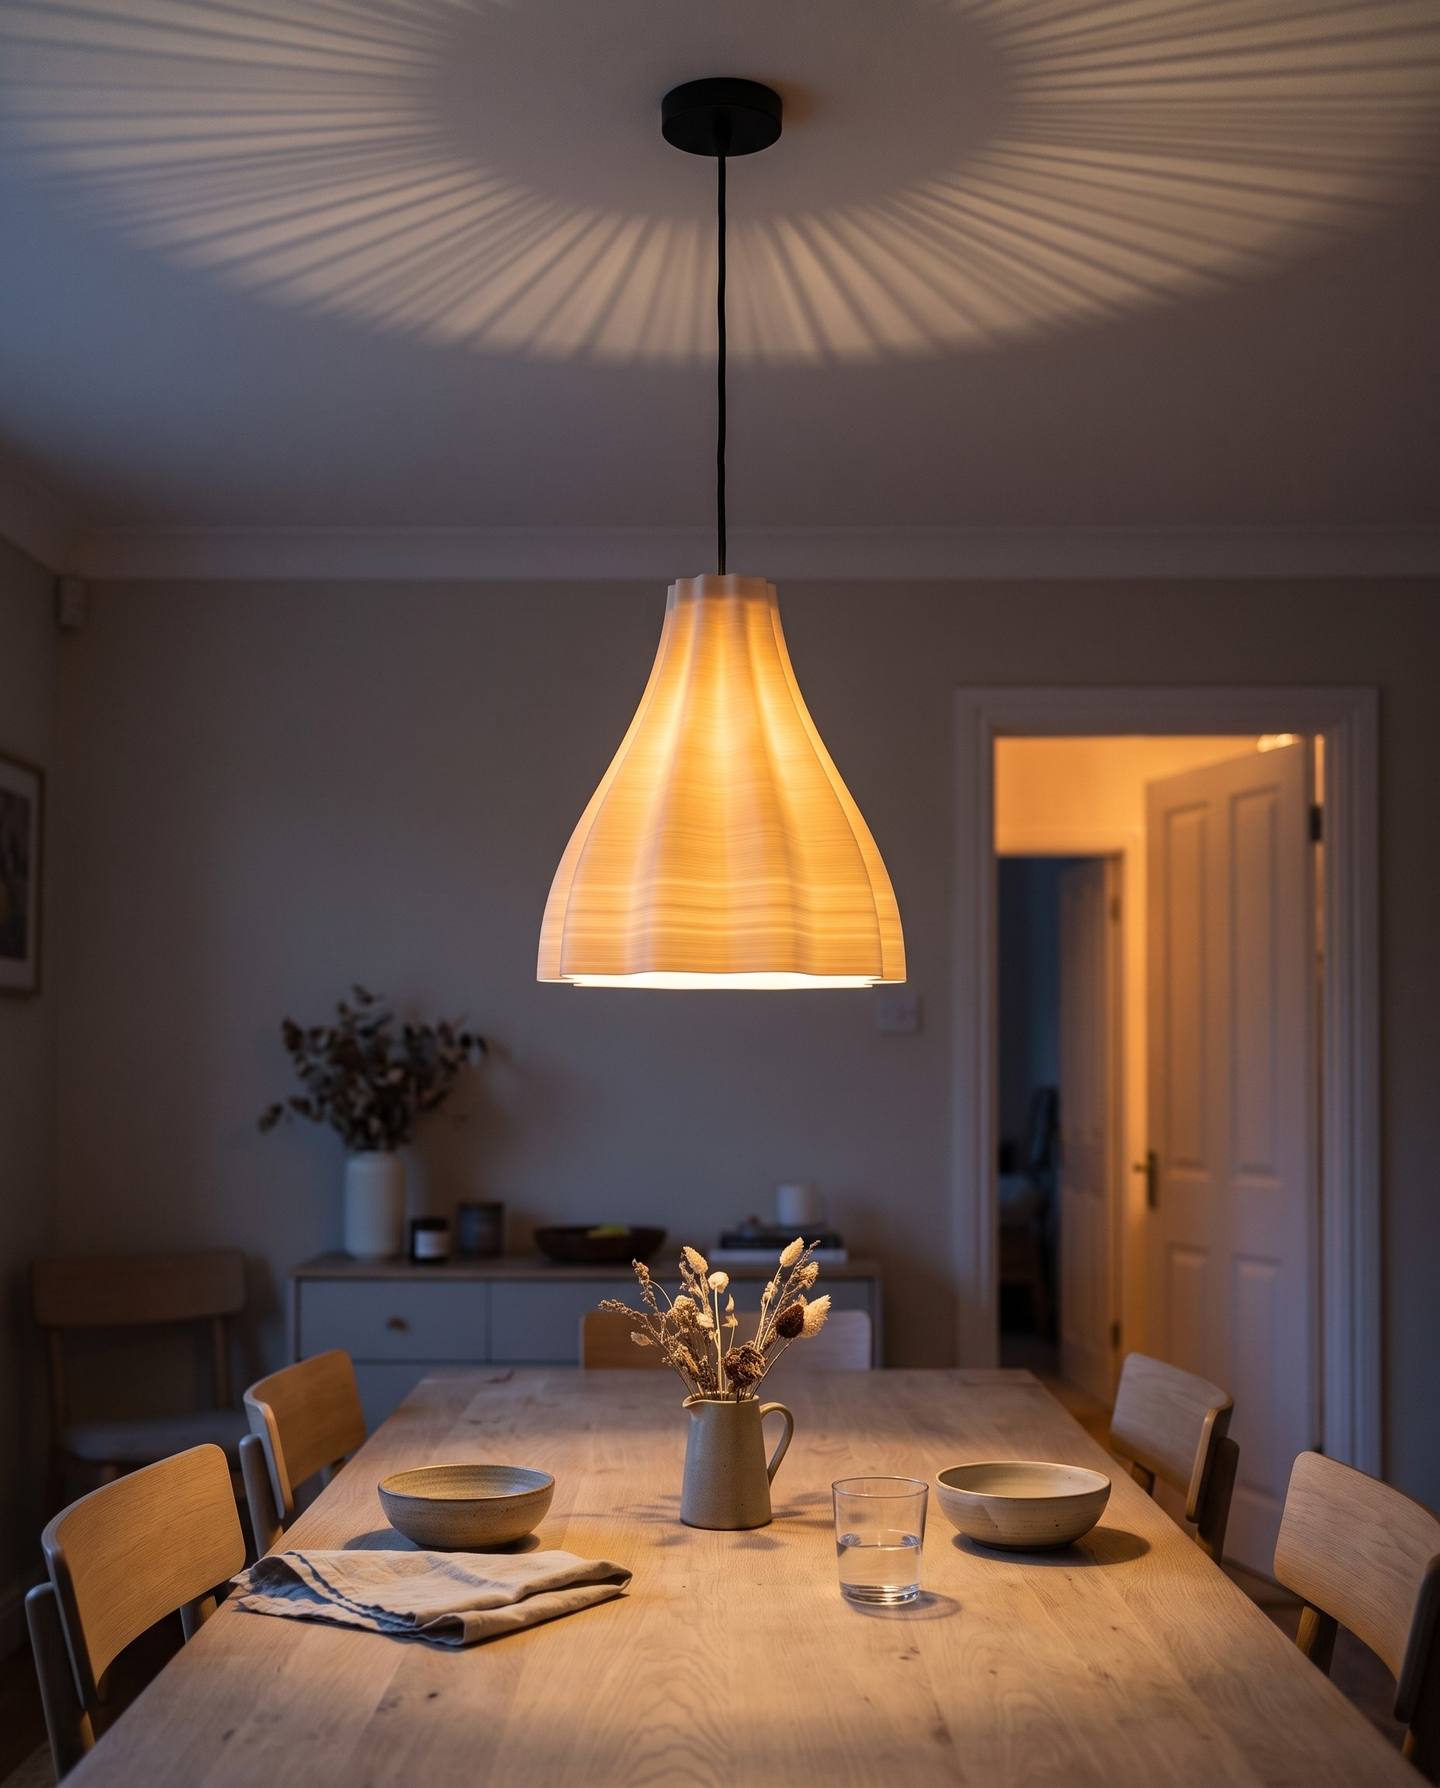 Ogee Bell
220 × 198 mm · download
Ogee Bell
220 × 198 mm · download
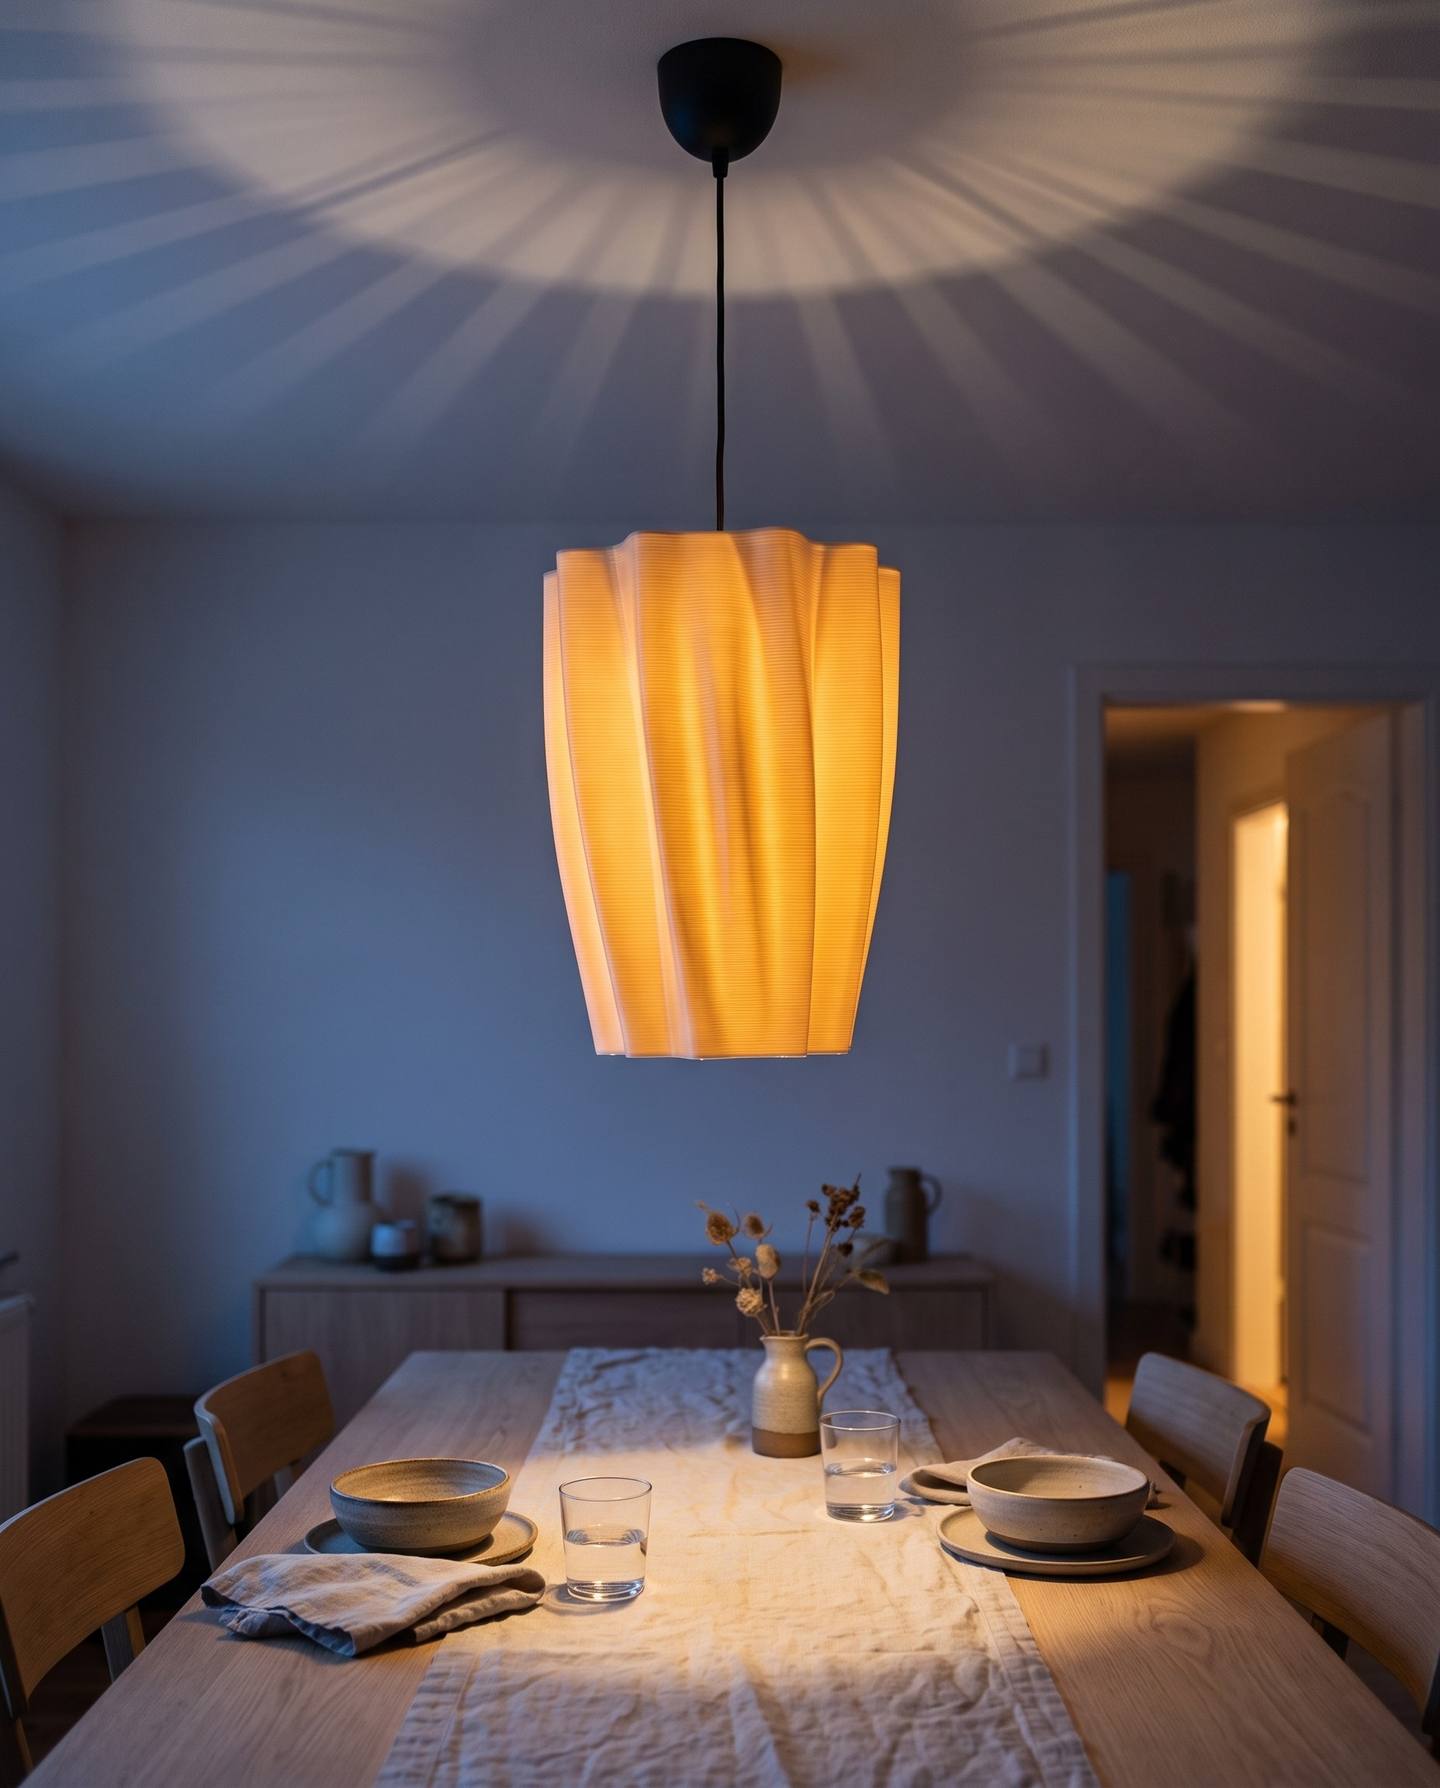 Twisted Star
232 × 172 mm · download
Twisted Star
232 × 172 mm · download
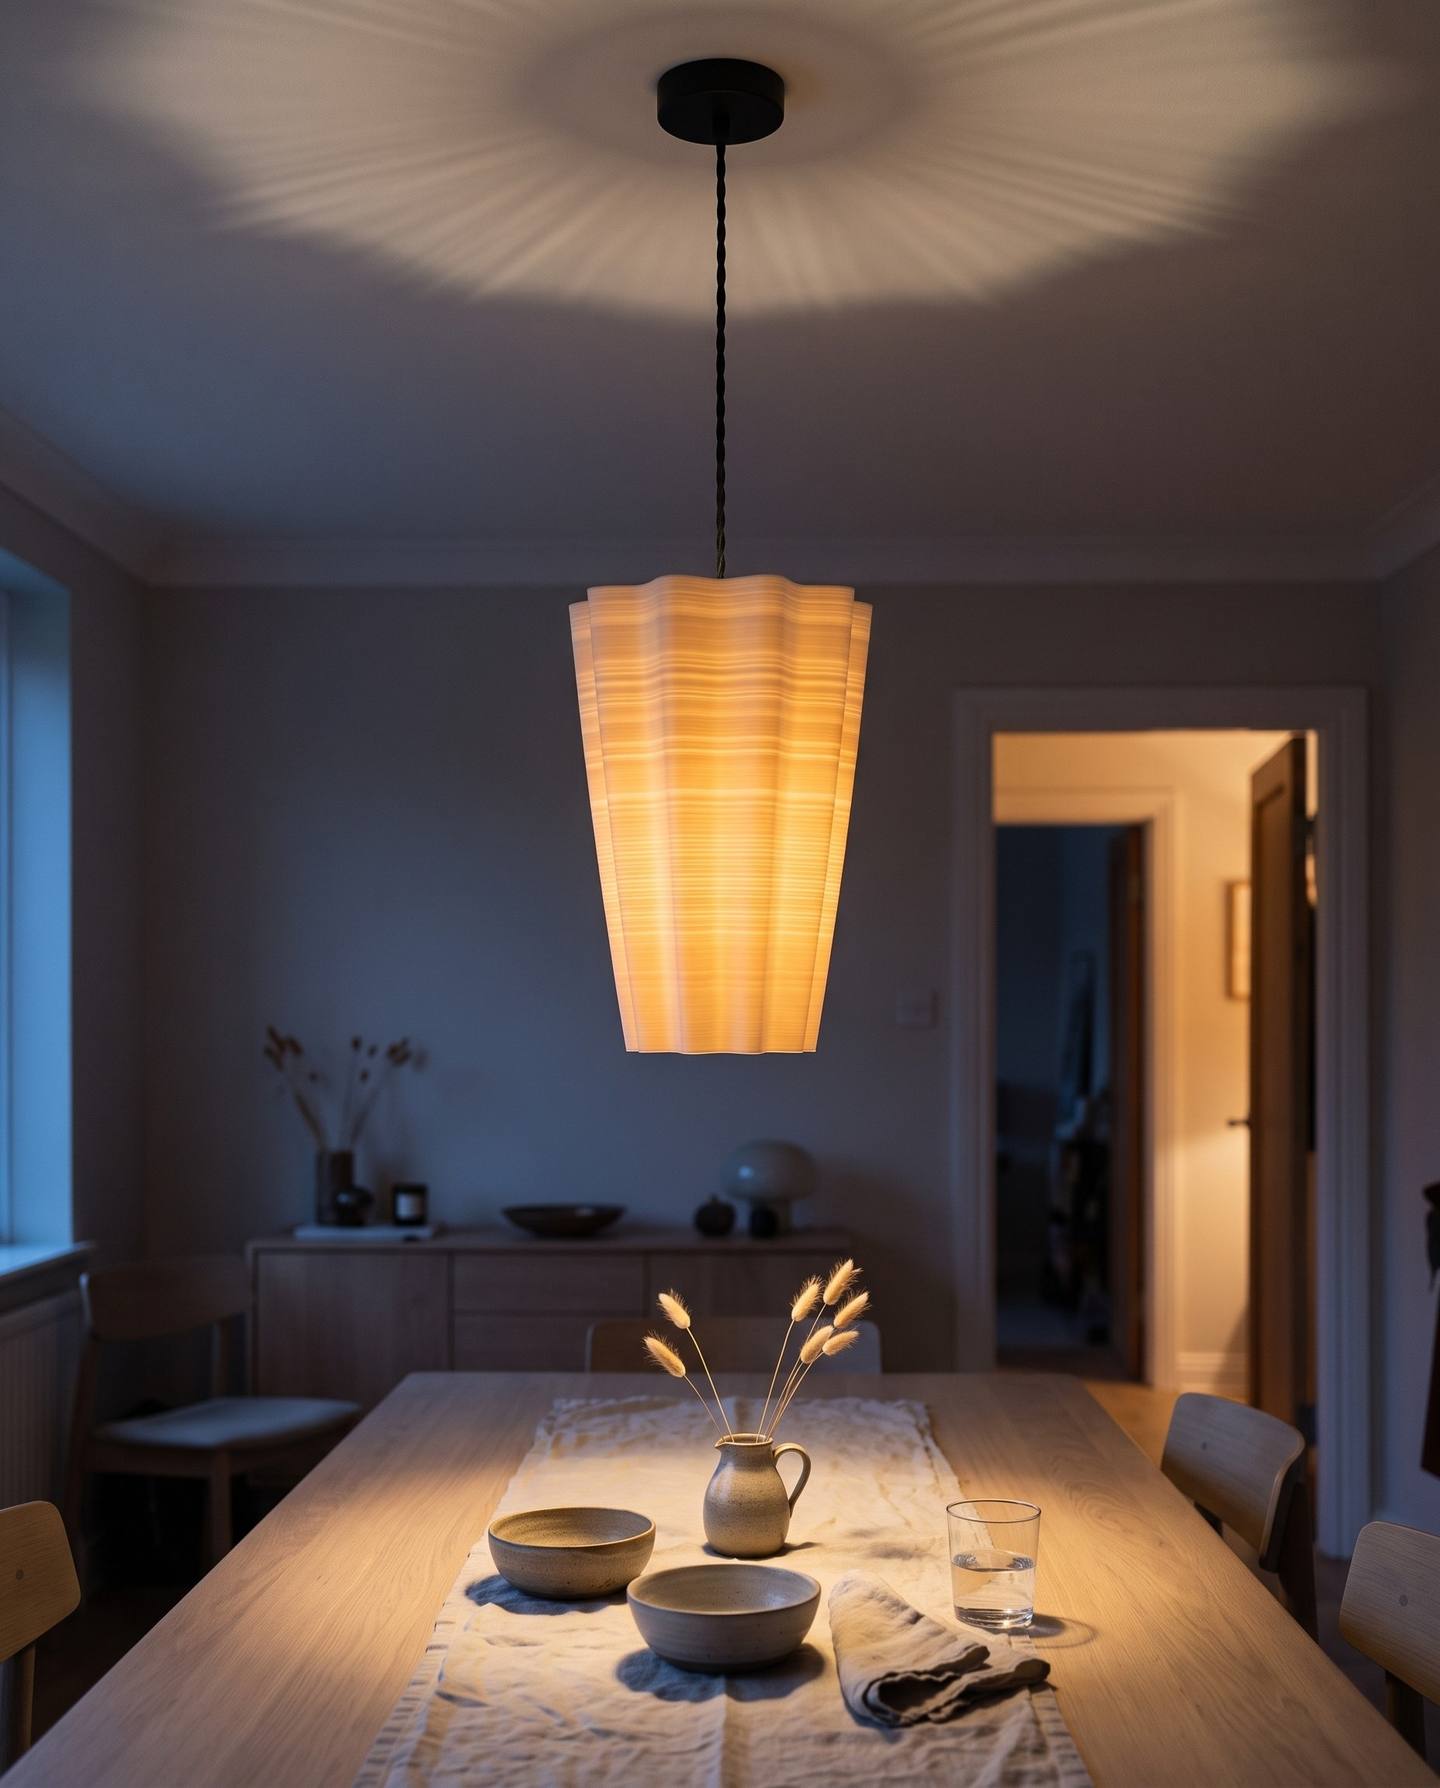 Nautilus Spiral
228 × 162 mm · download
Nautilus Spiral
228 × 162 mm · download
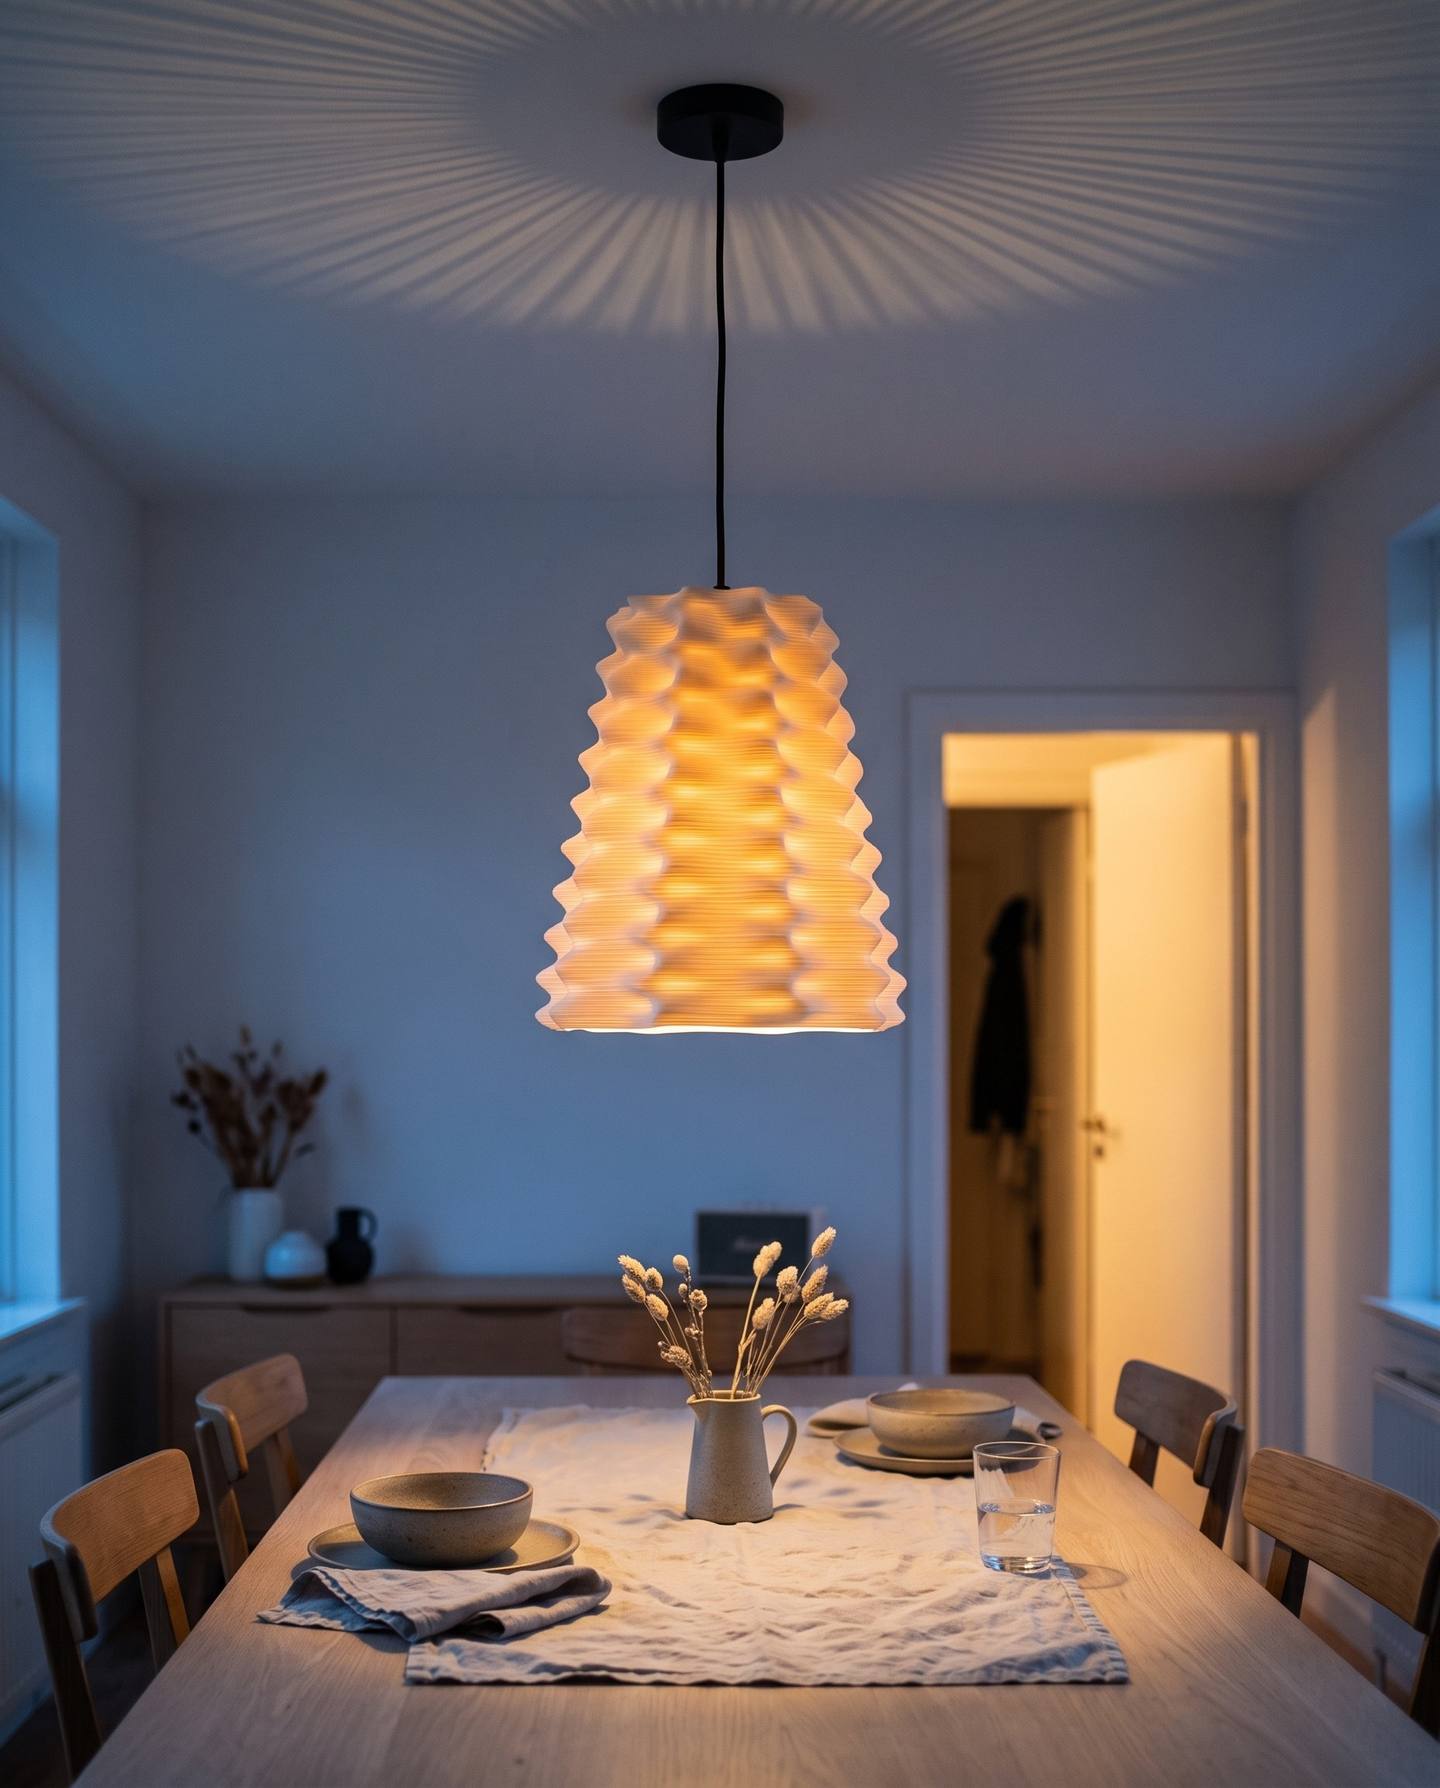 Basket Weave
222 × 197 mm · download
Basket Weave
222 × 197 mm · download
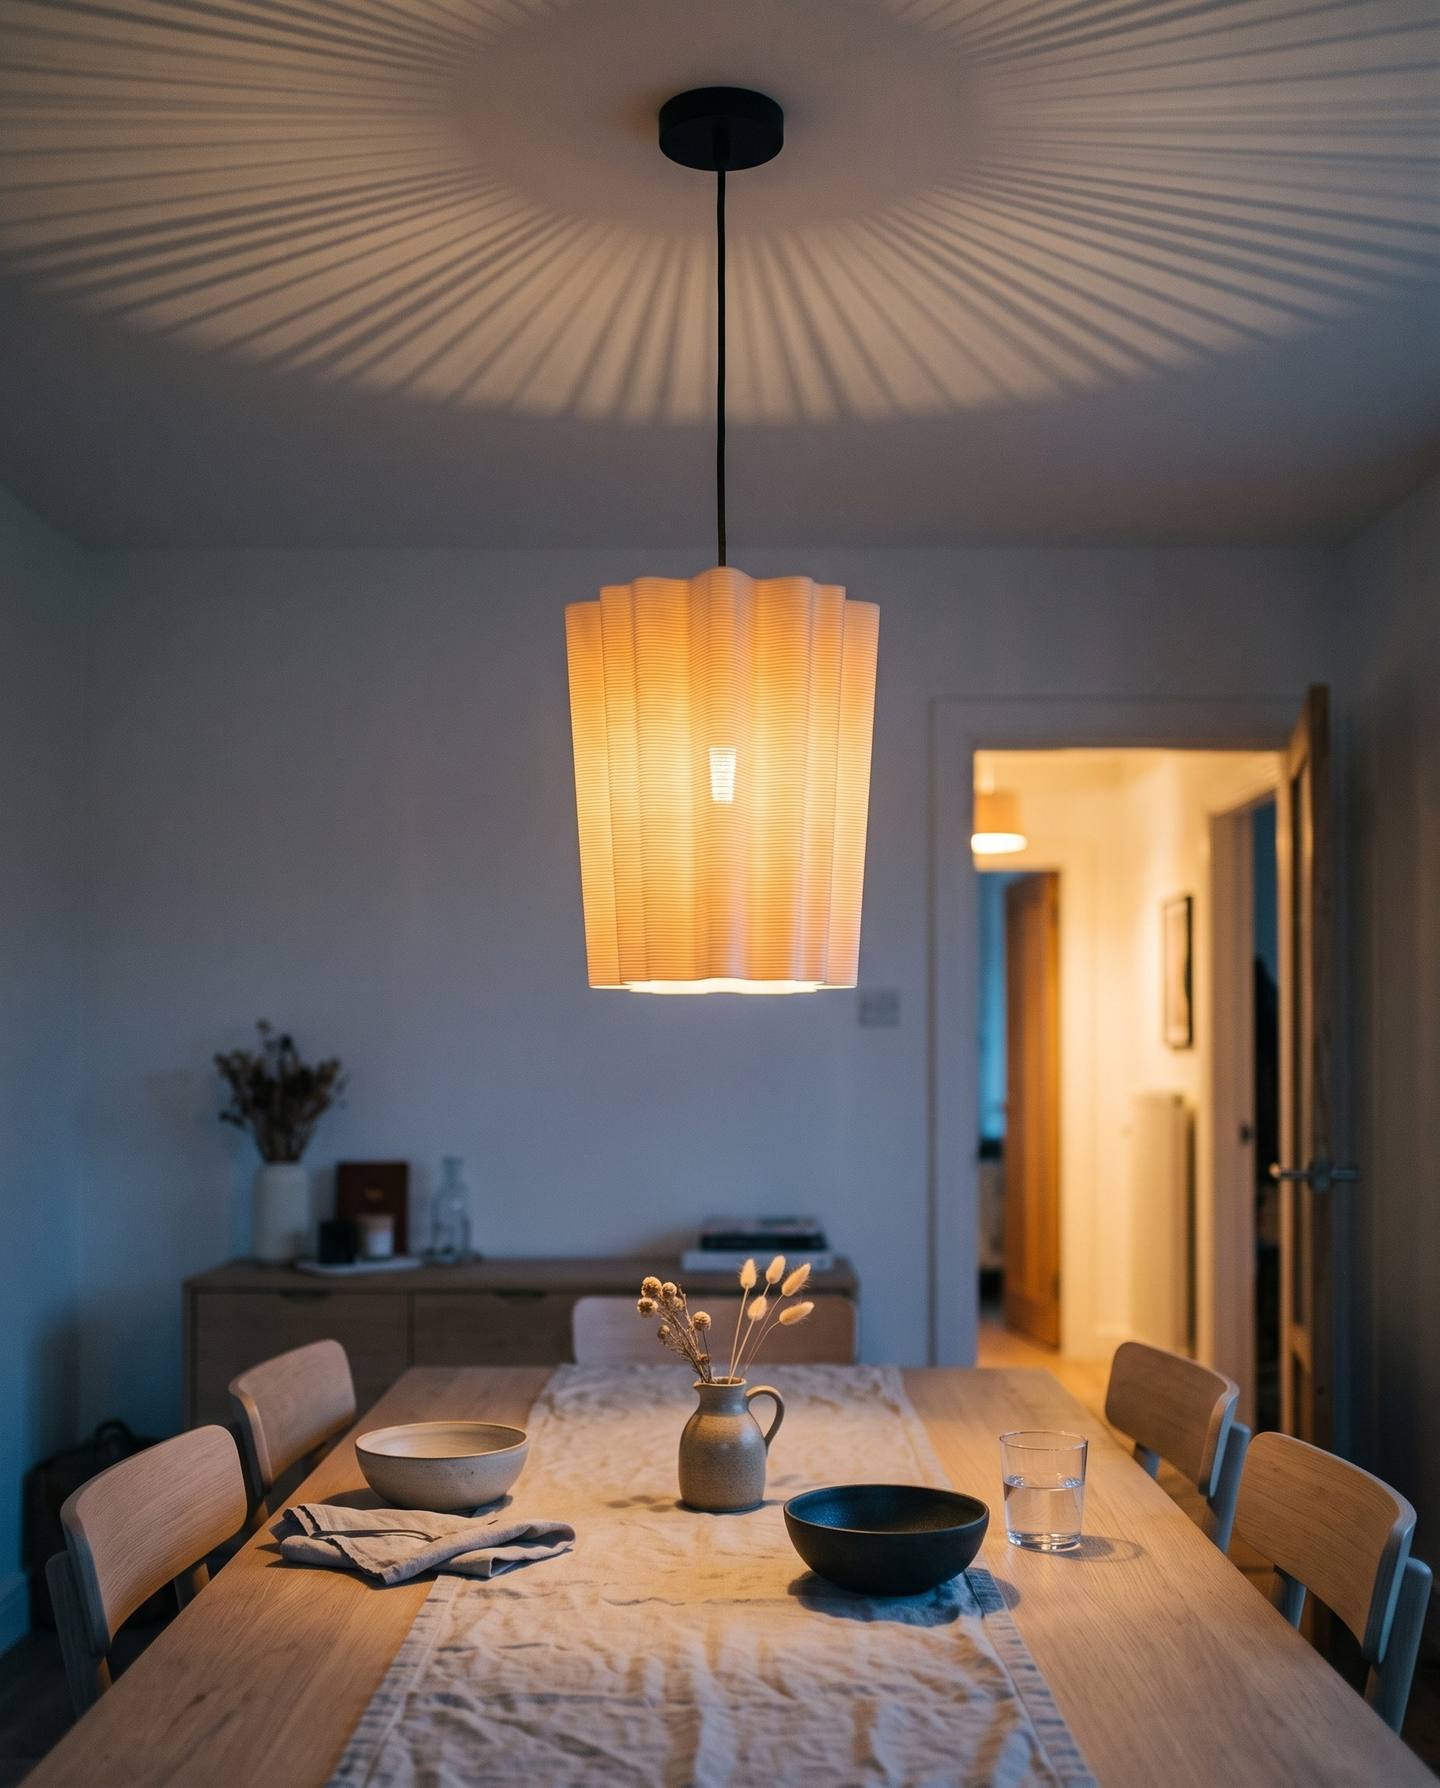 Barley Twist
236 × 189 mm · download
Barley Twist
236 × 189 mm · download
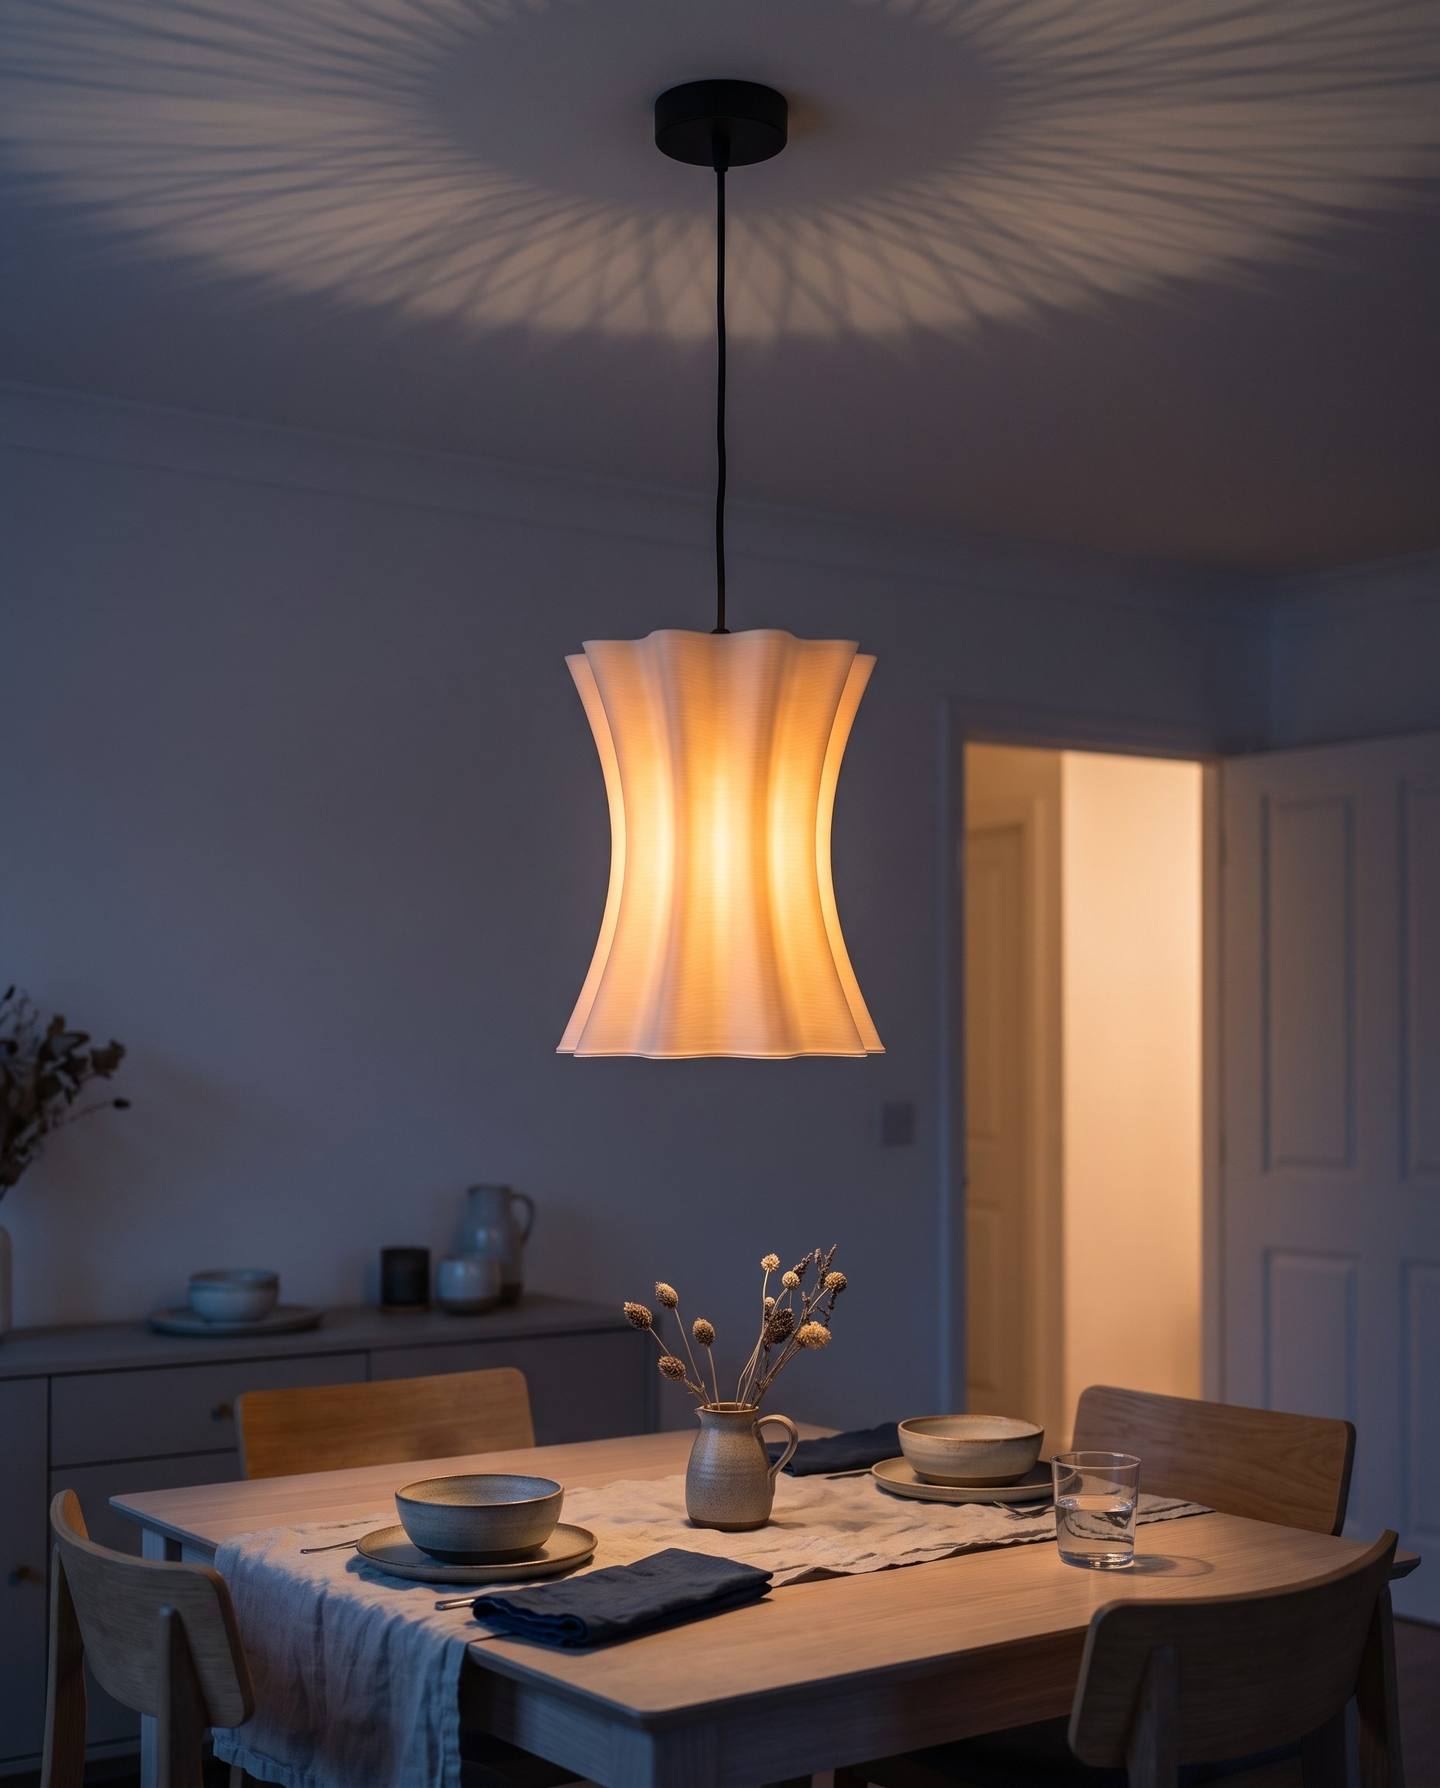 Tulip Flare
215 × 200 mm · download
Tulip Flare
215 × 200 mm · download
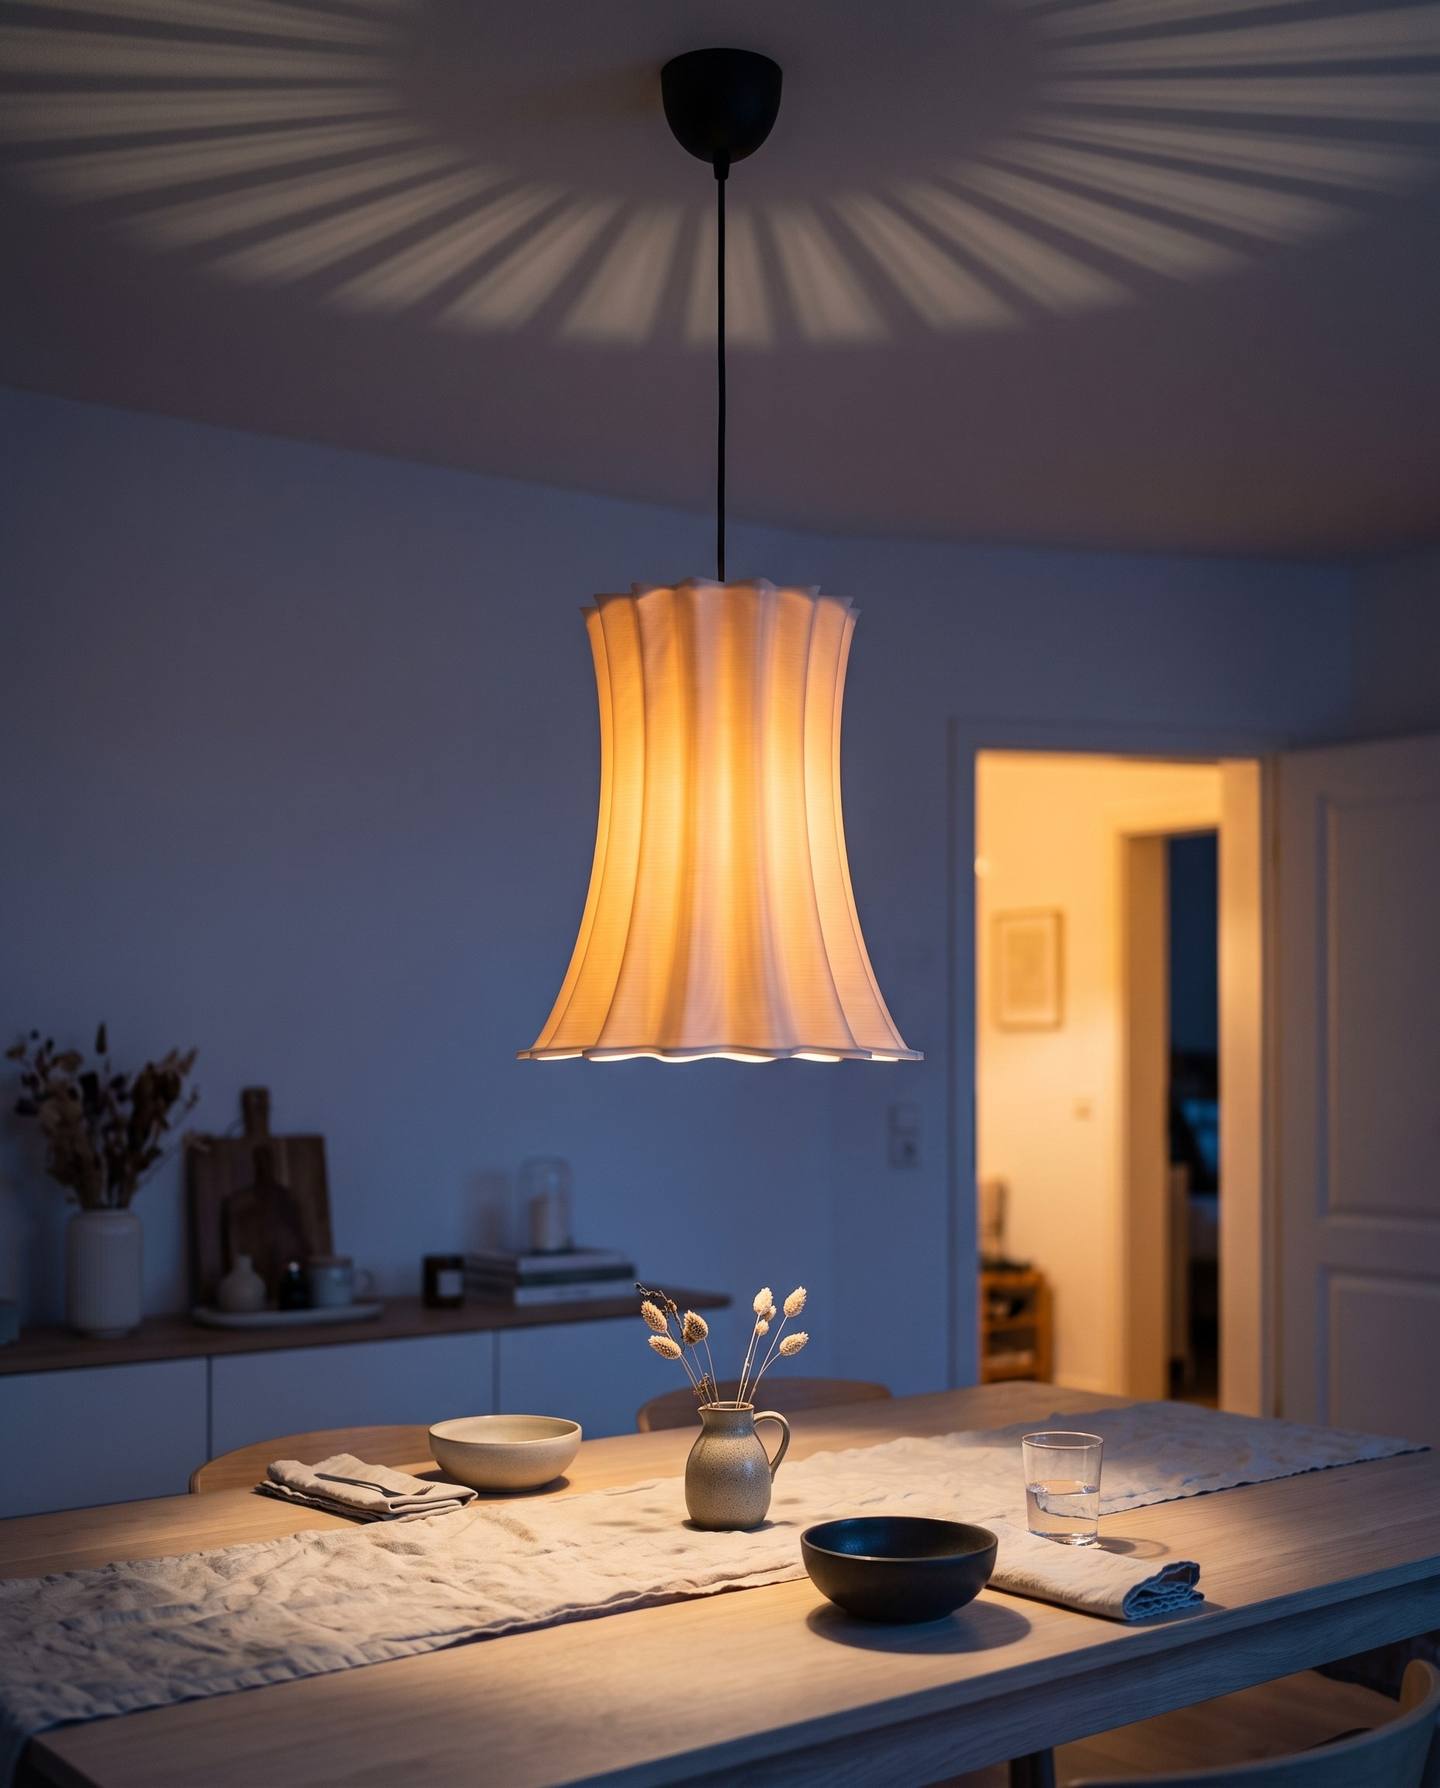 Onion Dome
210 × 192 mm · download
Onion Dome
210 × 192 mm · download
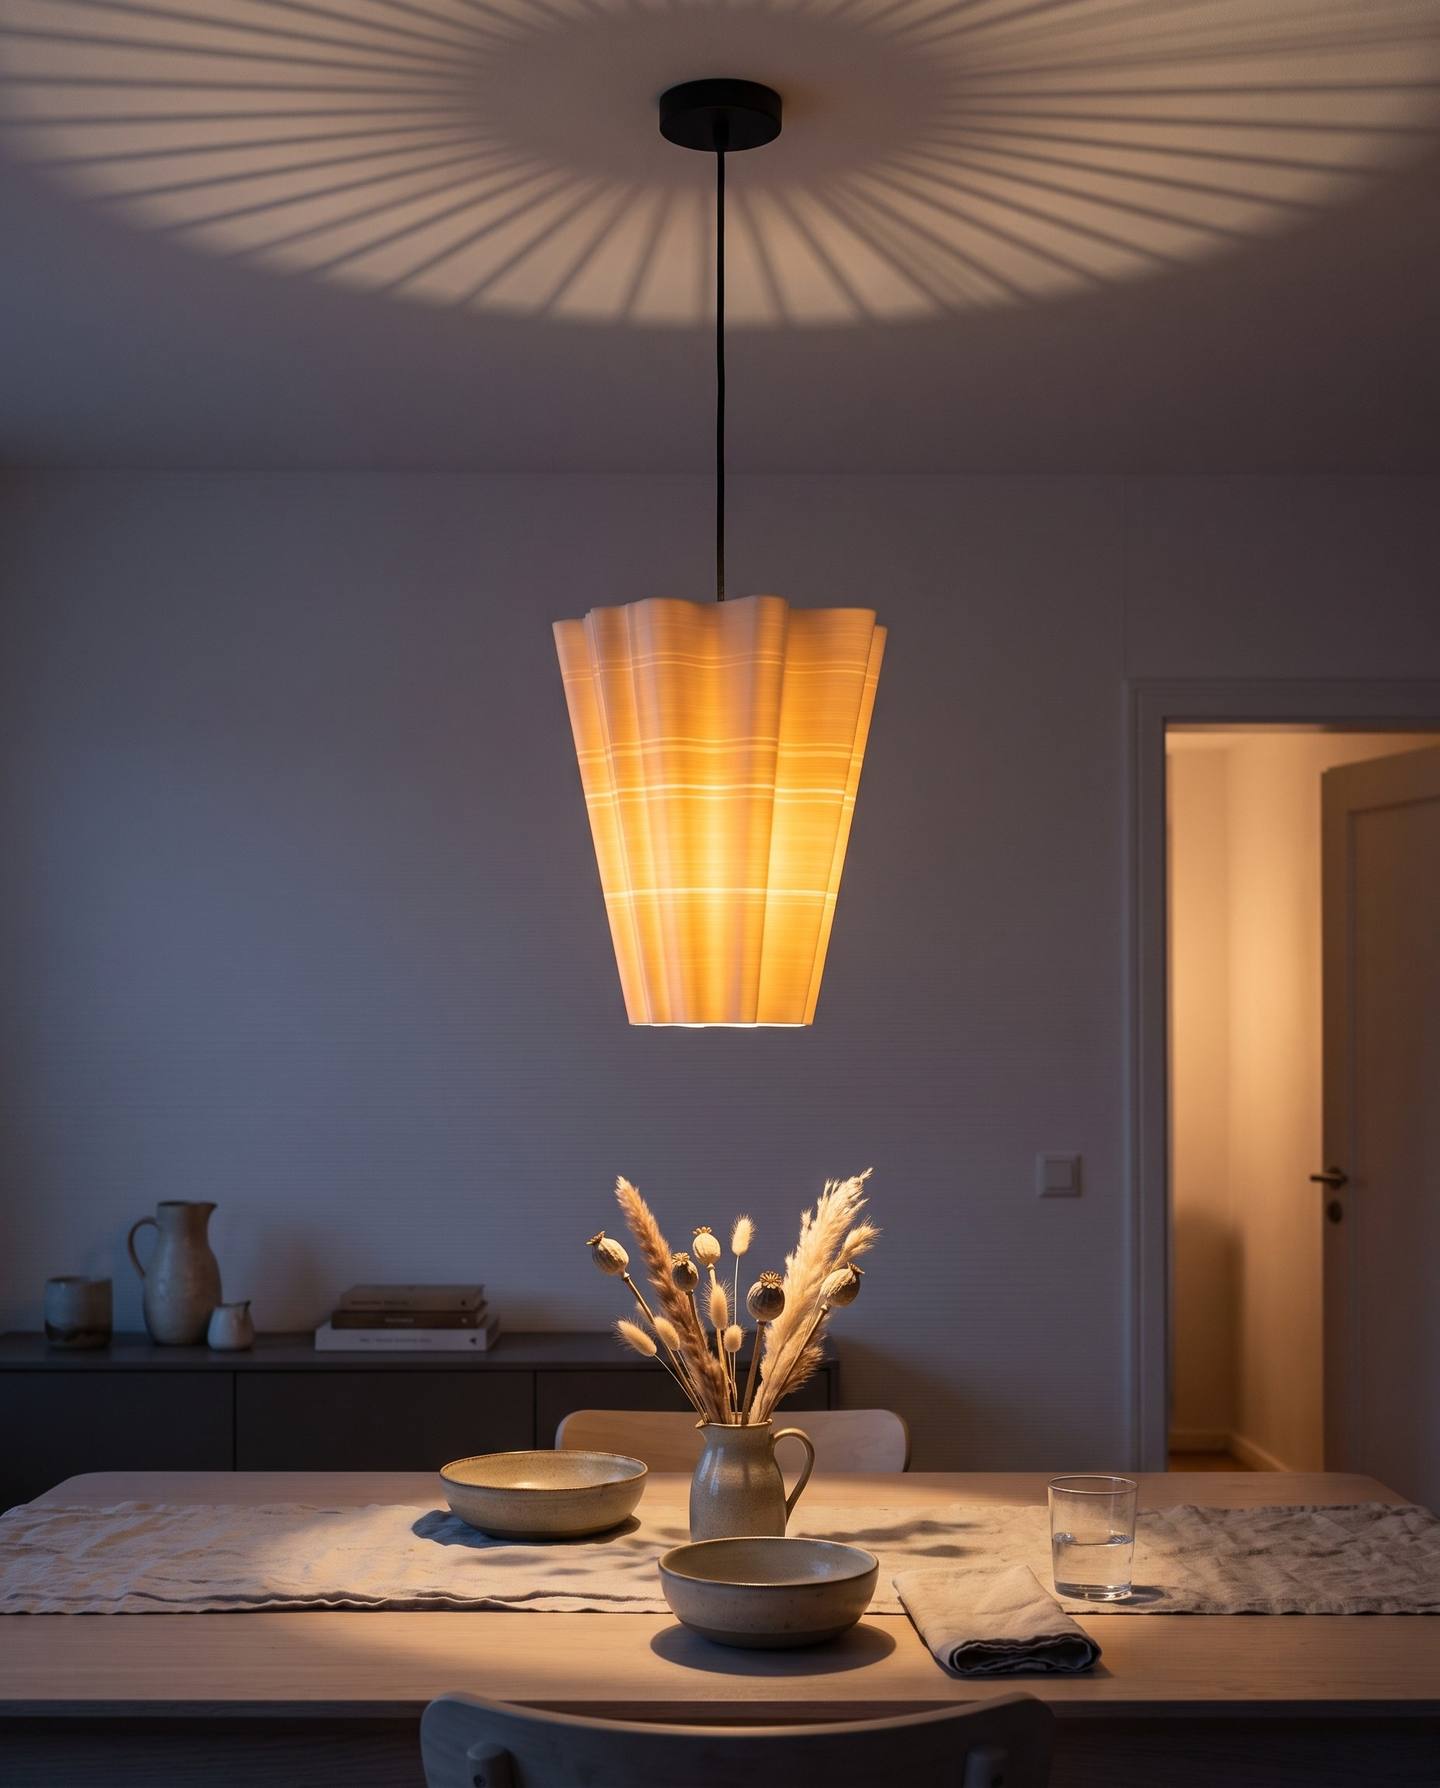 Fan Pleats
226 × 197 mm · download
Fan Pleats
226 × 197 mm · download
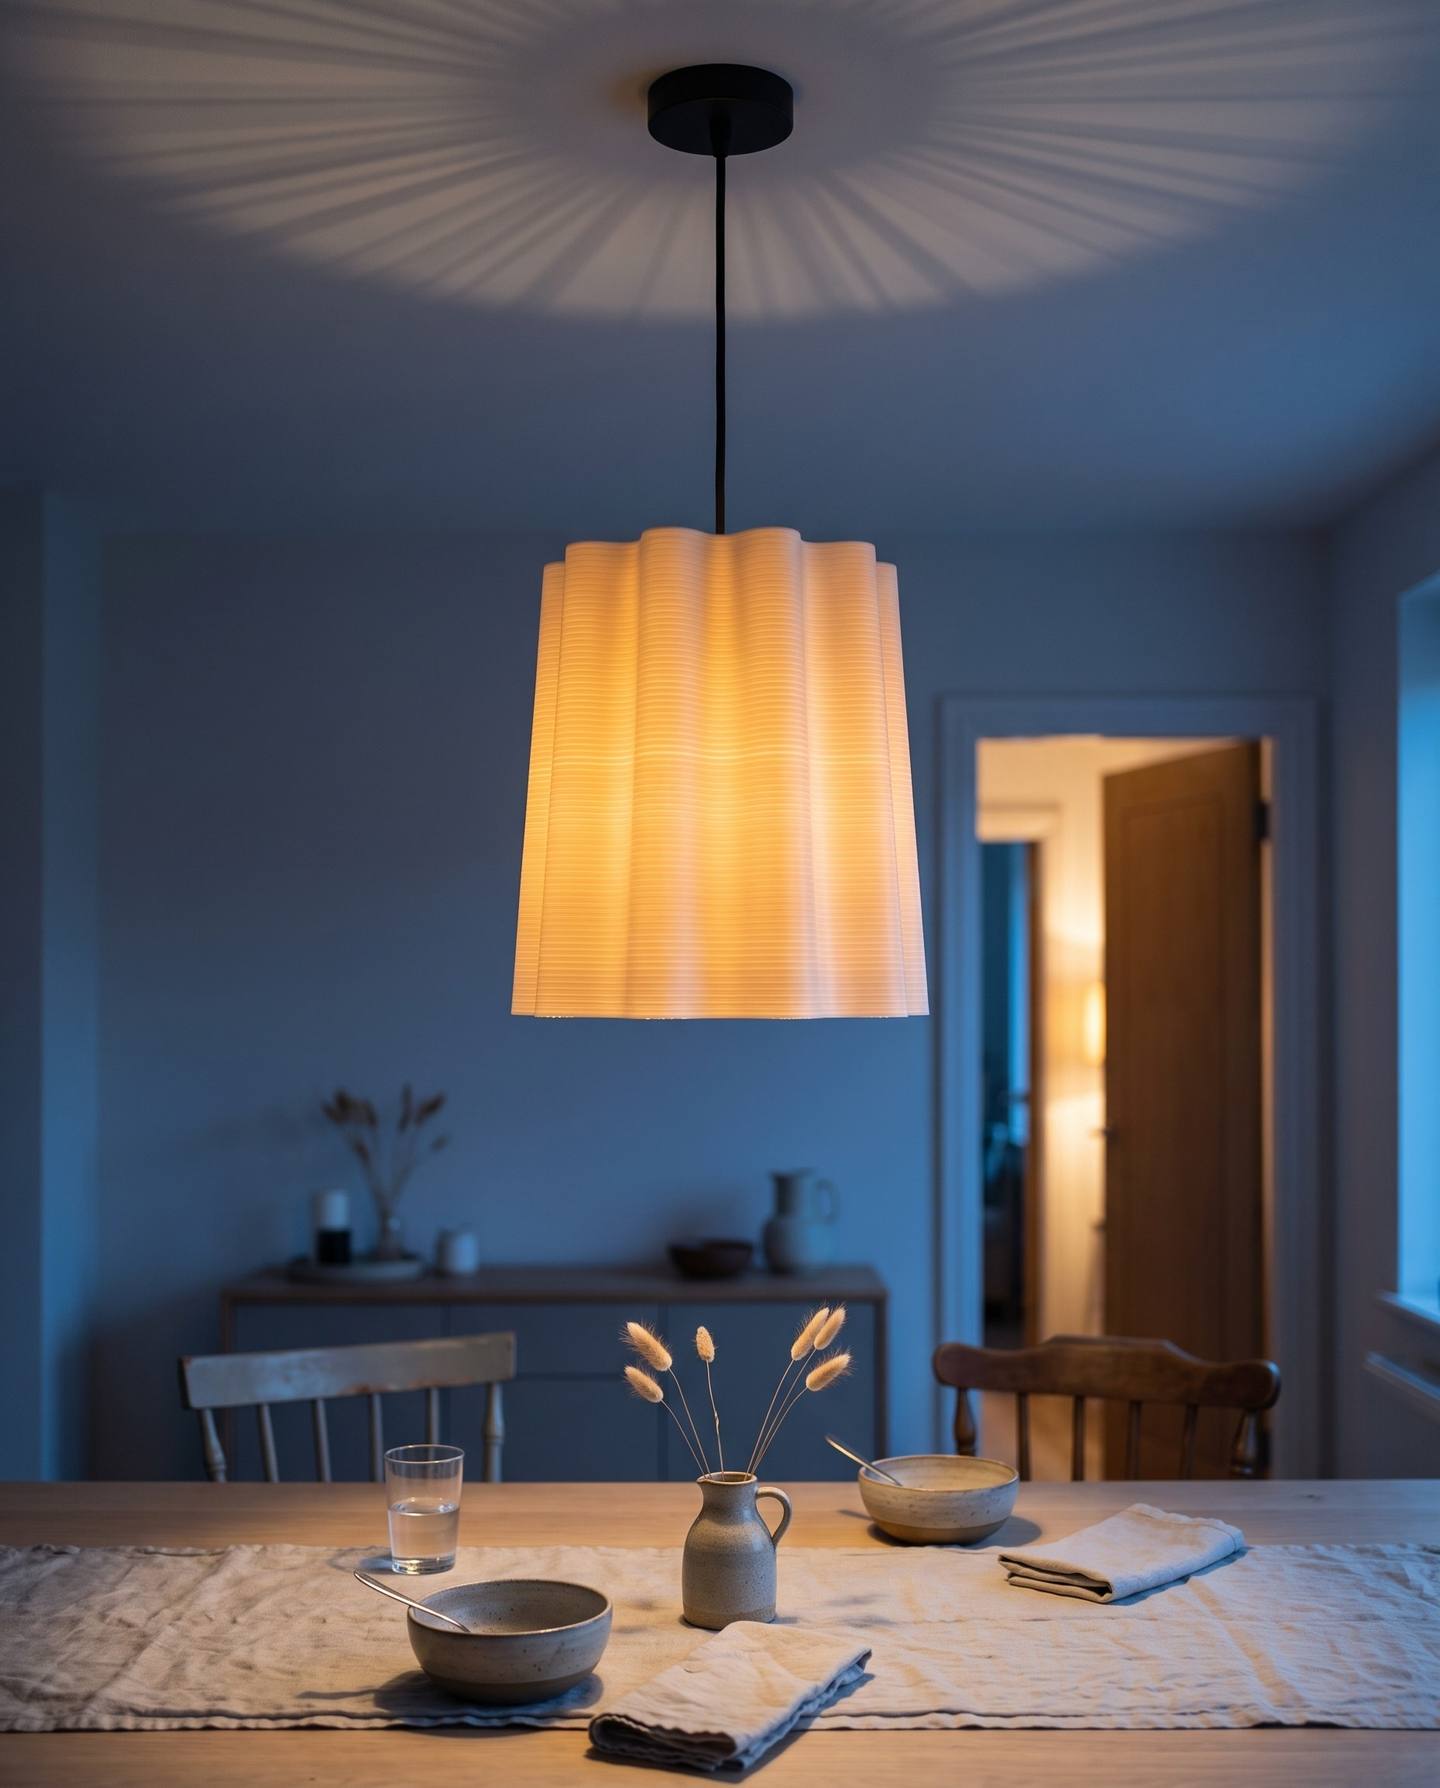 Faceted Drum
208 × 185 mm · download
Faceted Drum
208 × 185 mm · download
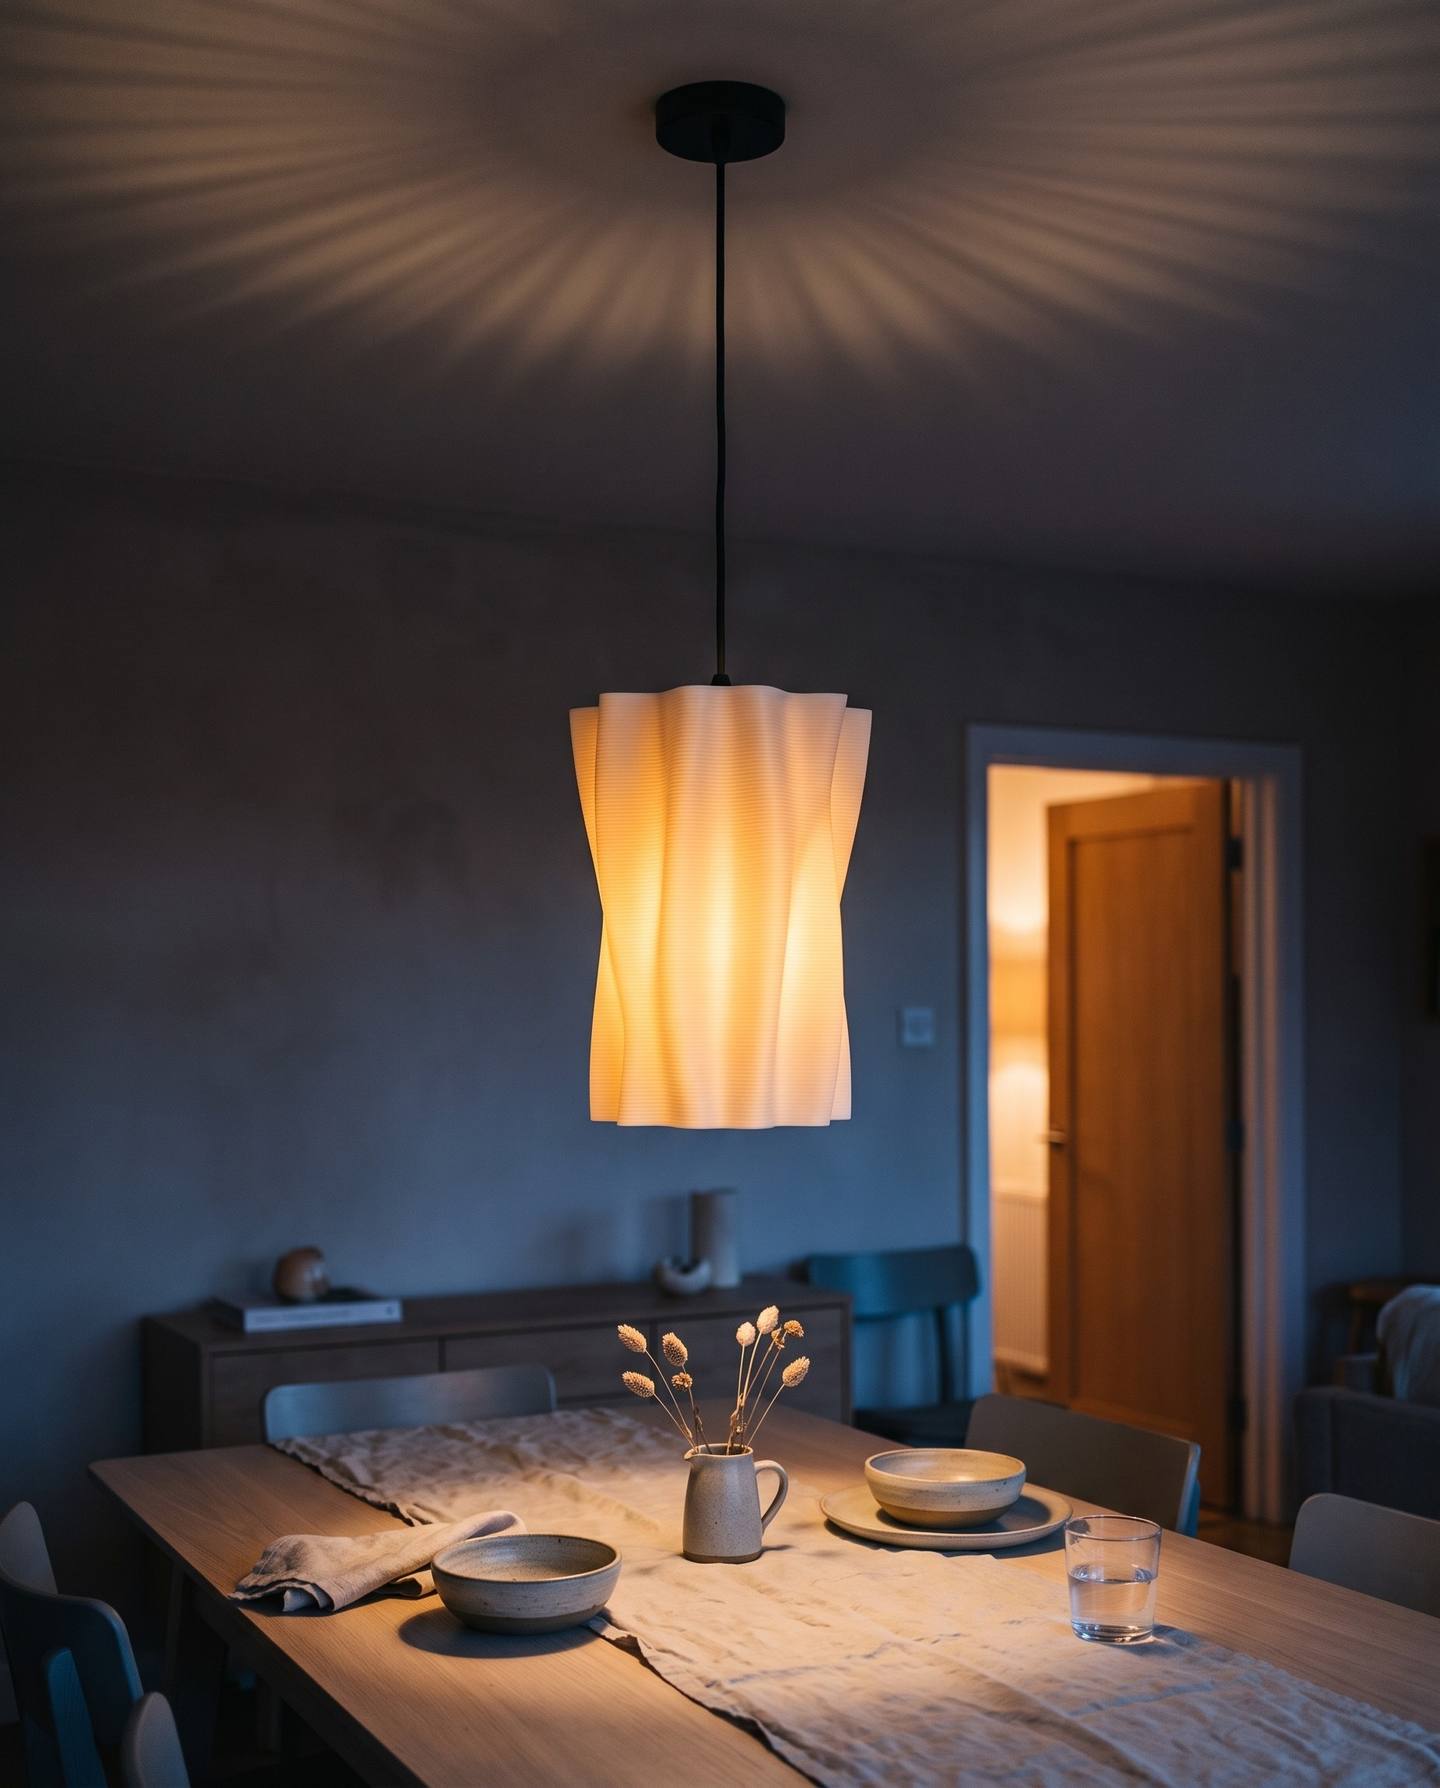 Cable Column
242 × 191 mm · download
Cable Column
242 × 191 mm · download
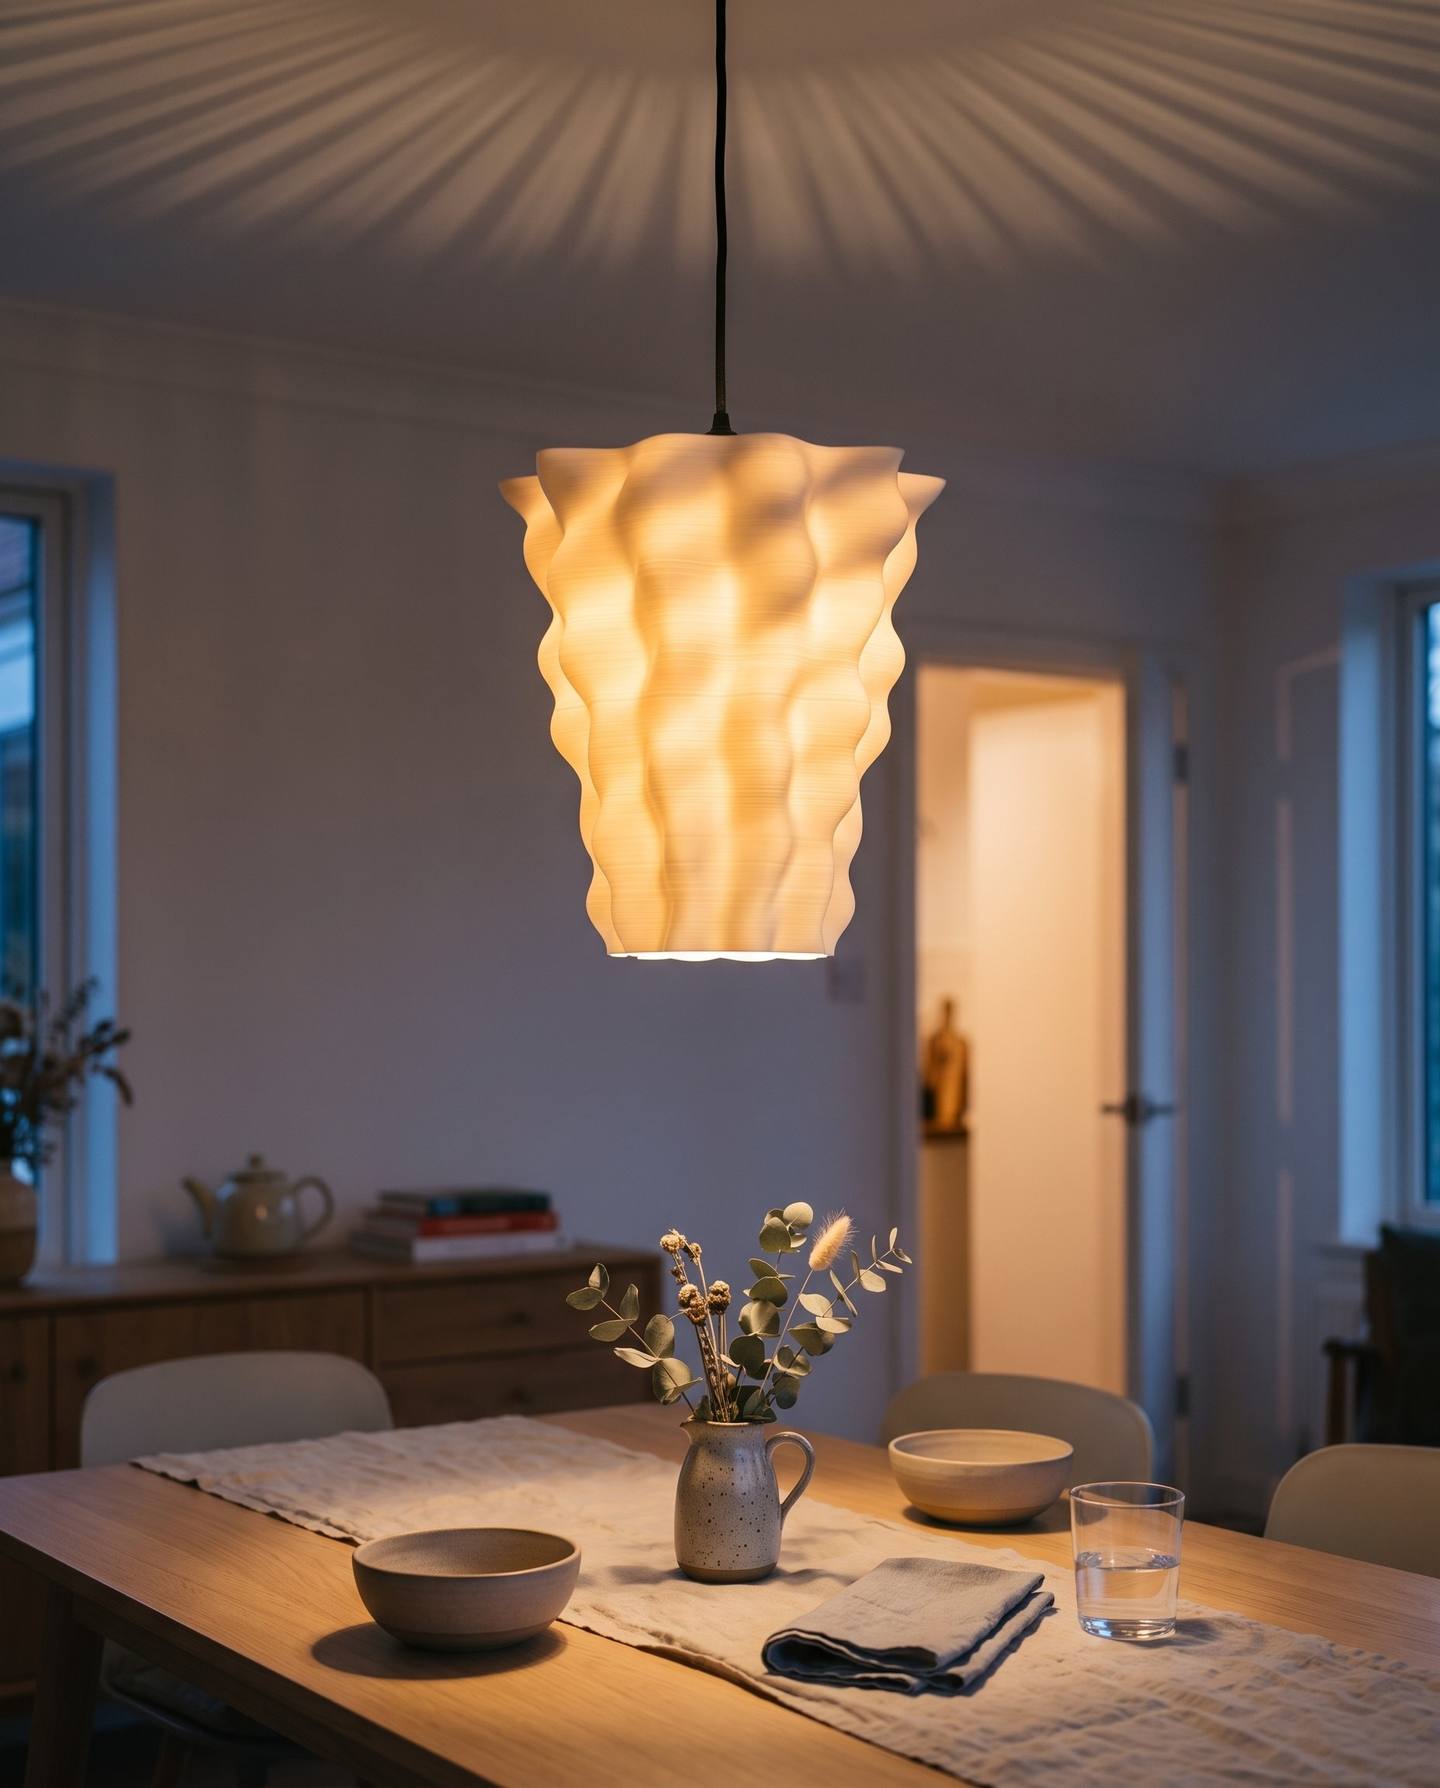 Pinecone
215 × 187 mm · download
Pinecone
215 × 187 mm · download
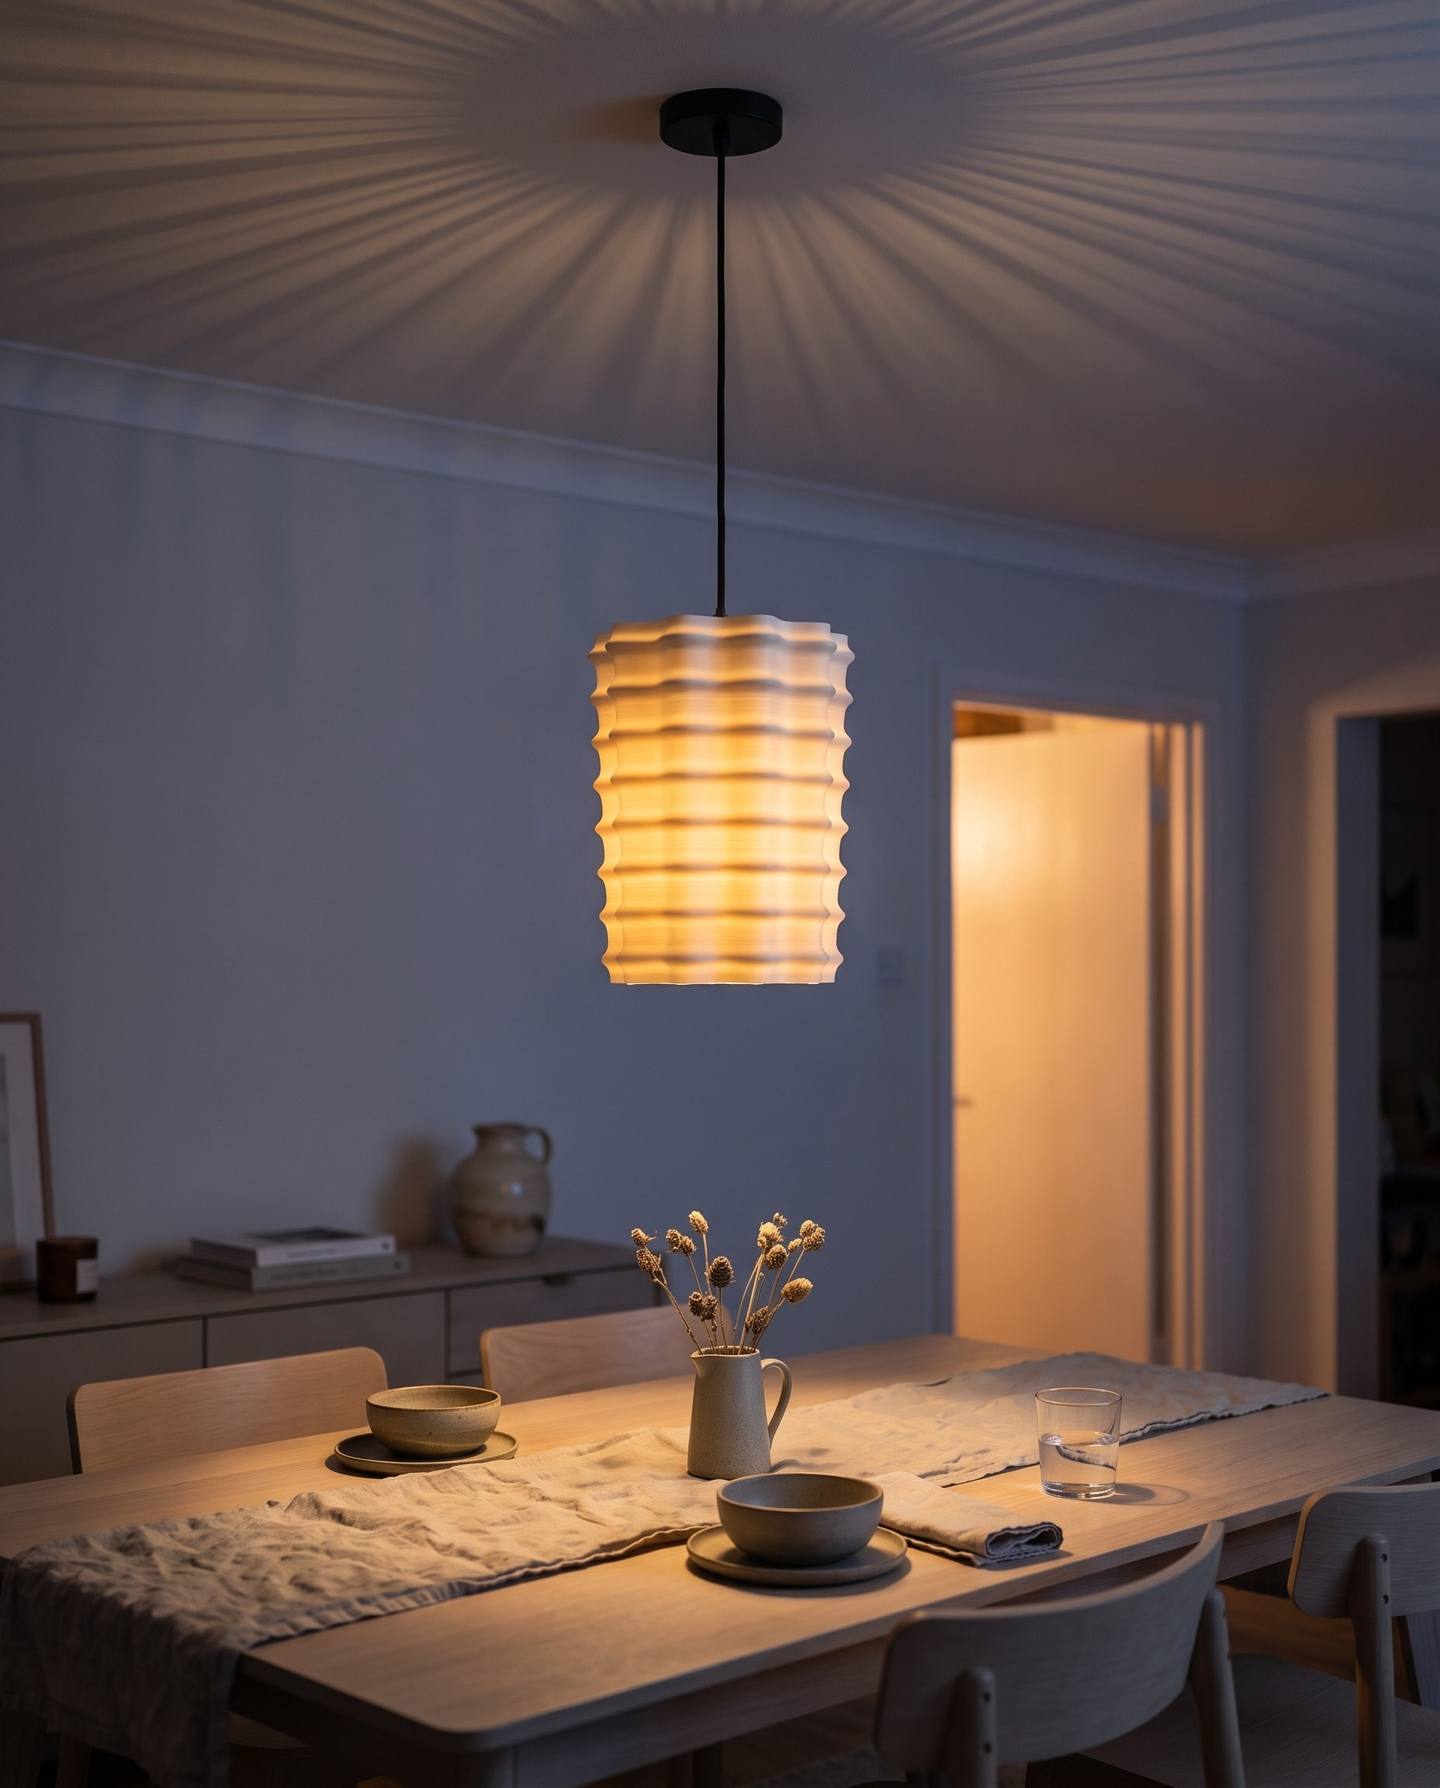 Bamboo
238 × 187 mm · download
Bamboo
238 × 187 mm · download
Download all twelve in one file (24 MB)
All of them are watertight closed manifolds, so your slicer will open them without a repair step and without a warning.
Making your own shape
Twelve shades is a start, not a range. Every one of them came out of Vase Lampshade Studio, which is the tool we built to make them, and if you want a shade that is yours rather than one of a set, that is what it is for.
The thing that makes it different from opening a CAD package is that it already knows it is designing a lamp. It does not hand you a surface and wish you luck. It fits the bulb holder, it does the vase-mode arithmetic, and it refuses to export anything a slicer will complain about.
What it does
- 105 shade profiles. Ogee bells, twisted stars, pumpkins, nautilus spirals, basket weaves, reeded columns. Every one is parametric, so height, radii, flutes, twist and taper are yours to drag, and eleven deformation modifiers stack on top of any profile.
- The holder, fitted to your shape. E27, E14, B22 or GU10, with eight spoke styles, generated to match whatever opening your design ends up with. If the opening is too small for the ring, it tells you the exact measurement rather than exporting something that cannot work.
- The solid-layer number, computed. The calculation from this guide, done for your holder height and your layer height, printed in the export step so you can type it straight into your slicer.
- Lithophane and text. Emboss a photograph into the wall so it appears only when the lamp is lit, or wrap names and dates on a curved baseline, raised, engraved or glowing.
- Your printer, checked. Pick your machine or enter a custom bed, and the build volume appears around the design. Outgrow it and the validator names the failing dimension before you waste filament.
- Watertight, every time. Every STL, OBJ and 3MF is a closed, consistently oriented manifold. No repair step, no Netfabb, no warnings.
- A print guide per lamp. One click writes a PDF for that exact design: mode, walls, computed bottom layers, materials and assembly.
It runs on Windows 10 and 11 as a desktop app, and there is a browser version you can use without installing anything. Nothing is uploaded, ever. It is a one-time purchase with free v1.x updates and a commercial licence included, so anything you design is yours to sell.
Design a lamp in it free, right now
The playground on that page is the real software, not a video of it. Every shape, modifier, photo and text tool works. The full version is what adds the exports, the fitter files and the print guide.
Common questions
Will I get a seam up the side?
No, and that is one of the best reasons to print a shade this way. In a normal print the nozzle starts and stops on every layer, which leaves a Z-seam running up the object.
In vase mode the Z axis rises continuously and the nozzle never stops, lifts or retracts, so there is no start point, no stop point, no seam, no blobs and no stringing. The wall is unbroken all the way round and all the way up. If you can see a seam on a vase-mode print, spiral mode was not actually enabled.
The bottom few centimetres look different from the rest.
Those are your solid bottom layers, printing normally before the spiral begins. If the transition looks rough rather than simply different, your bottom layer count is probably landing partway through a feature. Recalculate it against the holder height.
Can I print this without the built-in holder?
Yes. Print the shade file on its own in vase mode with a normal small number of bottom layers, and print the holder file separately as an ordinary solid part. You are then back to gluing, which is what this guide exists to avoid, but it works.
Is a single wall strong enough?
For a shade, comfortably. It is stiffer than it looks because the flutes act as ribs, and the only load it carries is its own weight. It will dent if you squeeze it, so pick it up by the base.
Will it yellow over time?
Natural PLA can yellow slightly with prolonged UV exposure, so a shade in a sunny window will change more than one in a hallway. With an LED bulb there is no meaningful UV from the lamp itself.
What about PETG for a brighter glow?
PETG is often clearer than PLA and tolerates more heat, so it is a reasonable choice. Drop your speed further and expect a little stringing at the rim. Everything else in this guide applies unchanged.