
Load a relief STL into VCarve, Aspire, Carveco, ArtCAM or Fusion 360 and press calculate on the finishing pass. The preview runs back and forth across the whole rectangle, flat board and all. Nothing is wrong with the file: every relief sits on a flat backplate, so the software sees the full rectangle as the model and machines every millimetre of it. On a big plaque that is hours of a ball nose polishing wood that was already flat.
The fix is one closed vector drawn around the carving: a boundary vector. Tell the toolpath to stay inside it and the machine cuts only what matters. This guide shows what the two useful lines are, how much time they save on real files, and how to make them from any STL so they land on the model in your CAM program.
In this guide
- Why your CAM program machines the whole board
- The two lines: blue and red
- How much time it saves
- Cleaner edges and cut-out profiles
- Making the vectors from any STL
- Fine-tuning: when a line needs a hand
- Getting them into your CAM program, lined up
- Questions people ask
Why your CAM program machines the whole board
An STL relief is a surface with a flat back and a flat rim. When VCarve or Aspire imports it, the model's boundary is its bounding box. A 3D finishing toolpath with no boundary selected machines that whole box at the stepover you chose, which for a fine finish is a few tenths of a millimetre per pass. The flat board around the carving gets exactly the same treatment as the feathers in the middle.
There are other ways to limit the cut (masking in ArtCAM, a model boundary in Aspire), but they all come back to the same thing: a closed vector around the part you actually want carved.
The two lines: blue and red

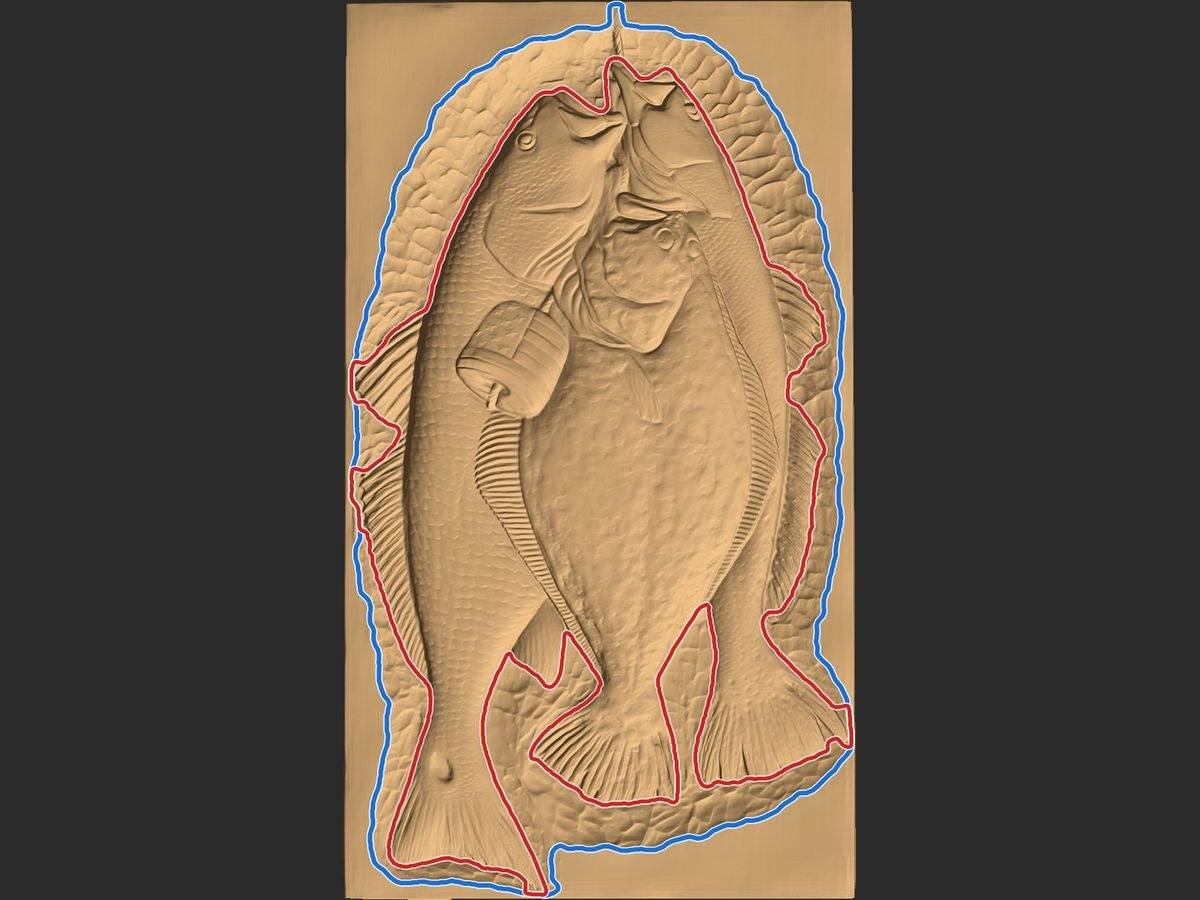
Blue: the edge of the carved area
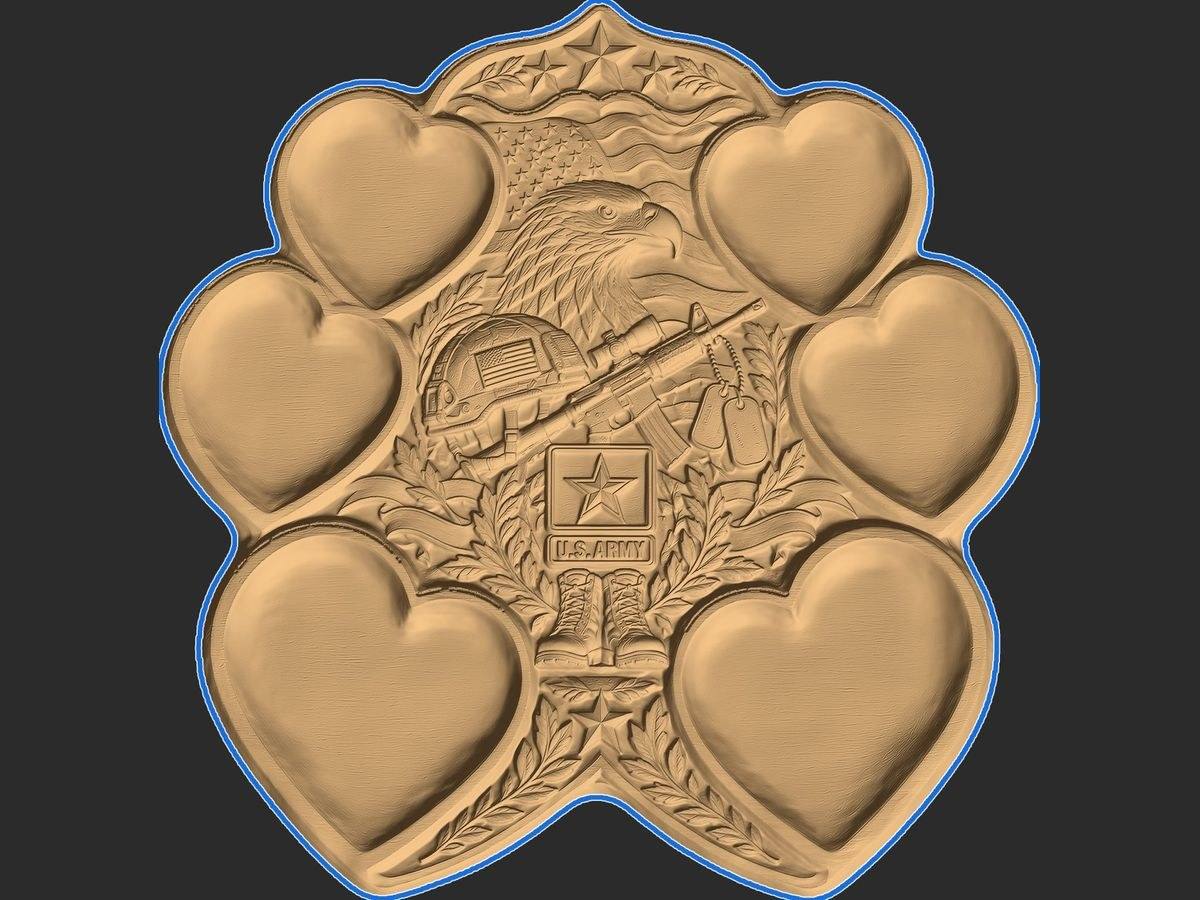
The blue line goes around everything the machine has to touch: the pocket, the gouged ground, and every subject carved in or on it. Inside the blue line is carving; outside it is flat board. Use it as the machining boundary of your roughing and finishing passes and the board is left alone.
Red: around the subject
The red line goes around the raised subject only: the fish, not the hewn ground they hang on. It is the line for a second, finer detail pass with a small ball nose, for masking a different finish, or for cutting the subject out as its own piece.
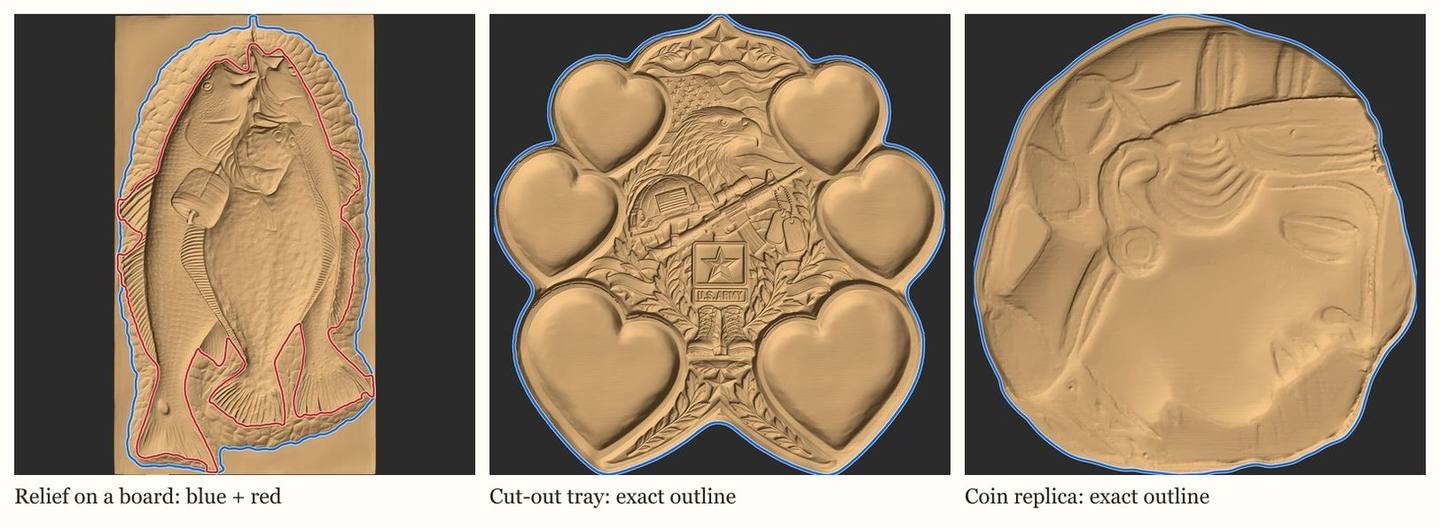
The designs in these pictures
Every picture in this guide is a real file from the shop, with the lines the tool made for it. Here they are carved:
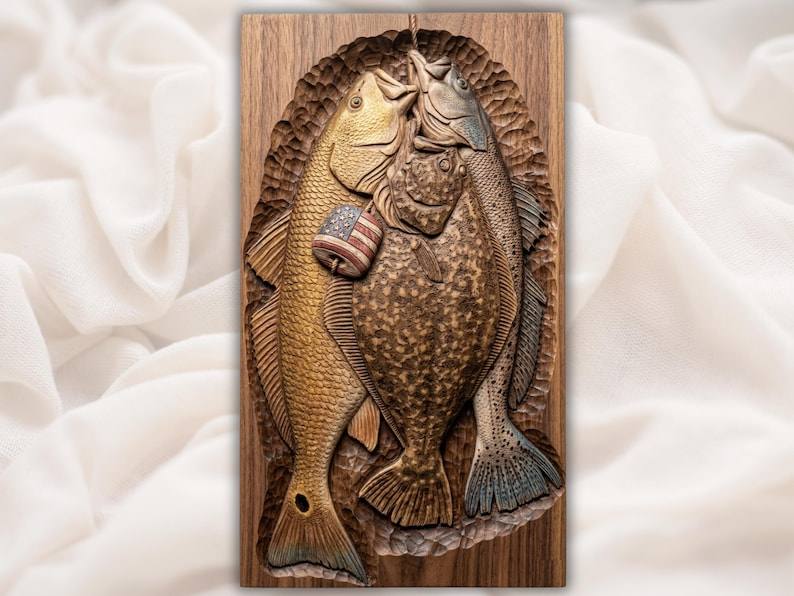
Get the Three Fish Stringer · $6.39
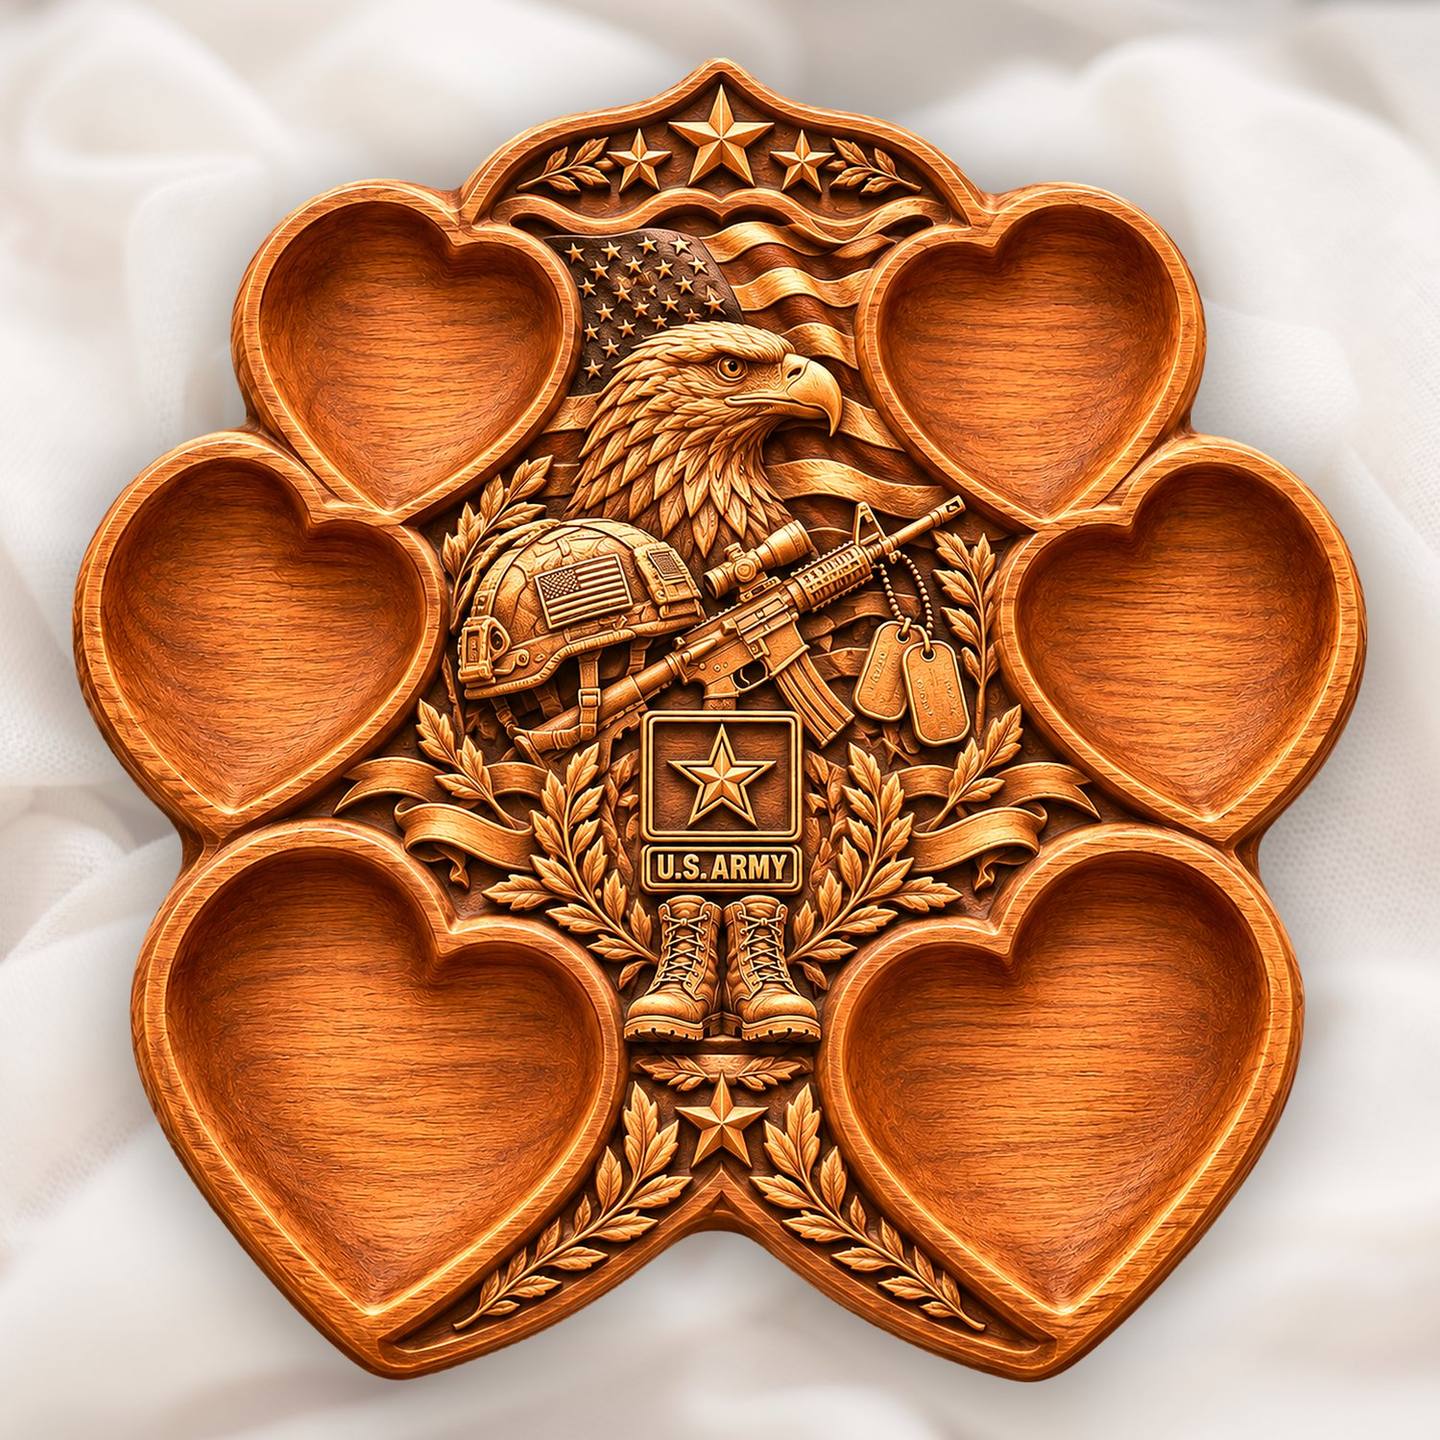
Get the Eagle Heartwood Tray · $9.99
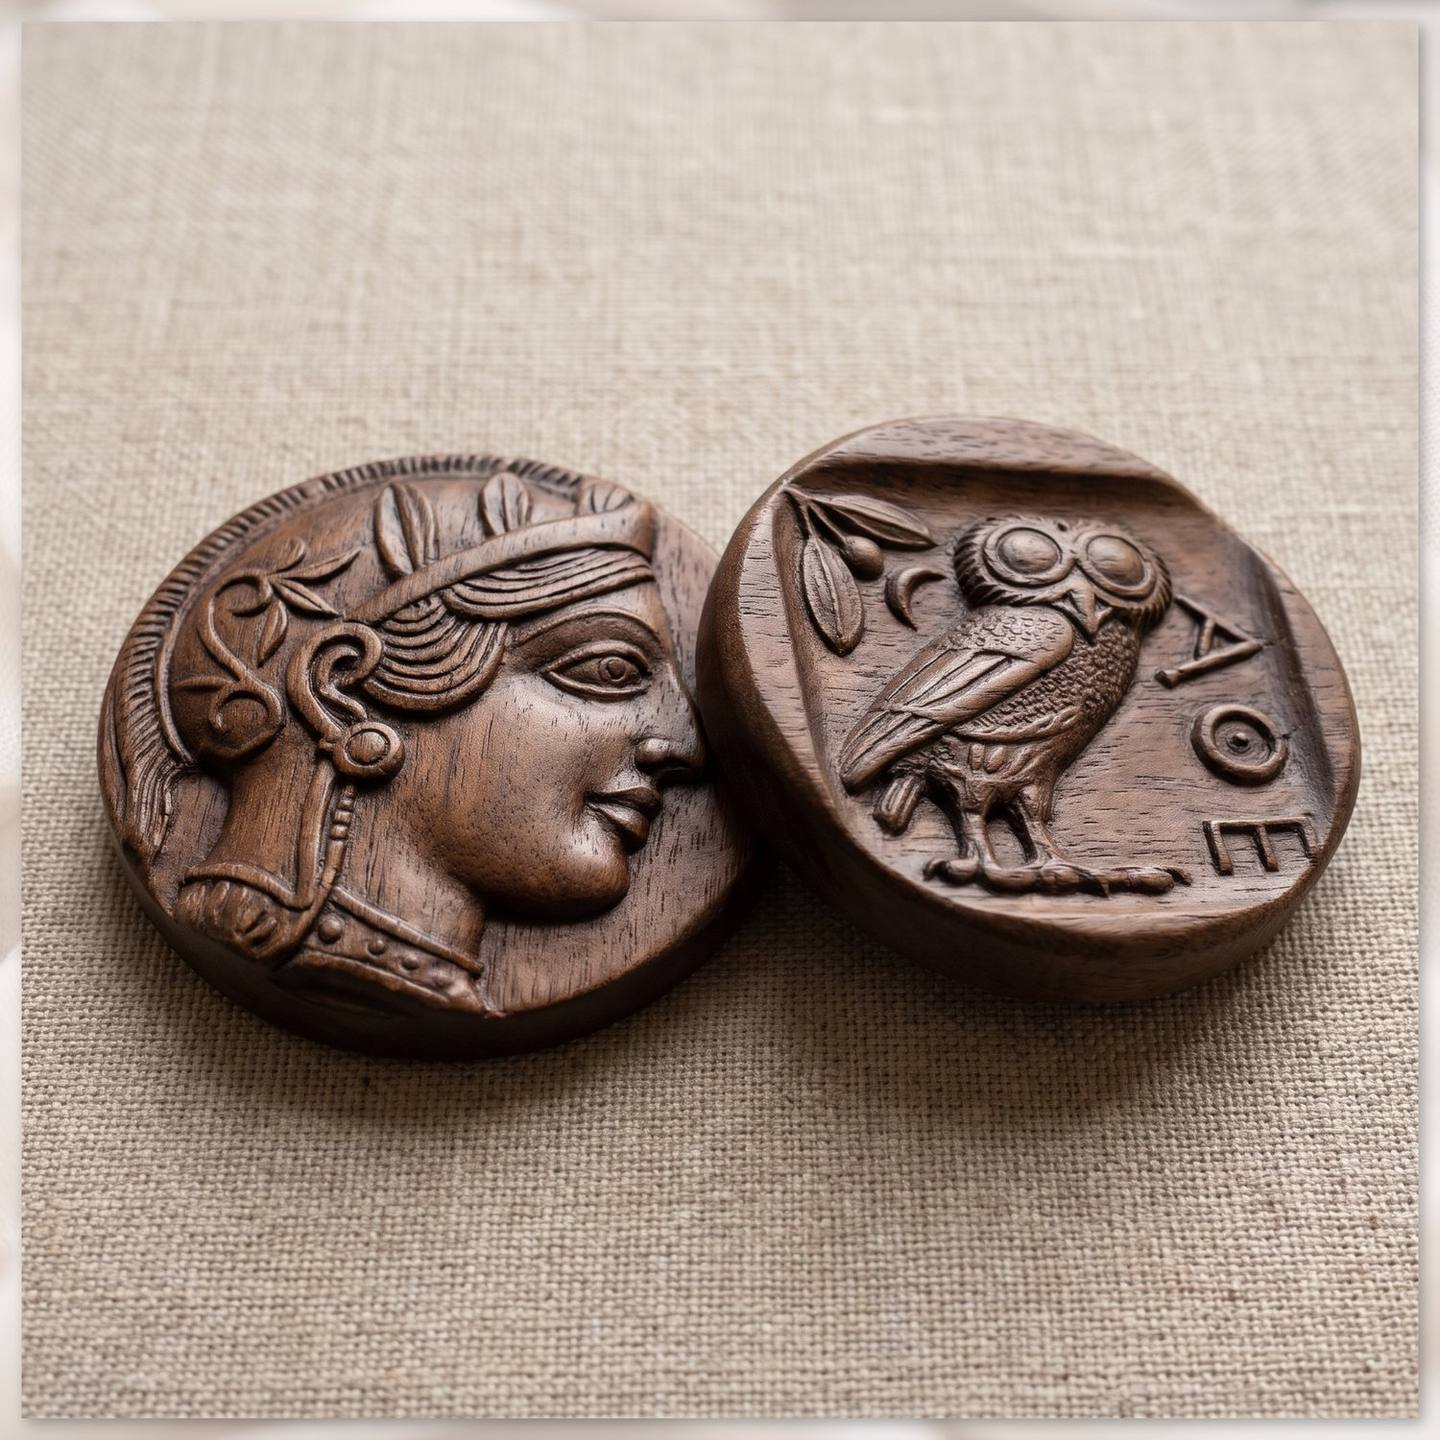
Get the Athens owl coin · $6.39
How much time it saves
The finishing pass is the long one, and its time grows with the area it covers. So the saving is simple to measure: the share of the board inside the blue line.
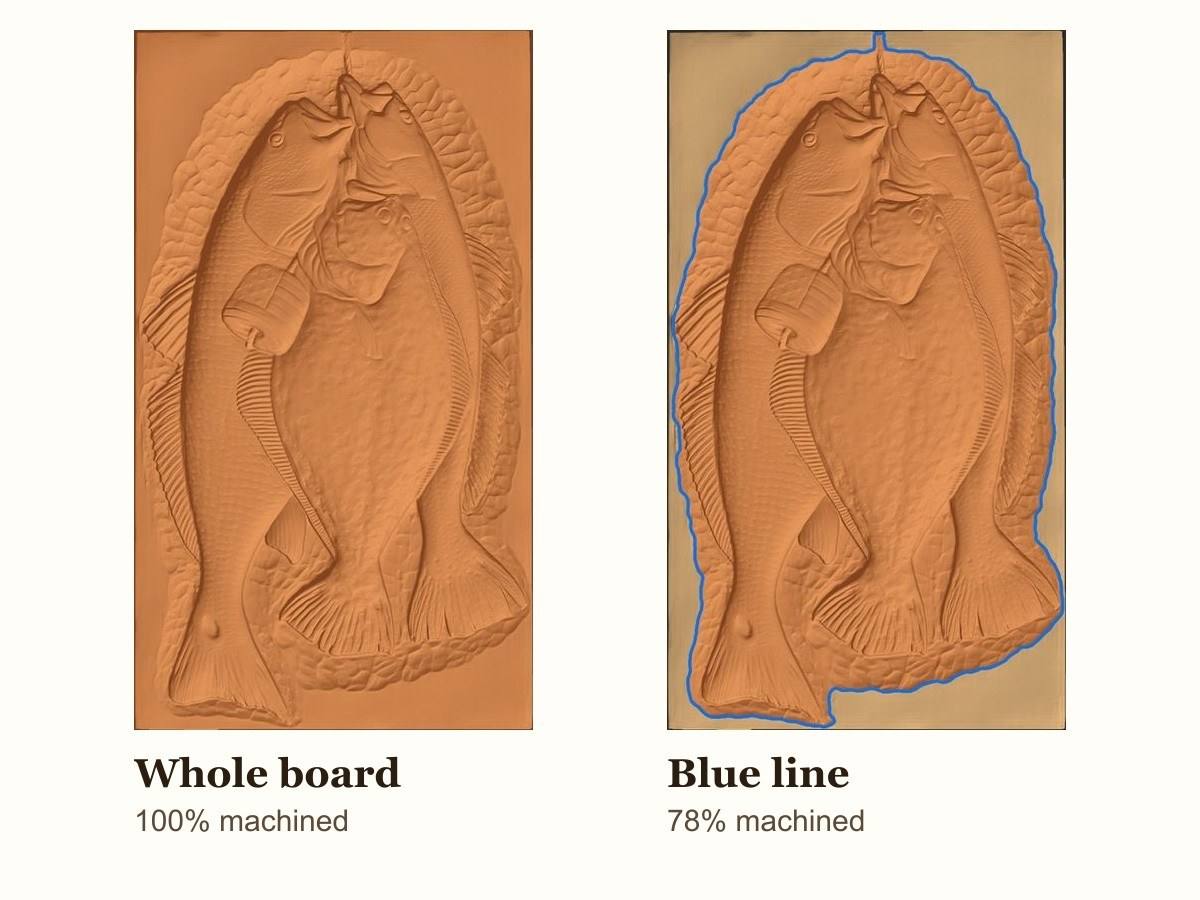
On the Three Fish Stringer plaque (221 x 388 mm) the carved area is 78 percent of the board. Take a typical finish: a 1/8 inch (3.175 mm) ball nose at 10 percent stepover, 2,500 mm a minute. Over the whole board that is roughly 268 metres of cutter path, about 1 hour 47 minutes. Inside the blue line it is about 1 hour 23 minutes: 24 minutes saved on one pass of one small plaque, before you count the roughing. The more flat board a design has around it, the more the line saves: a carving that fills half of a big board loses half of its finishing time. These are estimates from area alone; your machine's acceleration and the CAM program's own estimate will move them a little, but the share saved holds.
The roughing pass gets shorter too, and the cutter spends less time rubbing the flat board, which is also less wear on the bit and less dust to sand out of the border afterwards.
Cleaner edges and cut-out profiles
A finishing pass that runs out over the flat board leaves faint scallops and a soft shoulder where the carving meets it. Stop the pass at the blue line and the border stays as crisp as the board was before you started.
For a model with no board around it, a coin, a tile or a sign, the line you want is the outside profile. The tool traces it straight from the model, exactly, so the profile cut follows the carving and not an approximation of it.
Making the vectors from any STL
STL Boundary Vectors does it in four steps, in your browser. Your STL is never uploaded.
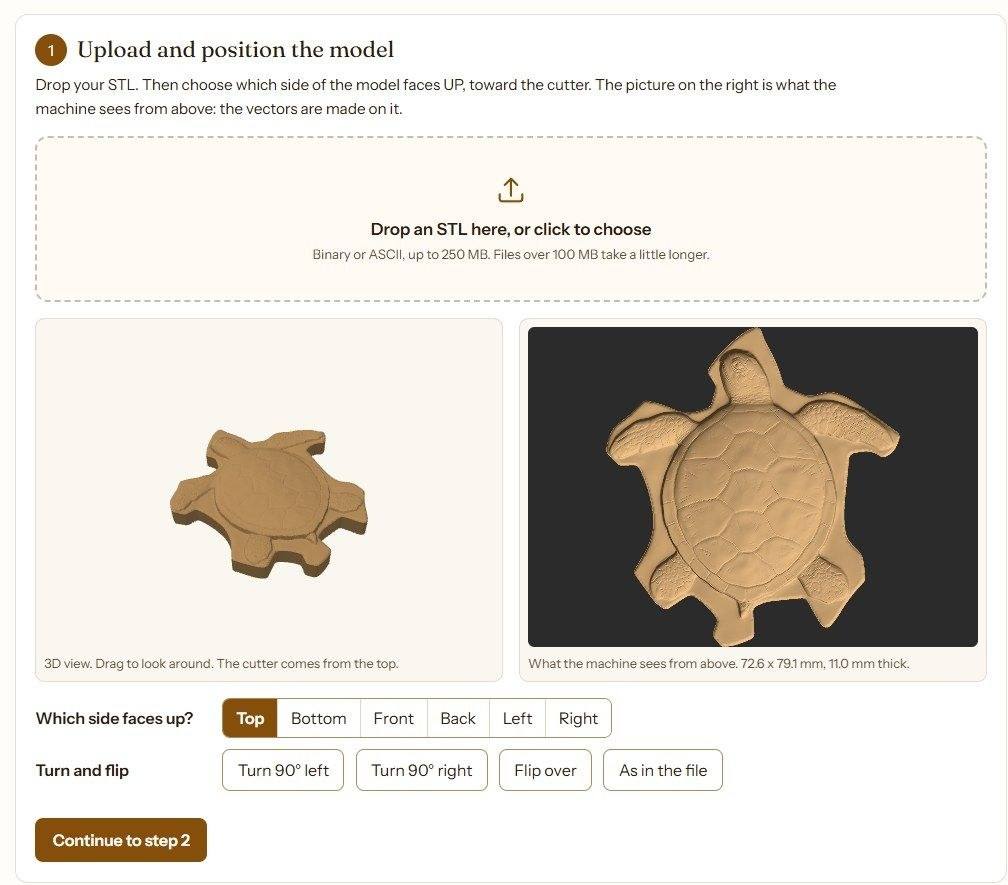
- Position. Drop the STL and choose which side faces the cutter: Top, Bottom, Front, Back, Left or Right, then turn or flip it. A 3D view and the top view show exactly what the machine will see.
- Extract. Trace the exact outline (free, instant), run the automatic lines (one free try per file), or make the line by hand with four guided methods.
- Fine-tune. Drag, add and delete points, make corners sharp or round, simplify, and Cut, Trim, Join or Move lines.
- Download. A DXF and an SVG in the model's own coordinates, plus the turned STL if you changed its position.
Make boundary vectors from your STL
Fine-tuning: when a line needs a hand
Hand-hewn grounds are the hard case. The gouged texture can sit within a millimetre or two of the board, and a fin or antler can fade into it, so no automatic method gets every inch right on every file. That is why the editor matters as much as the first line.
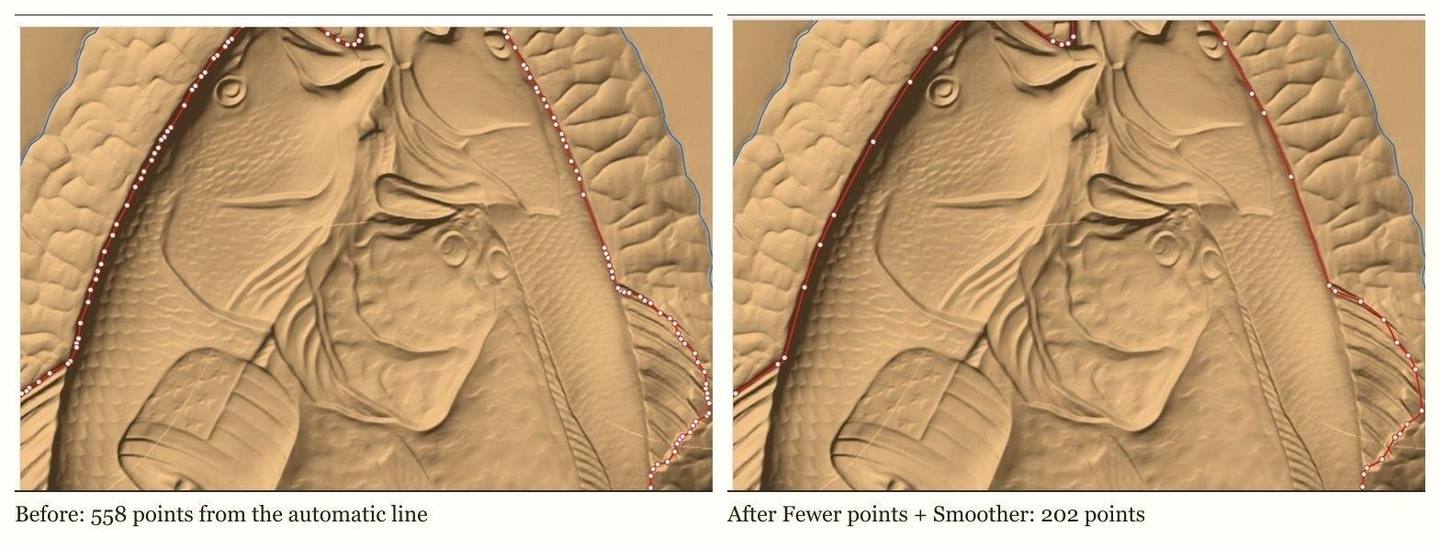
- Move, add, delete points, and switch a point between a sharp corner and a round curve.
- Pull to edge snaps the selected points onto the nearest steep wall of the height data.
- Cut divides one line into two along a straight cut; Trim removes a stray loop between two points.
- Join merges two lines into one and closes a gap; Move shifts a line by exact millimetres; Grow / shrink offsets it.
Getting them into your CAM program, lined up
The DXF uses the same millimetre coordinates as the STL, so the rule in every program is the same: import the STL at its own position, never centred, then import the DXF at 100 percent.
- VCarve Pro and Aspire: Import Component / 3D Model with "Center model" unticked, then Import Vectors. In the 3D Finish toolpath, tick "Selected vector(s)" and pick the blue line.
- Carveco: import the STL without centring, import the DXF, and choose the blue line as the relief toolpath's boundary.
- ArtCAM 2015 to 2018: import the relief at its own position, import the DXF (it is R12, which ArtCAM reads), and set Area to machine to the selected vector.
- Fusion 360: Insert Mesh without centring, Insert DXF at the origin, and use the sketch as the machining boundary.
Scaling? Scale the model and the vectors together, by the same percentage, from the same anchor point. If the lines ever look shifted, the model was centred or moved on import: undo that and they snap back.
Before you cut, the free Will it cut? checker tells you whether your bit can reach the detail, and the stepover guide shows how the stepover trades time for finish.
Questions people ask
Do I need both lines?
No. For most plaques the blue line alone does the work: it keeps the passes off the flat board. The red line is for a detail pass, a two-finish job, or a cut-out.
Does it work on files from other shops?
Yes. Any STL works, binary or ASCII, from any shop or program. Relief on a board or cut-out shape, both are handled.
Is my file uploaded?
No. The STL file is read inside your browser. To make the lines the page sends a height map of the model (not the 3D mesh), kept privately with your finished lines so the paid files can be made and downloaded again from your account, plus a small picture of the traced lines to improve the automatic method.
What does it cost?
Positioning, extracting, editing and one automatic try per file are free. A download is one vector credit: 1 file for $3, 5 for $10 or 15 for $25, and Diamond Select members pay $2, $8 or $20 and get 2 free credits every month. Credits last 12 months.