A relief STL on a 3D printer is a different animal from the same file on a router. There is no grain to fight, no fuzz to brush off, nothing for a finish to soak into, and no cutter deciding what detail survives. Instead one number, the layer height, does the job the cutter did, one decision, the orientation, decides whether the print is smooth or scarred, and the finish is paint rather than oil.
Get those three right and a printed relief is genuinely hard to tell from a carving at arm's length. Get them wrong and you have a grey plastic blob with stair-steps across its face, which is what most first attempts look like. This is the whole route, from slicer to wall.
In this guide
- What changes when the file is printed rather than carved
- Orientation: flat, face up, no supports
- Layer height: the setting that is your cutter now
- The rest of the slicer settings
- FDM or resin, and which filament
- The lettering problem
- Scaling a relief for printing
- Finishing: making plastic look like wood
- Hanging and selling a printed relief
- Questions people ask
What changes when the file is printed rather than carved
Every relief in the catalogue is a closed, watertight mesh with a flat back, which is exactly what a slicer wants; the files print as they are, with no repair and no conversion. Three things do change:
- Detail is limited by the nozzle and the layer, not a bit. A 0.4 mm nozzle renders horizontal features down to about 0.8 mm, far finer than any router cutter; vertical resolution comes from the layer height, and that is where the decisions are.
- Overhangs matter and undercuts do not. A relief has no undercuts by definition, so printed flat it needs no supports at all. Print it upright and every leaf edge becomes an overhang.
- The surface is the finish. Wood has colour and grain that a clear oil reveals. Plastic has neither; everything the eye sees on a printed relief is paint. That is a lot of freedom and one extra afternoon.
Orientation: flat, face up, no supports
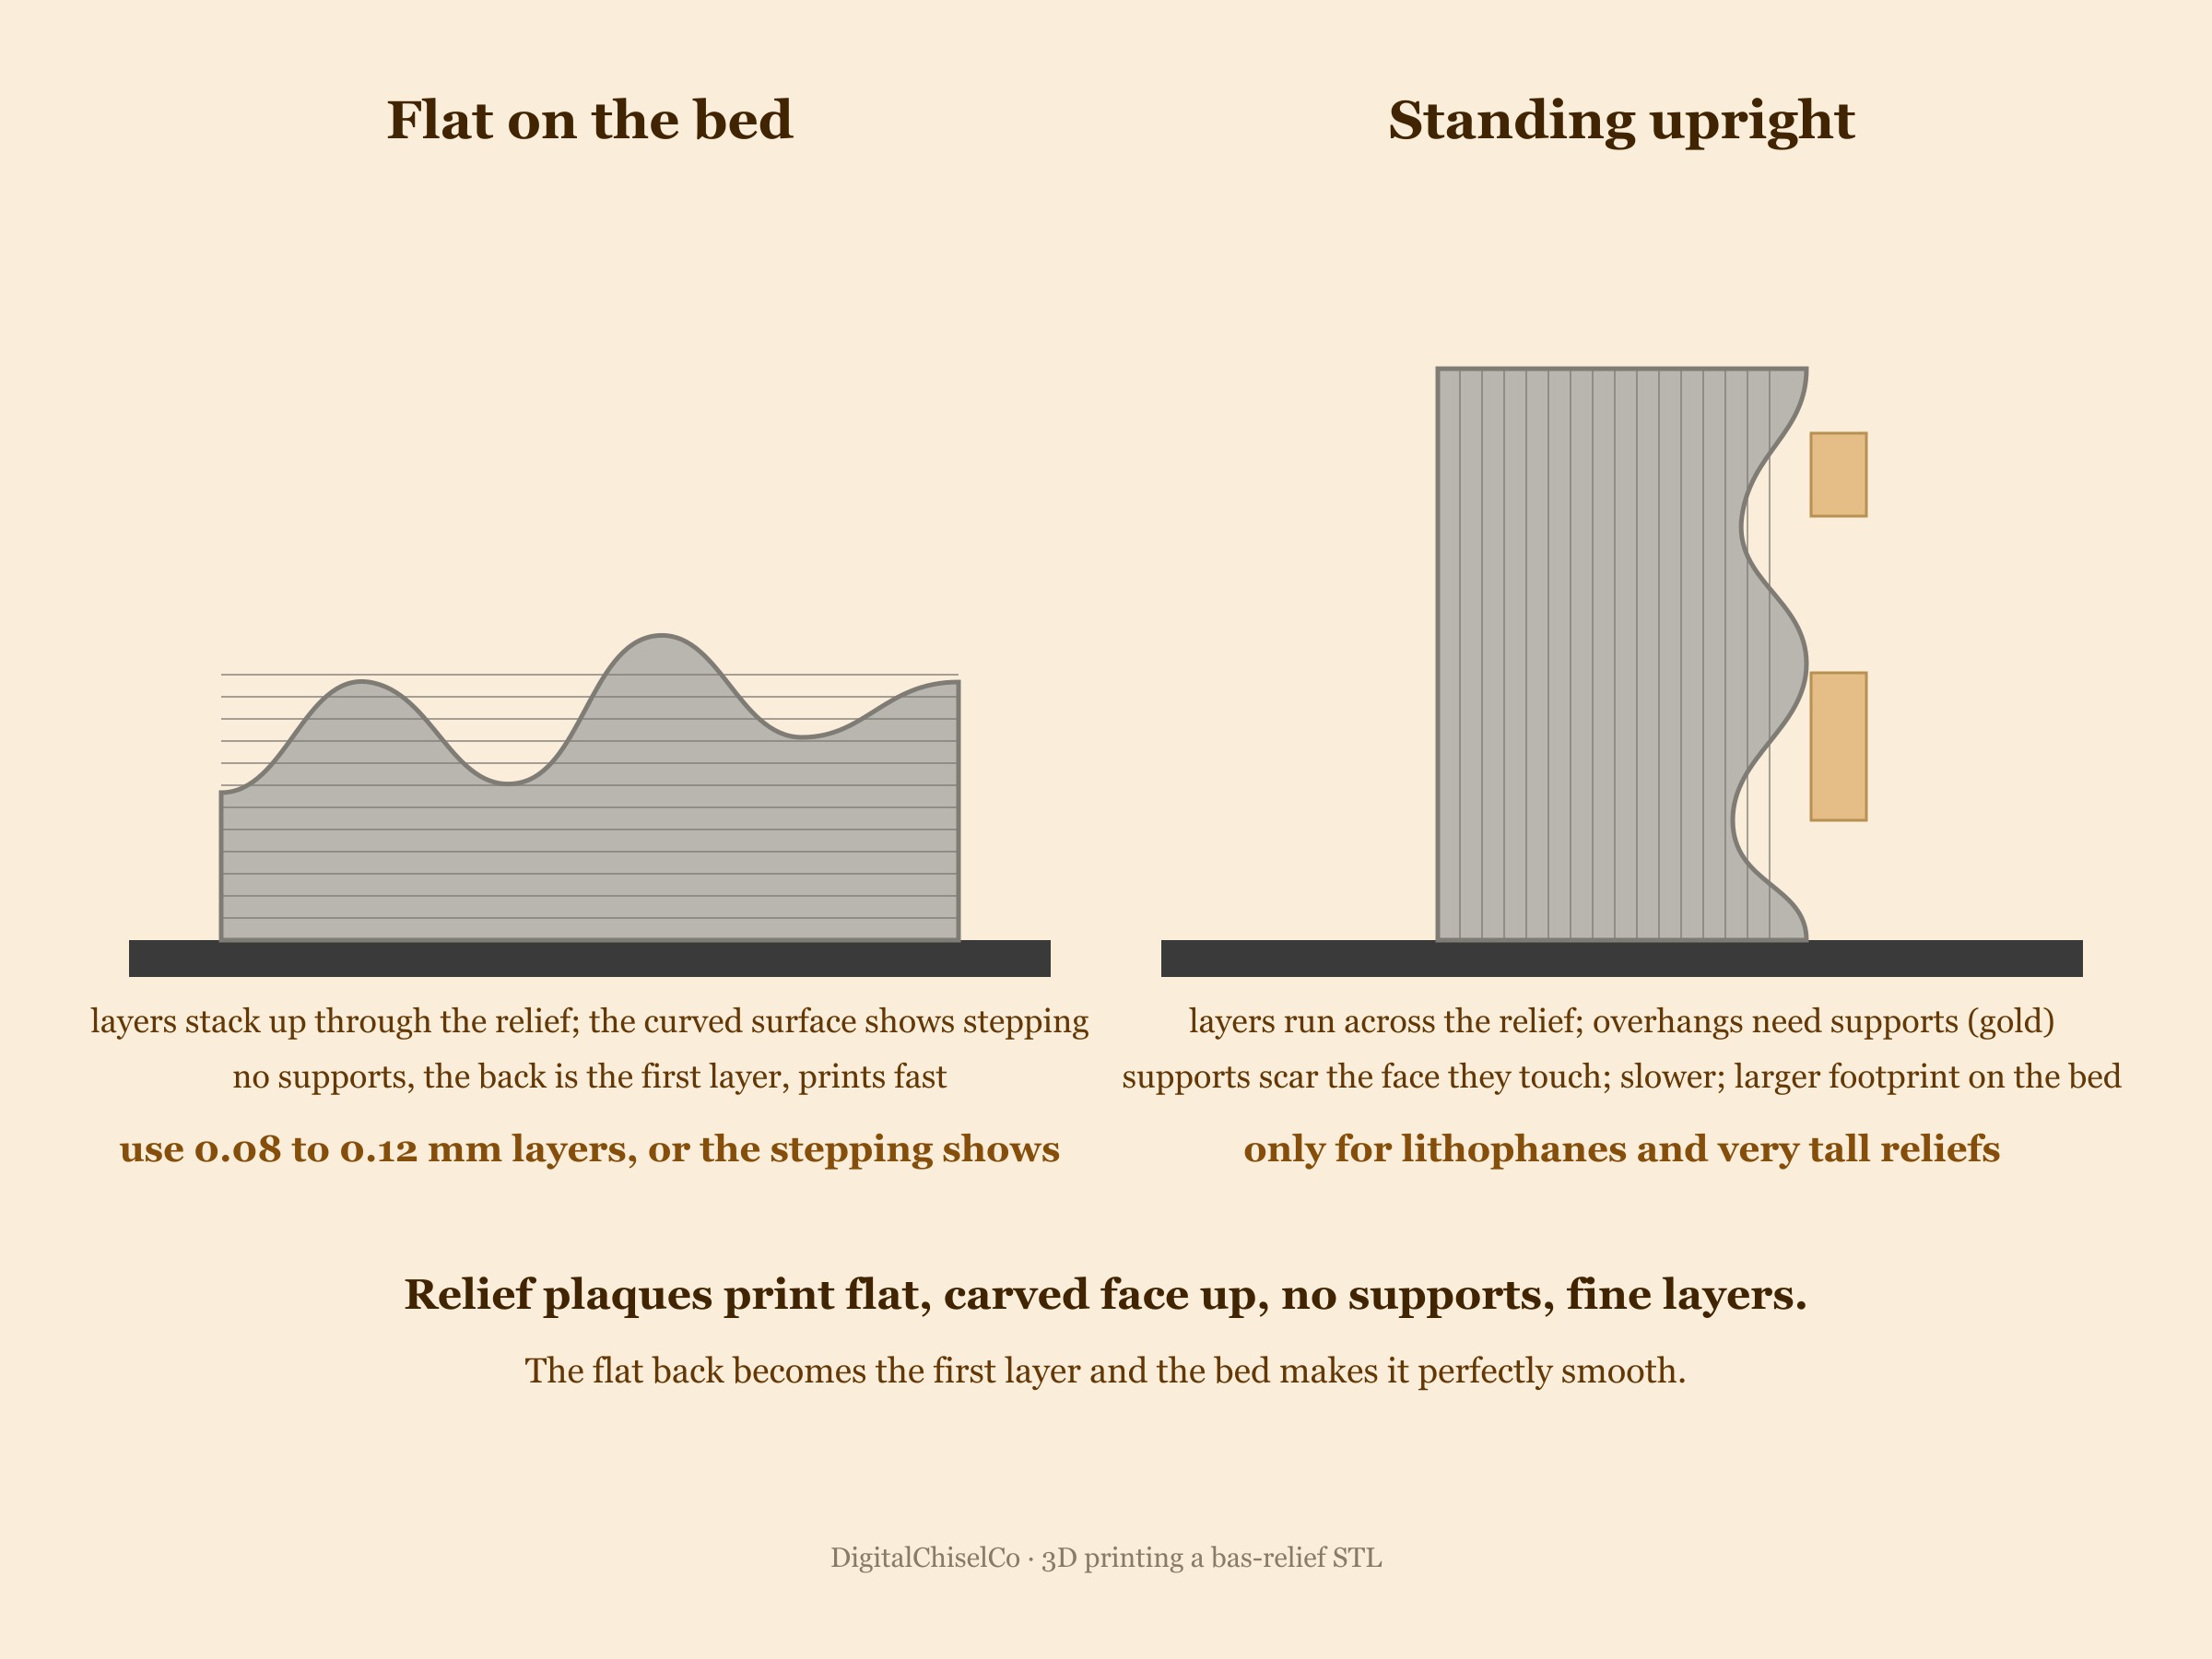
Lay the relief flat on the bed with the carved face up. The flat back is the first layer, so it comes off the bed glass-smooth and true; the relief rises from it with no overhang steeper than a hill, so it needs no supports; and nothing ever touches the carved face. This is the whole orientation rule, and the only exception is a lithophane, which prints standing up so the layers give it strength.
People print reliefs upright because it looks like the "right way up" in the slicer. It is the wrong way up: every leaf and every lock of hair becomes an overhang, supports grow under all of them, and when the supports come off they take the surface with them.
Layer height: the setting that is your cutter now
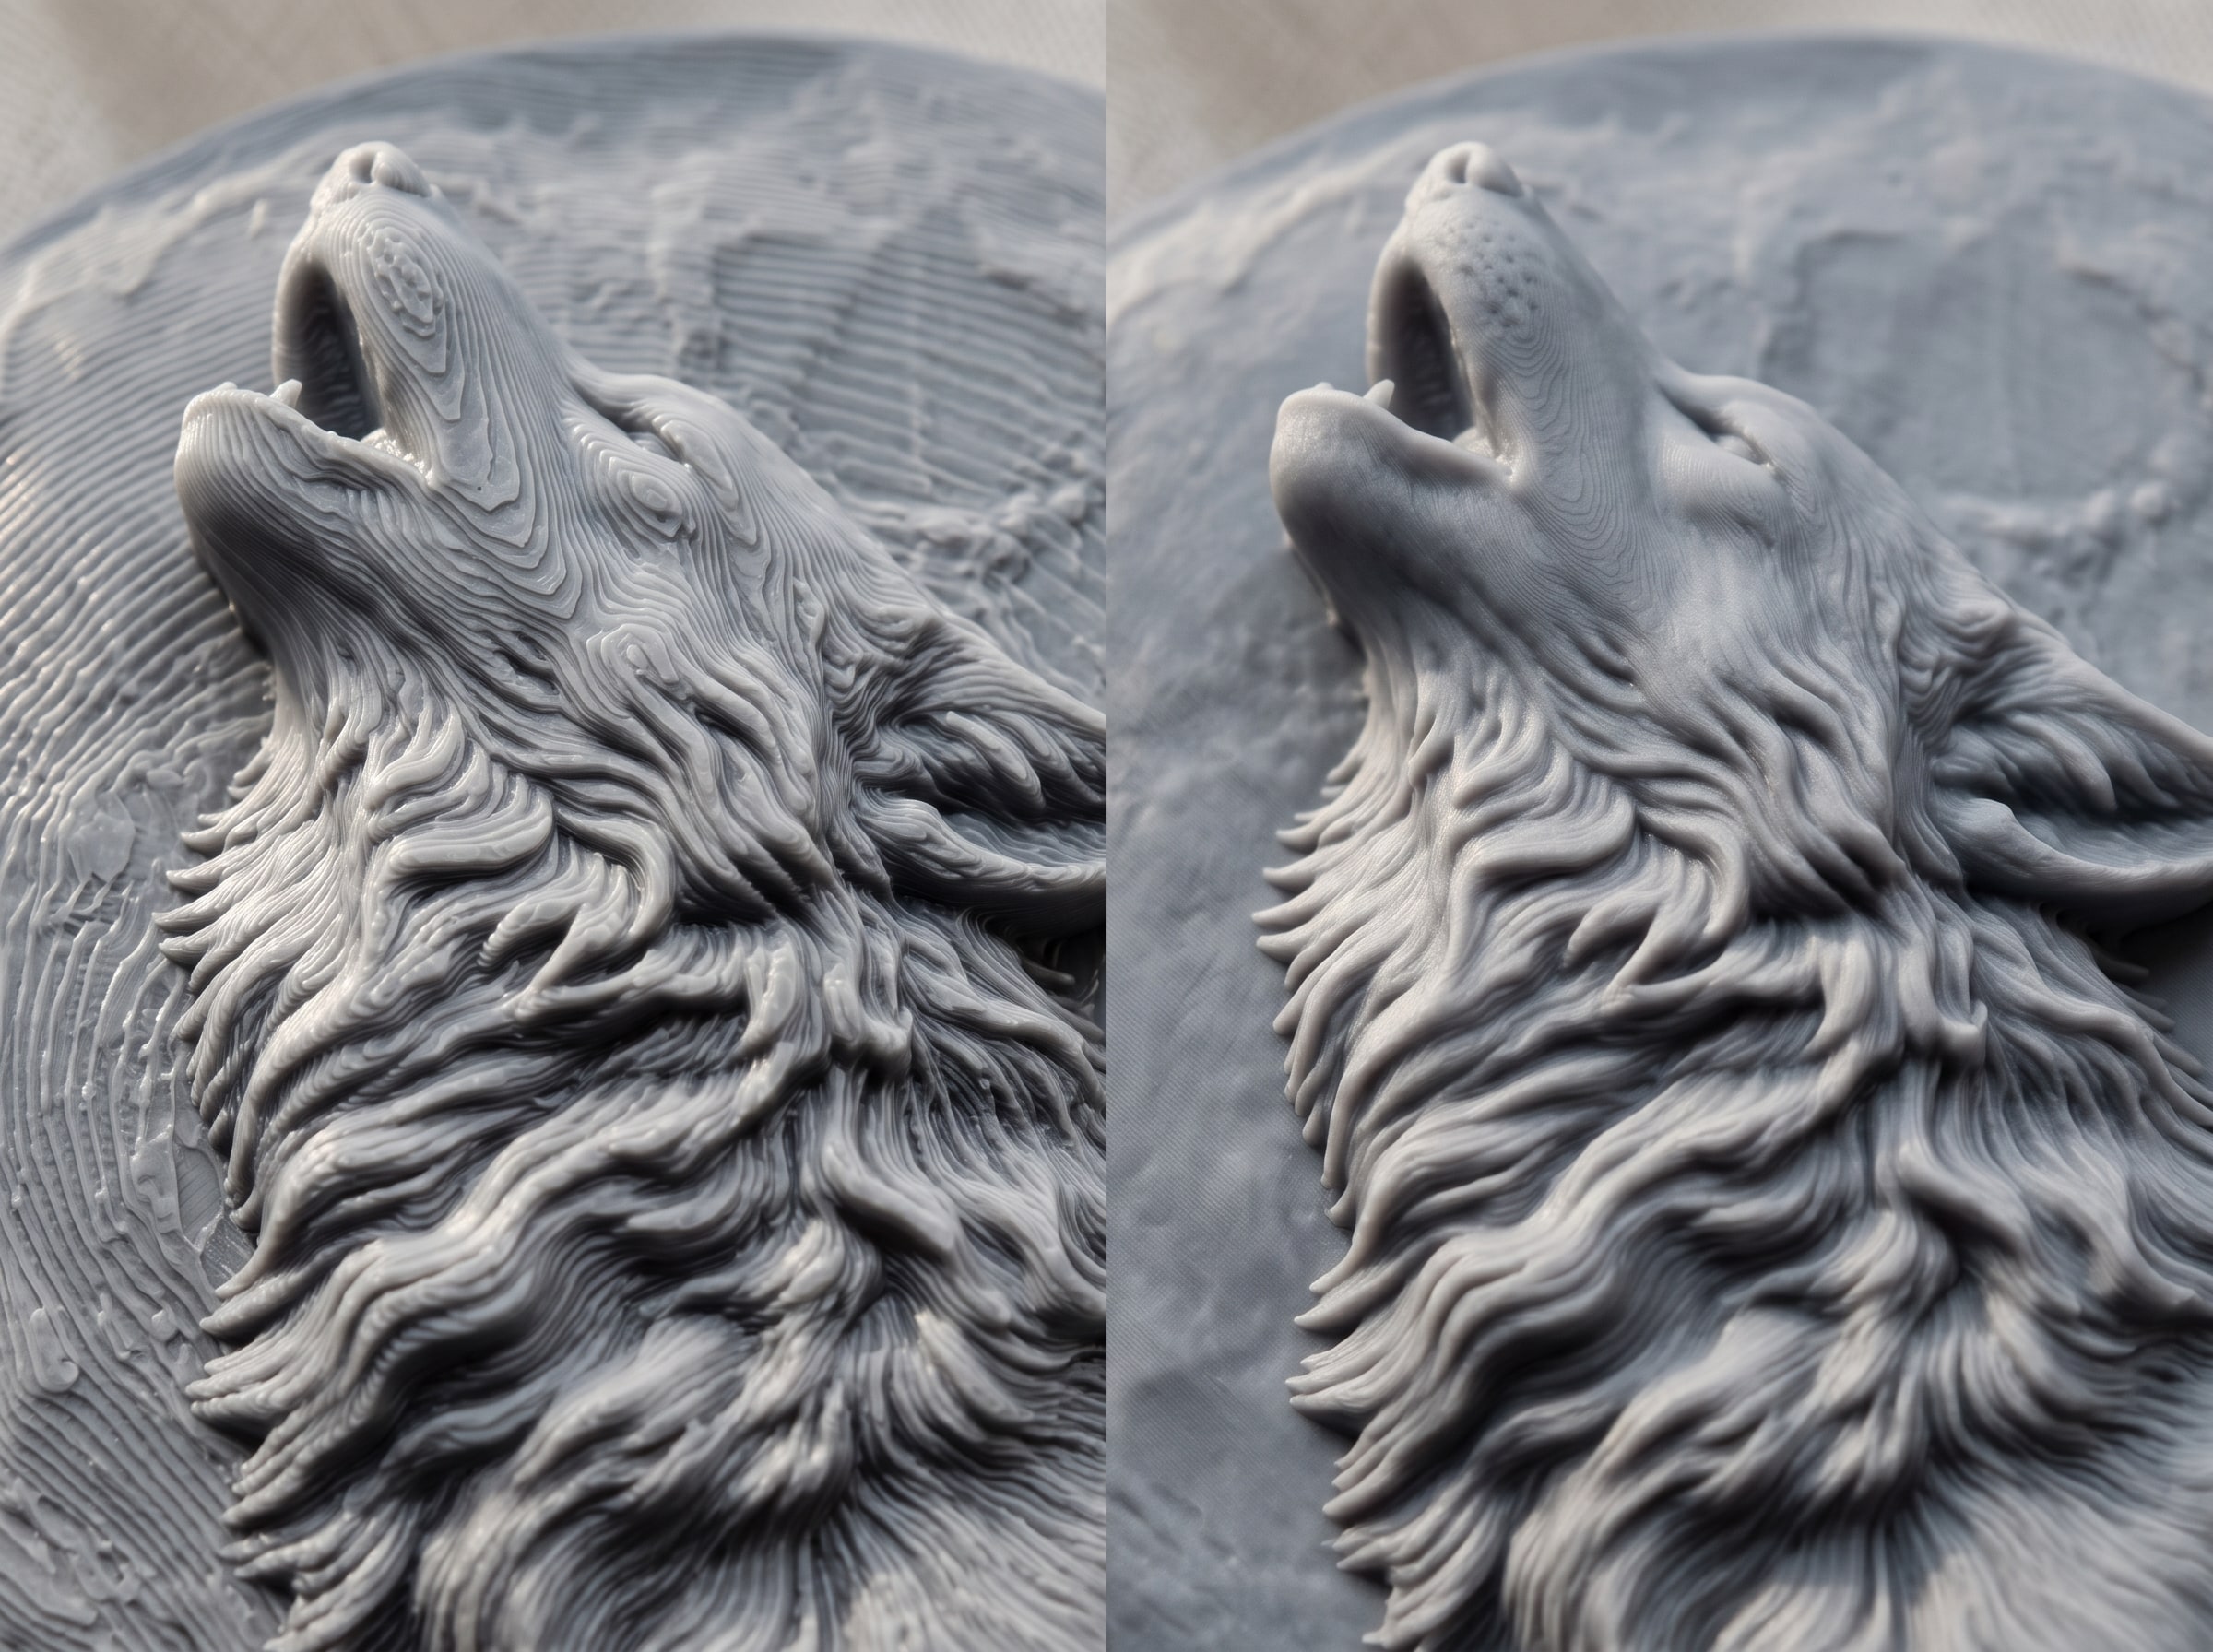
A relief is all gentle curves, and gentle curves are the worst case for layer stepping: each layer's edge shows as a contour line across the surface, and at 0.2 mm the wolf's muzzle looks like a topographic map. Finer layers put the contours closer together until the eye stops seeing them.
| Layer height | What the surface looks like | Print time, 200 mm relief |
|---|---|---|
| 0.28 mm | Obvious terraces on every curve. Draft only. | About 3 hours |
| 0.20 mm | Visible stepping on faces and muzzles. Acceptable under heavy paint on a background, not on a subject. | 4 to 5 hours |
| 0.12 mm | Faint lines, gone under primer. The everyday setting. | 7 to 8 hours |
| 0.08 mm | Invisible. Faces, hair, anything you will look at closely. | 10 to 12 hours |
| 0.06 mm | No visible gain on a relief; the nozzle width limits it now. | 14+ hours |
Variable layer height, which most slicers offer, is made for this job: fine layers where the surface is shallow-sloped (faces, backgrounds), coarser where it is steep (the sides of the relief). It gives 0.08 mm quality at close to 0.12 mm time. Turn it on and let the slicer place the layers.
The rest of the slicer settings
- Nozzle: 0.4 mm is fine. A 0.25 mm nozzle sharpens the very finest lines at a real cost in time; try it for a small face, not a wall panel.
- Infill: 10 to 15%, any pattern. A relief plaque is mostly solid surface anyway; the infill only fills the slab behind it.
- Walls: 3 perimeters, 4 top layers. Tops matter because the relief surface is all "top".
- Ironing: on, for the flat areas of the background. It polishes the top layer flat and hides the last of the lines.
- Supports: off. If the slicer wants to add them on a flat-printed relief, the file is not flat on the bed.
- Speed: slow the outer walls to 30 to 40 mm/s. Fine layers at high speed ring and smear on curves.
- Bed adhesion: a brim of 5 mm on a large plaque, because a warped corner lifts the relief off the bed at hour six.
FDM or resin, and which filament
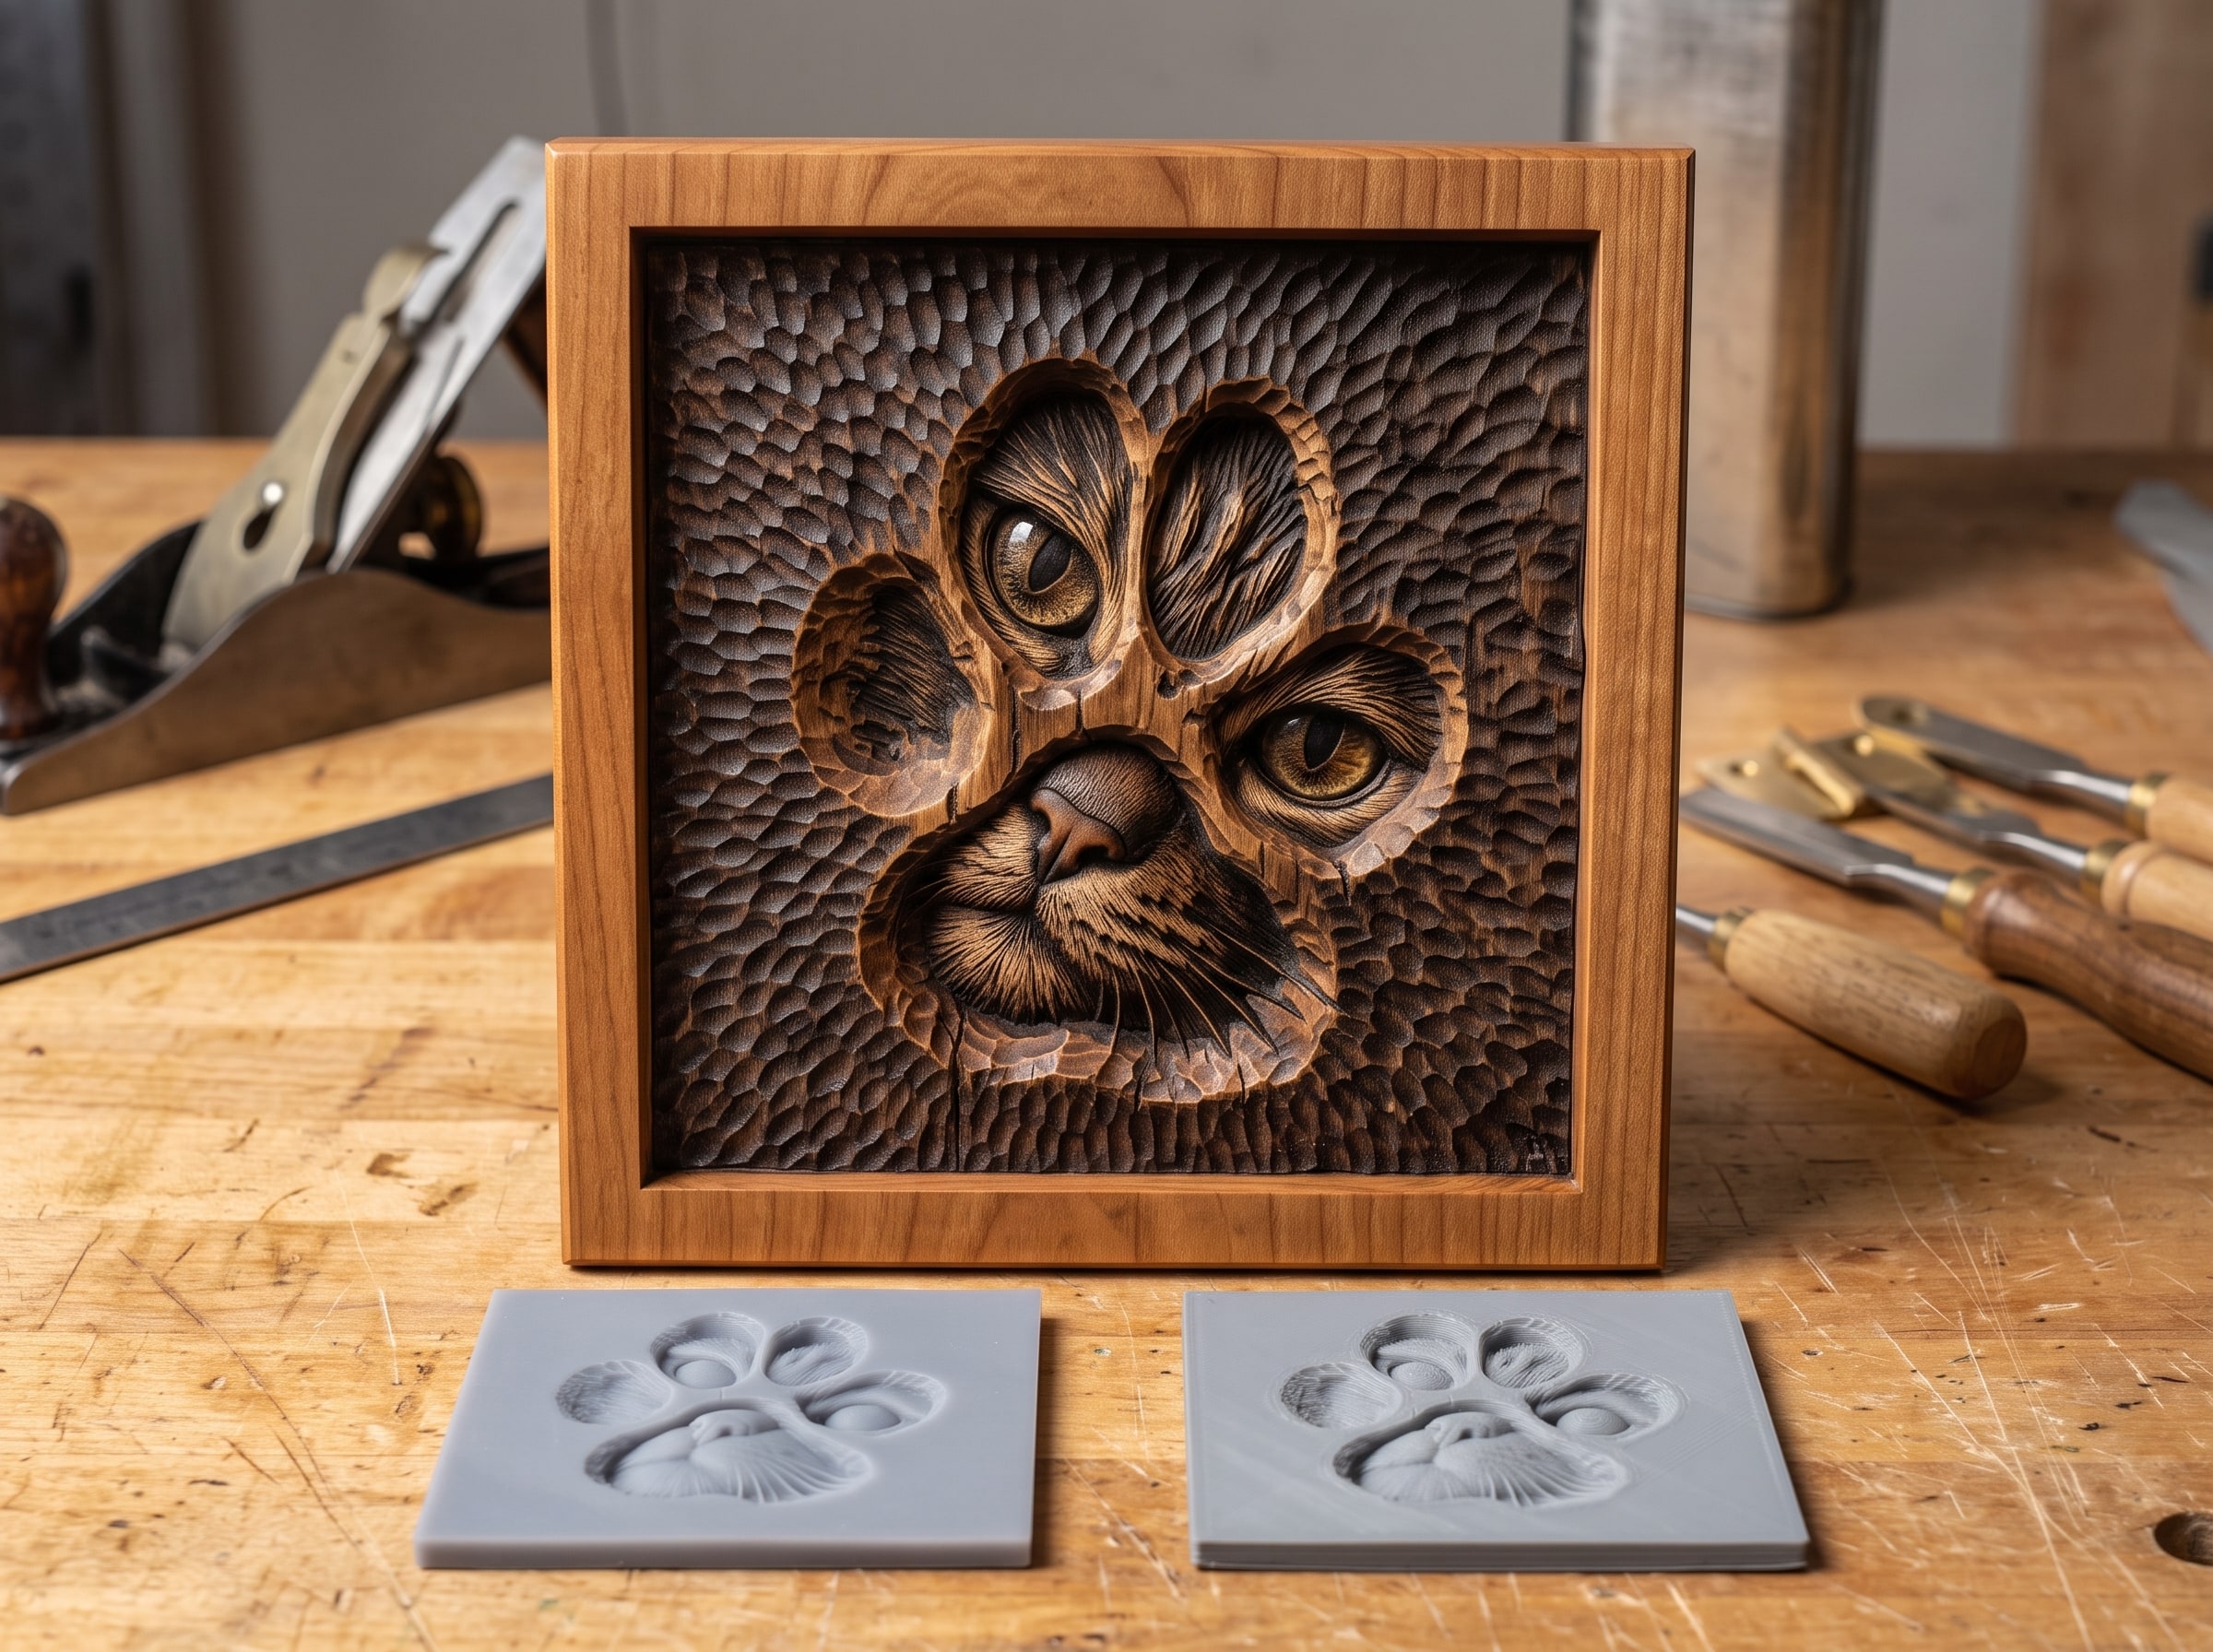
FDM (a normal filament printer) is the right tool for anything over about 150 mm. It is cheap, it prints a 300 mm plaque in one piece, the surface takes primer and paint well, and at 0.08 to 0.12 mm layers the result is excellent after painting.
Resin is the right tool for small, fine things: a face under 100 mm, a medallion, a coin, jewellery-scale ornament. The detail is astonishing and there are no layer lines to speak of. The trade is size (most resin printers top out around 200 mm), cost per piece, the mess, and a surface that needs washing, curing and a primer designed for resin before paint will stick.
Filament choices, in order of how well they take the wood look:
- Matte PLA. The default. Prints easily, hides layers better than glossy PLA, takes primer and acrylic perfectly. Brown or tan if you can, so scratches do not show white.
- Wood-filled PLA. Real wood fibre in the plastic. It sands, it stains a little, and it smells like a workshop. Use a 0.5 or 0.6 mm nozzle because the fibres clog a 0.4, and expect a slightly softer surface. Beautiful when it works.
- PETG. Tougher and fine outdoors, but glossier and harder to paint. Scuff it with 320 grit before priming.
- Avoid silk and glossy filaments for anything you intend to paint; the sheen fights the primer and the layer lines shine.
The lettering problem
The single complaint we hear about printed reliefs is lettering, and it has a specific cause. Raised letters on a relief are thin walls a millimetre or two wide, and a 0.4 mm nozzle draws each stroke as two or three extrusion lines with nothing in between; the slicer either leaves a gap in the middle of the stroke or fattens it, and the serif corners round off. On a router the same letters are cut with a V-bit and come out crisp.
Four fixes, in order of effort:
- Print bigger. Scaling a text panel up until the thinnest stroke is at least 2 mm solves it more often than anything else.
- Turn on "thin walls" or "gap fill" in the slicer, and set the line width to 0.42 or 0.45 mm so strokes fill in whole lines.
- A 0.25 mm nozzle for the text-heavy piece, accepting the time.
- Resin, for small signs and anything with fine serifs.
Scaling a relief for printing
The depth rule from the scaling guide holds: scale Z with X and Y so the proportions stay. Two things are easier on a printer than on a router: there is no board thickness to respect, so the "floor" behind the relief can be as thin as 3 mm and the print still holds; and there is no cutter, so the smallest feature that survives is set by the nozzle, around 0.8 mm, which means a file can be printed far smaller than it can be carved. A 400 mm carving file prints well at 120 mm, where a router would have lost the eyes.
The one thing that does not scale is the back. Keep it flat and keep it at least 3 mm; slicers thin it out when a file is scaled down and a paper-thin back warps off the bed.
Finishing: making plastic look like wood
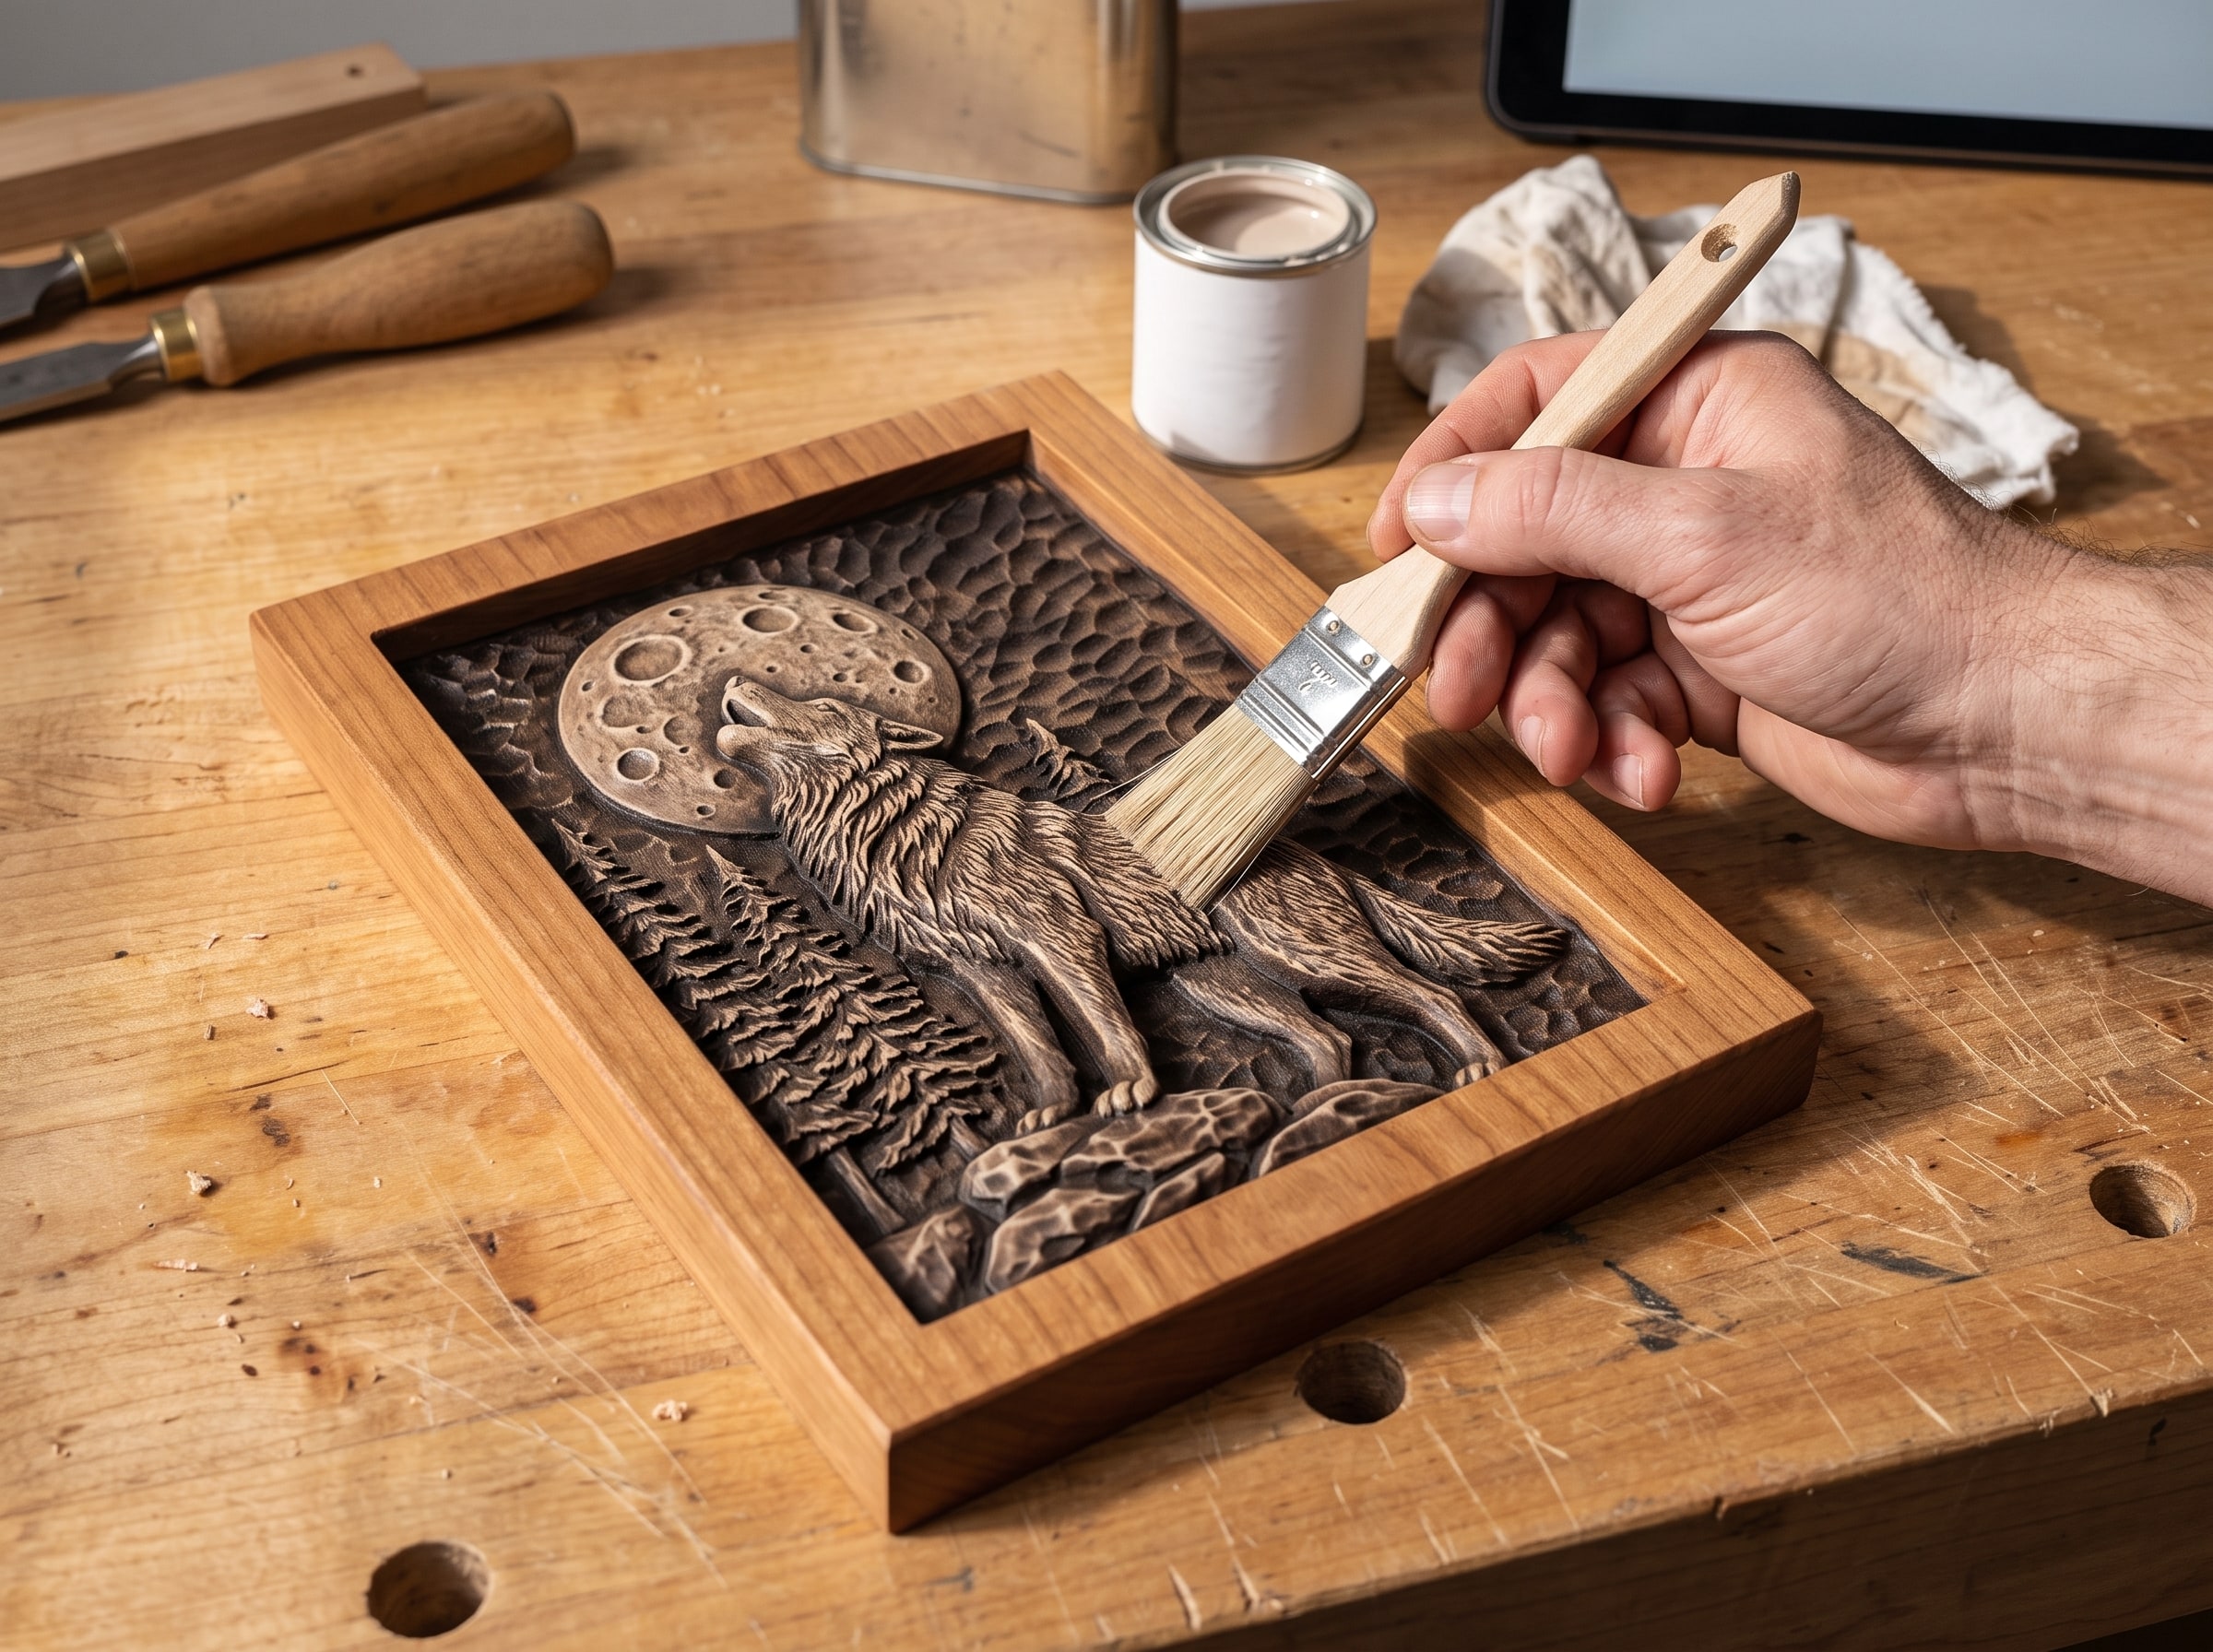
This is the printed equivalent of the antiquing step in the finishing guide, and it does the same job: dark in the recesses, light on the edges, so the eye reads depth. Five steps, one afternoon, and it works on any filament colour.
- Kill the layer lines. Two or three light coats of a high-build filler primer from a spray can, sanded back with 400 grit between coats. This is most of the work and most of the difference. Skip it and every step below will show the lines through.
- Prime for colour. A thin coat of grey primer if you are going for wood tones, black if you want a bronze or pewter finish.
- Base coat. A warm mid-brown craft acrylic, two thin coats, brushed or airbrushed. This is the "cherry".
- Wash the recesses. A very dark brown or black acrylic thinned to the consistency of milk, flooded over everything and let to settle into the low areas; wipe the high points with a damp cloth before it dries. The recesses go dark exactly as a glaze does on wood.
- Dry brush the highlights. A pale tan on a stiff flat brush, wiped on a paper towel until it barely marks, then flicked across the raised edges. The moment the fur and the moon catch that pale edge, the print stops looking like plastic.
Seal it with a matte or satin clear coat. Gloss destroys the illusion instantly. For the metallic look instead of wood, swap the base coat for a bronze acrylic and the dry brush for a gold rub, and use a black-green wash for verdigris.
Hanging and selling a printed relief
A printed relief weighs a fraction of a carved one, so a single adhesive hook or a keyhole modelled into the back is enough; most slicers can add the keyhole with a "negative volume". Keep it out of direct sun, since PLA softens above about 60°C and a south-facing window in summer is enough to warp a thin plaque.
Selling printed pieces is covered by the same licence as carved ones: the physical objects are yours to sell, the file is not. The selling guide covers pricing; printed reliefs sit at a lower price point than carved wood and sell in volume at fairs, especially the small ones.
Two designs that print particularly well, one for each printer:
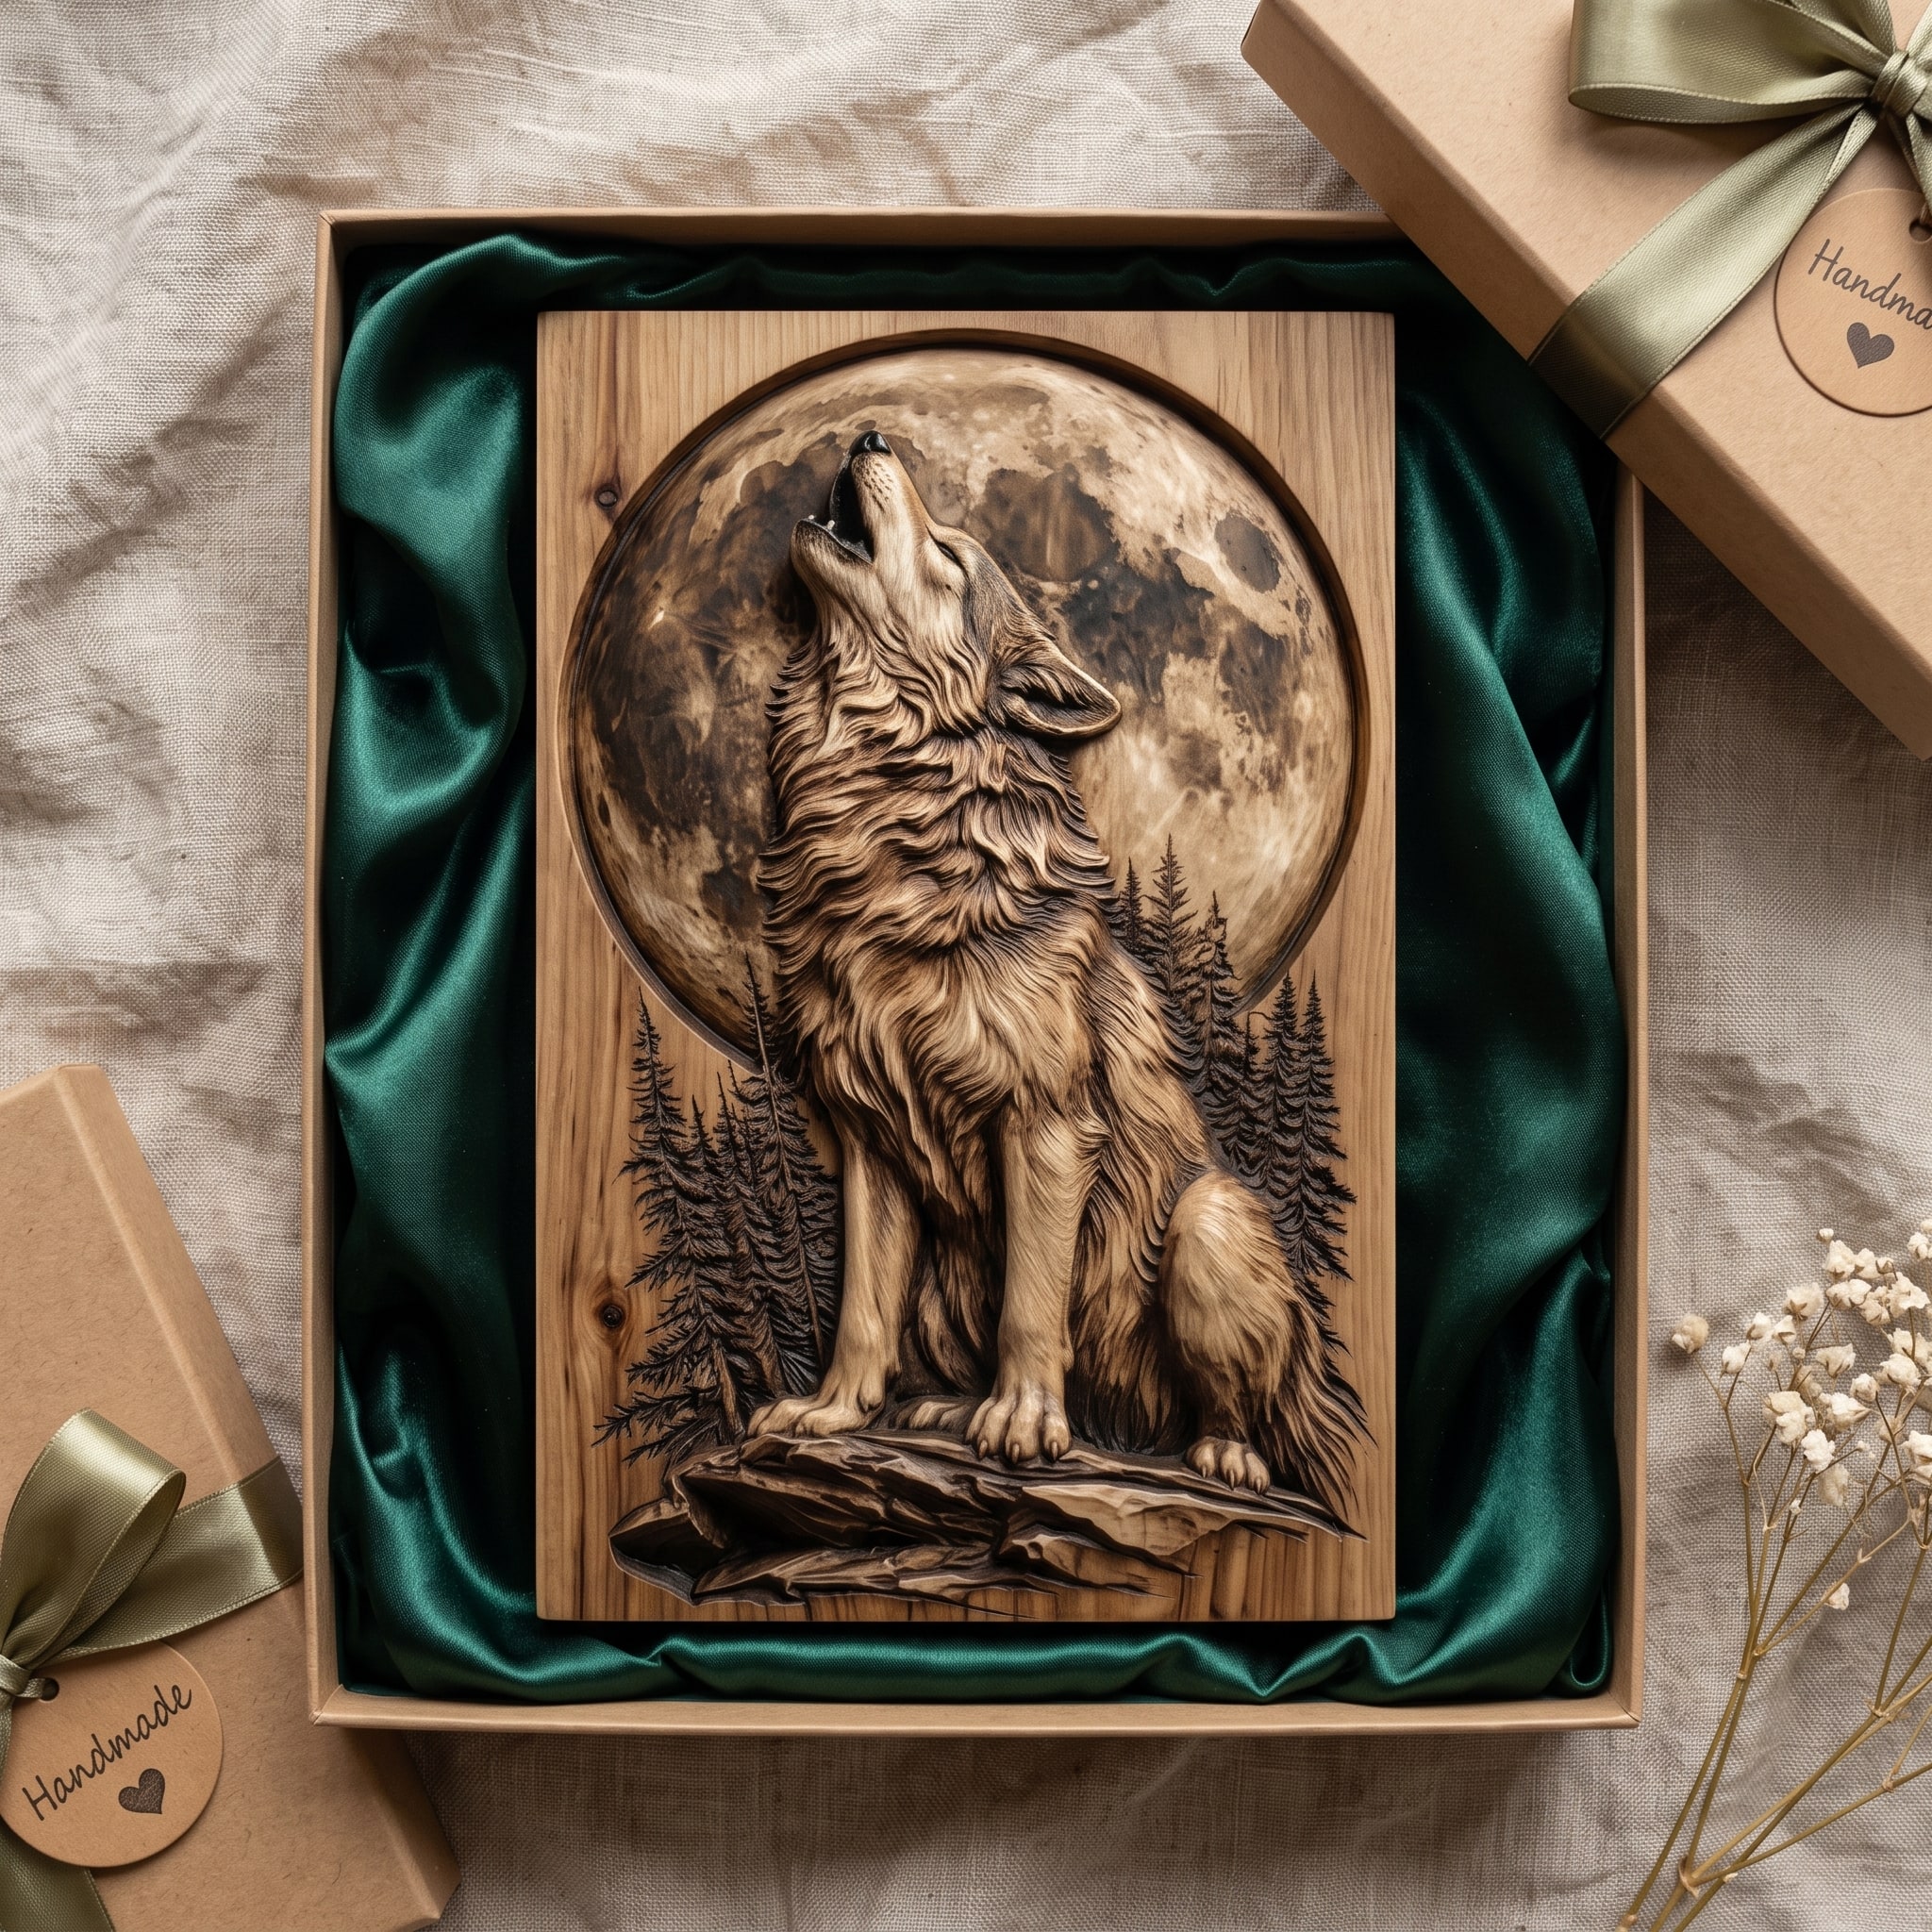
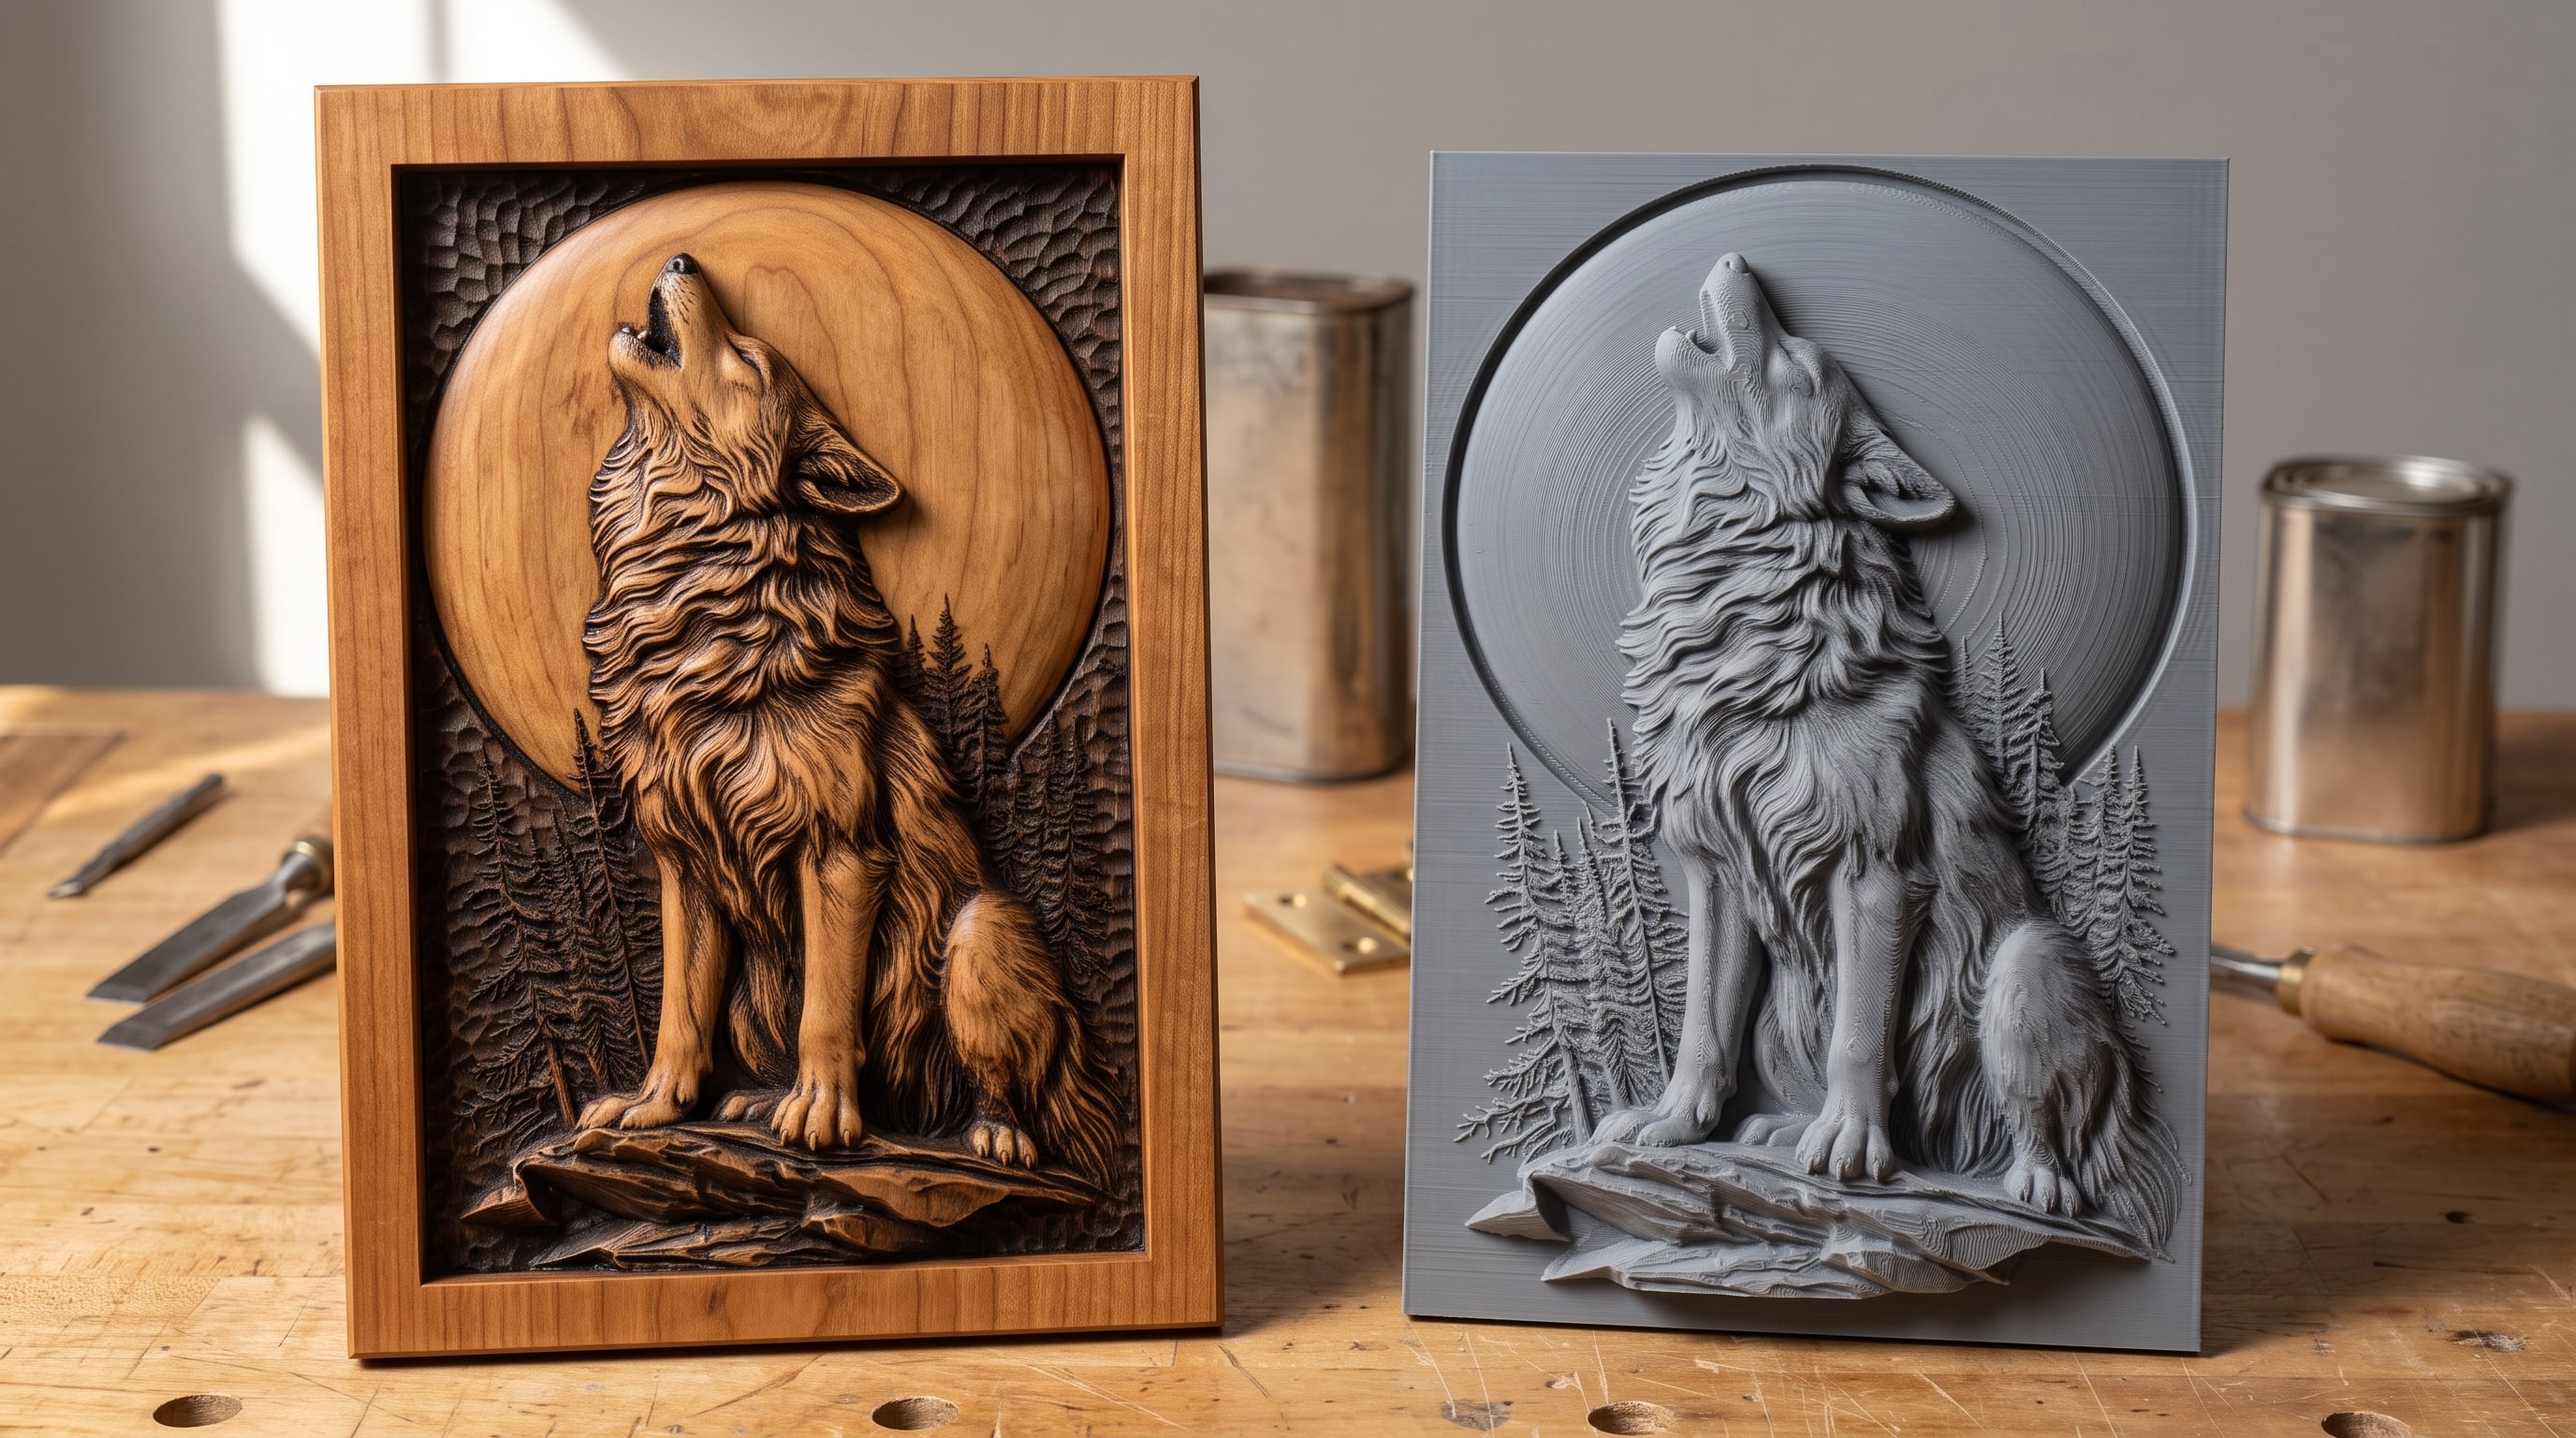
The Howling Wolf and Full Moon Bas-Relief STL for CNC Carving is the piece in the photographs above: bold shapes for FDM, a pale moon that shows the dry brush off, and fur that rewards fine layers.
Download the howling wolf · $7.19
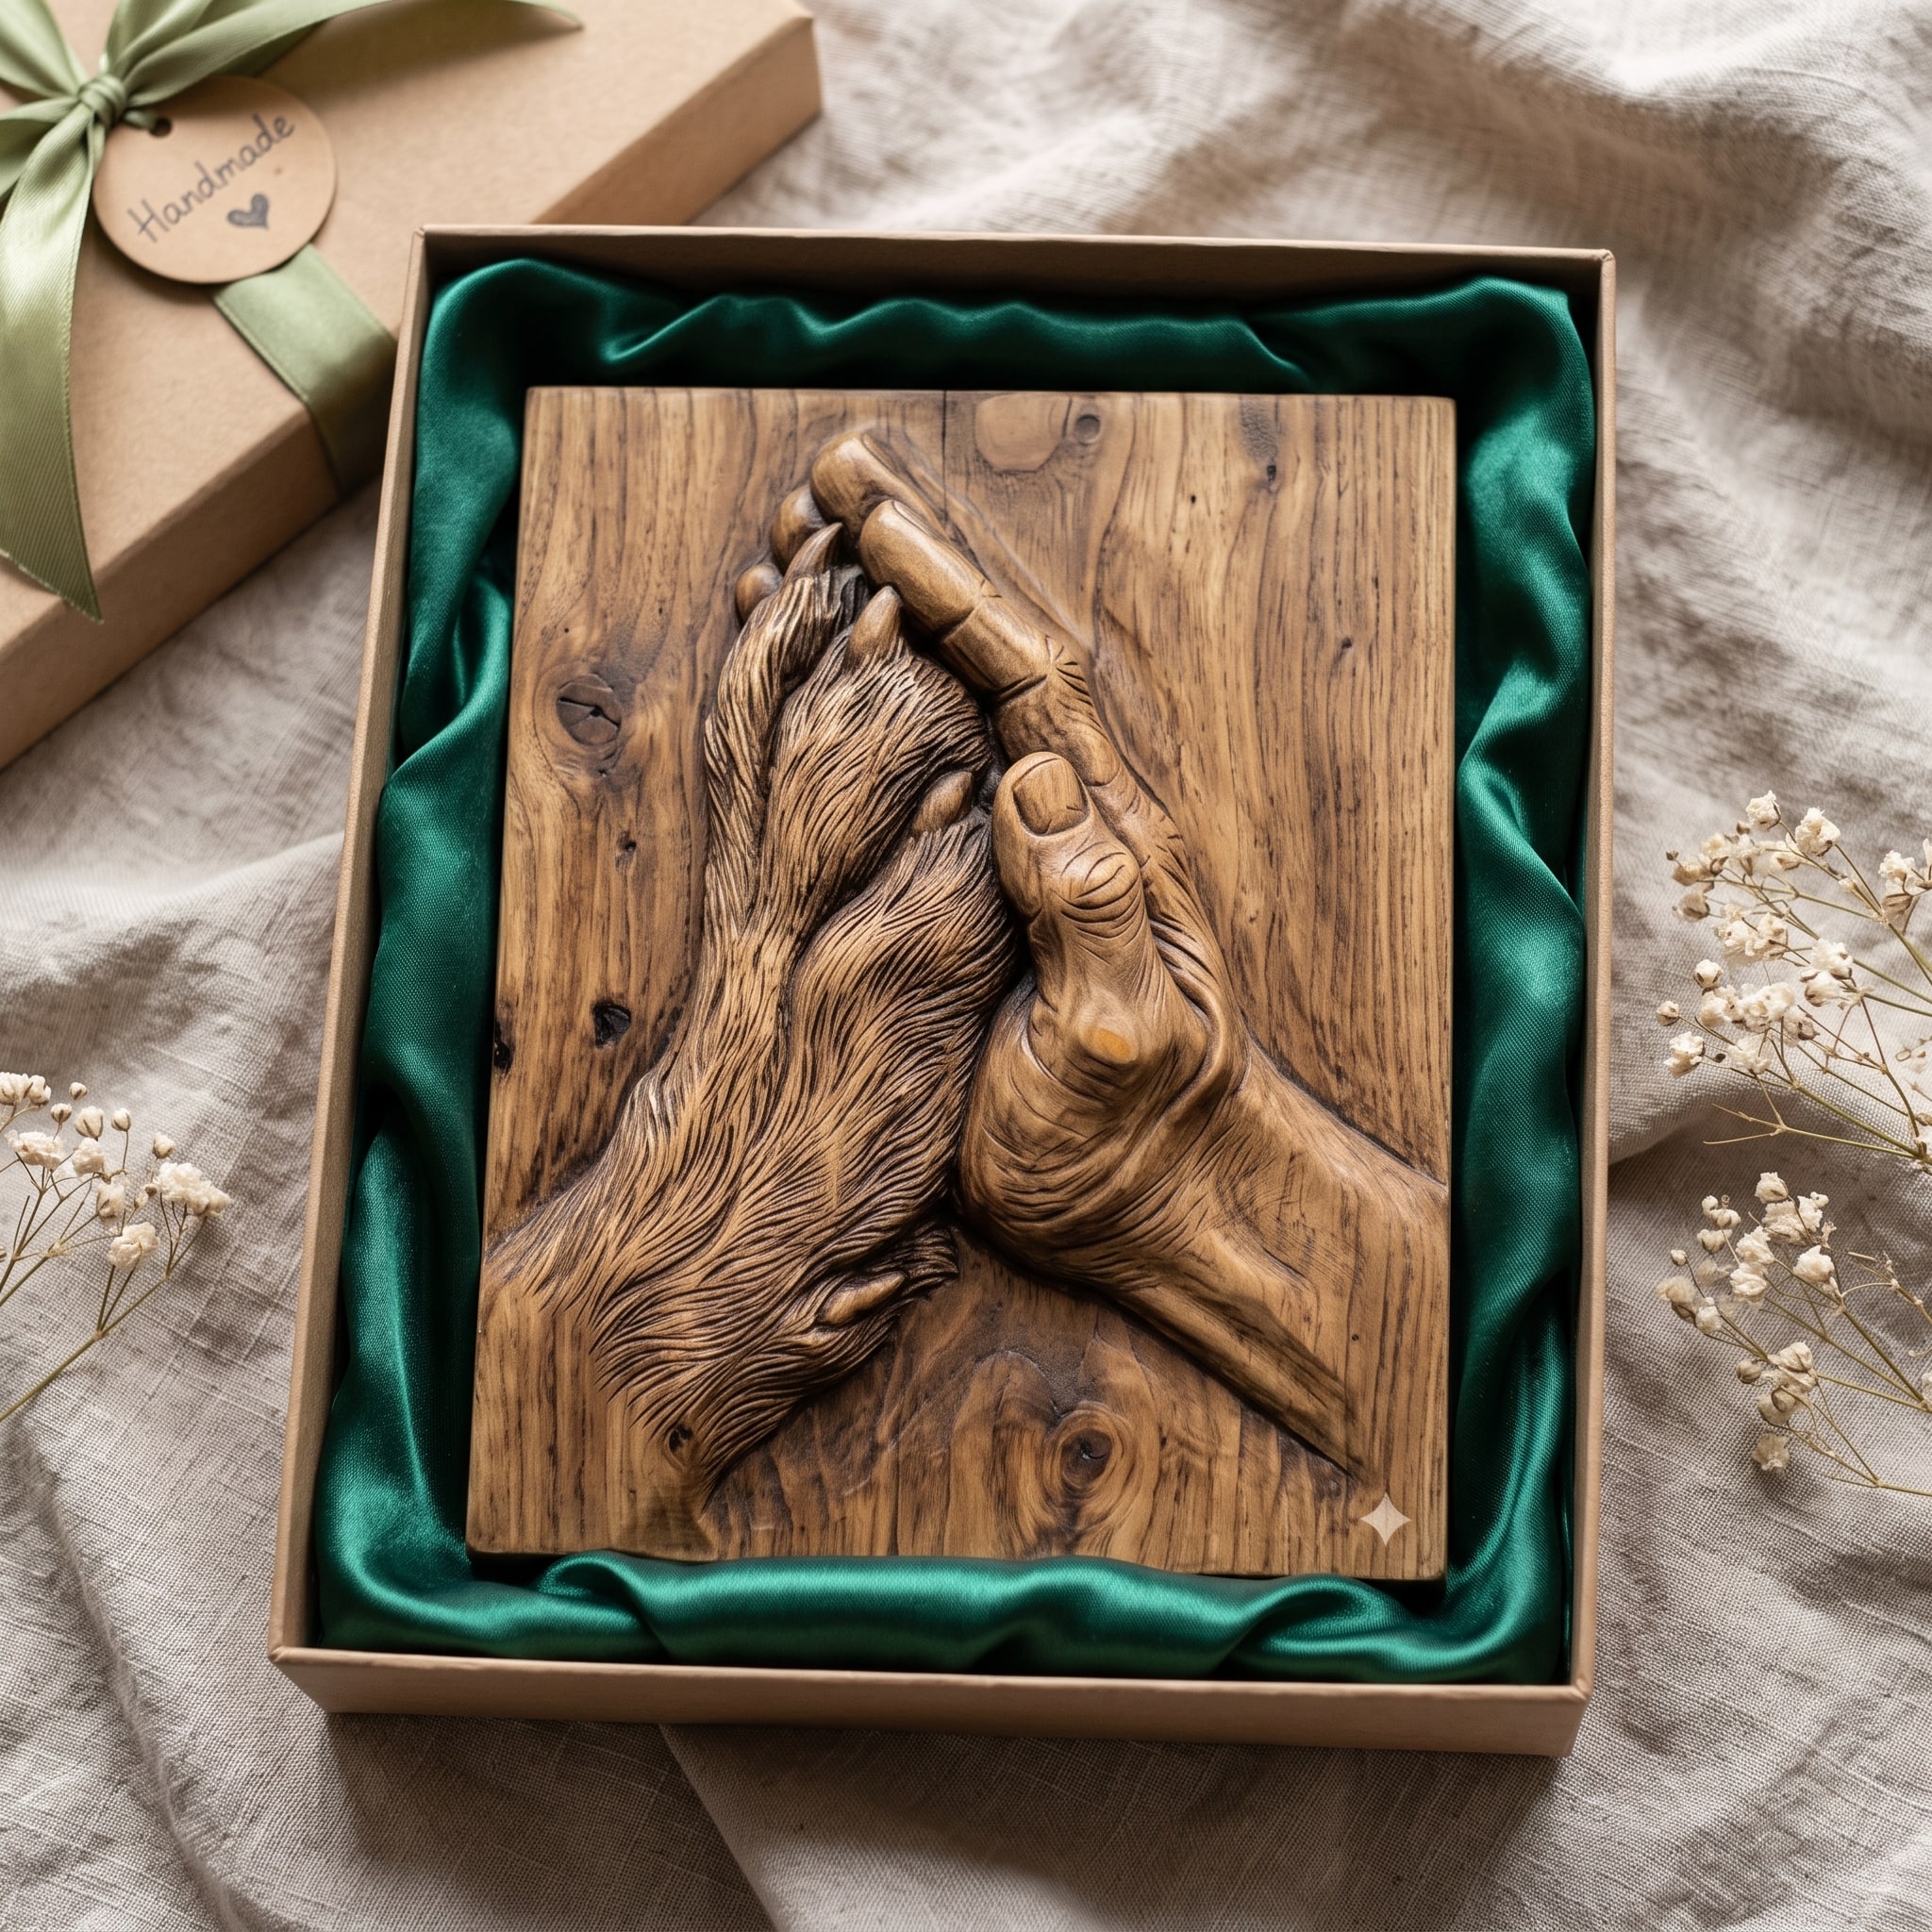
The Human Hand Cradling a Dog's Paw Bas-Relief STL at 80 to 100 mm is a resin printer's piece: fine skin texture, a memorial people ask for by name, and small enough to make a dozen.
Download the paw memorial · $7.19
Questions people ask
Can I 3D print a bas-relief STL made for CNC?
Yes, as it is. The files are watertight with a flat back, which is exactly what a slicer wants. Print flat, face up, no supports.
What layer height for a relief?
0.12 mm for most pieces, 0.08 mm for faces and anything looked at closely. 0.2 mm shows stepping on every curve.
Should I print a relief flat or standing up?
Flat, carved face up. Standing up needs supports on every overhang and they scar the face.
FDM or resin?
FDM for anything over about 150 mm, resin for small fine pieces under 100 mm such as faces and medallions.
How do I make a 3D print look like wood?
Filler primer to hide layers, a brown base coat, a dark wash into the recesses, a pale dry brush across the edges, and a matte clear coat. The wash and dry brush are what sell it.
Why does lettering print badly?
Thin raised strokes are narrower than a few nozzle widths and the slicer cannot fill them cleanly. Print bigger, enable thin-wall or gap fill, use a 0.25 mm nozzle, or print in resin.
Flat, fine layers, matte filament, primer, wash, dry brush. That is the whole method, and it turns a forty-cent print of a file made for a router into something people pick up and turn over to check it is not wood.
Jolly, DigitalChiselCo