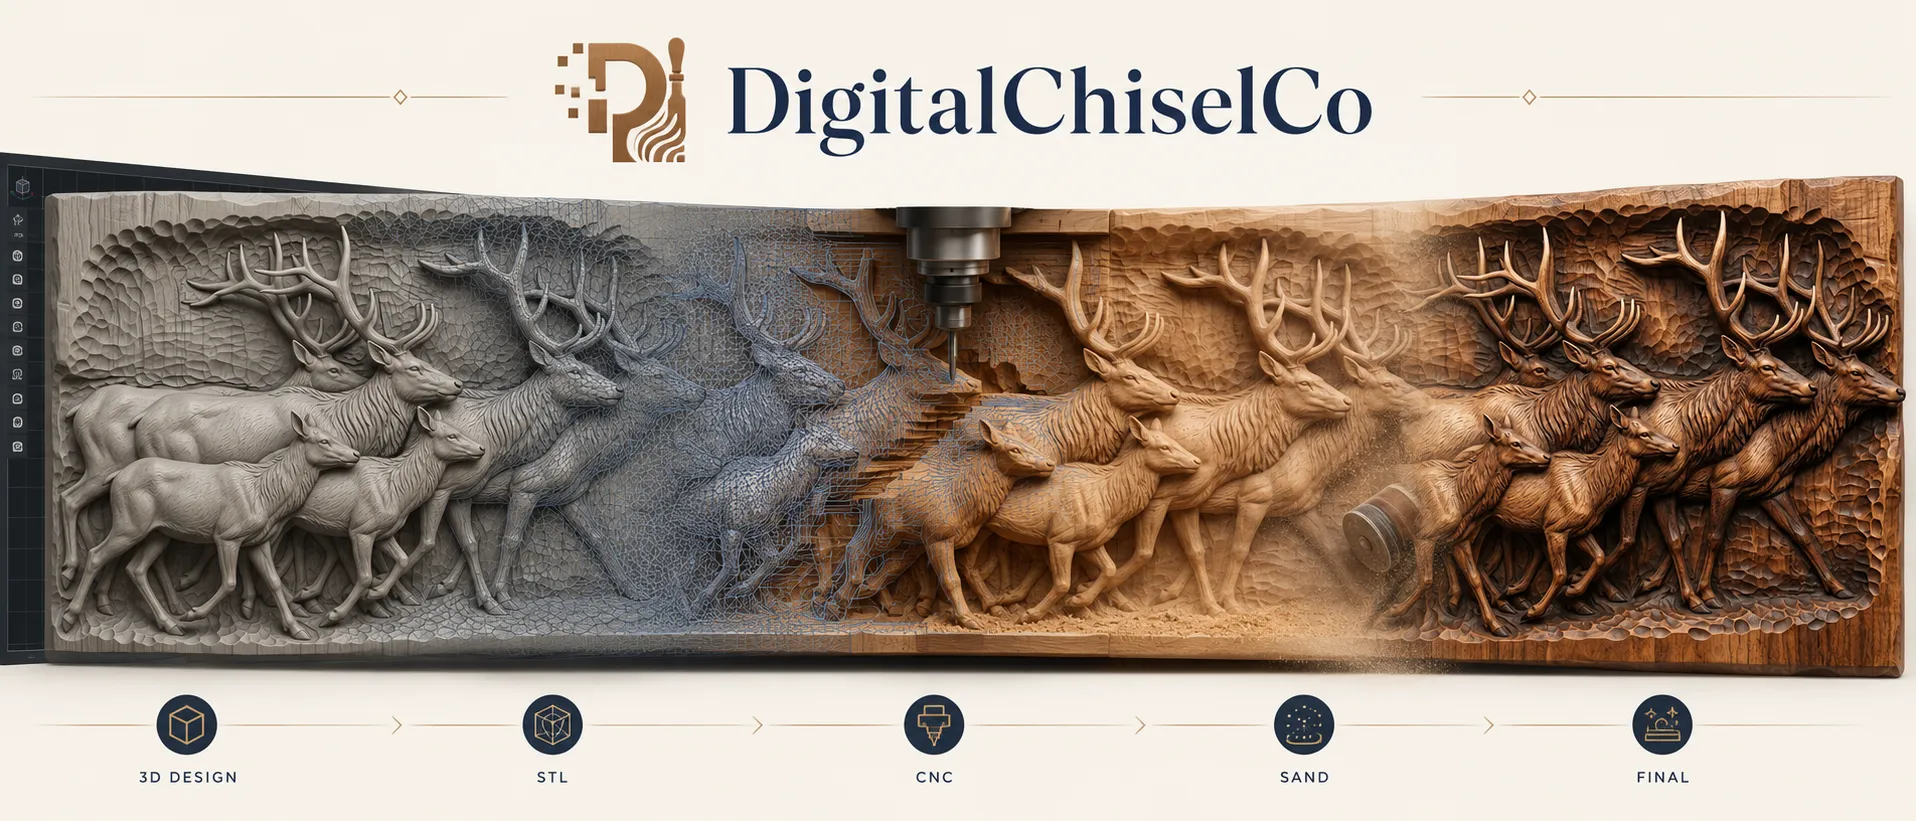
Everything else on this blog goes deep on one thing: the bits, the wood, the finish, the scaling, how to judge a file. This guide goes wide instead. It is the whole first carving, in order, from the file you download to the hanger on the back, with the deeper guide linked at each step for when you want it. If you own a router and have never carved a relief, start here. If you have carved one and it disappointed you, start here as well; the order is usually what went wrong.
Plan a weekend and one board. The machine does most of the work, and the waiting, for oil to cure, is the part people underestimate.
The steps, in order
- 1. Choose a file that will forgive you
- 2. Choose the board
- 3. Choose the three cutters
- 4. Set up the job in your CAM
- 5. Cut a test tile
- 6. Clamp and zero
- 7. The roughing pass
- 8. The finishing passes
- 9. Off the machine: fuzz, sanding, sealing
- 10. Glaze, oil, wax
- 11. The back, the hanger, the wall
- If it went wrong
- Questions people ask
1. Choose a file that will forgive you
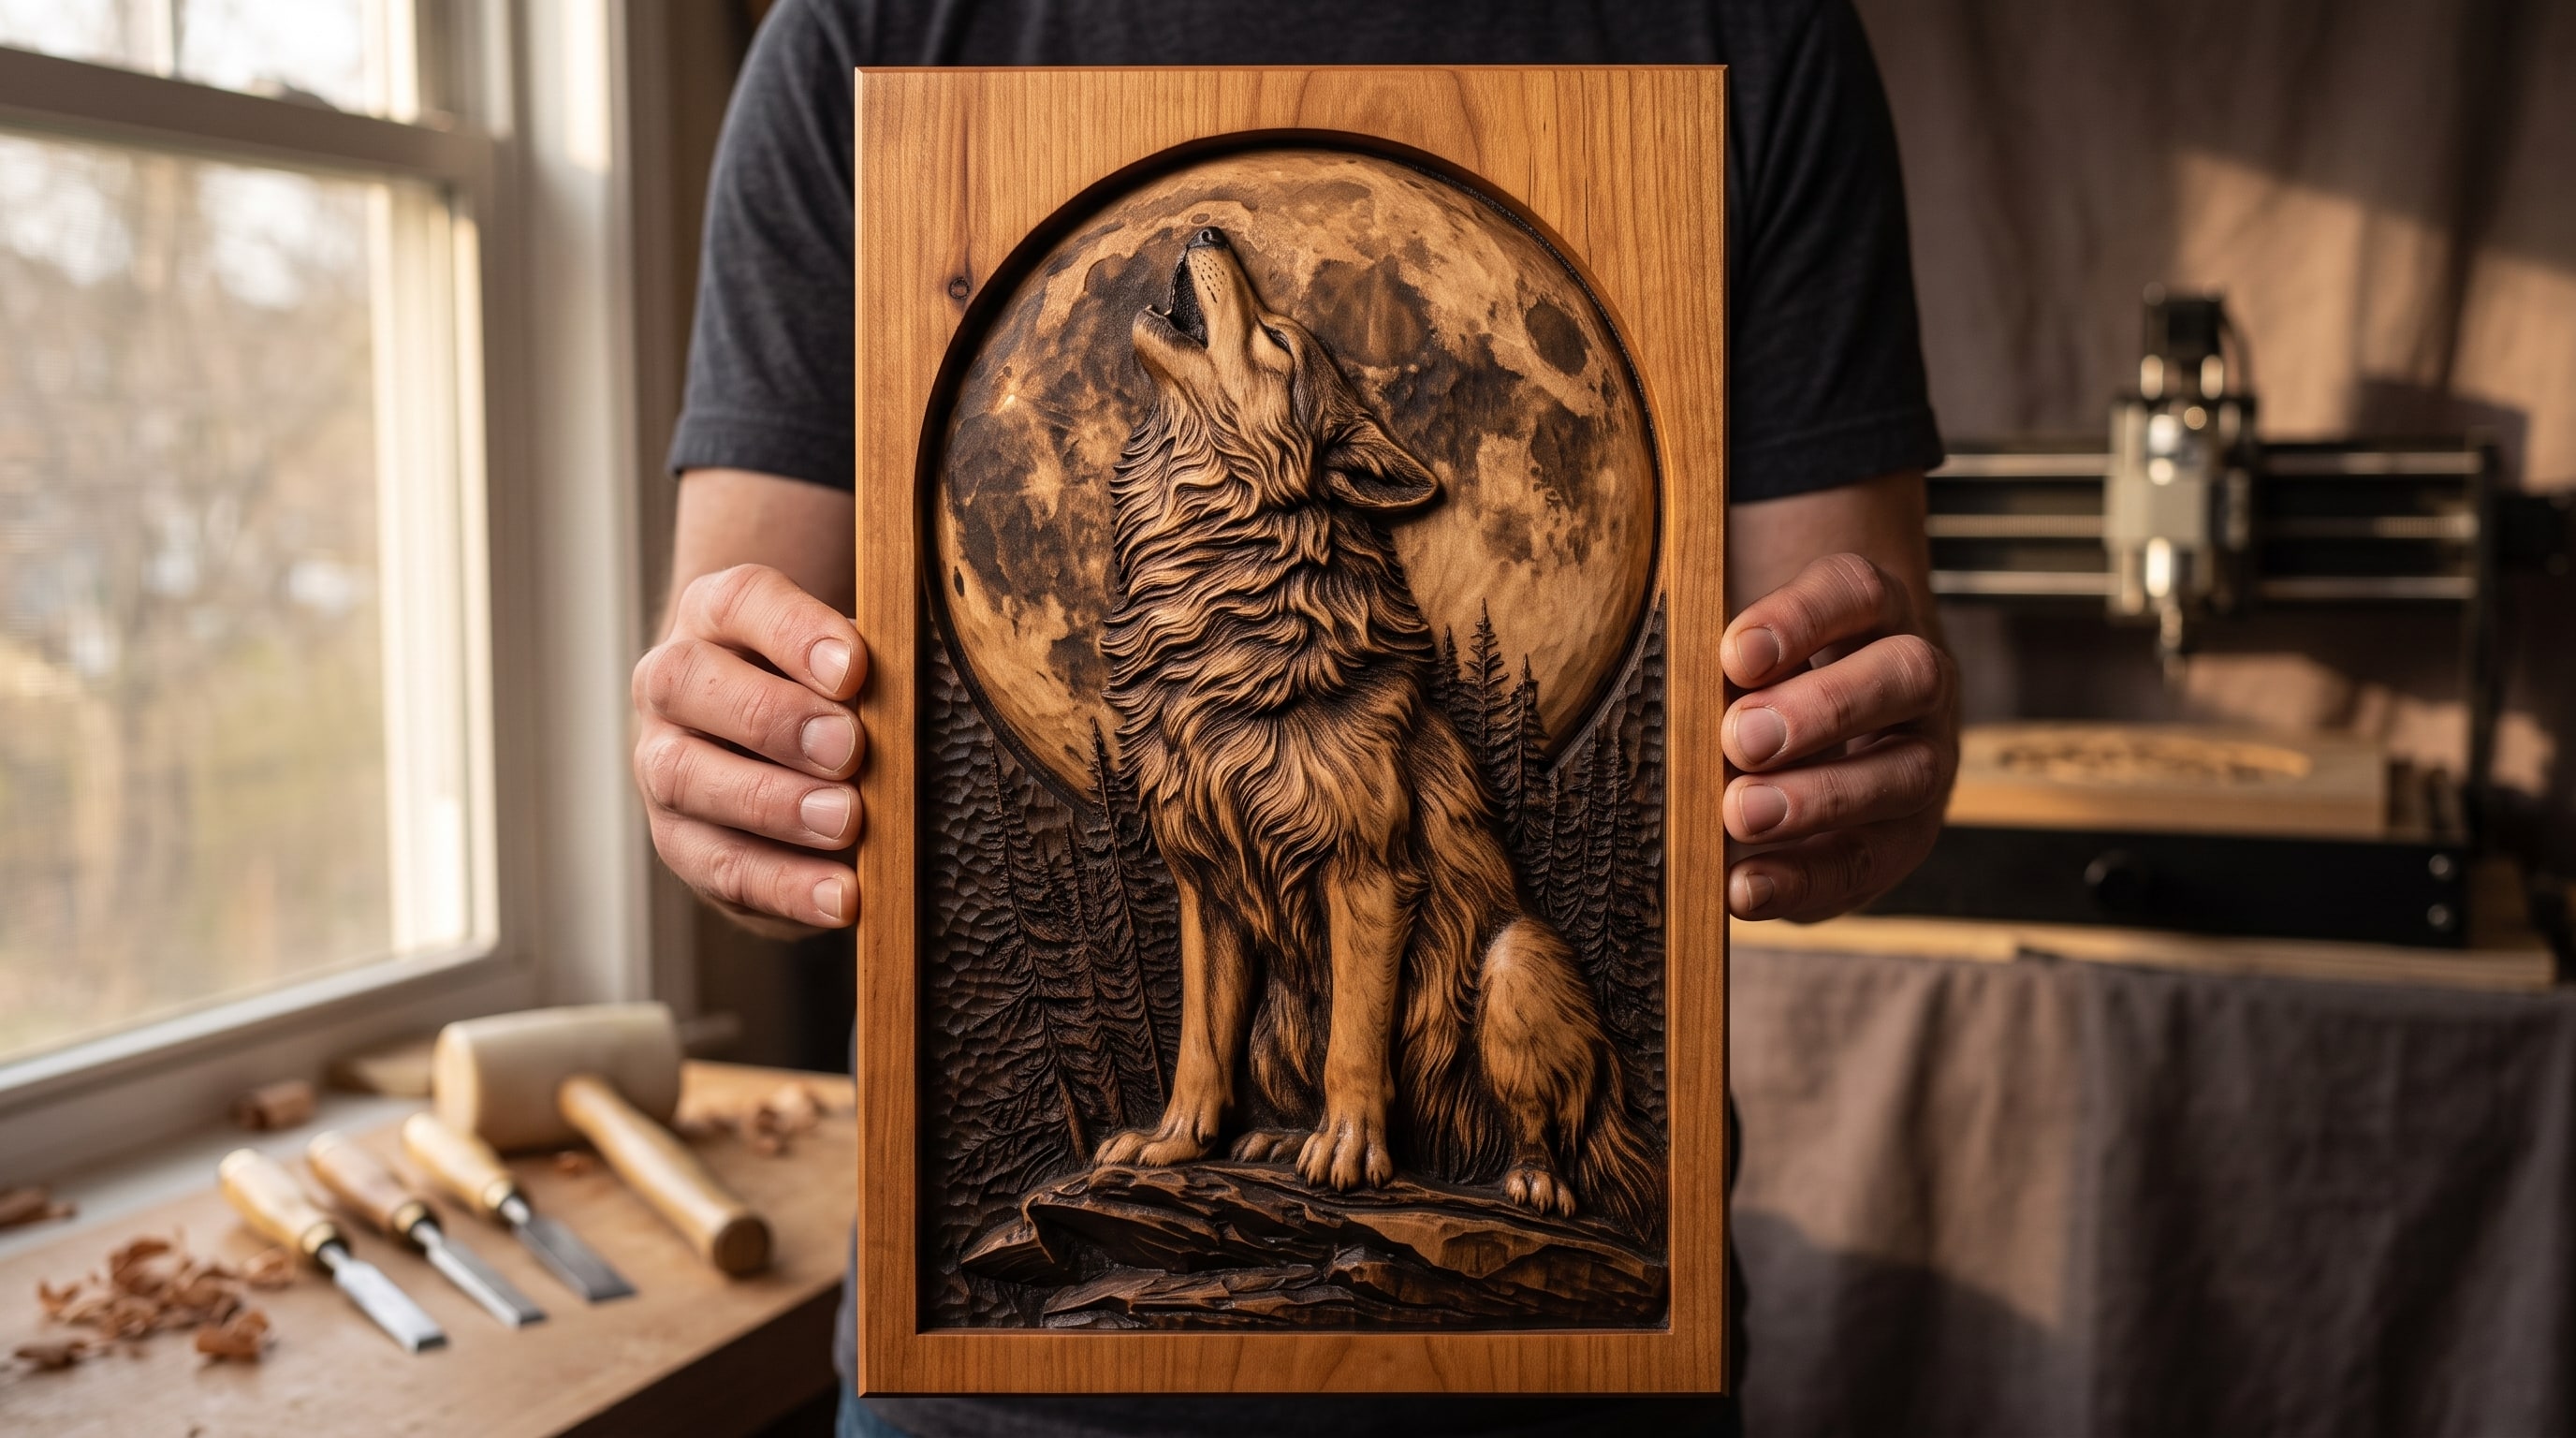
Not a face, not a landscape with six layers, not text. For a first carve you want a single bold subject with a simple background, a clear split between the two, and no feature smaller than about 4 mm at the size you will carve. The Howling Wolf and Full Moon Bas-Relief STL for CNC Carving in the photographs is the one we hand to beginners: fur to show you what stepover does, a plain moon that shows the finish off, and nothing that will punish a slightly coarse setting.
Whatever you choose, open it in your CAM before you buy a board and look at it edge-on. Countable depth levels mean a good file. The file-quality guide has the full inspection, and ten beginner projects is a list of files chosen for exactly this purpose.
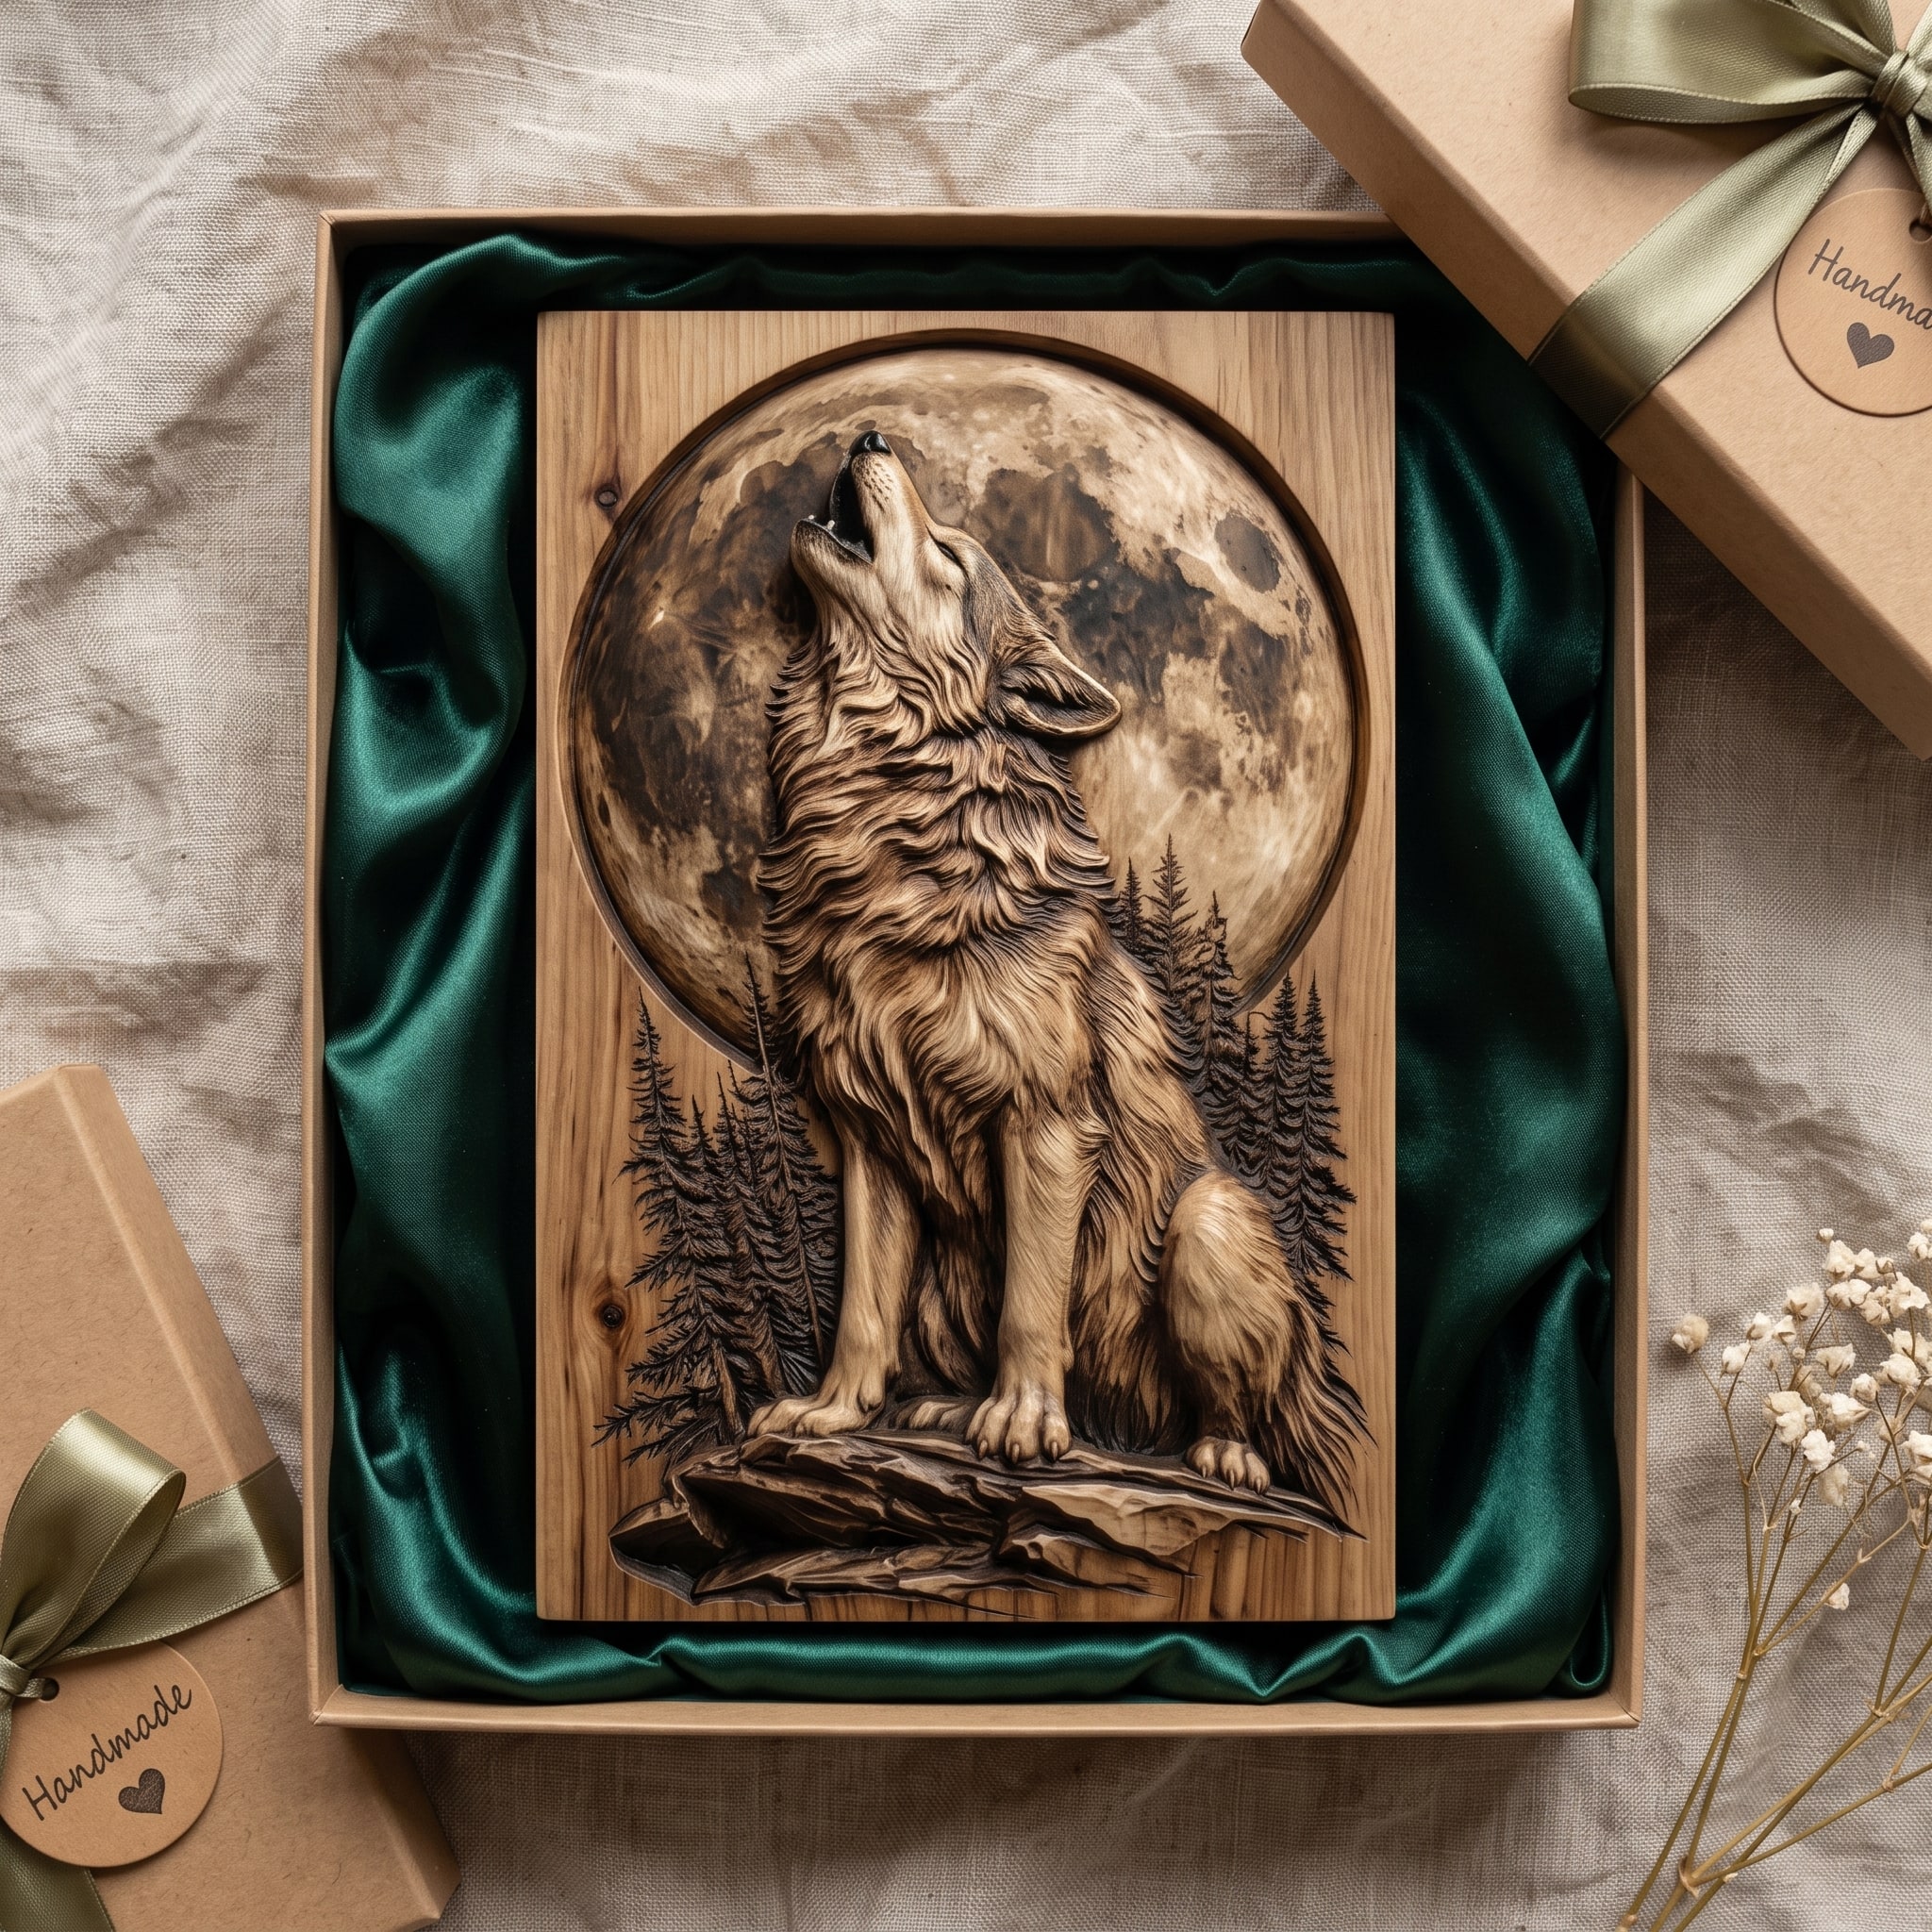
Download the howling wolf · $7.19
2. Choose the board
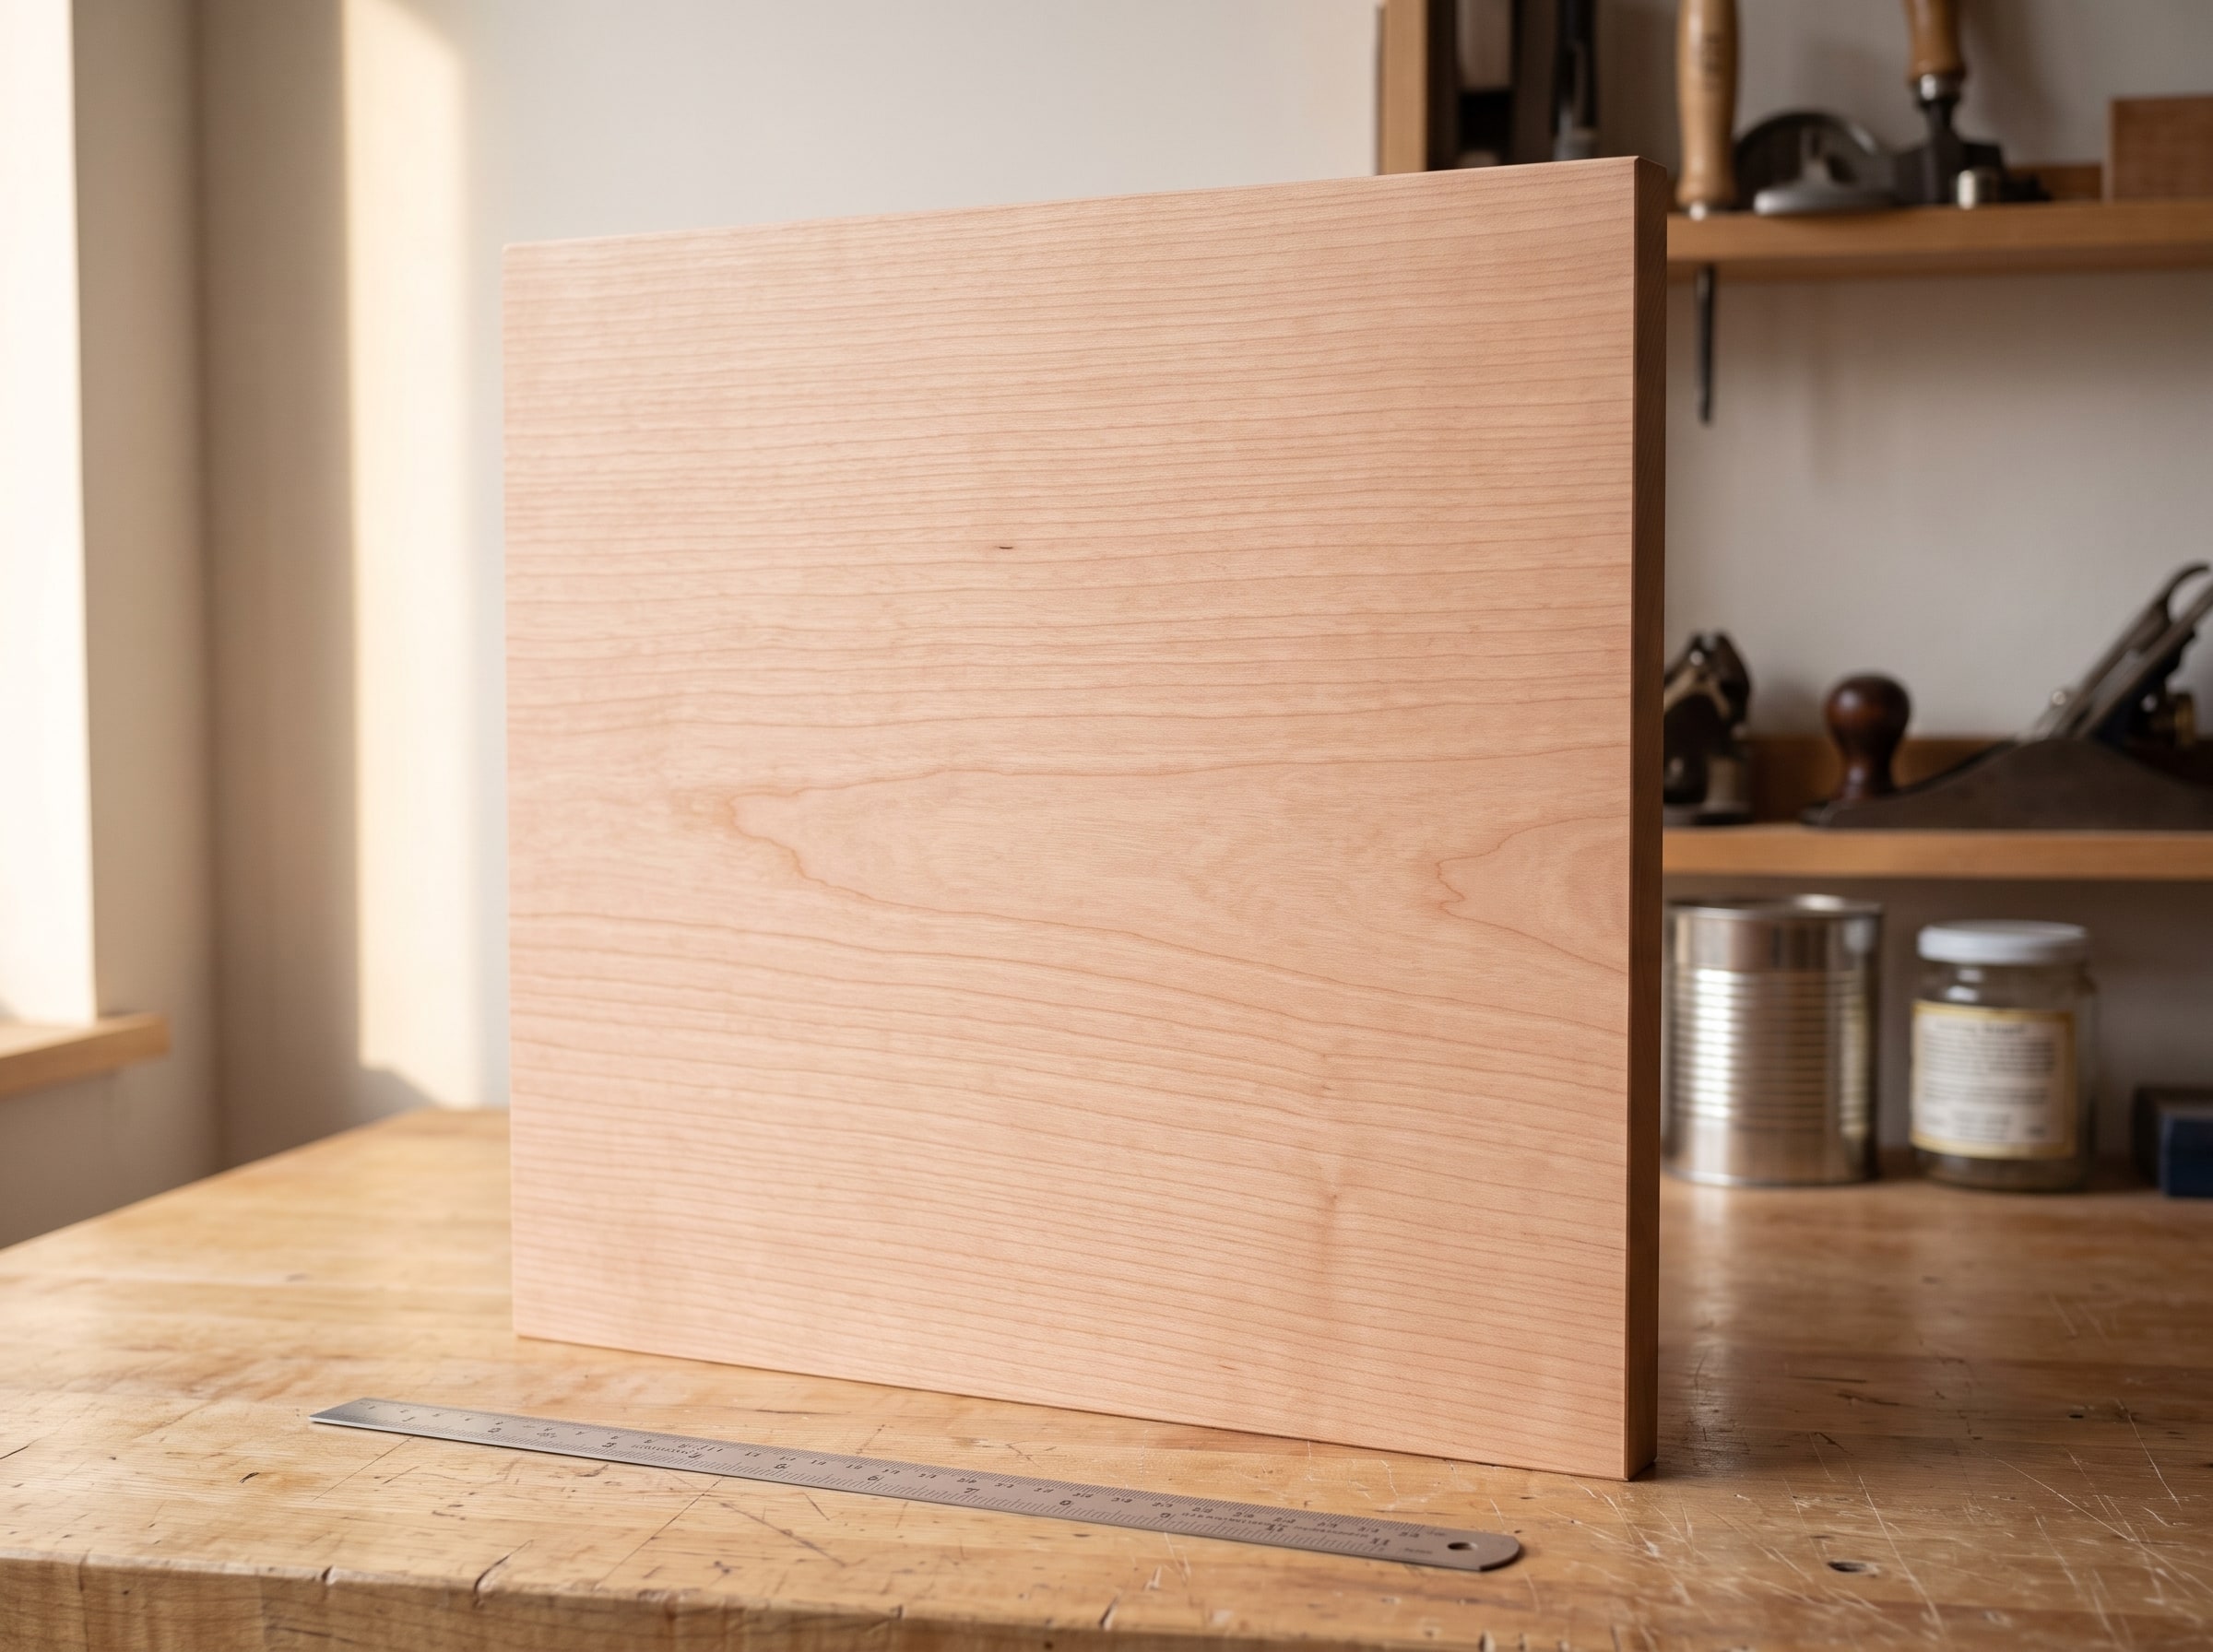
Cherry, 1 inch thick, 300 by 350 mm. That is the whole answer for a first carving. Cherry carves cleanly, holds detail, takes oil beautifully and is not expensive. One inch gives you 12 mm of relief and the 8 mm floor beneath it that the board needs to stay flat. Basswood if you want something softer and cheaper for a very first go; walnut if you want the easiest finish and can afford it. Not pine, not oak, not plywood.
The wood guide shows the same design carved in eight species so you can see why. Let the board sit in the workshop for a few days before you cut it, and look it over for knots in the area that will be carved.
3. Choose the three cutters
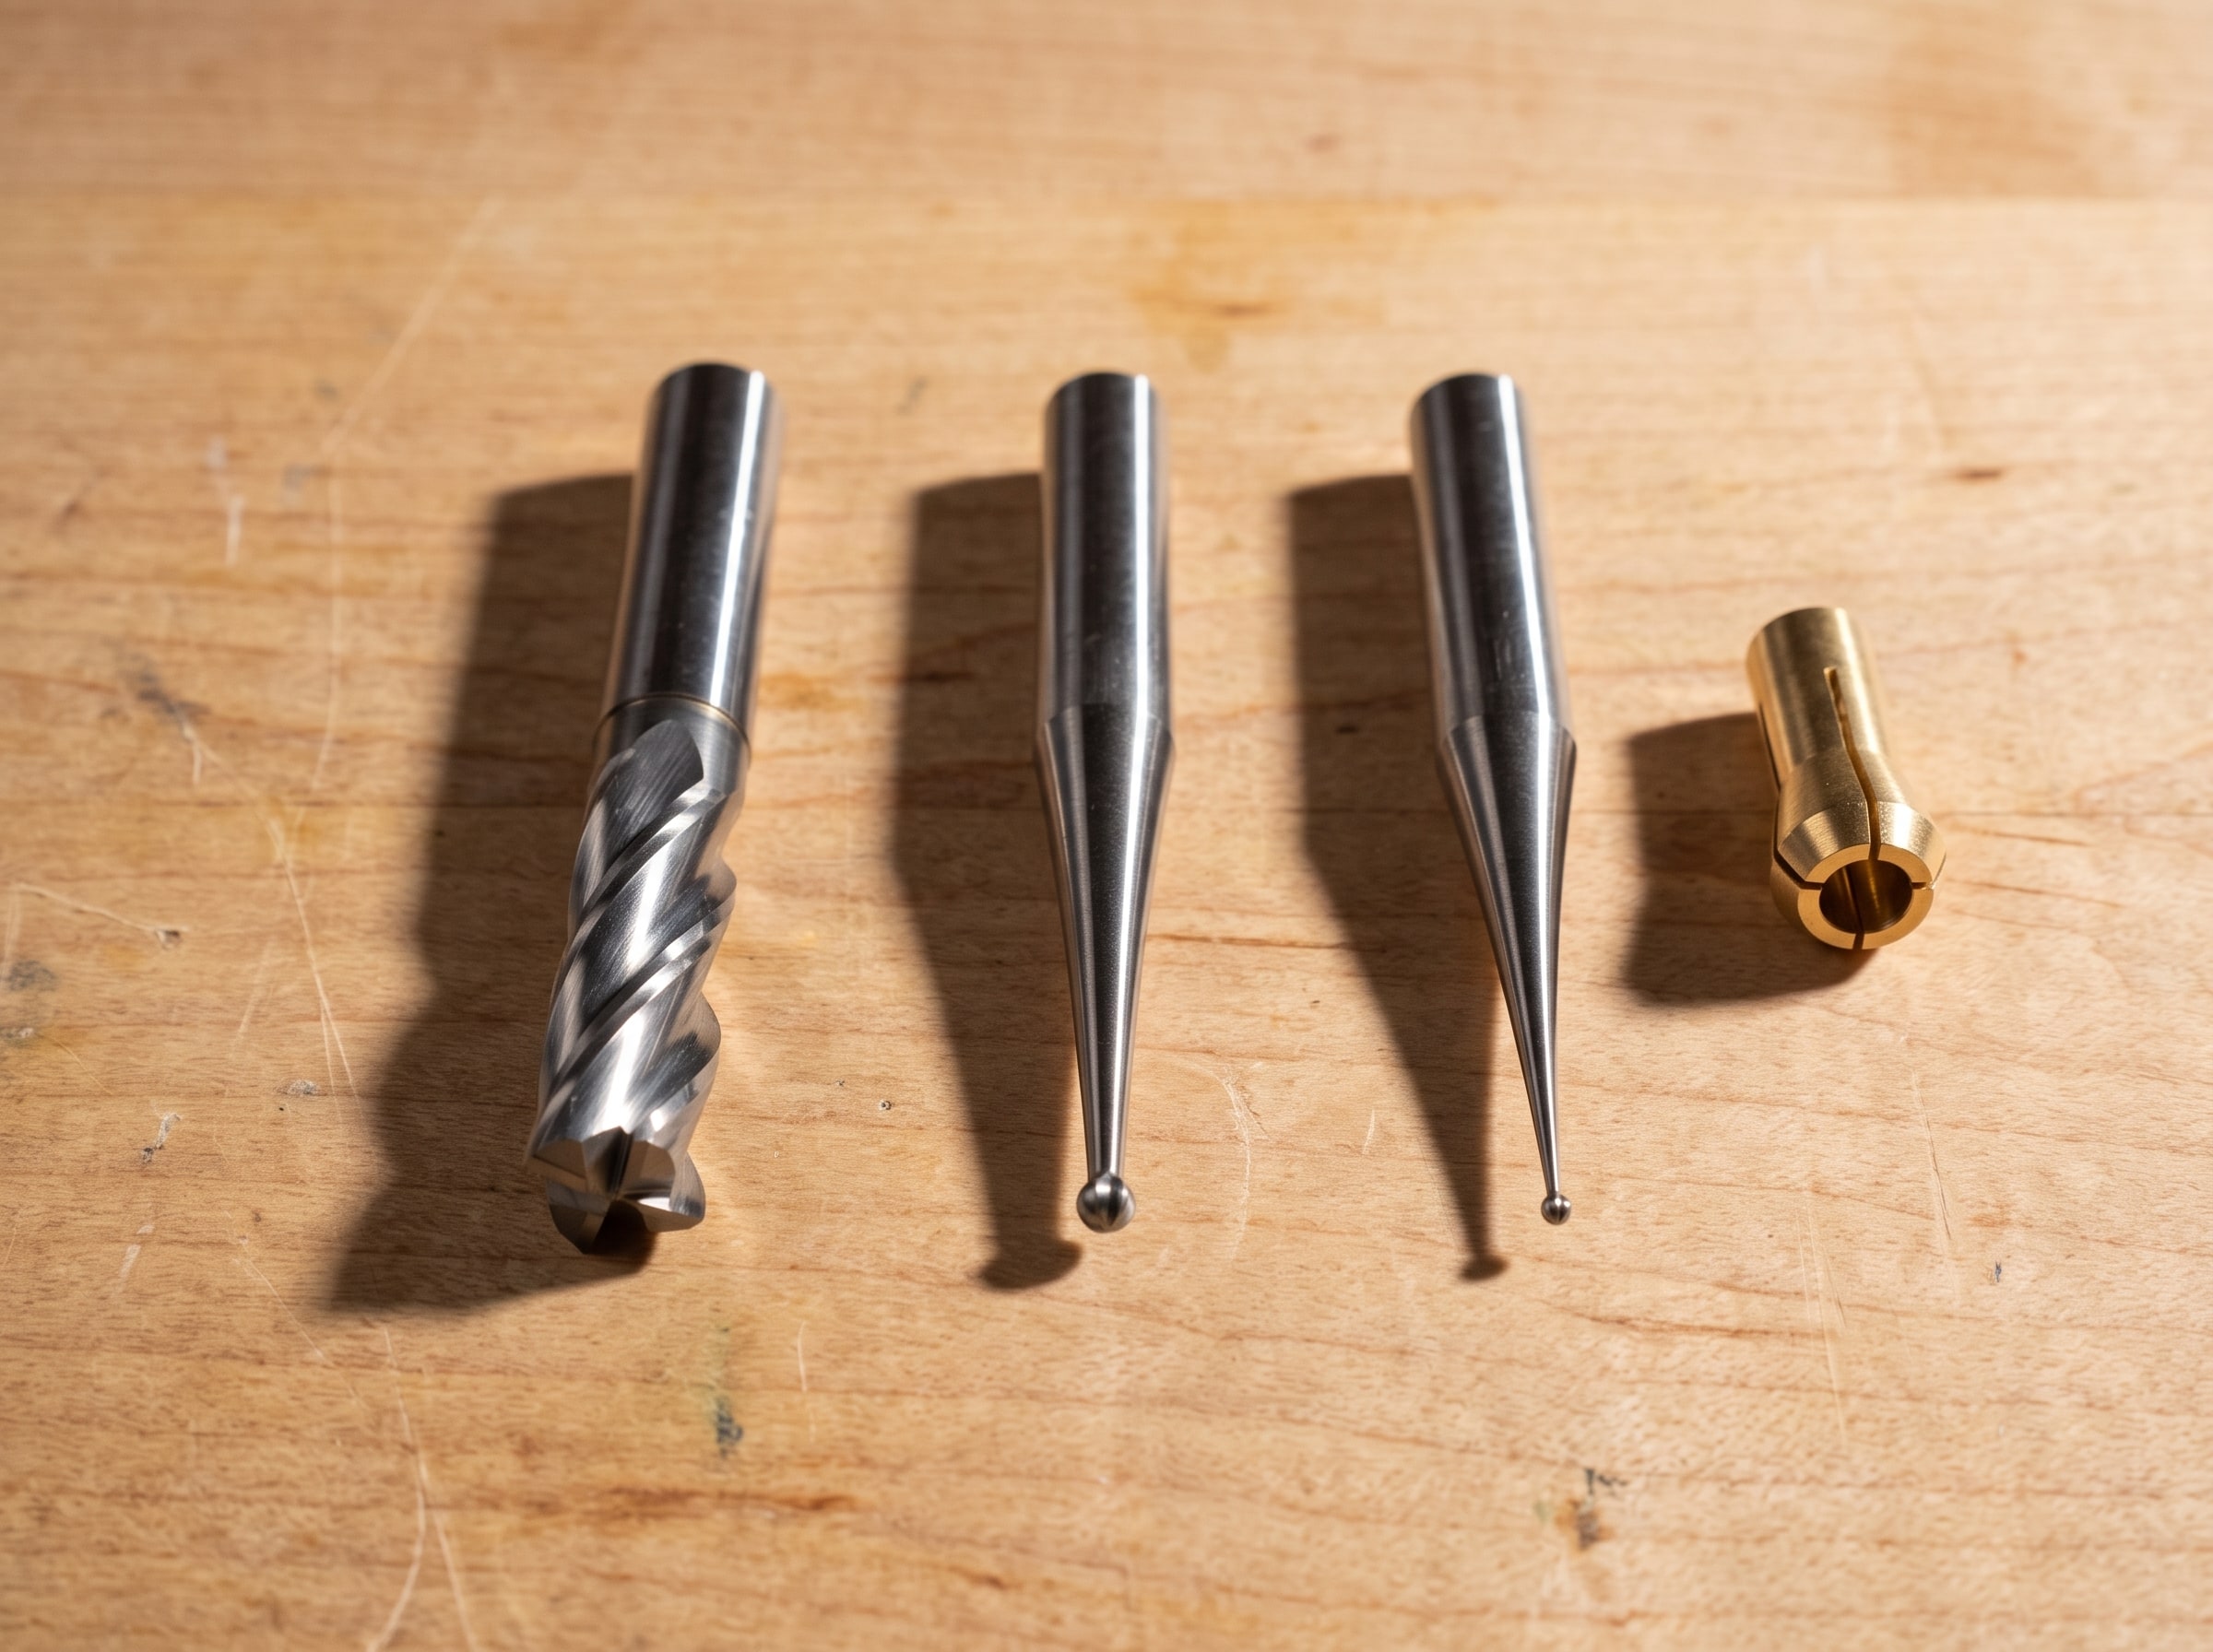
- 1/4 inch two-flute flat end mill, for roughing.
- 1/16 inch tapered ball nose, for the semi-finish over everything.
- 1/32 inch (or 1 mm) tapered ball nose, for the fine pass over the wolf only.
Tapered, not straight, for the two small ones. That single word is the difference between a cutter that lasts a year and one that snaps at hour three. The bits guide explains why and what each size can render. Buy a spare of the smallest.
4. Set up the job in your CAM
The order matters, and it is the same in Aspire, VCarve, Carveco and Fusion; only the menus move.
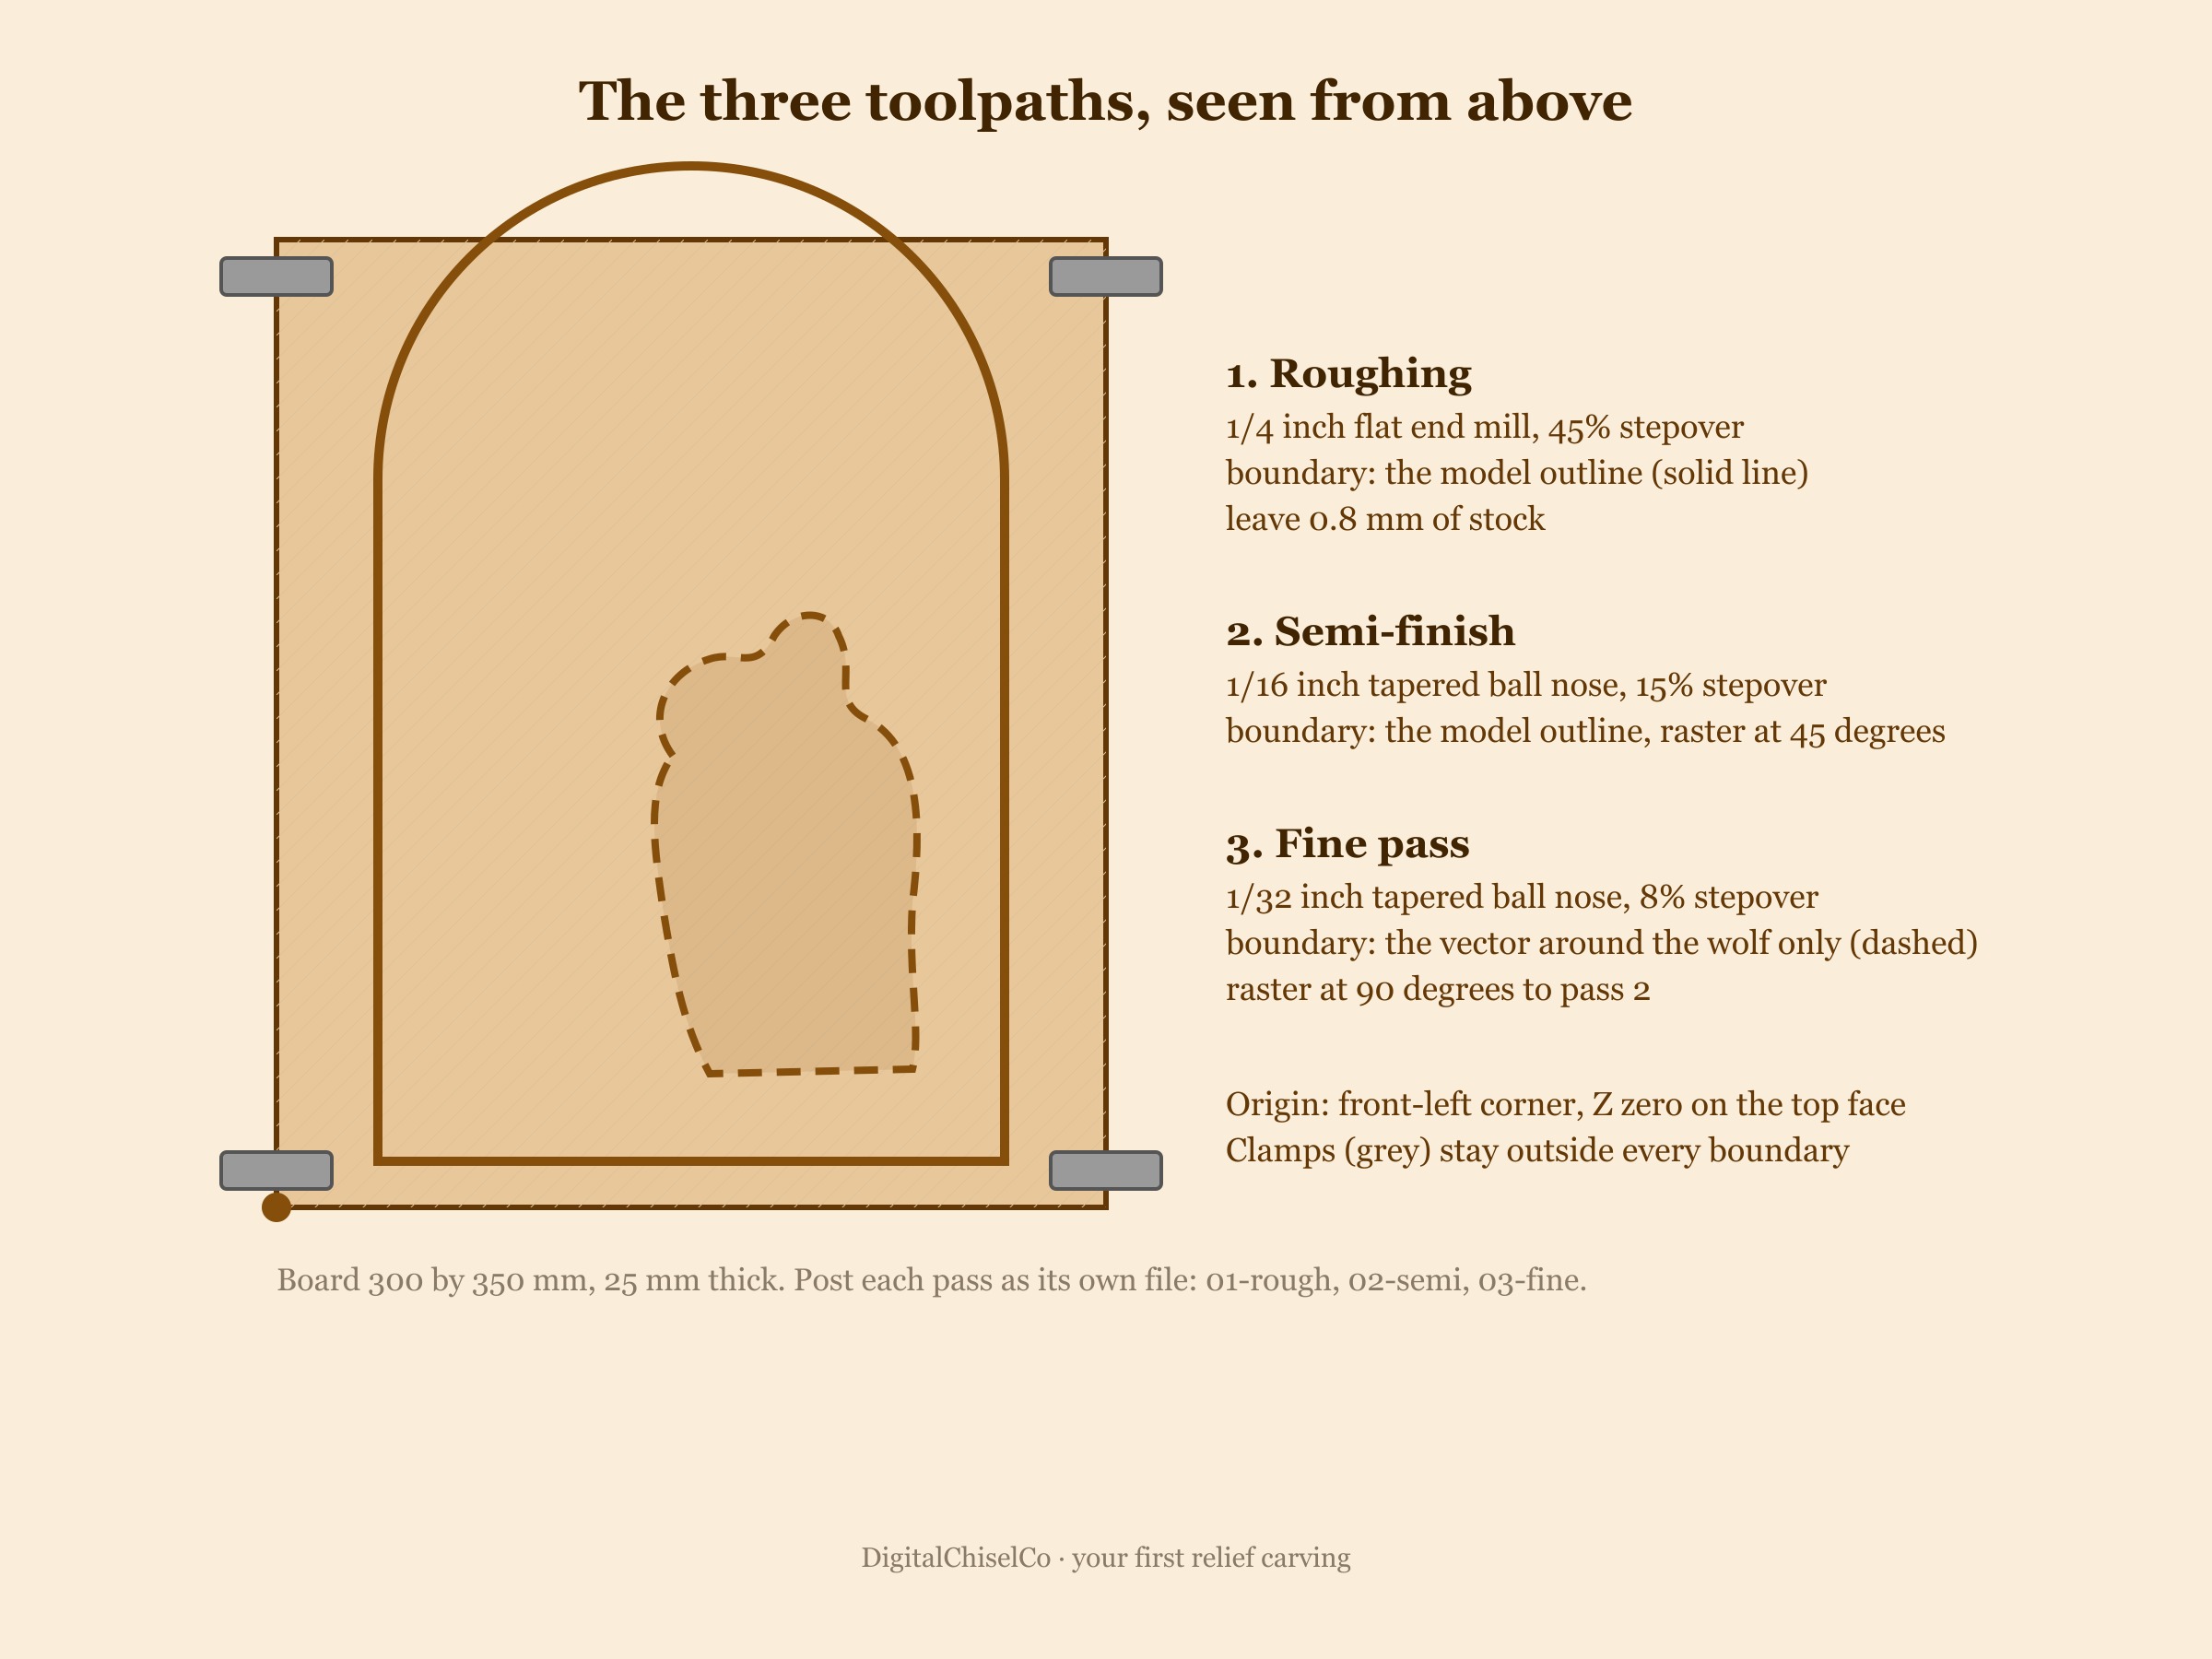
- Material first. Type the board's real width, height and thickness, measured with a rule, before you import anything. Set the origin at the front-left corner and Z zero at the top of the material.
- Import the STL. Orient it carved-face-up with the flat back on the material surface. Lock the proportions and type the width you want, say 280 mm. Check the model height, which is now around 11 to 12 mm, leaves at least 8 mm of board beneath it. If it does not, reduce the width, not the height. The scaling guide is the long version.
- Roughing toolpath. 1/4 inch flat, Z-level or raster, 3 mm depth per pass, 45% stepover, 0.8 mm machining allowance, boundary set to the model's outline.
- Semi-finish toolpath. 1/16 inch tapered ball, raster at 45 degrees, 15% stepover, boundary the model outline.
- Fine toolpath. Draw a closed vector around the wolf. 1/32 inch tapered ball, raster at 90 degrees to the previous pass, 8% stepover, boundary that vector only.
- Simulate all three. Look at the simulation, not the model render; it knows your bit sizes. If the wolf's eye is there in the simulation it will be there in the wood.
- Post each toolpath as its own file, named so you cannot mix them up: 01-rough, 02-semi, 03-fine.
The carve-time guide has feeds, RPM and the reasons behind each of those numbers. The software comparison has where each setting lives.
5. Cut a test tile
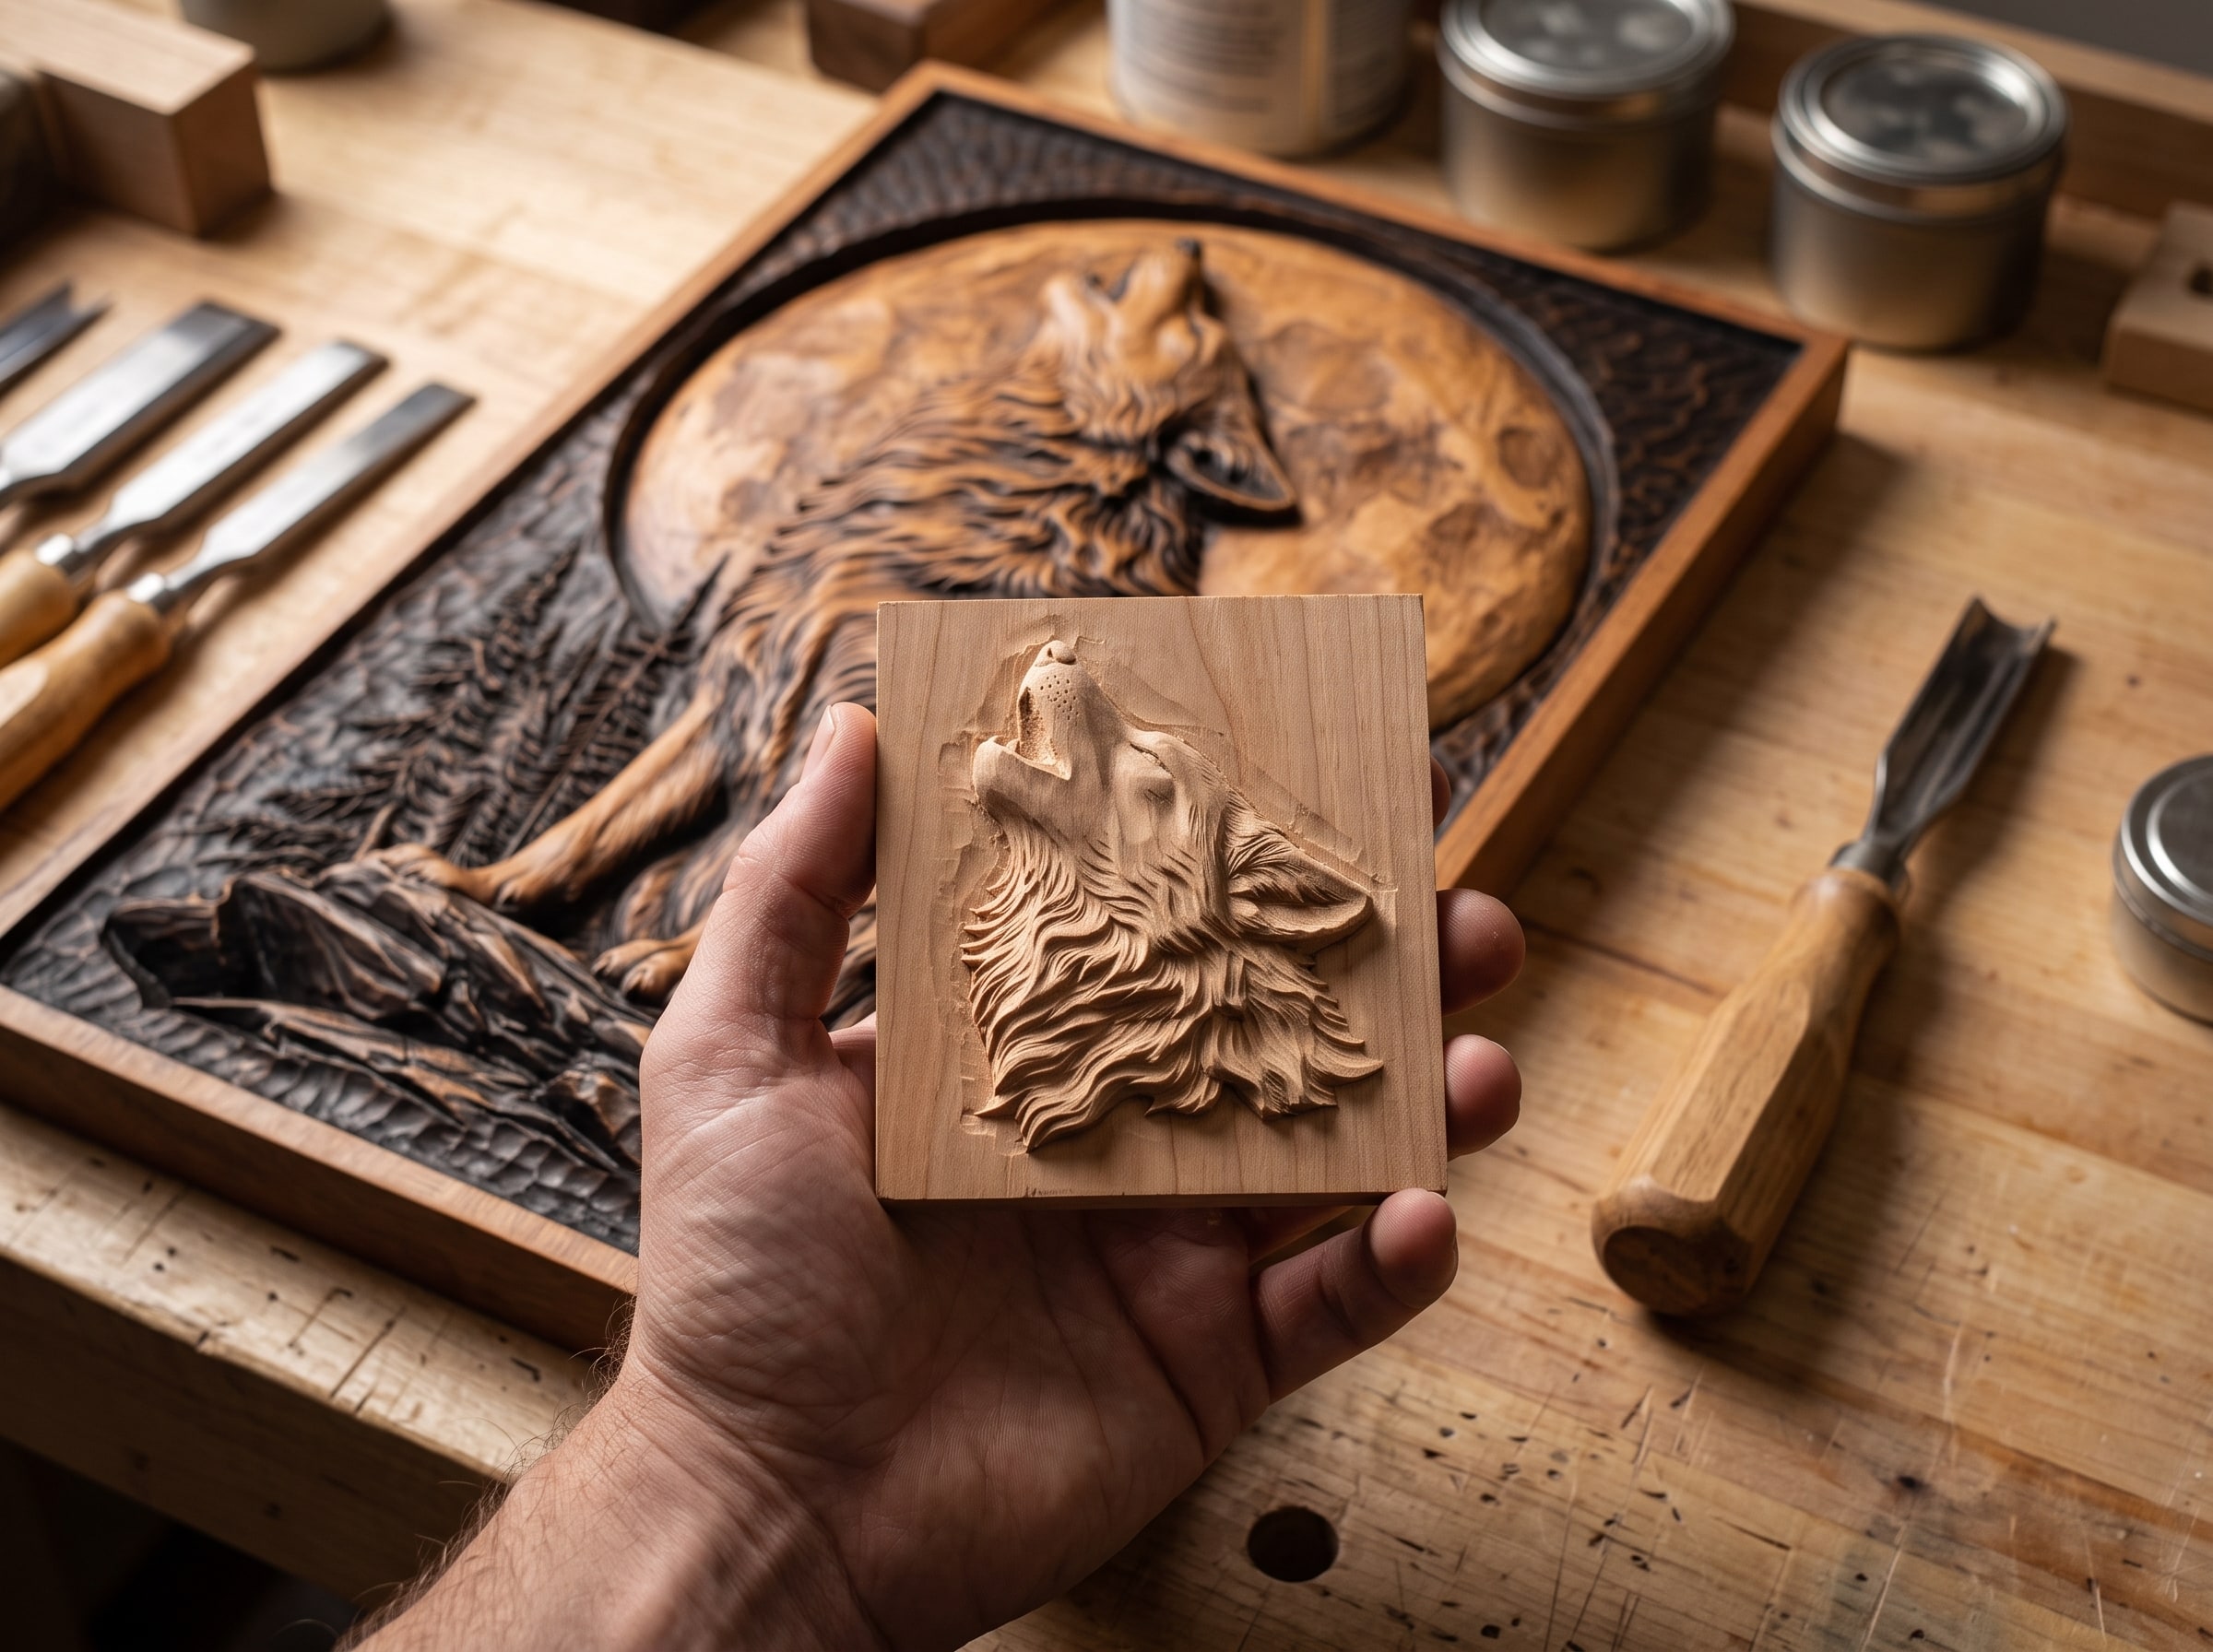
Before the board goes on, cut the wolf's head alone, cropped to about 80 mm, on an offcut of the same cherry with the exact fine cutter and stepover you set up. It takes ten minutes. If the eye reads, everything downstream will work. If it does not, you have learned that on a scrap, and the test tile section tells you which number to change.
6. Clamp and zero
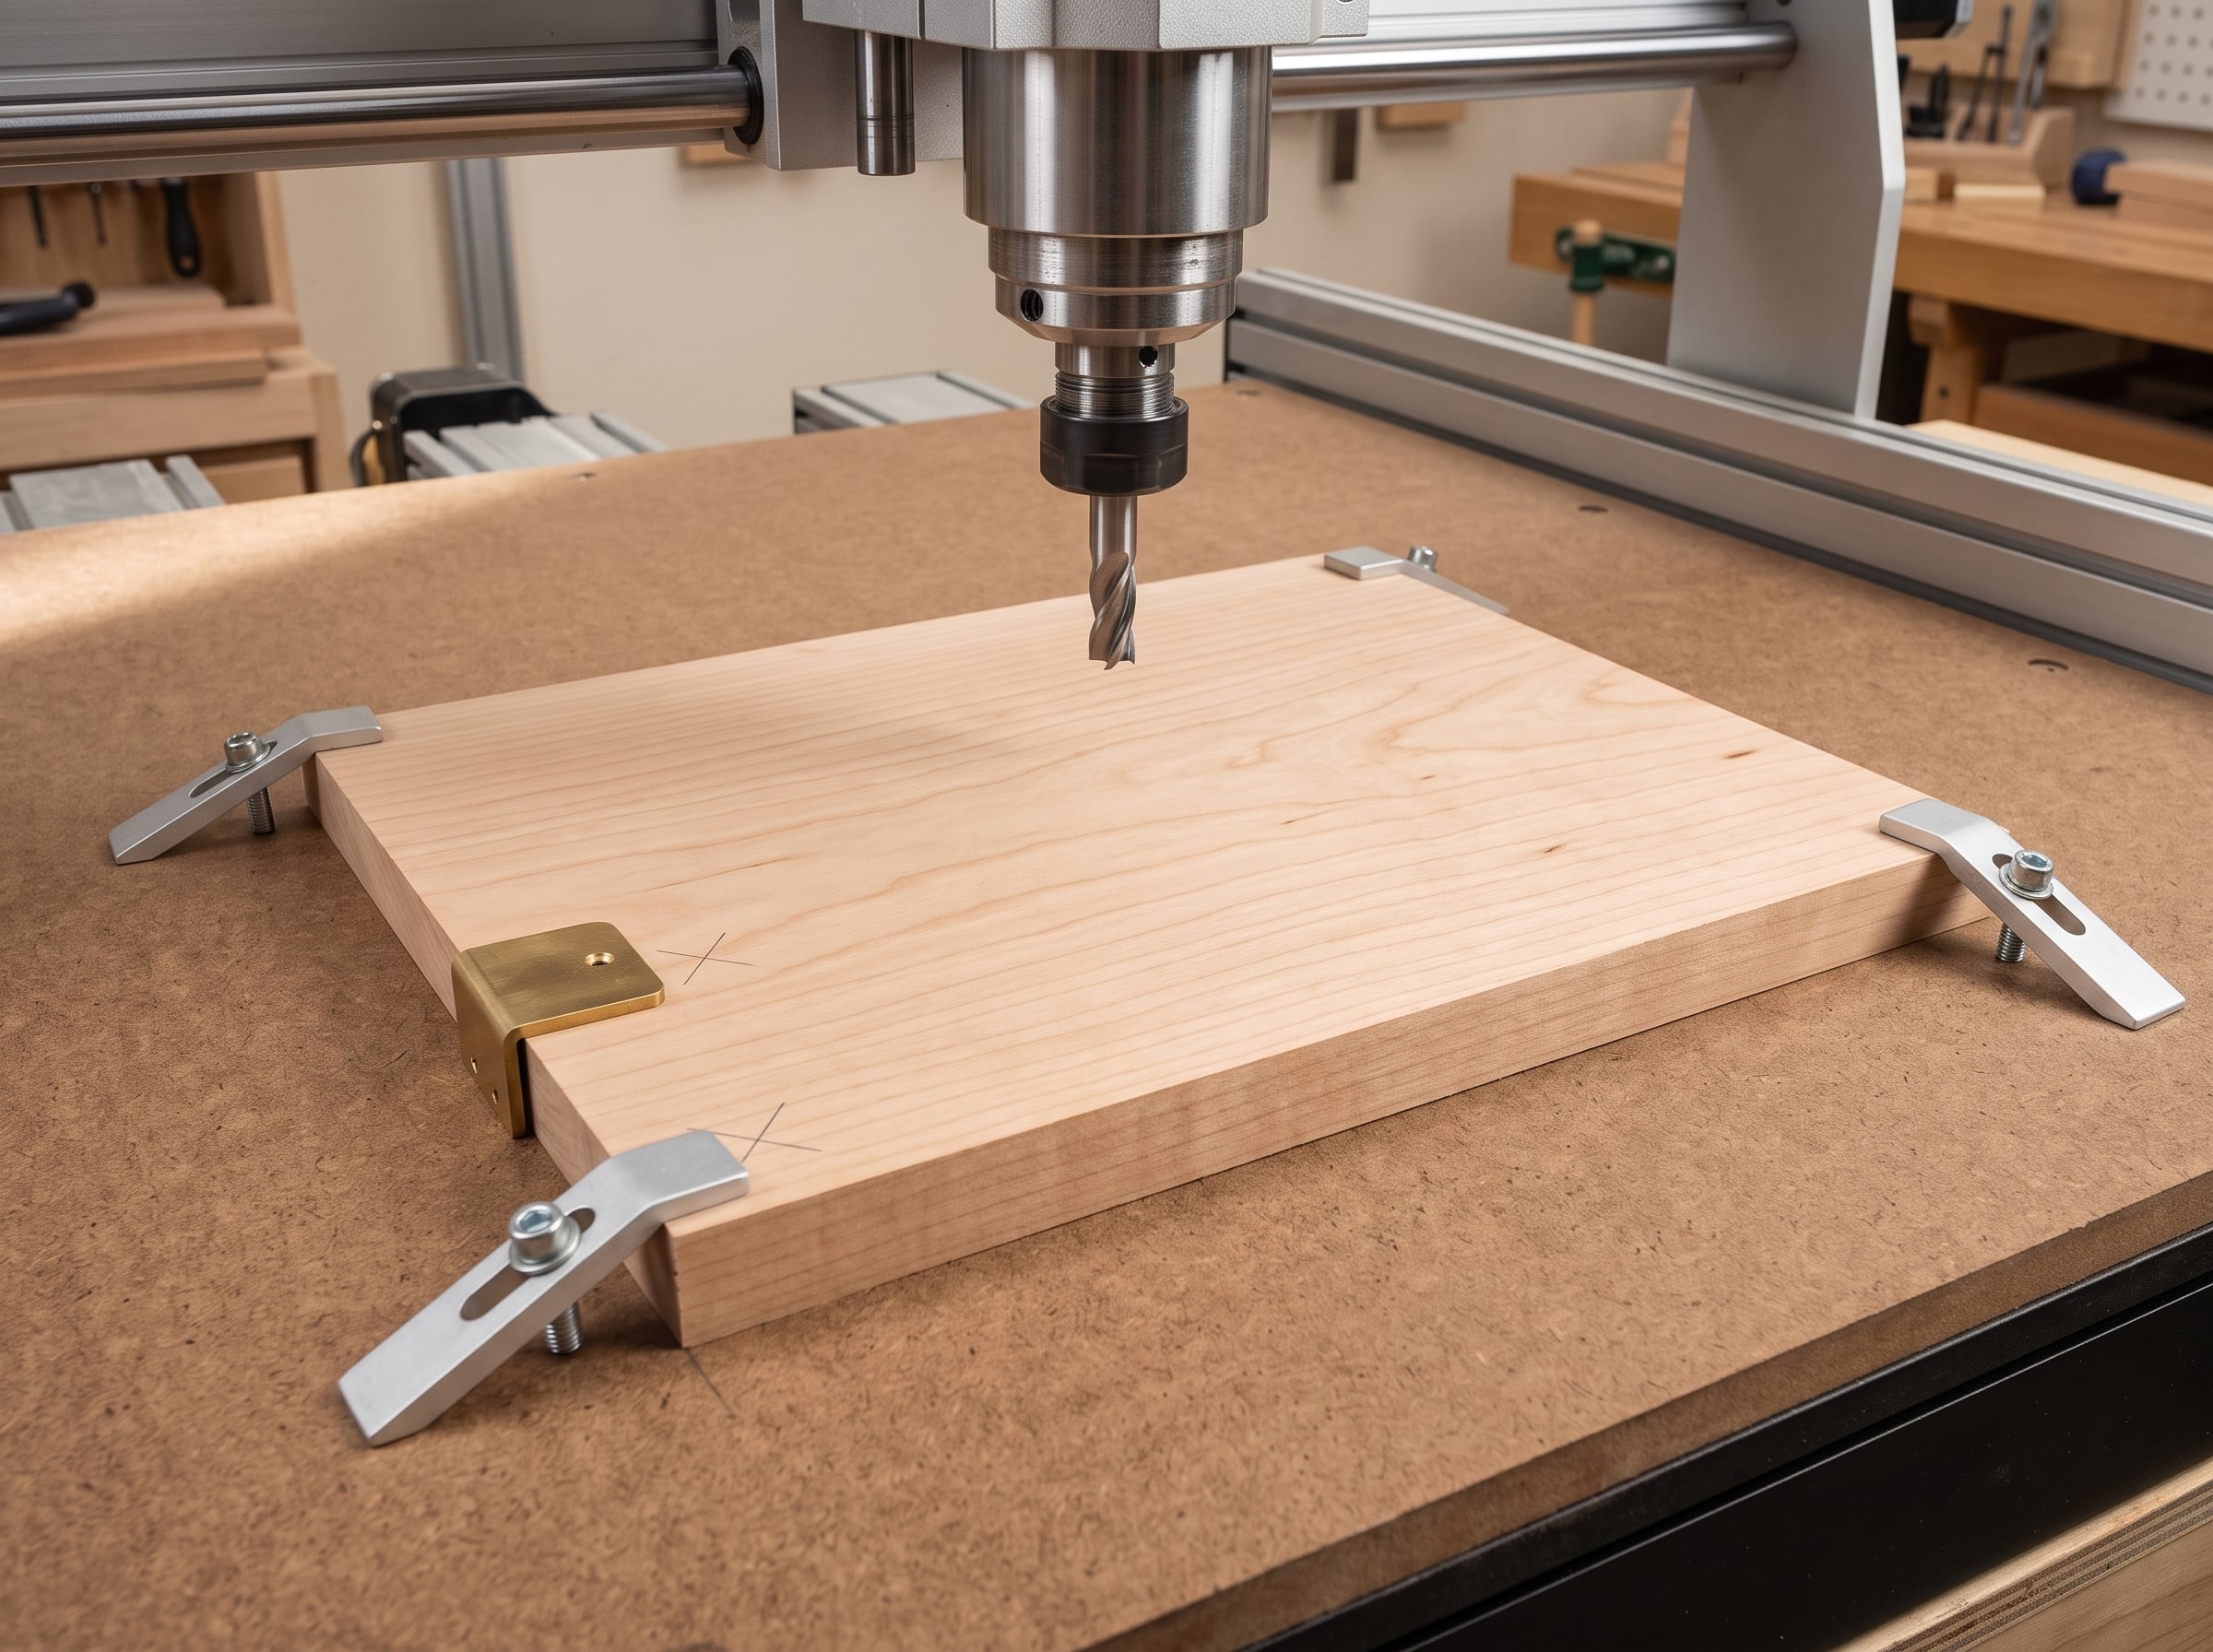
- Clamps at the corners, outside the carving. Check the toolpath's extents in the CAM and keep every clamp clear of them by at least the cutter's radius. A cutter meeting a clamp at hour two is the classic first-carve disaster.
- Flat. Push down on each corner; if the board rocks, shim it. A rocking board chatters and the finish shows it.
- Origin. Jog the cutter to the front-left corner and zero X and Y there, exactly as the CAM was set up. Zero Z at the top of the board with a touch plate or a sheet of paper. Write the zero method on a sticky note; you will change cutters twice and re-zero Z each time.
- Dust. A relief throws a great deal of fine dust. Boot or shroud on, mask on.
7. The roughing pass
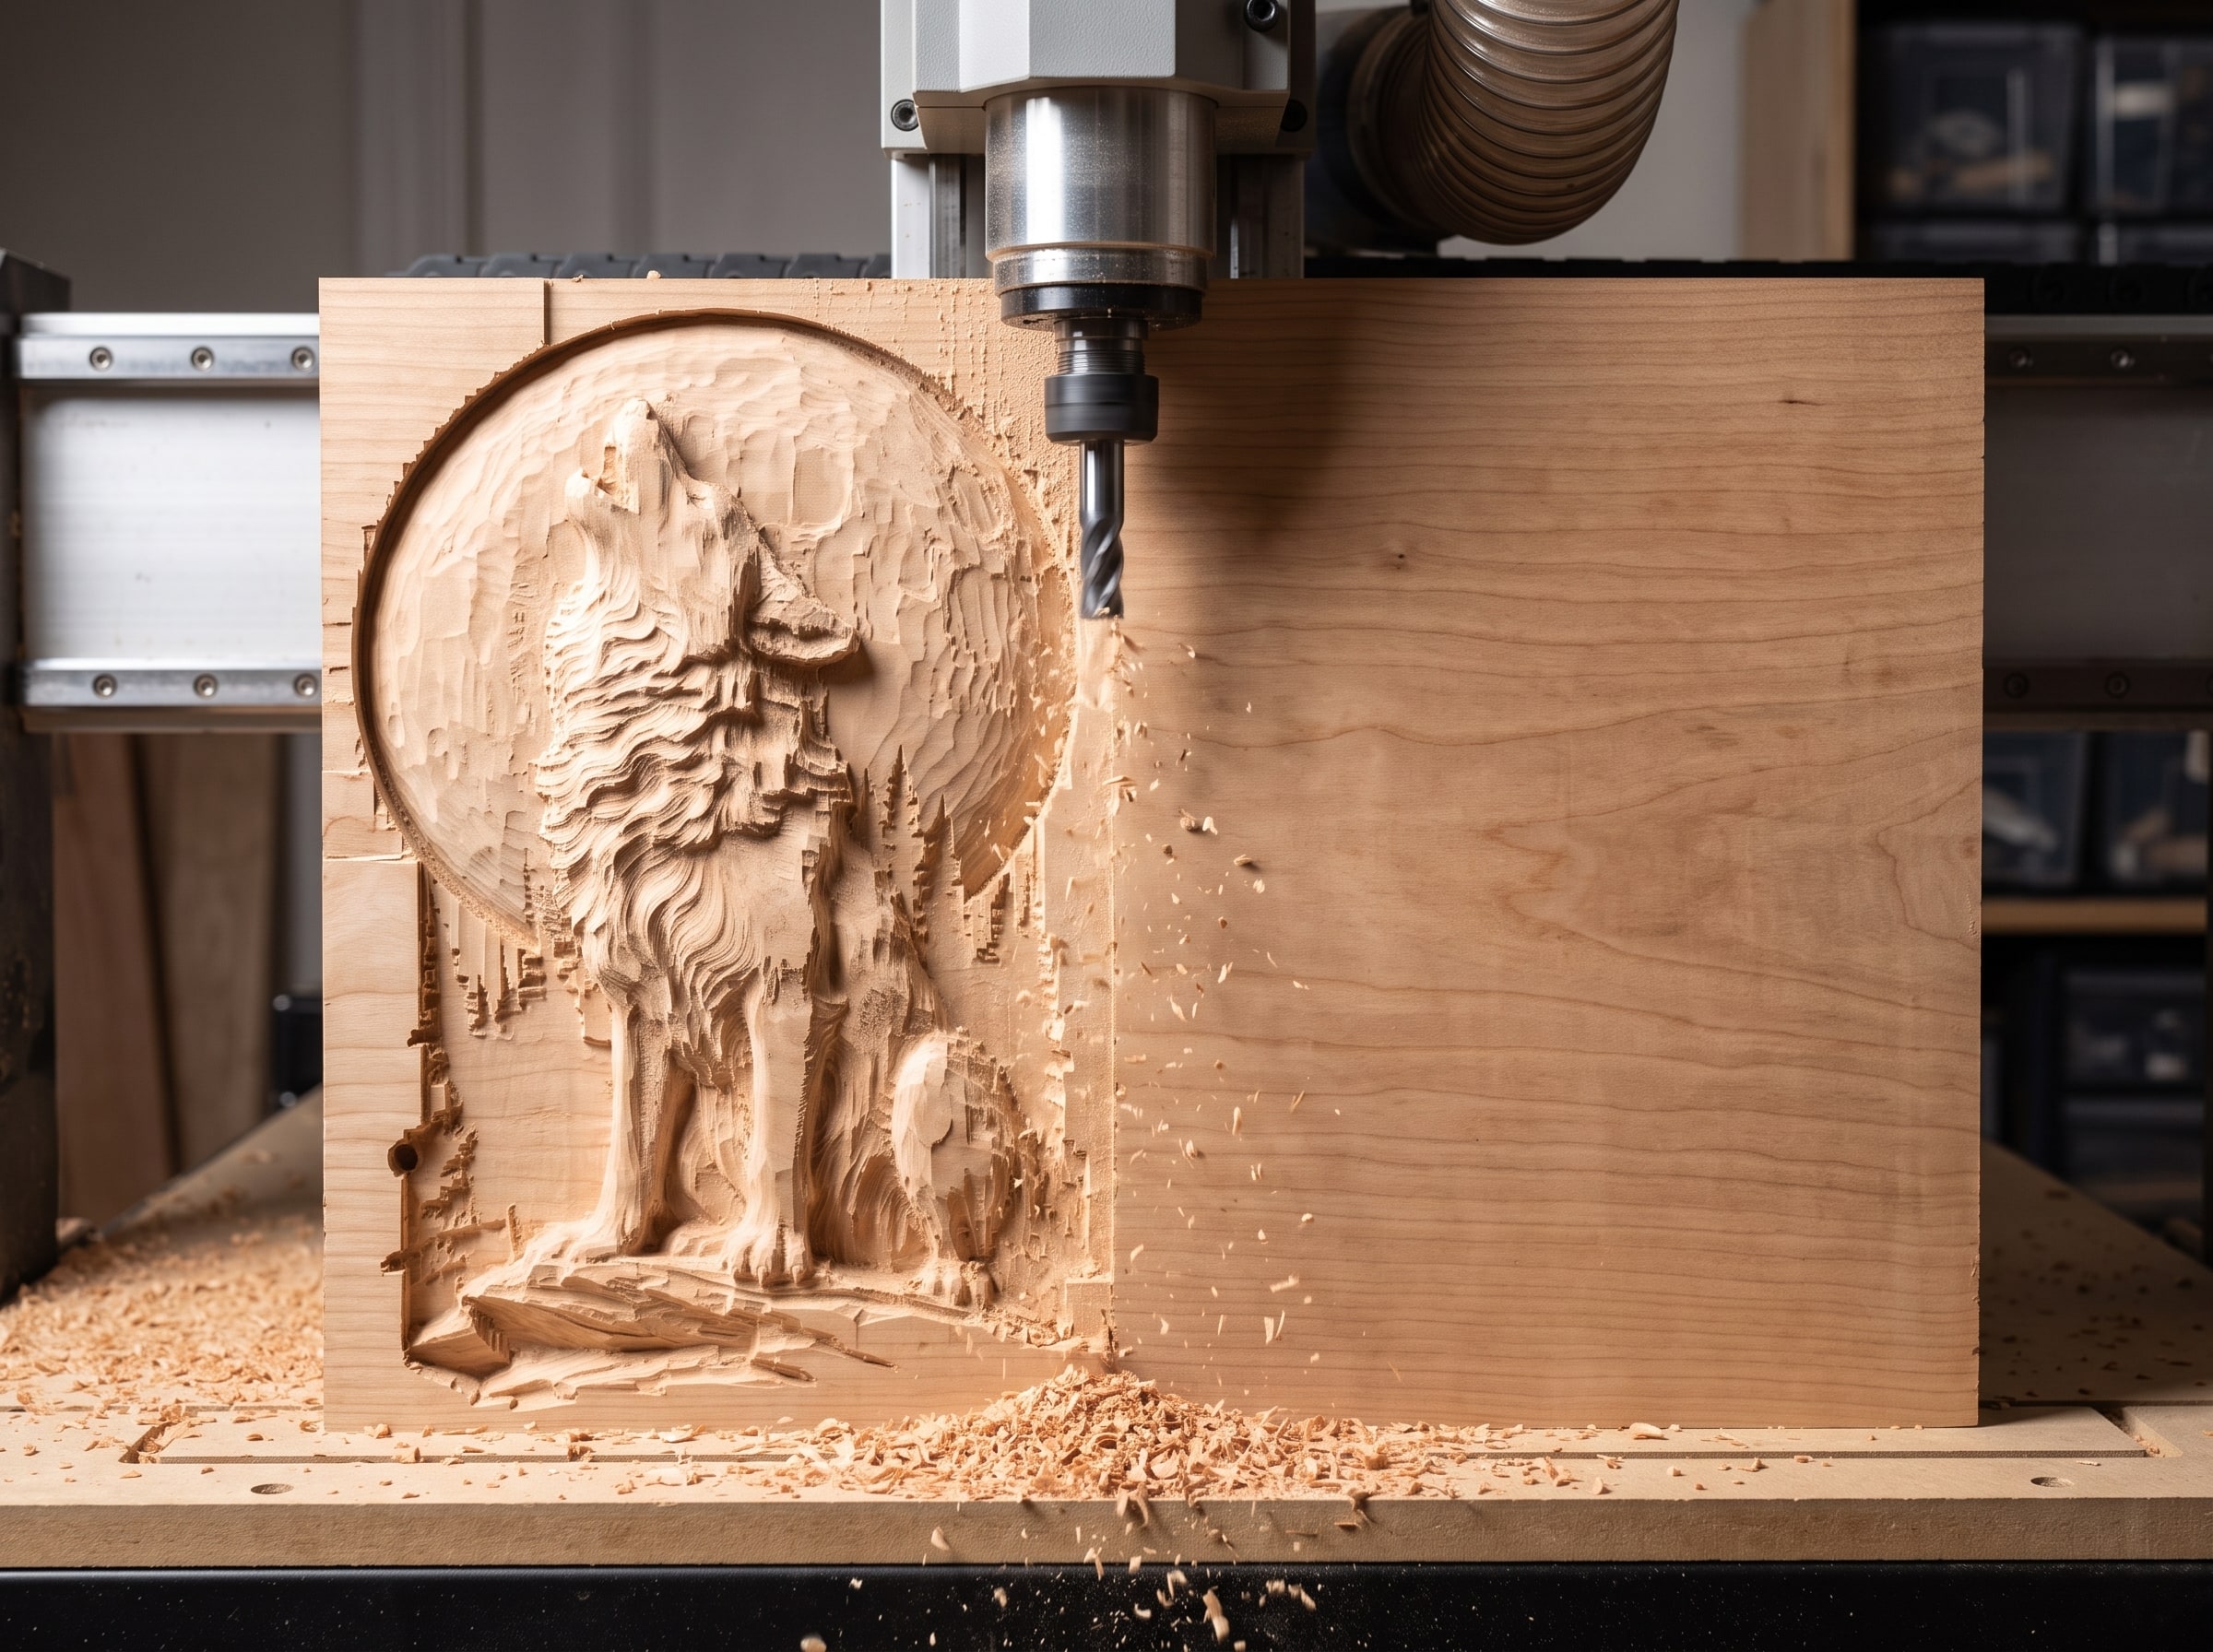
Load 01-rough with the 1/4 inch flat in the collet, re-check Z, start at 50% feed override for the first minute to be sure nothing is wrong, then let it run at 100%. Twenty to forty minutes. It will look like a contour map when it is done, and that is correct.
8. The finishing passes
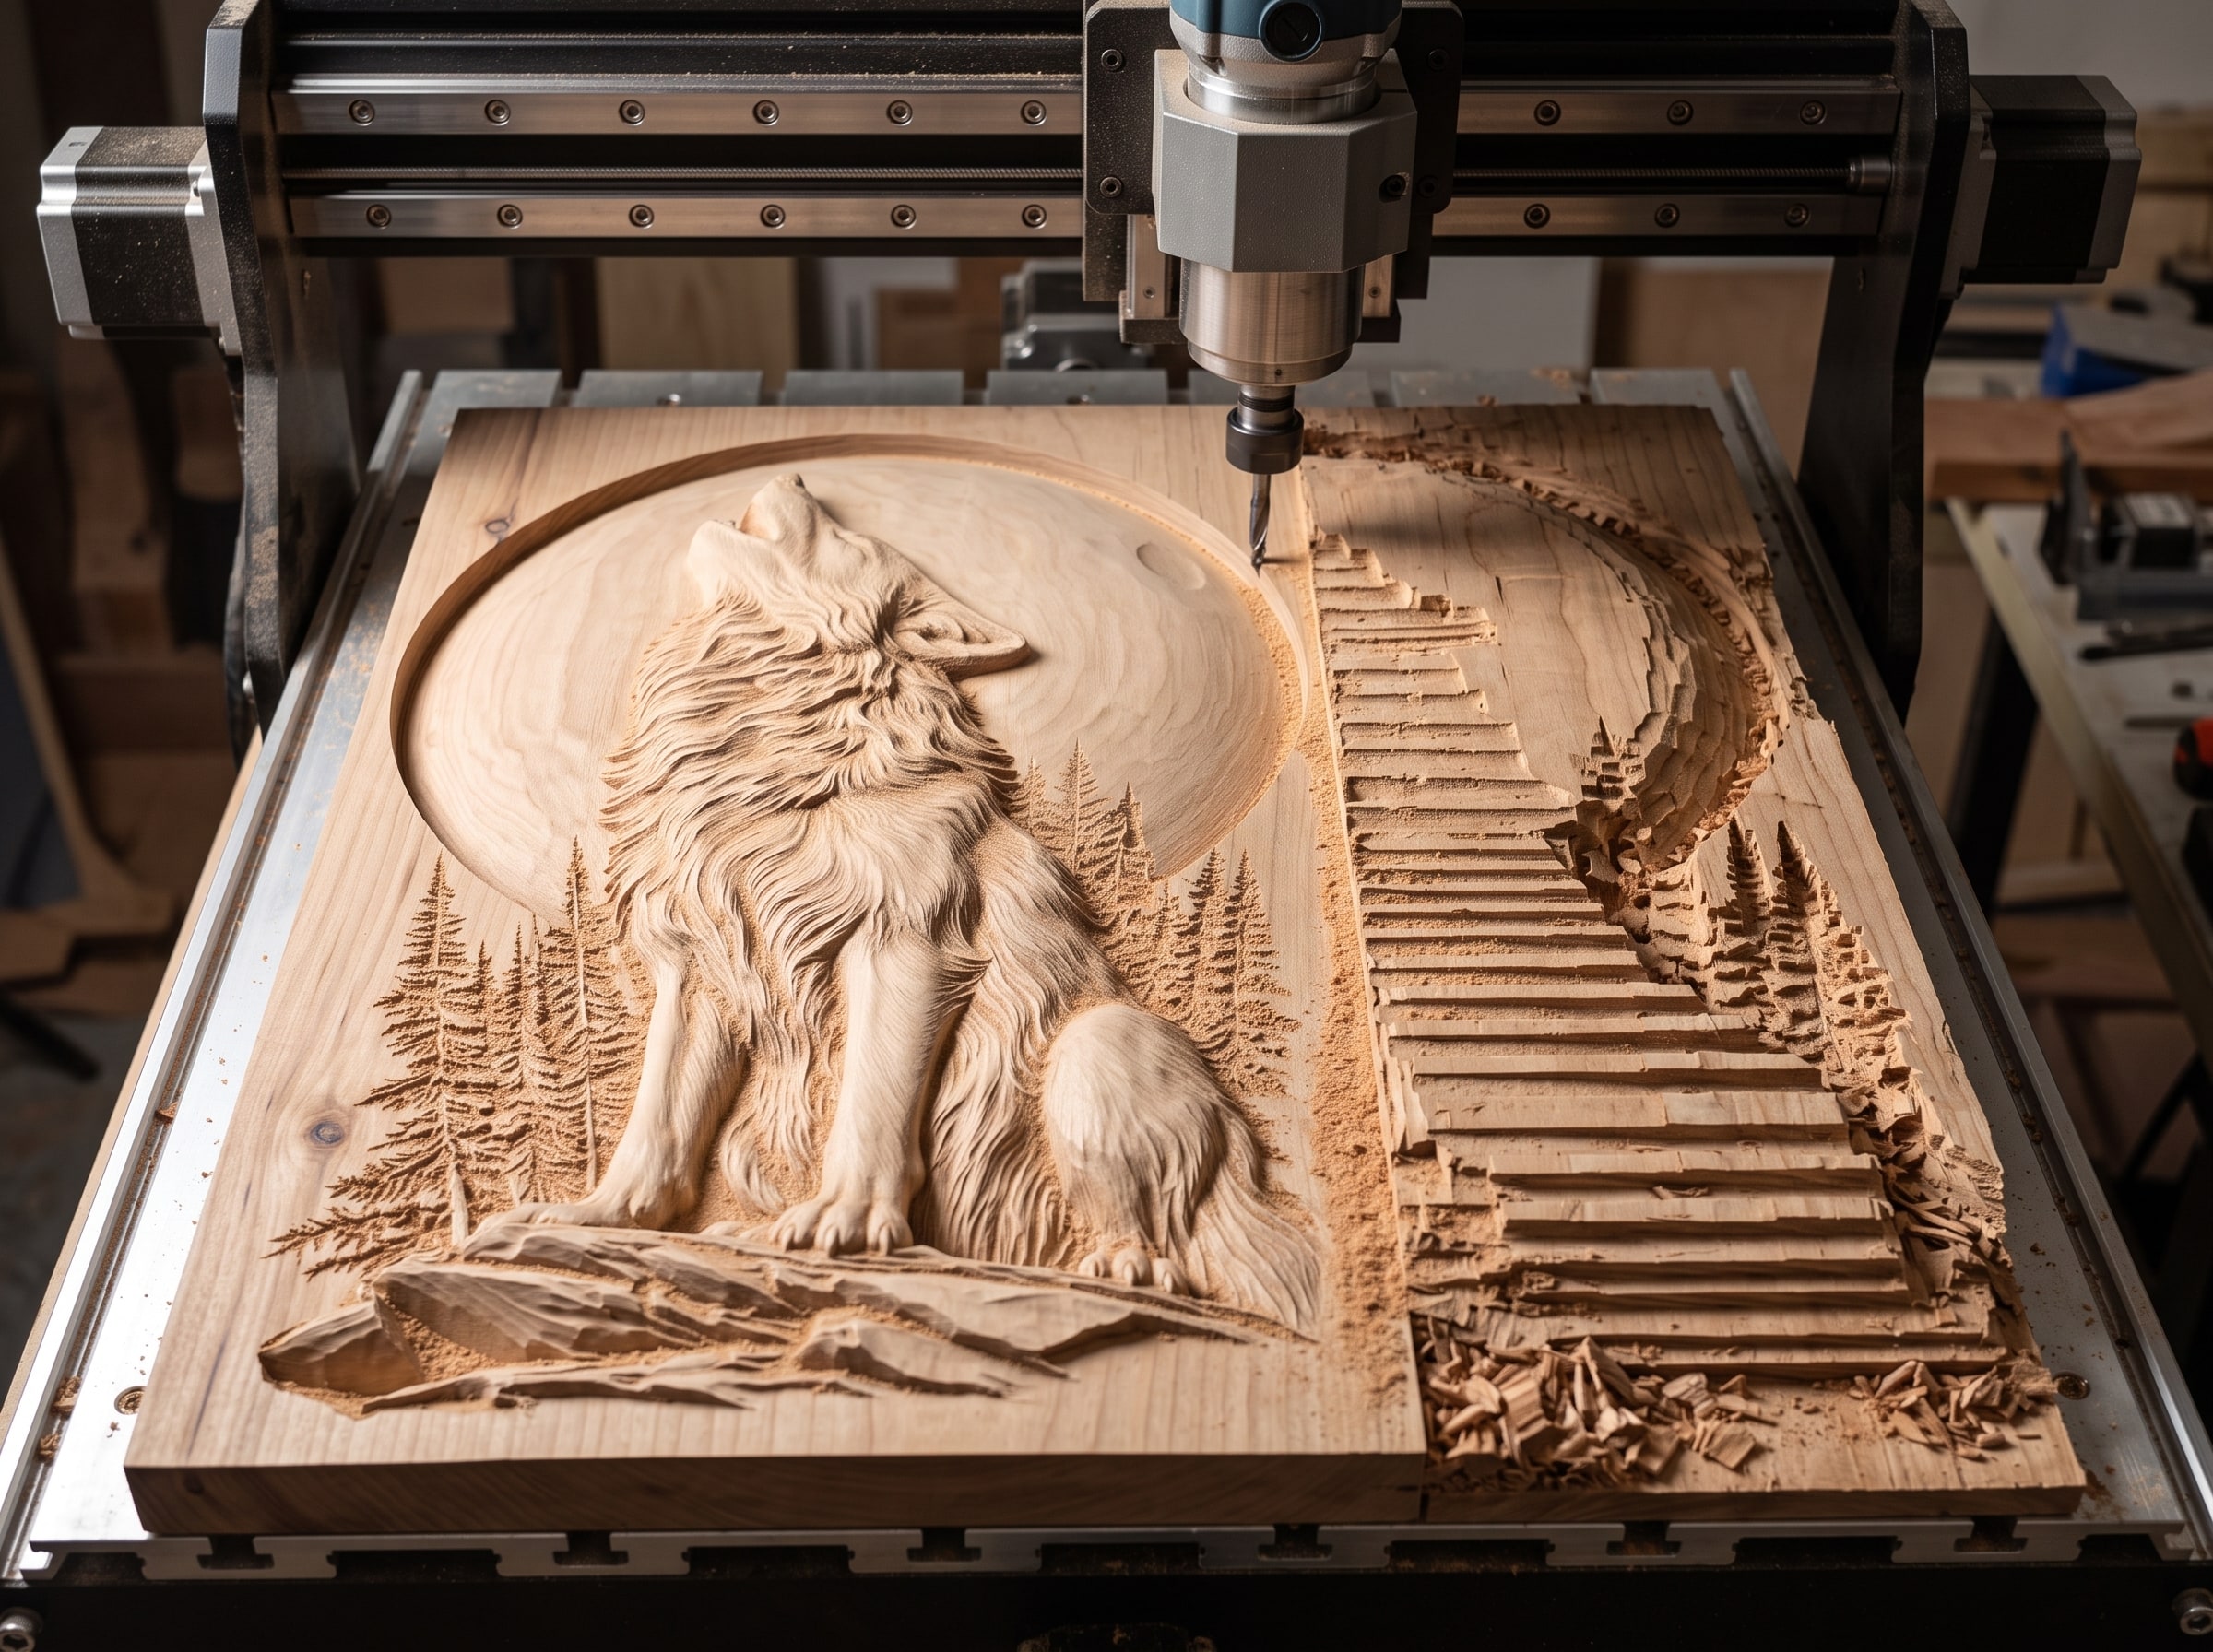
Change to the 1/16 inch tapered ball, re-zero Z on the top of an uncut area of the board, load 02-semi and run it. An hour or so at 15%. Then change to the 1/32 inch, re-zero Z again, load 03-fine and run it over the wolf only; another hour. The whole carve is under three hours on most hobby machines. Without the roughing pass and the boundary it would have been a day and a half.
9. Off the machine: fuzz, sanding, sealing
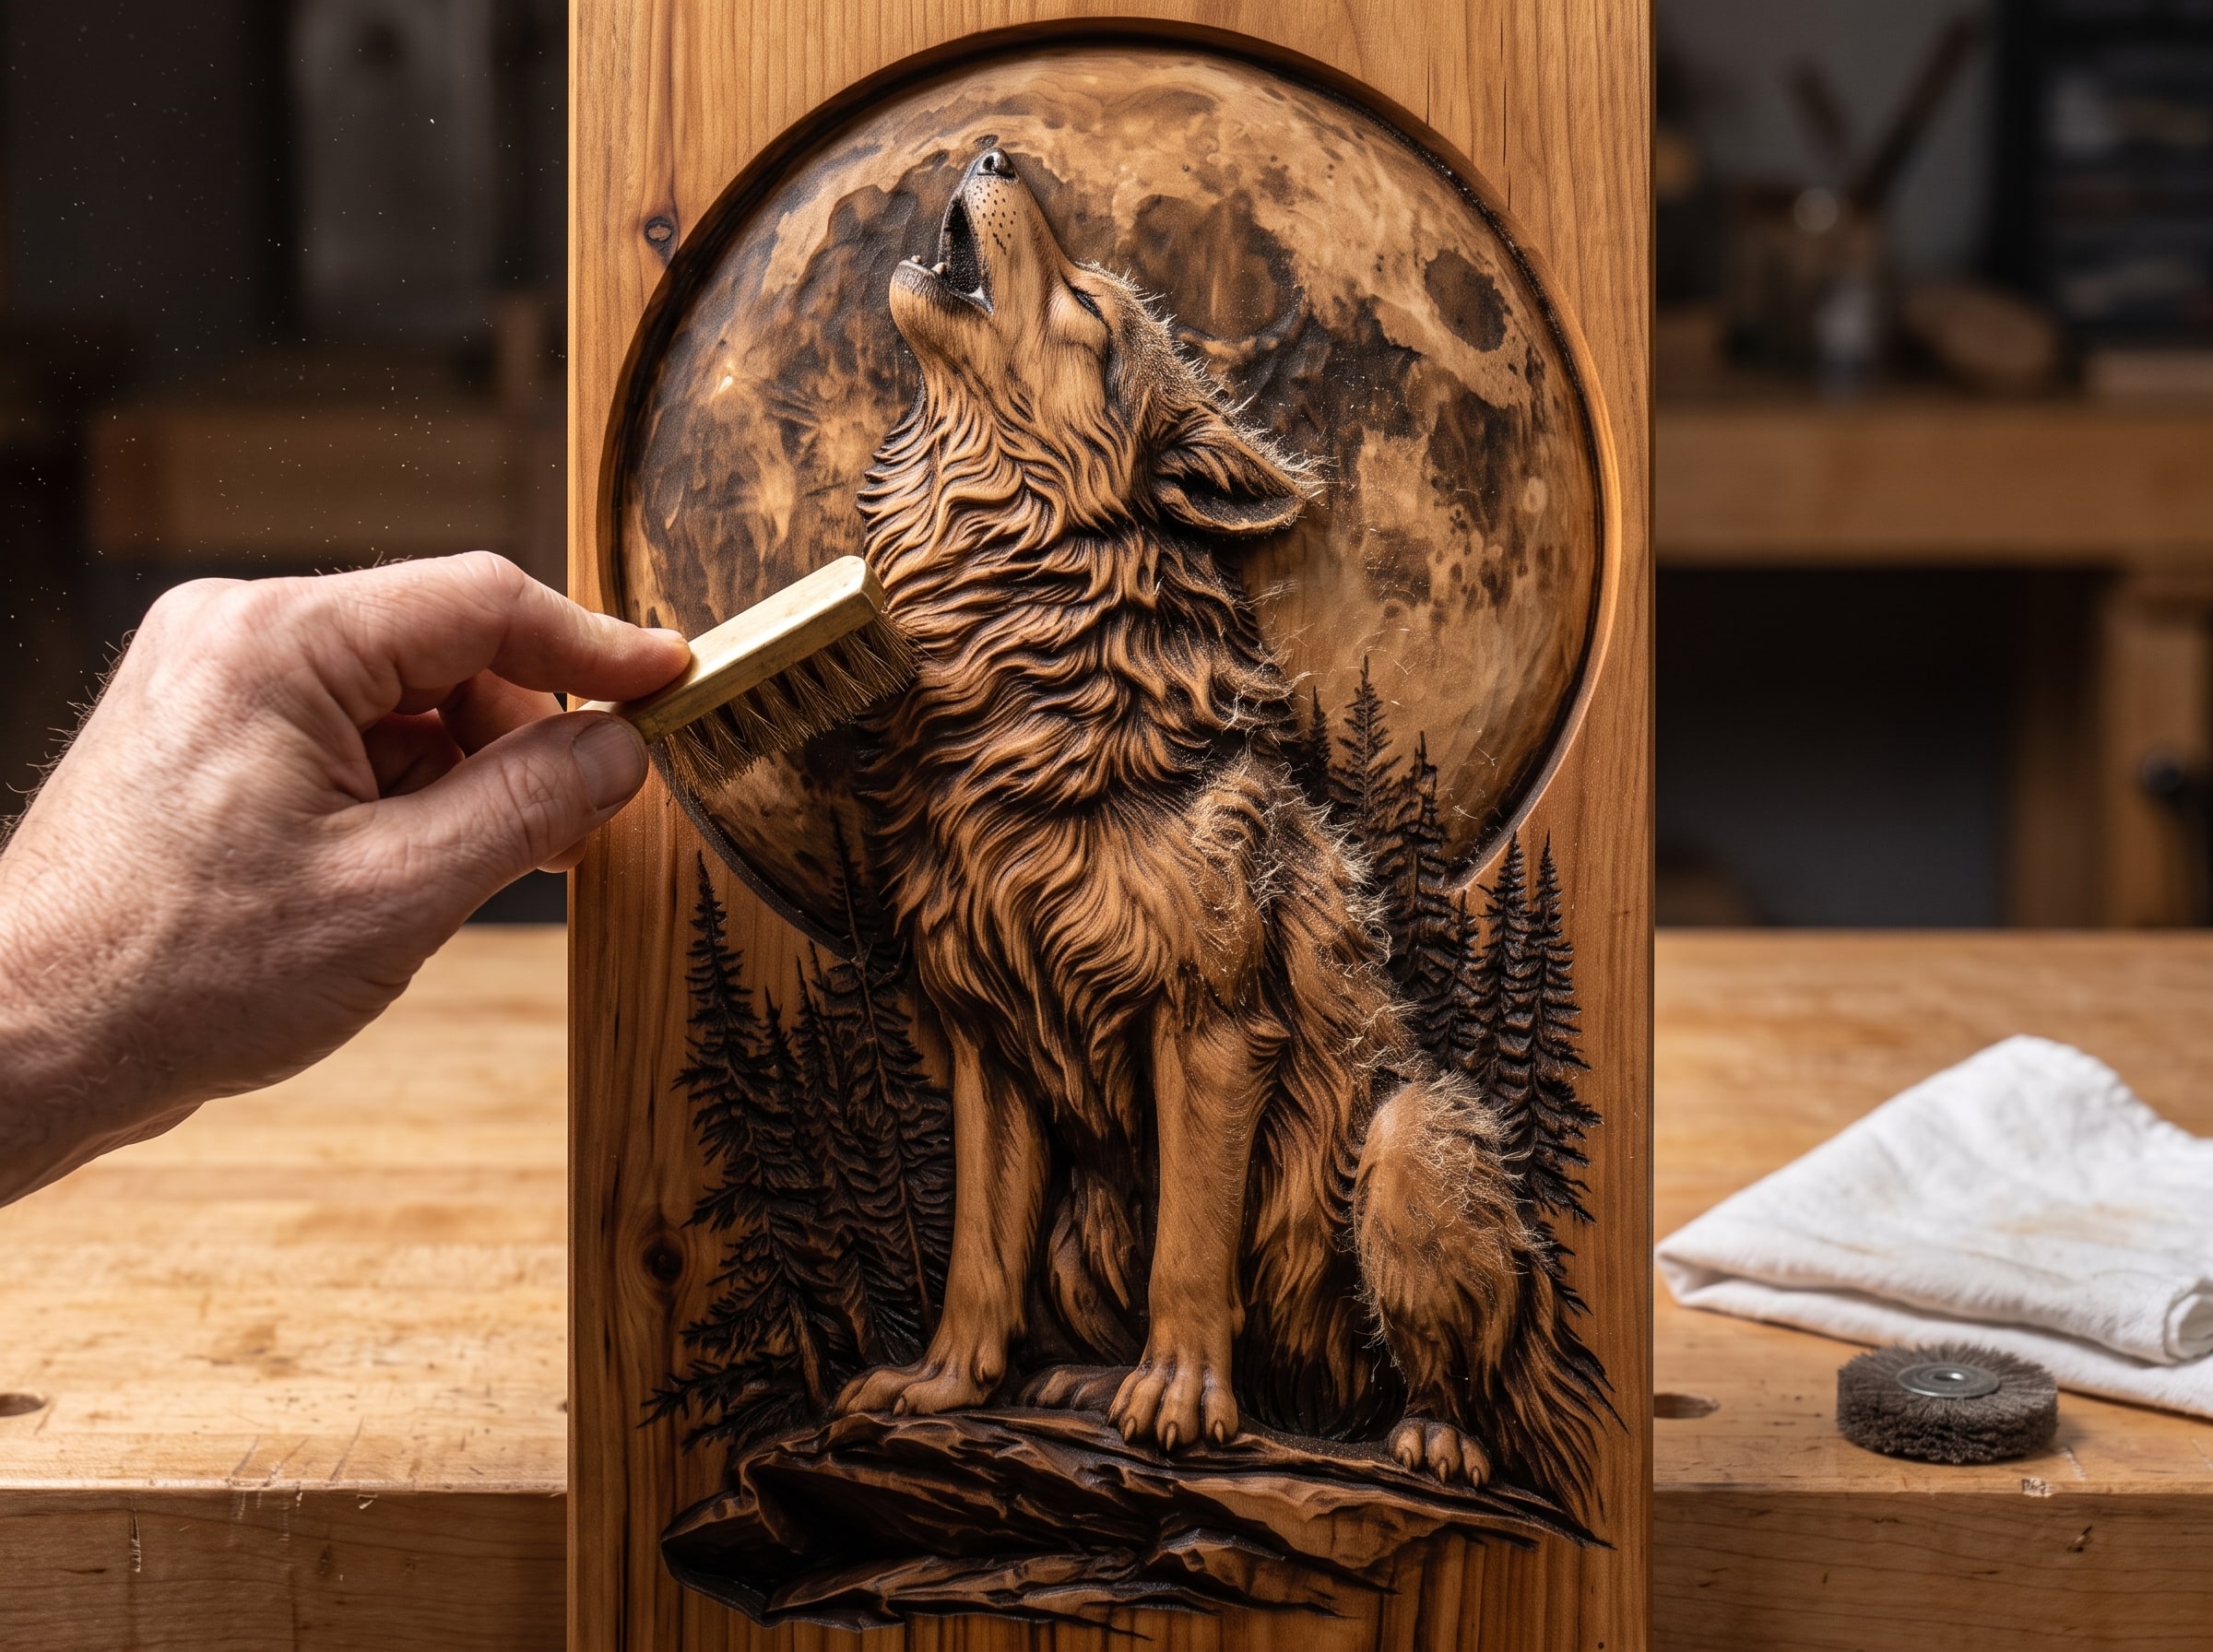
It will come off the machine pale, fuzzy and disappointing. That is normal and it is not the file. In order:
- Brush the fuzz off with a soft brass brush, with the grain. A nylon abrasive wheel on a drill for the recesses.
- Sand the high points only, 220 then 320, with a sponge, never into the background texture.
- Wipe with a damp cloth, let it dry, knock the raised grain back with 320.
- Seal with a thin coat of dewaxed shellac, into every recess, no pooling. Twenty minutes to dry.
10. Glaze, oil, wax
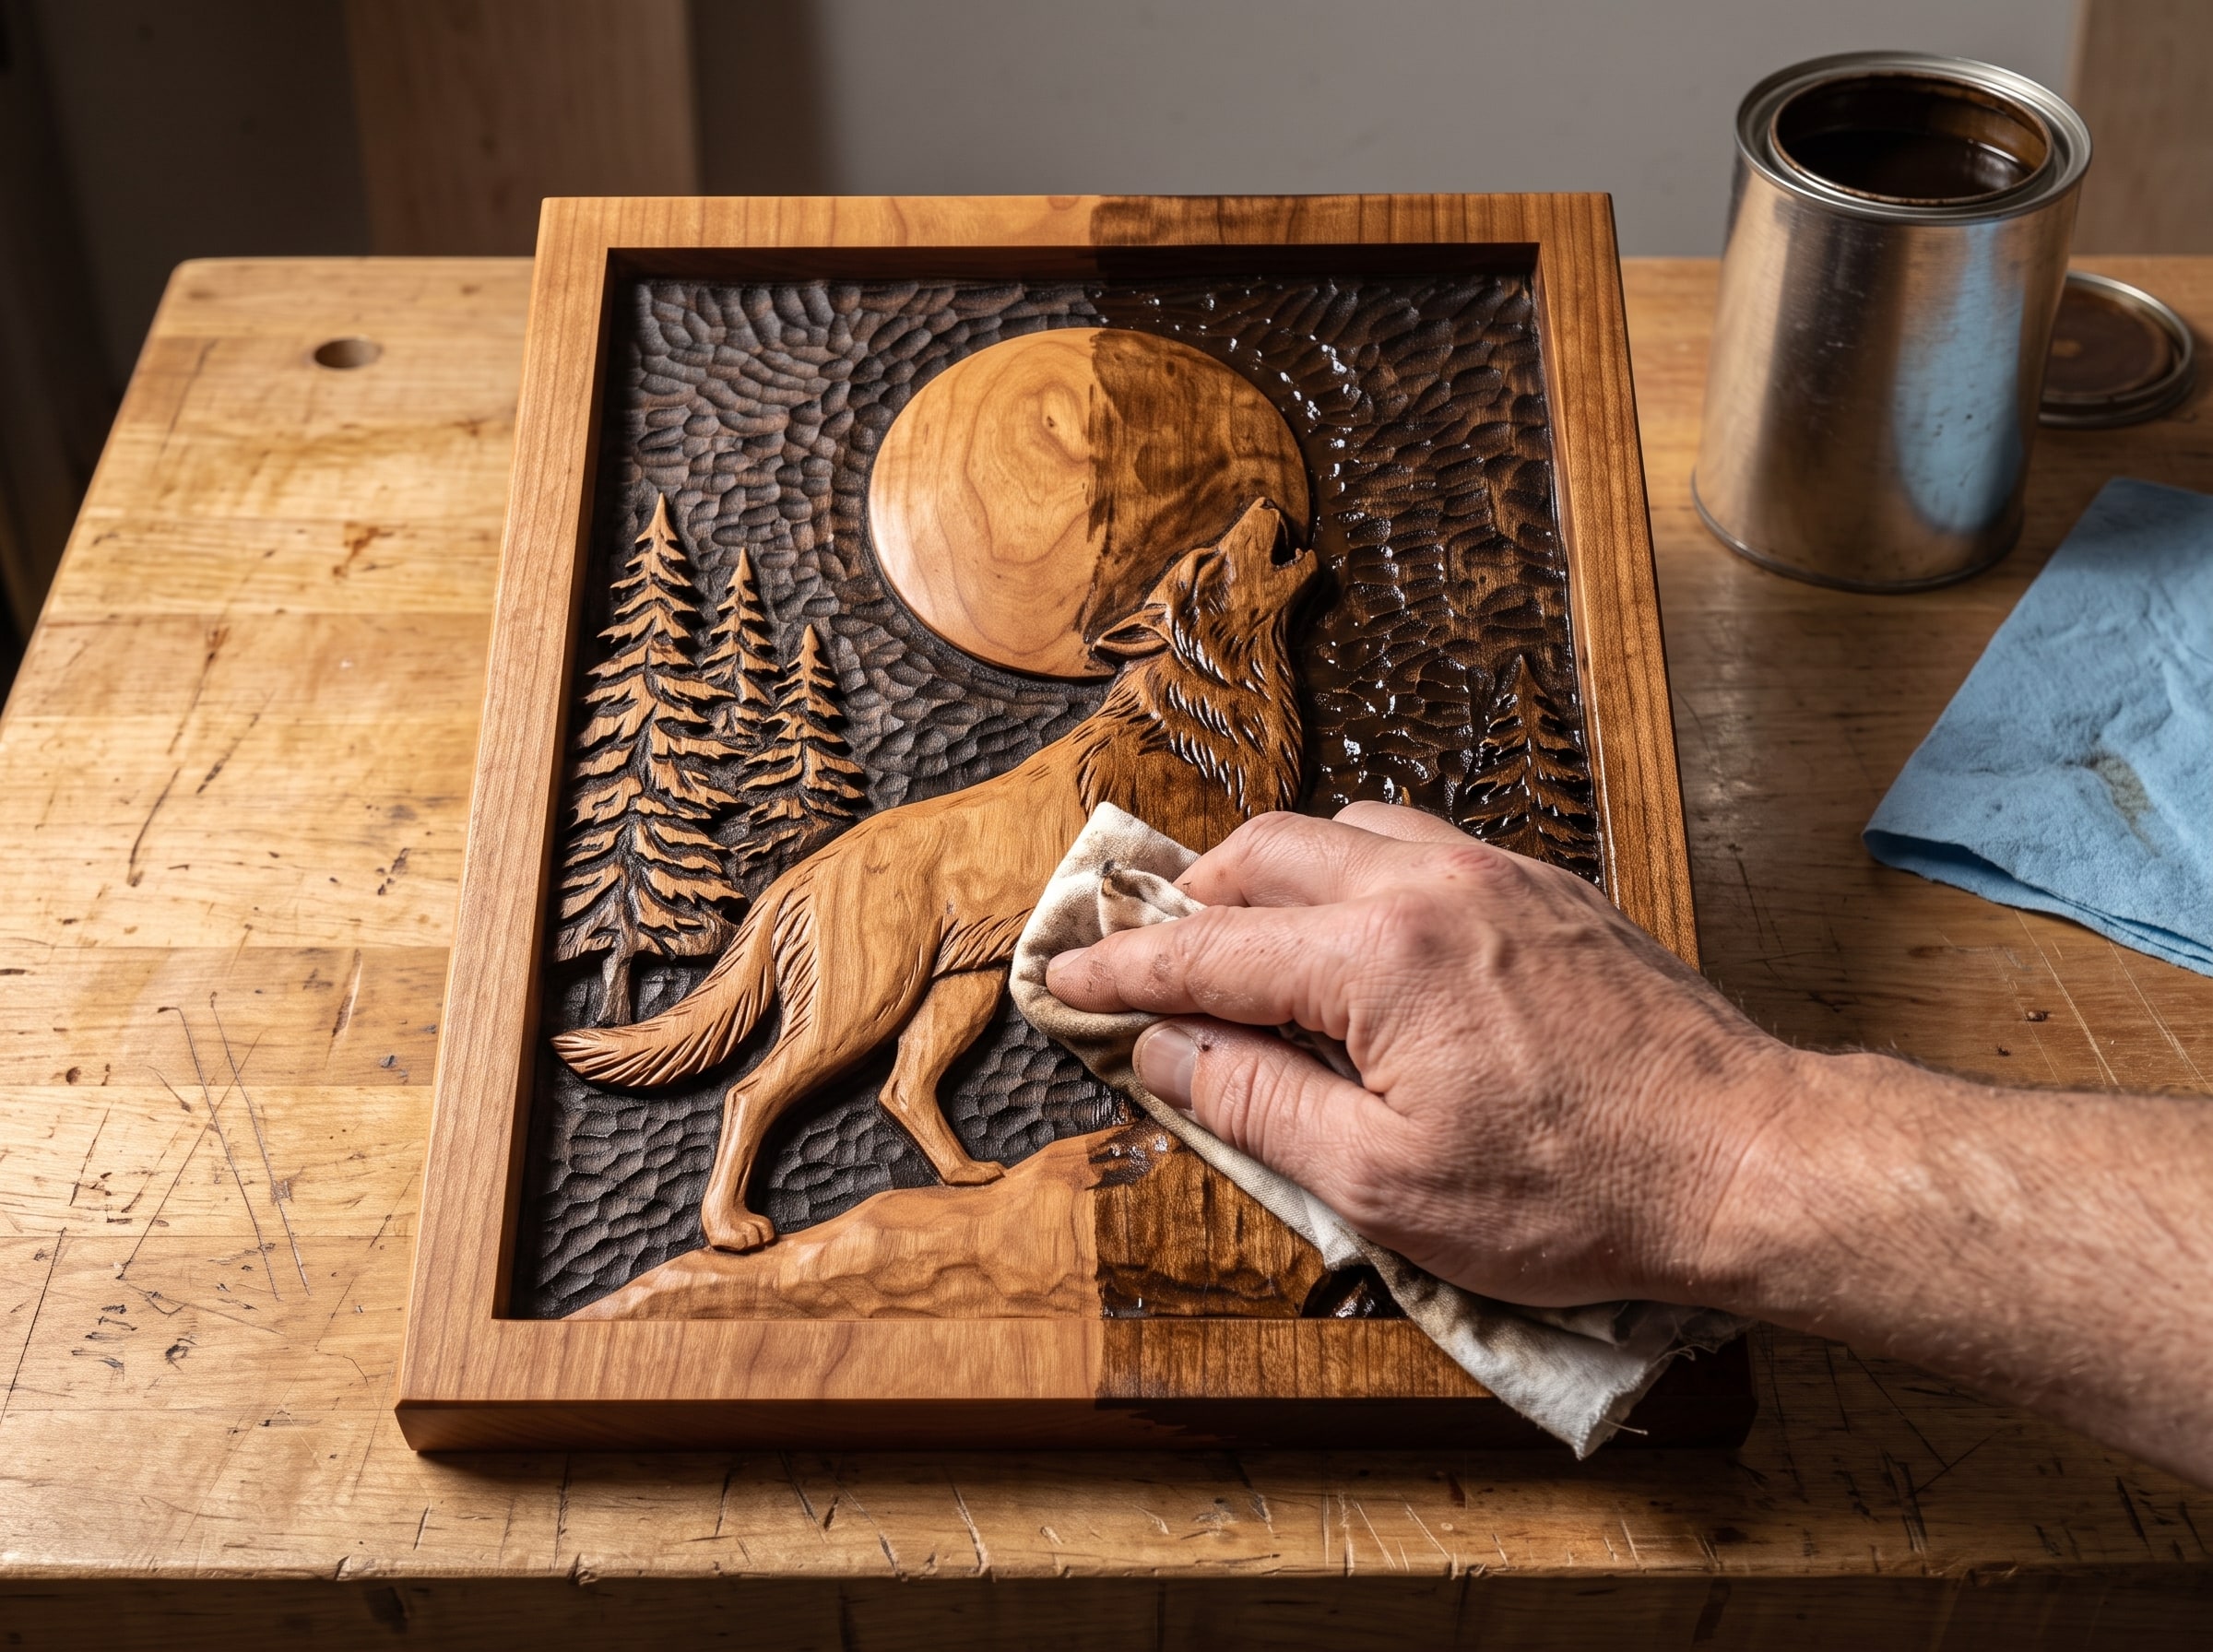
The step that turns a carving that looks flat into one that reads across the room. Flood the whole panel with a dark gel stain or glaze, let it flash for a few minutes, then wipe it back off the raised surfaces with a rag; the dark stays in the recesses. Leave it a full day. Then two or three thin coats of Danish oil a day apart, coming back after ten minutes each time with a dry brush to lift any pooled oil out of the corners. Then a dark paste wax buffed with a shoe brush. The finishing guide is the long version with products and photographs of every step.
Lay the oily rags out flat outside to dry, or in a sealed metal can with water. Never in a bin. This is not optional.
11. The back, the hanger, the wall
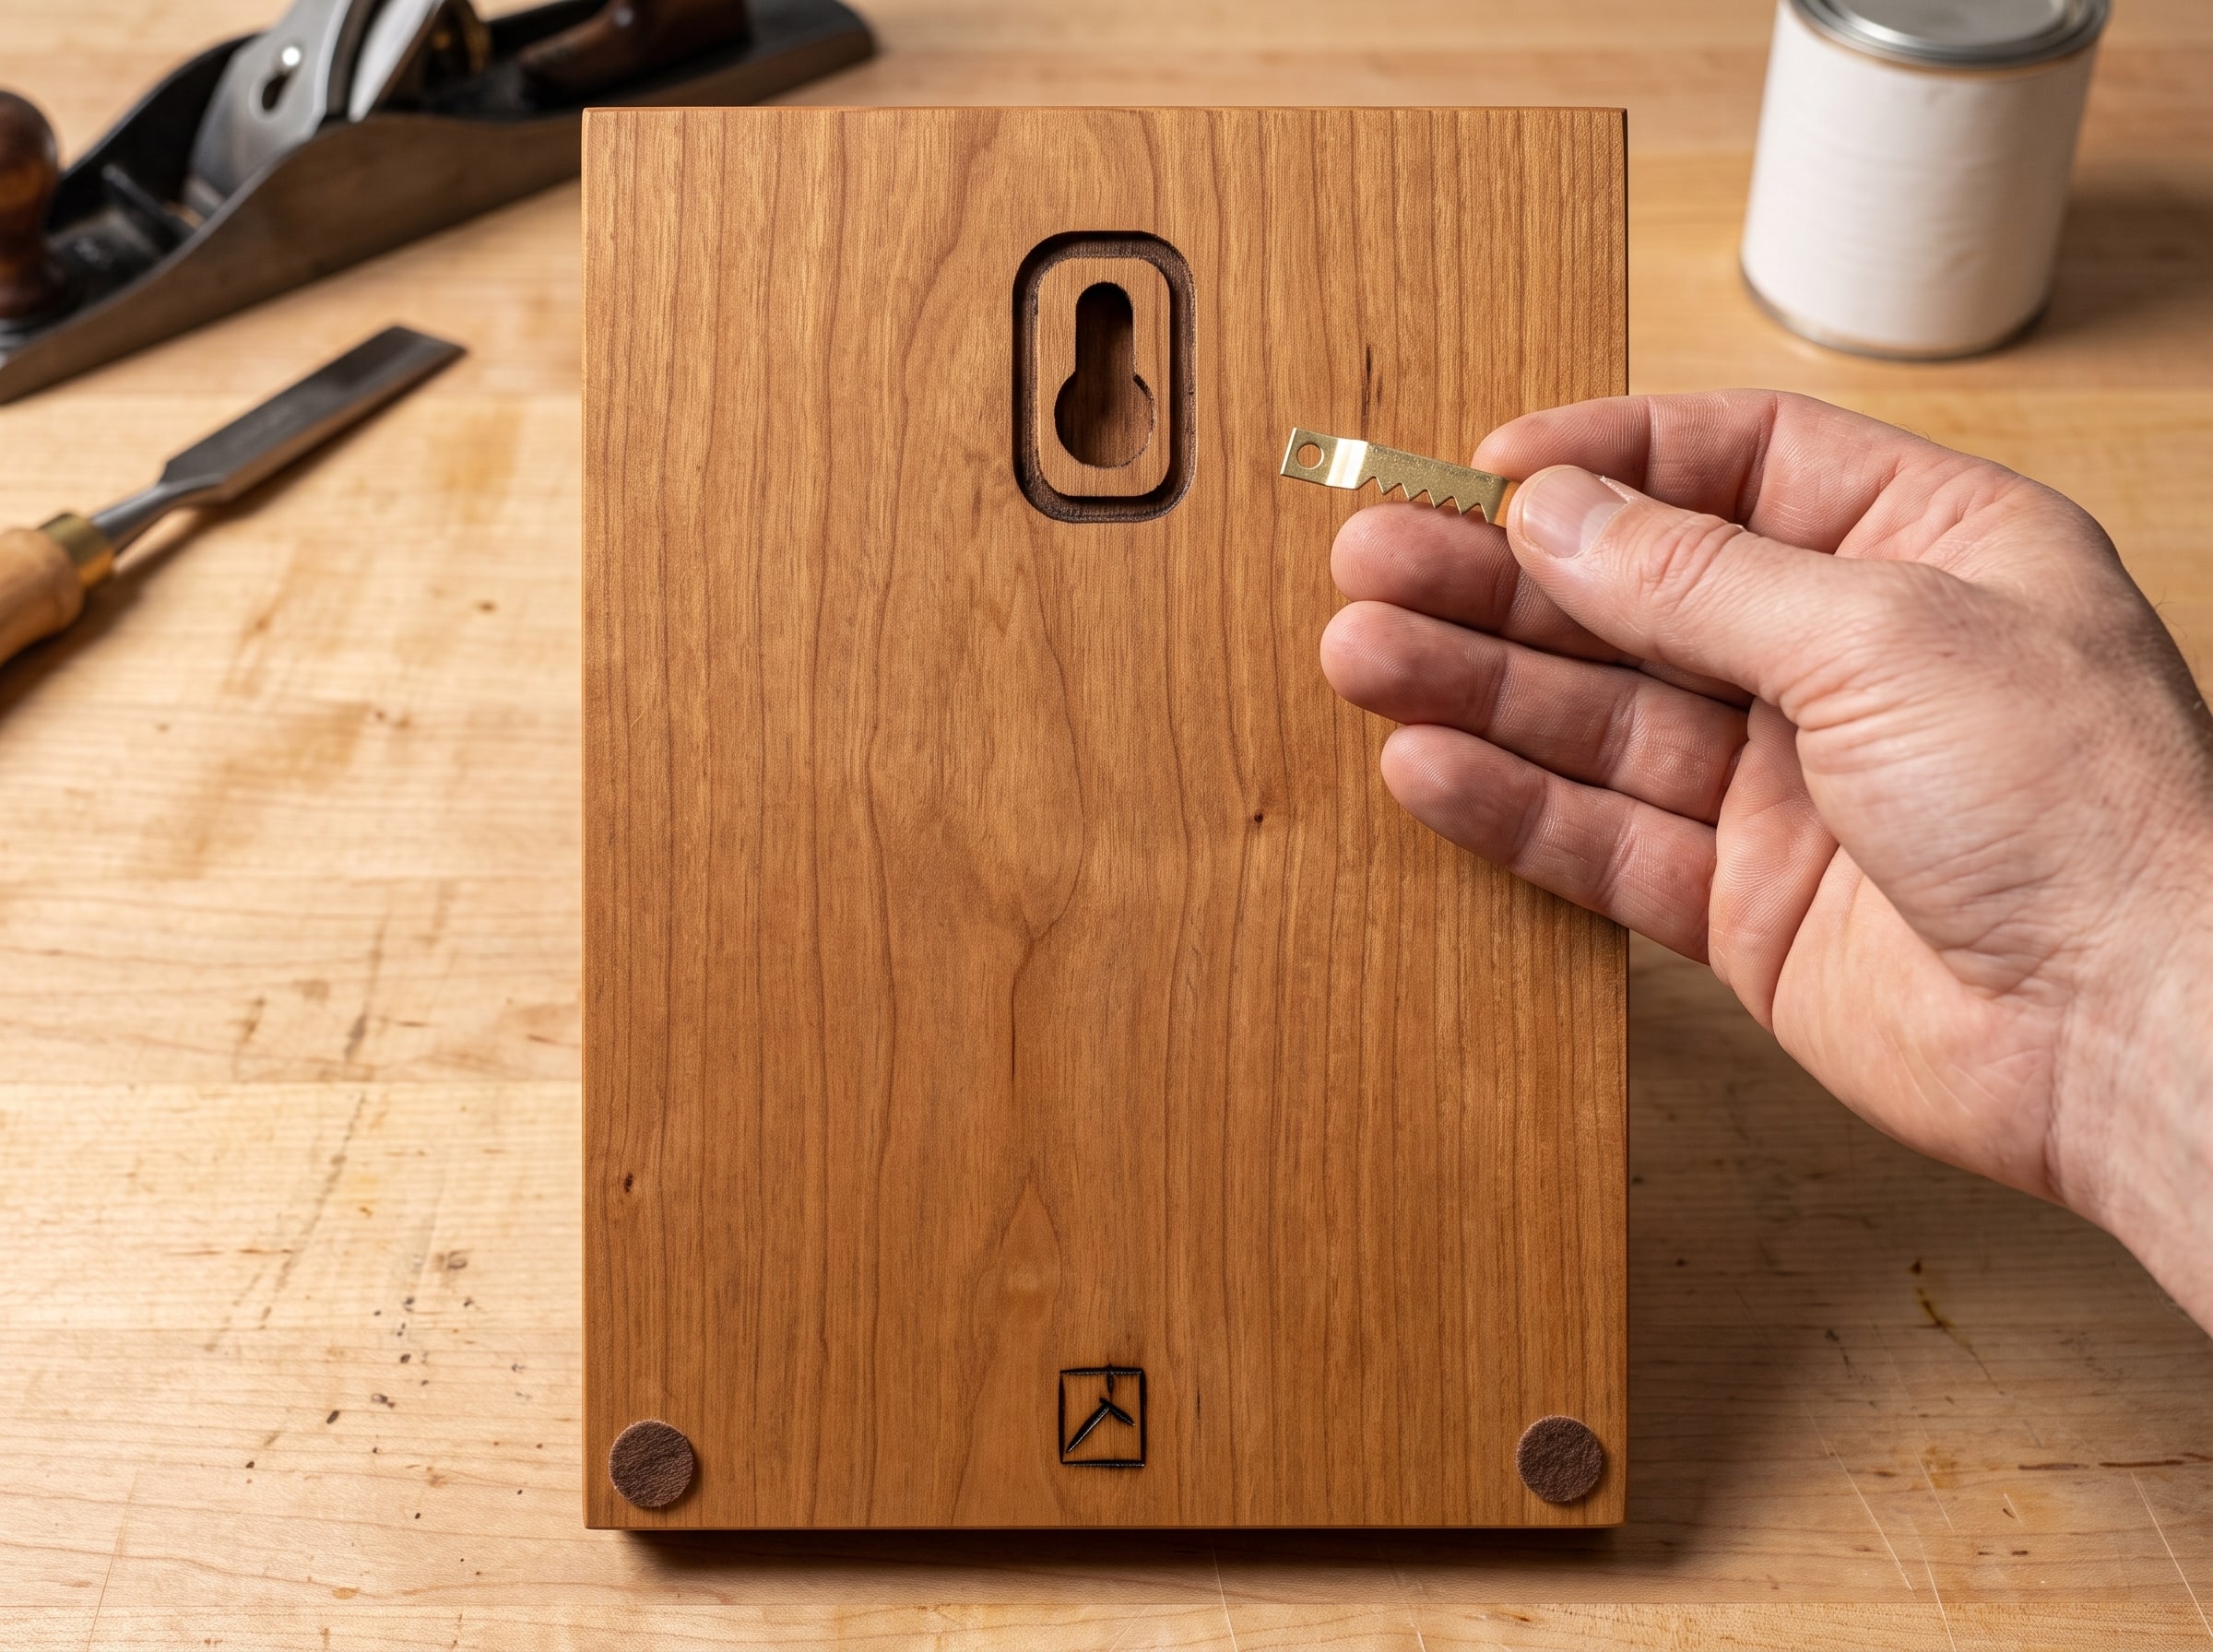
- Wipe the back with the same oil so the panel does not cup.
- Fit a sawtooth hanger, or rout a keyhole slot before finishing if your CAM will add one, centred and level. Felt bumpers at the bottom corners.
- Sign it: initials and the year, small, on the back.
- Hang it where the light comes from the side, near a window or under a lamp. Directly under a ceiling light is the one place a relief looks flat. Here is why.
If it went wrong
Nearly every disappointing first carving is one of a short list, and most are fixed in an hour: it is unfinished, it is lit from the front, the depth was reduced on import, the bit was bigger than the detail, the stepover was coarse, or the wood fought the cutter. The "looks flat" guide walks the list in the order to check it. The file is the last thing to suspect.
Questions people ask
How long does a first relief carving take?
Under three hours on the machine with a roughing pass and a boundary, and about a week of finishing, most of it waiting for oil to cure.
What is the best first file to carve?
A single bold subject with a plain background and nothing finer than 4 mm at your size. A wolf and moon, a single flower, a heart.
Which wood for a first carving?
Cherry, 1 inch thick. Basswood if you want it softer and cheaper.
Do I need to re-zero Z when I change cutters?
Yes, every time, on an uncut area of the board. Skipping it is how the fine pass ends up 2 mm too deep.
Why does it look flat off the machine?
Raw wood is one colour. Seal it, glaze the recesses dark, oil it, and light it from the side. It is finished when it reads from across the room, not when the machine stops.
Eleven steps, one board, one weekend. Do them in this order and the first carving will be the one you keep, not the one you learn from.
Jolly, DigitalChiselCo